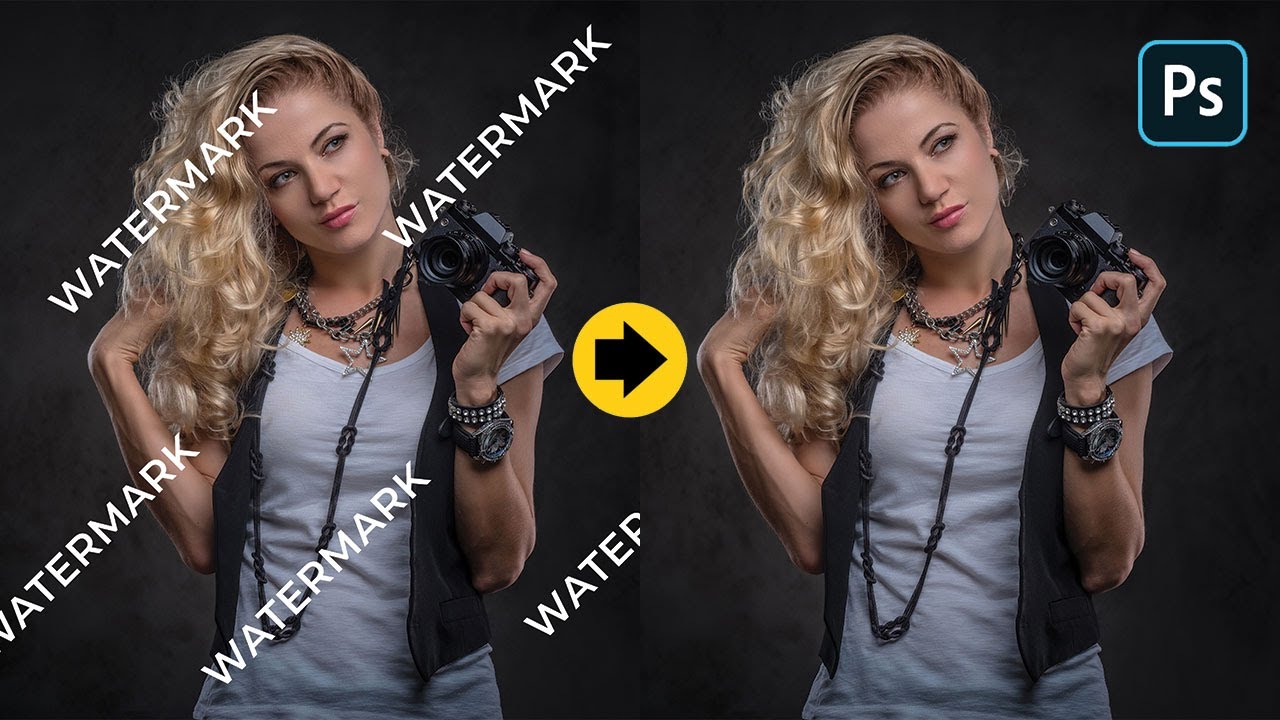
If you’ve ever come across an image with a pesky Shutterstock watermark and wondered how to remove it, you’re not alone. Photoshop CS5 offers a variety of tools that can help you clean up images, whether for personal projects or creative edits. While watermark removal can be tempting, it’s important to understand both the process and the ethical considerations involved. In this guide, we’ll walk through the basics of removing watermarks using Photoshop CS5 and discuss the legal aspects you should keep in mind before diving into this process. Let’s get started!
Understanding the Legal Aspects of Watermark Removal
Before you reach for Photoshop to remove a watermark, it’s crucial to understand the legal landscape. Watermarks are more than just a design feature—they serve as a clear indicator of ownership and copyright protection. Removing a watermark without permission can be considered copyright infringement, which may lead to legal consequences. It’s similar to taking someone’s property or copying protected content without authorization.
Here are some key points to keep in mind:
- Ownership Rights: Photographers and stock image companies like Shutterstock hold the rights to their images. Watermarks are a way to prevent unauthorized use and protect their work.
- Fair Use Exceptions: In some cases, using images for commentary, criticism, or educational purposes may qualify as fair use, but removing watermarks to use images commercially or publicly is usually not covered.
- Legal Risks: Using watermarked images without proper licensing can lead to lawsuits, fines, and damages. Always seek permission or purchase the rights to use an image legally.
- Ethical Considerations: Respect for creators and their work is fundamental. If you like an image, consider purchasing a license or using royalty-free alternatives instead of removing watermarks.
In essence, watermark removal should only be pursued if you have the legal right to do so—either because you own the image, have purchased a license, or have explicit permission from the copyright holder. Respecting intellectual property rights is not just about legality; it’s about supporting creators and their effort to produce beautiful, high-quality images.
Preparing Your Image for Watermark Removal in Photoshop CS5

Before diving into the actual removal process, it’s important to set your workspace and prepare your image properly. This step helps ensure that you get the best possible results and avoid unnecessary frustration along the way.
First, open your image in Photoshop CS5. To do this, go to File > Open and select the image file with the watermark you want to remove. Once it’s loaded, take a moment to examine the image closely. Determine the complexity of the watermark — is it a simple logo or a more intricate design? The more complex, the trickier the removal process will be, but don’t worry, with patience, you can achieve great results.
Next, it’s a good idea to create a duplicate of your original image. This way, you can always go back to the untouched version if needed. To do this quickly, press Ctrl + J (Windows) or Cmd + J (Mac). You should see a new layer appear in the Layers panel. Rename this layer to something like “Work Layer” to keep things organized.
Now, consider zooming into the watermark area to get a clear view. You can do this by selecting the Zoom Tool (magnifying glass icon) from the toolbar or pressing Z. Zoom in to at least 200% to see the details clearly. This will help you make precise selections and edits later on.
Another helpful step is to adjust the image’s overall appearance to match the background better. Sometimes, watermarks are placed over complex backgrounds, making removal more challenging. If the background is uniform or simple, removal becomes easier. If it’s busy, you might want to consider using tools like the Clone Stamp or Healing Brush later. But for now, focus on getting the image ready for these edits by ensuring it’s properly opened and duplicated.
Lastly, save your project in Photoshop’s native format (.PSD). This preserves all layers and allows for non-destructive editing. Go to File > Save As and choose Photoshop (.PSD). Name your file accordingly, so you don’t overwrite your original image.
With your image prepared, you’re now ready to start removing that pesky watermark in the next step!
Step-by-Step Instructions for Removing Watermarks Using Photoshop CS5

Let’s get into the fun part—removing that watermark! Photoshop CS5 offers several tools perfect for this task, especially the Spot Healing Brush and Clone Stamp. Here’s a simple, step-by-step guide to help you do it effectively:
- Select the Spot Healing Brush Tool: In the toolbar, click on the Healing Brush icon or press J. Make sure the Content-Aware option is enabled in the top menu for better automatic filling.
- Adjust the Brush Size: Use the brackets [ ] keys to resize your brush. Aim for a size slightly larger than the watermark itself for smooth blending.
- Begin Covering the Watermark: Click or click and drag over the watermark. Photoshop will automatically try to blend the area with surrounding pixels. Make small strokes for precision, especially over complex backgrounds.
- Switch to the Clone Stamp Tool if needed: Sometimes, the Healing Brush may not do the trick, especially over textured or detailed backgrounds. Select the Clone Stamp Tool (S), then hold Alt (Windows) or Option (Mac) and click on a clean area close to the watermark to sample it.
- Clone over the Watermark: Release the Alt/Option key and carefully click or paint over the watermark. This method allows you to manually replace the watermark with pixels from nearby areas, giving you more control.
- Refine Your Work: Use a smaller brush size and adjust opacity for subtle blending. Switch between Healing Brush and Clone Stamp as needed for the best seamless look.
- Zoom Out and Review: Regularly zoom out to see how your edits look from a distance. Make additional tweaks if necessary to ensure the area looks natural and consistent with the surrounding background.
- Final Touches: If you notice any irregularities, use the Smudge Tool or Blur Tool sparingly to smooth out any rough spots.
- Save Your Edits: Once satisfied, save your work. Go to File > Save As to keep a copy of your edited image. Remember, always save in PSD format first to preserve layers, then export as JPEG or PNG for sharing or uploading.
And voilà! With patience and a steady hand, you can effectively remove Shutterstock watermarks in Photoshop CS5. Keep practicing, and soon it’ll become second nature. Just remember to respect copyright laws and use watermarked images responsibly. Happy editing!
Tips for Achieving a Natural Look After Watermark Removal
Removing a watermark can sometimes leave your image looking a bit off — like there’s a ghostly imprint or a noticeable patch that doesn’t quite blend in. The key to making your photo look natural after watermark removal is all about subtlety and attention to detail. Here are some practical tips to help you achieve a seamless, professional finish.
1. Use the Clone Stamp and Healing Brush Wisely
These tools are your best friends when it comes to blending in the area where the watermark was. The Clone Stamp allows you to select a clean part of the background and paint over the watermark, copying pixels exactly. The Healing Brush, on the other hand, intelligently blends the sampled pixels with the surrounding area, making it perfect for smoothing out irregularities. Take your time, zoom in, and work gradually to avoid noticeable repetitions or patterns.
2. Match the Texture and Color
Watermarks are often placed over textured or complex backgrounds. When removing them, make sure the area you’re working on matches the surrounding texture and color. Use the Eyedropper Tool to sample nearby colors, and adjust your brush settings for softness and size to blend seamlessly. Small tweaks, like adjusting brightness or contrast after editing, can make a big difference.
3. Work in Multiple Layers
Creating a new layer for each editing step gives you flexibility. For example, clone over the watermark on a separate layer, then use the Healing Brush on another. This way, if something doesn’t look right, you can undo or tweak without affecting your original image. Layer masks are also handy for controlling where your edits are applied.
4. Pay Attention to Details
Zoom in and scrutinize your work. Look for repeating patterns or halos that might give away the edit. Use smaller brushes for fine details, especially around edges or intricate textures. Sometimes, toggling the visibility of your working layers can help you compare the before and after, ensuring your edits are as natural as possible.
5. Final Touches with Color Correction
Once the watermark is gone, you might notice slight differences in color or brightness. Fine-tune these with adjustment layers like Levels, Curves, or Hue/Saturation. This step helps your edited area blend in perfectly with the rest of the image, making the removal virtually invisible.
Alternative Methods and Tools for Watermark Removal
If Photoshop’s tools aren’t giving you the results you want, or if you’re looking for quicker options, there are several alternative methods and tools you can explore. Some are free, some paid, but all aim to make watermark removal easier and more effective.
1. Content-Aware Fill
Photoshop CS5 introduced the Content-Aware Fill feature, which is a lifesaver for removing objects like watermarks. To use it:
- Select the watermark area with the Lasso Tool.
- Go to Edit > Fill and choose Content-Aware from the dropdown menu.
- Click OK, and Photoshop will attempt to fill in the selected area based on surrounding pixels.
This method is quick and often produces impressive results, especially for simpler backgrounds.
2. Online Watermark Removal Tools
There are several websites designed specifically for removing watermarks, such as Inpaint, Watermark Remover Online, or WebInpaint. These tools usually work by uploading your image, marking the watermark area, and letting the algorithm do the rest. Keep in mind that results can vary depending on the complexity of the background and the quality of the tool.
3. Dedicated Software
- Inpaint: A user-friendly program that simplifies watermark removal with just a few clicks.
- GIMP: A free, open-source alternative to Photoshop that has similar cloning and healing tools.
- PhotoWorks or Luminar: Paid software with AI-powered tools for removing objects and enhancing photos.
4. AI-Based Apps and Plugins
Emerging AI-powered apps like HitPaw Watermark Remover or Remove.bg are making watermark removal even easier. They analyze your image and intelligently fill in the watermark area, often with minimal effort. These tools are especially handy when dealing with complex backgrounds or large watermarks.
Remember, no matter which method or tool you choose, always work on a copy of your original image. This way, you can experiment without risking your precious photo, and you’ll have the freedom to compare different techniques to find the best, most natural-looking result.
Finalizing and Saving Your Edited Image
Congratulations! You’ve worked through removing that pesky Shutterstock watermark and now have a clean, professional-looking image. Before you jump to sharing or publishing, it’s essential to give your work a final review. Take a moment to zoom in and out, ensuring there are no leftover artifacts, mismatched textures, or inconsistent areas that might give away the edit.
Once you’re satisfied with the result, it’s time to save your image. Photoshop offers several options, but choosing the right one depends on what you plan to do with the image. Here are some tips to keep in mind:
- Use the Save As feature to preserve your original file. This way, you retain the untouched version in case you need it later.
- Choose the appropriate file format:
- JPEG for web use and small file sizes.
- PNG if you need transparency or higher quality for digital projects.
- PSD if you want to keep all layers intact for future editing.
- Adjust image quality settings when saving as JPEG. Higher quality means less compression and better visuals but larger file size.
- Optimize your image for the platform you’ll be publishing on. For example, if you’re uploading to social media, consider resizing and compressing it to meet platform specifications.
Remember, always keep a backup of your work in case you want to revisit or make further adjustments later. Saving in Photoshop’s native PSD format is ideal for keeping all your layers and edits intact, giving you maximum flexibility down the road.
Conclusion and Best Practices for Using Stock Images
Removing a watermark from a Shutterstock image isn’t just about making it look good — it’s also about respecting copyright laws and ethical considerations. While tools like Photoshop can help you clean up images, it’s vital to use stock photos responsibly. Here are some best practices to keep in mind:
Respect Licensing Agreements
Always review the licensing terms associated with your stock images. If you’ve purchased a license, ensure your usage complies with it. Many licenses allow for edits like watermark removal, but some may have restrictions on redistribution or commercial use.
Use Stock Images Ethically
Think about the purpose of your project. If you’re editing a Shutterstock image, make sure your modifications are appropriate and don’t misrepresent the original content. Avoid creating misleading or deceptive visuals, especially if they could impact viewers’ perceptions.
Invest in Quality and Originality
While stock images are a fantastic resource, overusing them can make your content look generic. Whenever possible, combine stock images with original graphics or photography to create unique visuals that stand out.
Stay Updated with Legalities
Stock photo licensing rules can change, so it’s wise to stay informed about any updates or new restrictions. This ensures you’re always compliant and avoids potential legal issues down the line.
Use Editing Skills Responsibly
Photoshop and other editing tools are powerful, but with great power comes great responsibility. Use your skills to enhance images ethically, and always attribute or credit photographers when required. When in doubt, contact the image provider for clarification.
In summary, mastering watermark removal in Photoshop CS5 can be a useful skill, but it’s just one piece of a larger puzzle—respecting copyright, maintaining ethical standards, and producing high-quality, original content should always be your top priorities. With these best practices, you’ll not only create visually appealing images but also uphold integrity in your creative work.