If you’ve ever come across a stunning image on Shutterstock but didn’t have the license to download it, you might have wondered if there’s a way to remove the watermark using Photoshop. While technically possible, it’s important to understand the purpose of watermarks—they’re there to protect the creator’s rights and ensure proper attribution. This guide aims to shed light on the methods involved and emphasize the importance of respecting copyright laws. Remember, using images without proper licensing can lead to legal trouble, so always consider legal options first. That said, understanding how watermarks are removed can help you better appreciate the editing process or improve your skills in image restoration.
Understanding Copyright and Legal Considerations
Before diving into techniques for removing watermarks, it’s crucial to grasp the legal and ethical implications. Watermarks are intentionally placed on images to protect the rights of photographers, artists, and content creators, ensuring they get proper credit and compensation for their work. Removing a watermark without permission is generally considered copyright infringement, which can result in serious legal consequences, including lawsuits or fines.
Even if you manage to remove a watermark for personal use or experimentation, it doesn’t make it legal. Always ask for permission from the copyright holder or purchase the appropriate license when you want to use an image legitimately. Many stock photo websites, including Shutterstock, offer affordable licensing options, so it’s best to go through official channels. Respecting creators’ rights not only keeps you on the right side of the law but also supports the artists and photographers who put time and effort into their work.
In summary, while understanding how watermark removal is done can be an educational skill, it’s essential to prioritize legal and ethical considerations. If you love a particular image, consider licensing it or finding free alternatives that are legally available for your intended use. Responsible use of images helps foster a respectful creative community and keeps your projects safe from legal issues down the line.
Preparing Your Image for Watermark Removal
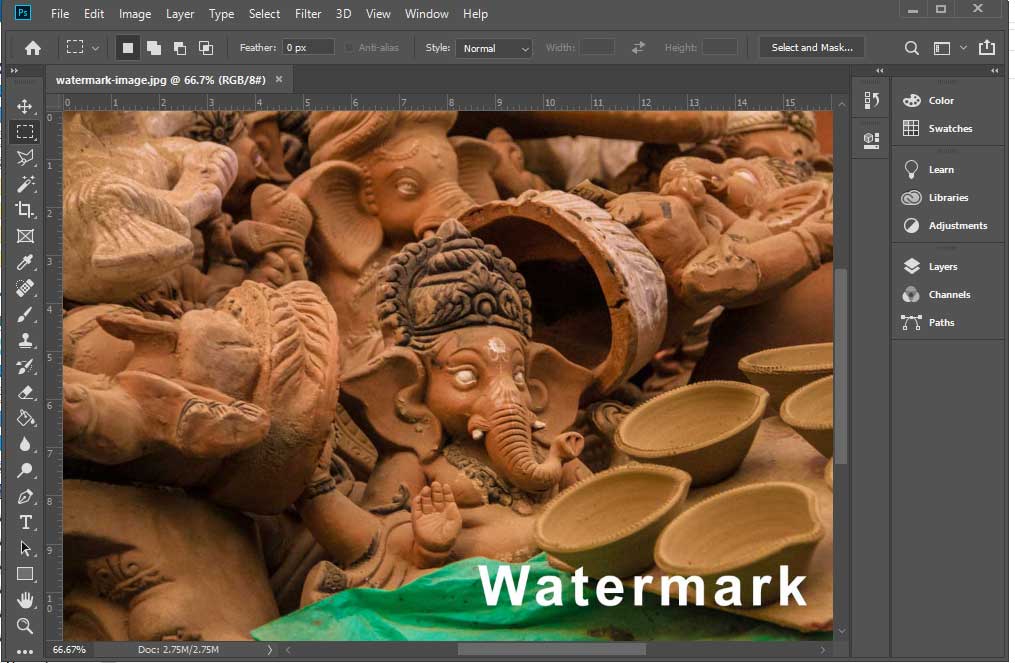
Before diving into the actual process of removing a watermark, it’s important to get your image ready. Proper preparation can make the editing process smoother and help achieve cleaner results. First, open your image in Photoshop and take a good look at the watermark. Is it on a plain background, or does it sit over complex details? Understanding this will help you choose the best removal technique.
Next, consider creating a duplicate of your original image. This way, you can always revert back if something doesn’t go as planned. To do this, simply right-click the background layer in the Layers panel and select Duplicate Layer. Work on this copy to preserve the original untouched.
Now, evaluate the overall quality of your image. If it’s a bit blurry or pixelated, it might be worth trying to sharpen it slightly before removal. You can do this by navigating to Filter > Sharpen > Unsharp Mask or Smart Sharpen. Just be careful not to overdo it, as it can introduce noise or artifacts.
If the watermark is over a busy or detailed area, zoom in for a closer look. This helps you better see the edges and details when you start editing. Use the zoom tool (magnifying glass icon) or press Ctrl + + (Windows) / Cmd + + (Mac).
Finally, consider adjusting the overall brightness and contrast of your image to make the area around the watermark more uniform. This can help blend in the background once the watermark is removed. Go to Image > Adjustments > Brightness/Contrast and tweak the sliders as needed.
By taking these preparatory steps, you set a solid foundation for effective watermark removal. The cleaner and more uniform your starting image, the better your final results will look.
Using Photoshop Tools to Remove Watermarks
Now that your image is prepared, it’s time to use Photoshop’s powerful tools to remove that pesky watermark. There are several methods you can choose from, depending on the complexity of the watermark and your comfort level with Photoshop.
Method 1: Using the Spot Healing Brush Tool
- Select the Spot Healing Brush Tool from the toolbar (or press J).
- In the options bar, choose Content-Aware as the type. This setting allows Photoshop to intelligently fill in the area you paint over.
- Zoom in on the watermark for precision.
- Click or drag over the watermark. Photoshop will automatically analyze the surrounding pixels and blend the area seamlessly.
- If needed, switch to the Healing Brush Tool for more control, sampling areas close to the watermark to paint over it.
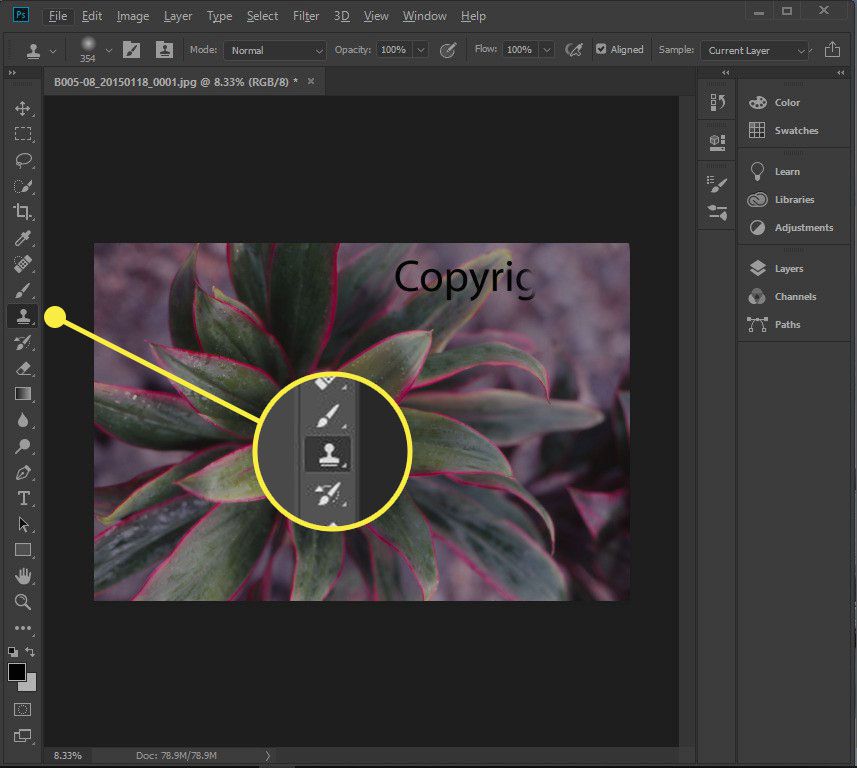
Method 2: Using the Clone Stamp Tool
- Select the Clone Stamp Tool (shortcut S).
- In the options bar, set your brush size and hardness—start small for detailed areas.
- Hold Alt (Windows) / Option (Mac) and click on a clean area close to the watermark to sample it.
- Release the key and carefully paint over the watermark, copying pixels from the sampled area.
- Adjust the sampled area as needed to blend seamlessly.
Method 3: Using the Content-Aware Fill
- Make a selection around the watermark using the Lasso Tool or Marquee Tool.
- Go to Edit > Fill (or press Shift + F5).
- In the Fill dialog box, choose Content-Aware from the drop-down menu and click OK.
- Photoshop will analyze the surrounding pixels and fill in the selected area, removing the watermark.
- If the result isn’t perfect, you can use the Spot Healing Brush or Clone Stamp to refine it.
Remember, patience is key here. Sometimes, you may need to combine methods or do multiple passes to get the best result. Always work on a duplicate layer so you can compare with your original and make adjustments as needed.
With these tools and techniques, removing Wassermarks from Shutterstock images becomes more manageable. Practice makes perfect, so don’t be discouraged if your first few attempts aren’t flawless. Keep experimenting, and you’ll improve over time!
Tips for Achieving Seamless Results
Removing a watermark from an image can be a bit tricky, especially if you want the final result to look natural and seamless. Here are some handy tips to help you achieve professional-looking results when editing with Photoshop:
Understand the Background
Before you start, take a good look at the background behind the watermark. Is it a uniform color, a complex pattern, or a detailed scene? The more uniform the background, the easier it is to blend in your edits. If the background is complicated, be patient and take your time to carefully clone or heal the area.
Use the Right Tools
- Spot Healing Brush Tool: Great for quick fixes on small areas. It automatically samples nearby pixels and blends them seamlessly.
- Clone Stamp Tool: Ideal for more precise work. You can manually select a source area and paint over the watermark, which gives you control over the blending process.
- Content-Aware Fill: A powerful feature that can intelligently fill in selected areas based on surrounding pixels. Perfect for larger watermarks or complex backgrounds.
Work in Small Sections
Instead of trying to remove the entire watermark in one go, work in small chunks. Zoom in for better control, and make sure to regularly deselect and check your progress. This approach helps you blend the edits more naturally and avoid obvious patches.
Adjust and Fine-tune
After removing the watermark, you might notice some inconsistencies or mismatched textures. Use adjustment layers like Brightness/Contrast or Hue/Saturation to match the surrounding area. Sometimes, adding a bit of noise or grain can help your edits blend in more effectively.
Be Patient and Practice
Seamless removal isn’t always quick, especially with complex backgrounds. Take your time, experiment with different tools, and don’t be afraid to undo and redo. The more you practice, the better your results will become!
Saving and Exporting Your Edited Image
Once you’re satisfied with your watermark removal, it’s time to save your work properly. This ensures your edited image looks its best and remains high quality for whatever purpose you have in mind.
Save as a Photoshop PSD File
First, save your project as a .PSD file. This preserves all your layers, masks, and adjustments, so you can go back and make changes later if needed. To do this, go to File > Save As, choose Photoshop (.PSD), and pick a location on your computer.
Export for Final Use
When you’re ready to use your image online or print, you’ll need to export it in a suitable format:
- JPEG: Common for web use, offers good quality with manageable file size. Adjust the quality slider to balance clarity and file size.
- PNG: Ideal if your image has transparency or you want lossless quality.
Optimize Your Export Settings
For web use, consider these tips:
- Set the resolution to 72 or 96 dpi for screens.
- Resize the image if necessary to match your desired dimensions.
- Use the Save for Web option (found under File > Export > Save for Web (Legacy)) to fine-tune quality and file size.
Final Check
Before sharing or uploading, give your image a final look. Check for any visible inconsistencies or remaining artifacts from the watermark removal. If needed, do a quick touch-up or adjust the overall color and contrast to make your image look polished and professional.
Keep Your Originals Safe
Always keep a backup of your original, unedited images. This way, if you want to revisit your edits or try different techniques, you have the original file ready to go.
Alternative Methods and Tools for Watermark Removal
While Photoshop is a powerhouse for editing images, sometimes you might want to explore other options for removing watermarks from Shutterstock images. Just a quick note — always remember to use these tools responsibly and ethically, respecting copyright laws and the rights of content creators.
Here are some popular alternatives you might consider:
Online Watermark Removal Tools
- Inpaint: A user-friendly online tool that allows you to upload your image and easily erase watermarks with a few clicks. It uses intelligent algorithms to fill in the removed area seamlessly.
- Fotor: Offers a ‘Clone’ feature that helps cover up watermarks and other unwanted objects. Its simple interface makes it accessible for beginners.
- Watermark Remover.io: Specifically designed for removing watermarks, this tool can process images quickly. Just upload your Shutterstock image, and it attempts to remove the watermark automatically.
Mobile Apps
- TouchRetouch: An app available for both Android and iOS that allows you to remove watermarks, blemishes, and other unwanted objects directly from your phone. It has a straightforward interface and effective tools.
- Photo Retouch: Similar to TouchRetouch, it offers quick fixes for removing watermarks with minimal fuss.
Using Other Editing Software
If you’re familiar with software like GIMP (which is free) or Lightroom, you can apply similar techniques as in Photoshop, such as the clone stamp or healing brush tools, to remove watermarks. These programs might have different interfaces but can be just as effective with some practice.
Tips for Better Results
- Zoom in: Get close to the watermark to work precisely.
- Use a soft brush: When cloning or healing, a soft-edged brush helps blend the area more naturally.
- Take your time: Rushing can lead to unnatural results. Patience pays off!
Remember, these tools are great for personal projects, mock-ups, or experiments. However, if you’re planning to use images commercially, always seek proper licensing or permission from the copyright holder. Unauthorized removal of watermarks for commercial use can lead to legal trouble, so it’s best to stay ethical.
Final Thoughts on Ethical Use of Images
Removing watermarks might seem like a quick fix to access high-quality images without paying, but it’s crucial to consider the ethical implications. Watermarks are there for a reason—they protect the rights of photographers, artists, and stock image companies like Shutterstock who invest time, effort, and resources into creating content.
Using images without proper licensing or attempting to bypass watermarks can be considered copyright infringement, which carries legal consequences. Instead, here are some responsible ways to access and use images:
- Purchase a license: Buying the right to use an image legally supports creators and ensures you’re covered legally.
- Look for royalty-free or Creative Commons images: Many platforms offer images that are free to use with proper attribution.
- Use free stock photo websites: Unsplash, Pexels, and Pixabay provide high-quality images that are free for personal and commercial projects.
If you need a Shutterstock image, consider subscribing or purchasing a license. This way, you respect the rights of the creators and avoid potential legal issues. Remember, ethical use of images not only keeps you on the right side of the law but also supports the talented individuals who produce the visual content we love to use.
Ultimately, the goal should be to find a balance—using images responsibly while still achieving your creative projects. Respect for intellectual property encourages a healthy, innovative creative community for everyone to enjoy.