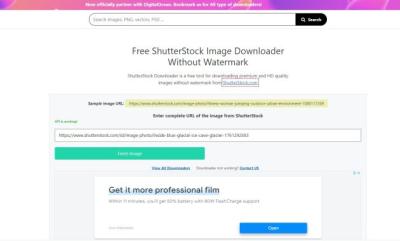
If you’ve ever downloaded a stunning image from Shutterstock but wished the background was different or simply wanted to make it stand out more, you’re not alone. Removing backgrounds from images can seem tricky at first, but with the right tools and techniques, it’s easier than you might think. Whether you’re creating a professional presentation, designing a social media post, or just having fun with photo editing, knowing how to remove backgrounds can really elevate your visuals. In this guide, we’ll walk you through the basics and introduce you to some handy tools to make the process smooth and simple.
Tools and Software for Background Removal
When it comes to removing backgrounds from Shutterstock images, you have a variety of tools at your fingertips—each suited for different skill levels and needs. Let’s explore some of the most popular options:
- Adobe Photoshop: The gold standard for photo editing. Photoshop offers powerful tools like the Magic Wand, Quick Selection, and the new Remove Background feature powered by Adobe Sensei. It’s perfect if you’re familiar with editing or want precise control. However, it requires a subscription and a bit of learning curve.
- Canva: A user-friendly online design platform that now includes a one-click background remover feature (Pro version). It’s ideal for quick edits and creating social media graphics without any complex steps.
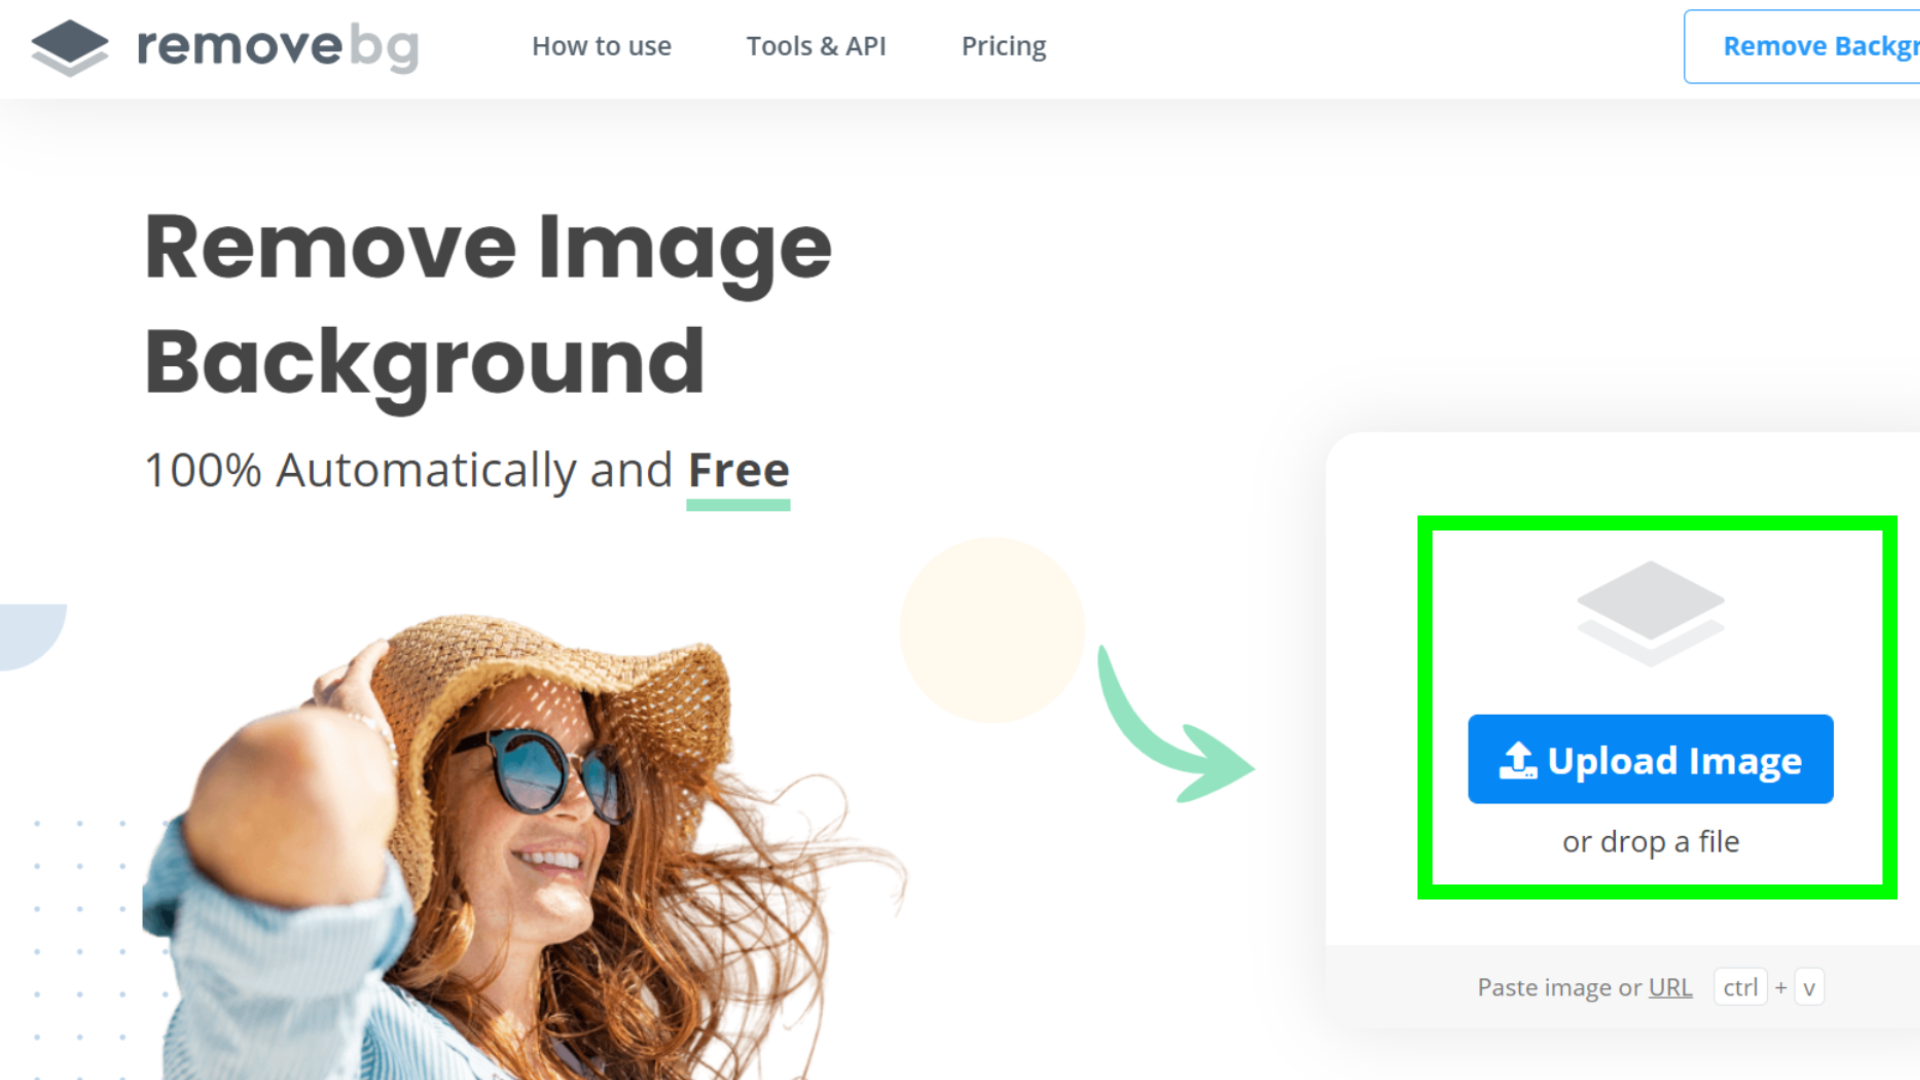
- Remove.bg: A dedicated online tool that automatically removes backgrounds in seconds. Just upload your Shutterstock image, and it does the magic for you. Great for those who want fast results without fuss.
- Pixlr: An online photo editor with tools similar to Photoshop, including a background removal feature. It’s accessible and easy to use, making it suitable for beginners and intermediate users.
- GIMP: A free, open-source alternative to Photoshop. While it doesn’t have an automatic background remover, it offers manual tools for detailed editing. Perfect if you’re comfortable with more hands-on editing.
Choosing the right tool depends on your project needs, budget, and experience level. For quick and straightforward removals, online tools like Remove.bg or Canva are fantastic. If you want full control and professional results, Photoshop or GIMP are excellent choices. No matter what you pick, the right software can make background removal a breeze!
Step-by-Step Process to Remove Backgrounds from Shutterstock Images
Removing backgrounds from Shutterstock images might sound intimidating at first, but with the right steps, it becomes a straightforward process. Whether you’re designing a website, creating marketing materials, or just want a cleaner look for your photos, here’s a simple step-by-step guide to help you get started.
Step 1: Choose the Right Image
Start by selecting an image with a clear subject and a relatively simple background. High-resolution images work best because they give you more detail to work with, making the removal process smoother. Shutterstock offers a vast library, so take your time to find an image that suits your project.
Step 2: Use a Background Removal Tool
There are several tools you can use, from professional software like Adobe Photoshop to free online editors. For beginners, online tools such as Remove.bg or Canva are fantastic options. Upload your Shutterstock image directly into the tool.
Step 3: Automatically Remove the Background
Most online tools have an automatic background removal feature. Simply click a button, and the software will analyze the image and isolate the subject from the background. This process usually takes just a few seconds. Review the result to see if the background has been effectively removed.
Step 4: Make Manual Adjustments if Needed
Sometimes, automatic removal isn’t perfect—edges might be rough, or parts of the background might still be visible. Use the editing tools provided to refine the edges, erase leftover background fragments, or restore parts of the subject if necessary. Many tools offer brush or eraser options for precise adjustments.
Step 5: Download Your Transparent Image
Once you’re satisfied with the background removal, download your image in a format that supports transparency, like PNG. This way, you can easily place your subject onto new backgrounds or use it in other projects without the original background.
Step 6: Apply Your Image in Your Project
Now that you have a clean, background-free image, you can easily insert it into your website, presentation, or design layout. Just drag and drop it into your project, and you’re good to go!
Tips for Achieving Clean and Professional Results
Getting that perfect, crisp look when removing backgrounds might take a little practice, but these tips will help you achieve professional-quality results every time:
1. Start with High-Quality Images
The better the quality of your original Shutterstock image, the easier it is to remove the background cleanly. High-resolution images with good contrast between the subject and background make for more precise editing.
2. Choose the Right Tool for Your Skill Level
- Beginners: Online tools like Remove.bg or Canva are user-friendly and quick.
- Advanced users: Photoshop offers more control with selection tools like the Magic Wand, Quick Selection, or Pen Tool for intricate edges.
3. Pay Attention to Edges and Details
When refining your image, zoom in to check for leftover background fragments or jagged edges. Use soft brushes for smooth edges and hard brushes for sharp details, especially around hair or intricate objects.
4. Use Layer Masks for Non-Destructive Editing
If you’re working in Photoshop, layer masks allow you to hide or reveal parts of the image without permanently deleting pixels. This approach gives you flexibility to tweak your work later on.
5. Practice Makes Perfect
Don’t be discouraged if your first few attempts aren’t perfect. Practice with different images, experiment with tools, and over time, you’ll develop a keen eye for clean, professional results.
6. Keep the Background Simple During Shooting
If you’re capturing your own images to later remove backgrounds, use a plain, solid-colored backdrop like green or blue. This makes the removal process much easier and cleaner.
7. Final Touch-Ups
After removing the background, consider adding a subtle shadow or outline to make your subject stand out more naturally. Small adjustments like these can make a big difference in the overall look of your image.
Remember, patience and attention to detail are key. With these tips, you’ll be able to produce stunning, professional-looking images that truly elevate your projects!
Common Challenges and How to Overcome Them
Removing backgrounds from Shutterstock images can sometimes feel like a tricky puzzle. No matter how experienced you are, there are a few common challenges that pop up, and knowing how to handle them can make the process much smoother.
Challenge 1: Complex or Busy Backgrounds
Images with lots of intricate details or cluttered backgrounds can be tough to cleanly remove. When the background blends in with the subject, it’s easy to accidentally delete parts of the main focus or leave behind unwanted remnants.
- Solution: Use advanced tools like Photoshop’s Select and Mask feature or AI-powered background removal apps. Zoom in closely and refine your edges with tools like the ‘Refine Edge Brush’ or ‘Feather’ options. Sometimes, doing the removal in multiple passes helps to maintain the integrity of the subject.
Challenge 2: Fine Details and Hair
Subjects like hair, fur, or semi-transparent elements are notoriously difficult to isolate cleanly. These details often require extra attention to avoid frayed edges or gaps.
- Solution: Use tools designed for delicate edges—like Photoshop’s ‘Select Subject’ combined with ‘Refine Edge’ or ‘Select and Mask.’ For hair, try the ‘Decontaminate Colors’ feature to better separate it from the background. Patience and zooming in help achieve a natural look.
Challenge 3: Low-Resolution Images
When images are blurry or low-res, removing backgrounds can result in jagged edges or loss of detail. This makes clean extraction a challenge.
- Solution: Whenever possible, choose higher-resolution images. If you’re stuck with low-res files, try smoothing tools or manual touch-ups after the initial removal. Sometimes, enhancing the image quality first can improve your results.
Challenge 4: Shadows and Reflections
Shadows or reflections cast by the subject can create confusion during removal, leading to unnatural cutouts or missing shadows that make the image look flat.
- Solution: Carefully analyze the shadows. You might need to manually mask or paint over them to retain a natural look, or remove shadows entirely depending on your project needs. Using layer masks allows non-destructive editing so you can adjust as you go.
Remember, patience is key! Practice different techniques, take your time with tricky areas, and don’t hesitate to combine multiple tools to get the best results. Overcoming these challenges gets easier with experience, and soon, background removal from Shutterstock images will become a breeze.
Additional Resources for Background Removal
If you’re eager to improve your skills or explore new ways to make background removal easier and more precise, there are plenty of resources available to help you along the way.
Online Tutorials and Courses
- Adobe Creative Cloud Tutorials – Offers comprehensive guides on Photoshop techniques, including background removal.
- Skillshare Classes – Numerous courses focusing on photo editing and background removal, suitable for all levels.
- YouTube Channels – Channels like PiXimperfect, Phlearn, and Blue Lightning TV provide step-by-step video tutorials for free.
Tools and Software
| Tool | Best For | Notes |
|---|---|---|
| Adobe Photoshop | Precise manual editing, complex images | Paid software with powerful features |
| Canva | Quick background removal for non-designers | Web-based, easy to use |
| Remove.bg | Automatic background removal | Fast, AI-powered, free & paid options |
| Fotor | Simple editing and background removal | Online tool with user-friendly interface |
Community Forums and Support
- Adobe Community – Ask questions and share tips with fellow Photoshop users.
- Reddit r/photoeditors – A community for photo editors to discuss techniques and troubleshoot issues.
- Photopea – A free online Photoshop alternative with tutorials available directly on their website.
Whether you’re a beginner or a seasoned pro, leveraging these resources can help you sharpen your skills, discover new techniques, and make background removal from Shutterstock images faster and more effective. Keep practicing, stay curious, and soon you’ll be mastering background removal like a true pro!
Conclusion and Final Tips for Effective Background Removal
Removing backgrounds from Shutterstock images can significantly enhance your design projects, making your visuals more professional and focused. To achieve the best results, always start with a high-resolution image, as this provides more detail and makes the removal process smoother. Use reliable tools or software, whether it’s dedicated background removal apps or advanced photo editing programs, to ensure precision.
Here are some final tips to streamline your background removal process:
- Zoom in to carefully handle intricate edges and details like hair or fur.
- Utilize layers and undo options to experiment without risking your original image.
- Refine edges using tools like feathering or smoothing to create a natural transition.
- Check your work by viewing the image against different backgrounds to spot any imperfections.
- Save your work in a format that preserves transparency, such as PNG, for versatile use.
Remember, patience and attention to detail are key to achieving seamless background removal. Practice regularly and experiment with different techniques to improve your skills. With these tips, you’ll be able to create clean, professional-looking images that elevate your creative projects. Happy editing!