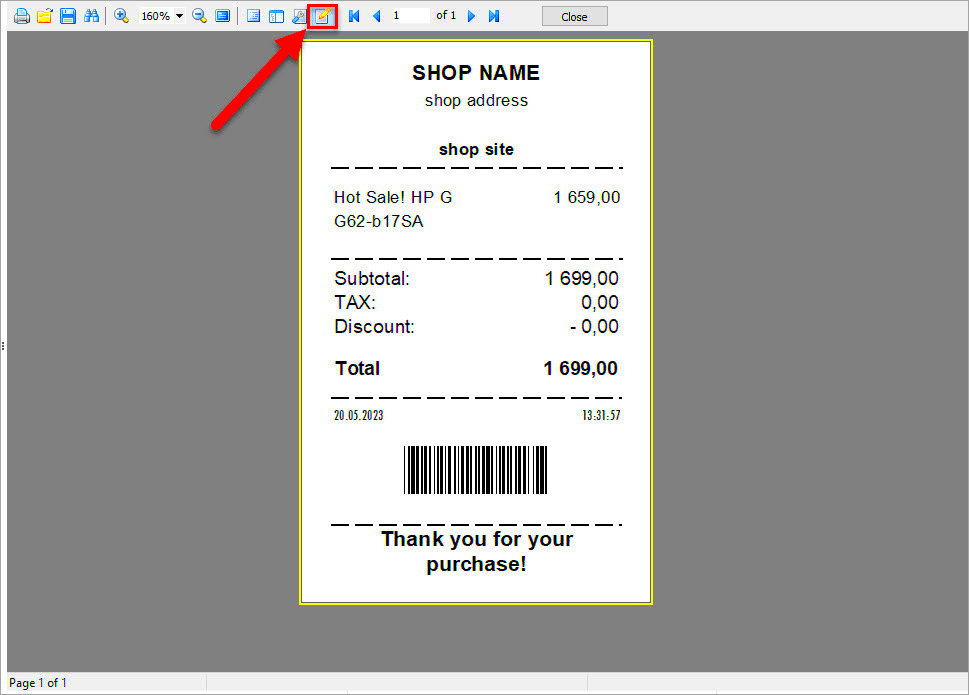
Hey there! If you run an online store using WooCommerce, you’ll know that giving your customers a thorough and professional receipt is essential. Not only does it keep your customers informed about their purchases, but it also plays a vital role in maintaining clarity and trust in your business. In this guide, we’ll dive into what WooCommerce receipts are and why they matter. Let’s get started!
Understanding the Importance of Receipts

Now that we’ve introduced WooCommerce receipts, let’s talk about why they’re so important. Believe it or not, receipts serve several critical functions in your eCommerce business. Here are some key reasons:
- Proof of Purchase: Receipts provide a clear record of transactions that customers can use as proof of their purchases. This is essential for exchanges, returns, and warranty claims.
- Building Trust: A well-organized receipt reflects professionalism. It helps establish trust with customers, confirming that their transaction was handled correctly.
- Financial Tracking: For both businesses and customers, receipts help track spending. As a business owner, you can analyze sales patterns and manage your accounting more effectively.
- Legal Requirement: In many jurisdictions, providing a receipt is a legal obligation. Failing to do so could lead to compliance issues down the line.
- Customer Engagement: Receipts can include additional information like discount codes, loyalty program information, or promotional material, driving future sales.
In short, receipts are far more than a simple summary of a transaction—they are vital documents that can strengthen relationships between businesses and their customers. So, let’s ensure you provide receipts that are not just functional but also great for your brand image!
Step 1: Setting Up WooCommerce for Receipts

Alright, let’s dive into the first step of providing a WooCommerce receipt—setting up WooCommerce itself. If you haven’t already installed WooCommerce, you’ll need to get that done first. Don’t worry; it’s a straightforward process!
Once you have WooCommerce active on your WordPress site, follow these steps:
- Navigate to WooCommerce Settings: Head over to your WordPress dashboard and click on “WooCommerce” in the left-hand menu. Then, select “Settings.” This is the hub for all your WooCommerce configurations.
- General Settings: Here, you’ll find options for your store’s address, selling locations, and currency settings. Make sure everything is filled out correctly to ensure smooth operations, as incorrect details can affect your receipts.
- Emails Tab: Click on the “Emails” tab to configure how your receipts will be sent. You’ll see various email notifications here—look for the “New Order” and “Processing Order” emails. Click “Manage” next to each to customize them further.
- Review Payment Methods: Ensure that your payment gateways are set up properly. This is crucial because the payment confirmation is typically included in the receipt.
By the end of this step, you should have a WooCommerce store that’s primed to send out receipts to customers automatically. Just remember to double-check your settings and ensure that you have your email notifications enabled!
Step 2: Customizing Your Receipt Settings

Now that we have WooCommerce set up, it’s time to customize your receipt settings. Personalizing your receipts not only helps to reinforce your brand but also makes the purchasing experience more pleasant for your customers. Let’s explore how you can tweak those settings.
Here’s what you need to do:
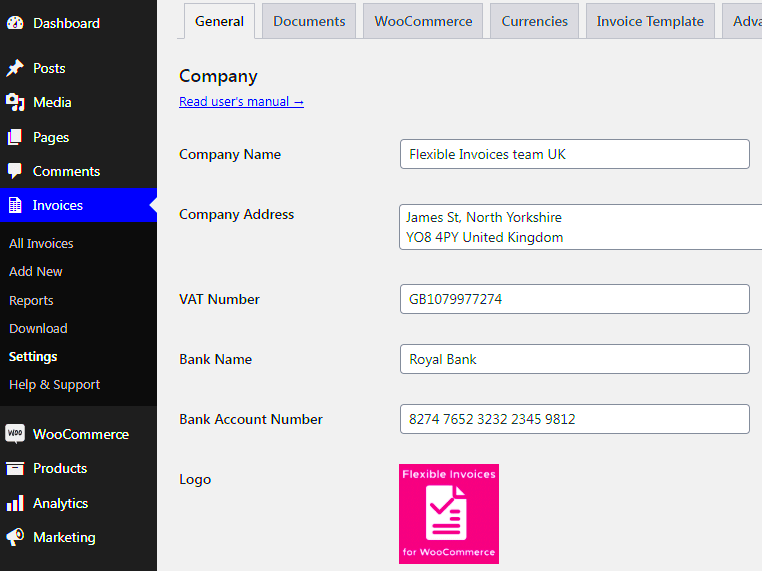
- Email Header and Footer: First, consider adding a professional header that includes your logo and store name. This simple touch can enhance trust. You can find options for this in the “Emails” tab we visited earlier.
- Custom Message: A personalized message can go a long way. You might want to add a thank you note or a brief message about your return policy directly in the email body.
- Styling and Format: Ensure your receipts are visually appealing! You can customize the colors and typography in WooCommerce to match your brand identity. Check the settings in the “Emails” section to adjust these features.
- Checkout Order Details: Decide what information should appear in the receipt. This typically includes order number, items purchased, prices, and shipping details. Customize this to ensure your customers have all the info they need.
Once you’ve gone through these customization options, be sure to send some test emails to see how they look. This will help you spot any issues before your customers ever receive their receipts!
Step 3: Generating Receipts for Orders
Once your WooCommerce setup is ready and you’ve received an order, it’s time to generate receipts. This part of the process is crucial because receipts serve as proof of purchase for your customers and can help mitigate any future disputes or questions.
To generate a receipt for an order, follow these steps:
- Log in to your WordPress dashboard.
- Navigate to the WooCommerce section on the left sidebar.
- Select Orders. Here, you’ll see a list of all orders.
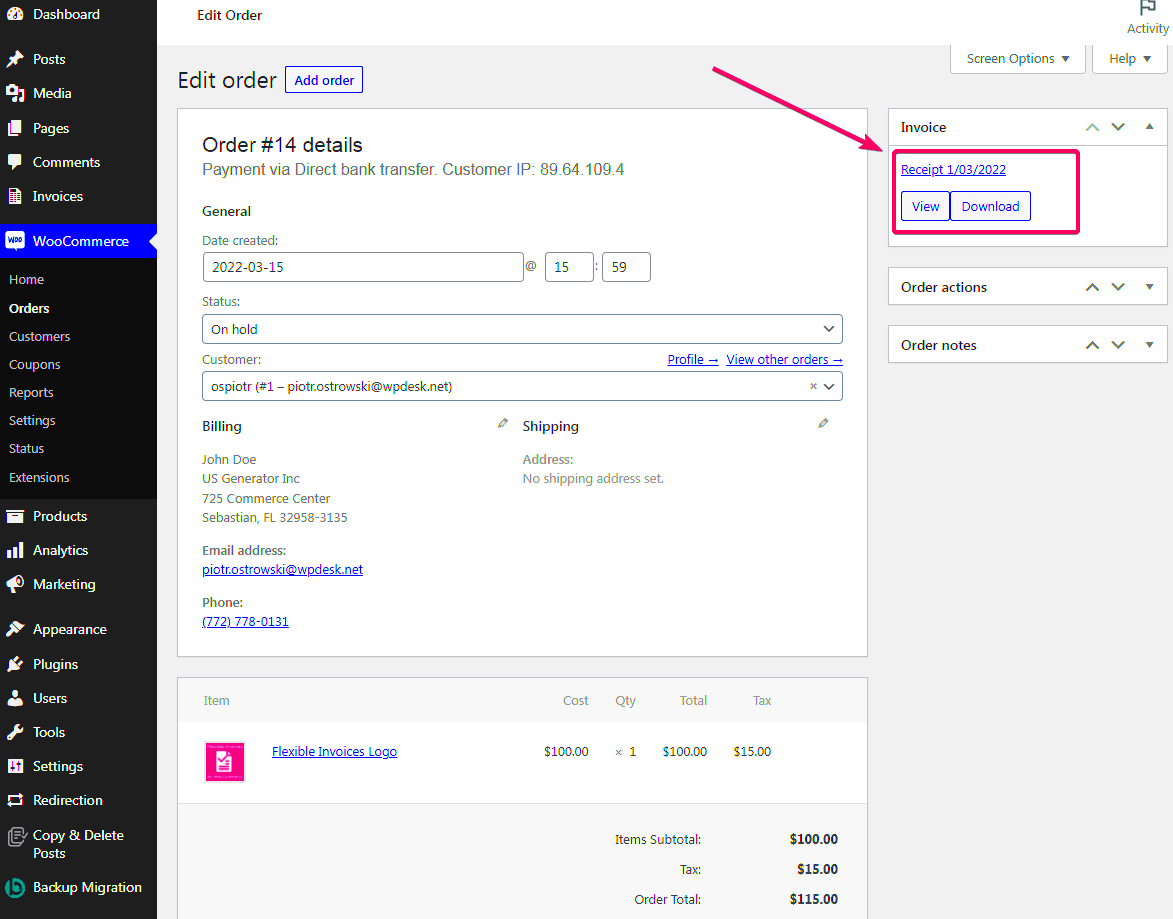
- Click on the order for which you want to generate a receipt. This will open the order details.
- Scroll down to the Order Notes section where you’ll find the receipt details. Depending on your settings, you might see a directly available receipt option.
Customization Tip: If your store uses a plugin for accounting or invoicing, you might want to explore its features for advanced receipt generation. Some tools allow you to customize the layout and include your branding, making your receipts look professional and enhancing your brand identity.
Additionally, you can use WooCommerce extensions that support PDF invoice generation, allowing you to create more visually appealing receipts. Tools like WooCommerce PDF Invoices & Packing Slips can automatically generate and attach the PDF version of the receipt to emails, which brings us to the next step!
Step 4: Sending Receipts to Customers
So, you’ve generated the receipts. Now, how do you ensure they reach your customers in a timely manner? Sending receipts is not just about fulfilling a legal requirement; it’s a way to enhance customer satisfaction and build trust. Let’s break down the steps for sending receipts:
- After you’ve generated the receipt, navigate back to the order details.
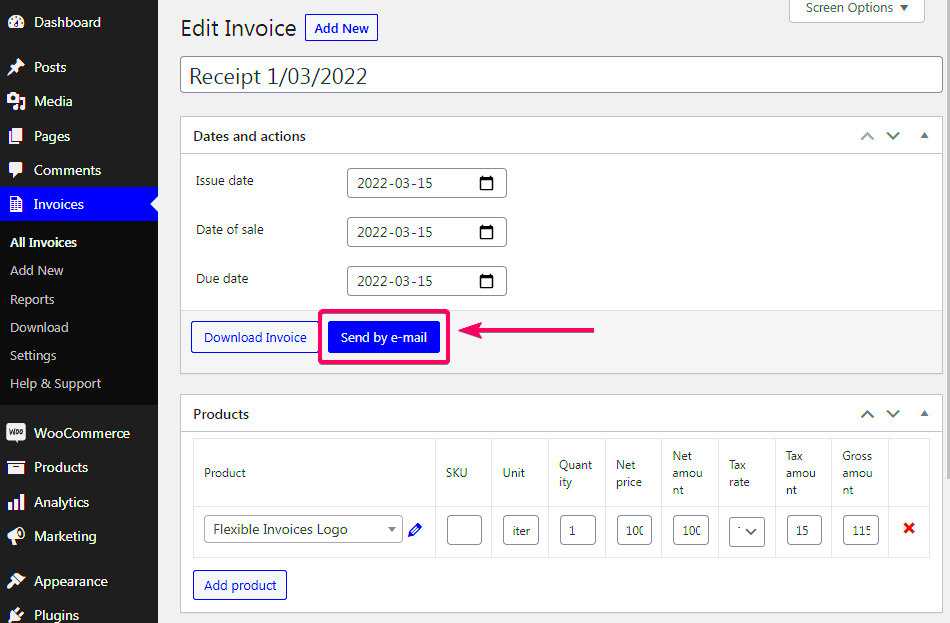
- Look for the option to email the invoice or receipt directly to your customer. It usually appears as an Email Invoice button within the order details.
- Click this button, and a pre-composed email will pop up with the receipt attached. You can customize the email body if needed.
- Once you’re satisfied with the message, hit Send.
Additional Options: If you’re using specific plugins or extensions, you might have additional features:
- Automated Emails: Some plugins allow you to configure settings so that receipts automatically go out after an order is placed or fulfilled.
- Bulk Sending: If you’re handling multiple orders at once, some plugins provide options for bulk emailing receipts.
Best Practices: To make your receipts more effective:
- Include a friendly message thanking your customer for their purchase.
- Add links to encourage reviews and feedback.
- Offer customer support details in case they have questions.
With these steps, you can easily generate and send receipts, enhancing the overall purchasing experience for your customers!
Step 5: Retrieving and Resending Receipts
So, you’ve set up your WooCommerce store and everything seems to be running smoothly. But what happens when a customer reaches out, claiming they didn’t receive their receipt? No worries! Retrieving and resending receipts in WooCommerce is a breeze. Let’s break it down step by step.
First, you’ll want to navigate to the admin area of your WooCommerce dashboard. Here’s how:
- Log into your WooCommerce admin panel.
- Go to the “Orders” section on the left sidebar.
- Search for the order in question using the order number or the customer’s email.
- Click on the order link to view the order details.
Once you’ve located the specific order, you’ll see various options presented on the page. To resend the receipt:
- Look for the “Order Actions” panel located on the right side.
- Select the “Resend Order Confirmation” option from the dropdown menu.
- Click the “Update” button to take action.
That’s it! Your customer will receive a fresh receipt sent directly to their inbox. It’s a straightforward process that ensures excellent customer service. Just make sure to check their spam or promotions folder too, as sometimes emails can get lost in cyberspace!
Tips for Enhancing Your Receipt Experience
Creating an exceptional receipt experience isn’t just about sending the right information. It’s about making that receipt meaningful and user-friendly for your customers! Here are some top tips to enhance your receipt experience:
- Personalization: Add a personal touch by addressing the customer by their name. A simple “Thank you, [Customer Name]!” can create a positive impression.
- Clear Layout: Ensure that the receipt layout is clean and easy to read. Use headings and bullet points to make key information stand out, like total costs and order details.
- Branding: Include your company’s branding—like the logo and color scheme—so that customers feel a sense of familiarity and connection. This helps reinforce brand loyalty.
- Links and Calls to Action: Incorporate links to your social media or a feedback form. Encourage customers to connect with your brand even after their purchase.
- Return Policy: Make your return policy clear on the receipt. It reassures customers about their purchase and builds trust.
By implementing these tips, you not only improve the customer experience but also foster loyalty and repeat business. Keep in mind: a receipt is more than just a transaction summary; it’s an opportunity to engage and build relationships with your customers!
Conclusion
Providing a WooCommerce receipt is a vital part of the eCommerce process, ensuring customer satisfaction and maintaining clear records for both the seller and the buyer. By following the steps outlined, you can easily generate and customize receipts to meet your business needs. Remember that a well-designed receipt not only holds transaction details but also instills trust and professionalism in your brand.


