If you’ve ever wanted to make your PowerPoint presentations more eye-catching, you know that the right images can make all the difference. Shutterstock offers a vast library of high-quality images that can add professionalism and flair to your slides. But how do you actually get those images into PowerPoint? It might seem tricky at first, especially if you’re new to the platform. Don’t worry—it’s simpler than you think! In this post, I’ll walk you through the process of opening Shutterstock images directly in PowerPoint, so you can create stunning presentations with ease.
Step-by-Step Guide to Download Shutterstock Images
Getting Shutterstock images into your PowerPoint presentation involves a few key steps. Here’s a straightforward guide to help you do it smoothly:
- Create a Shutterstock Account
Head over to Shutterstock’s website and sign up for an account if you haven’t already. You’ll need an account to purchase or license images. - Choose the Right Subscription or Image Pack
Shutterstock offers various plans—whether you want a monthly subscription or pay-per-image options. Pick the plan that best fits your needs and budget. - Search for Your Desired Images
Use the search bar to find images related to your presentation topic. Use filters to narrow down results by orientation, color, or image type to find the perfect visuals. - Select and License Images
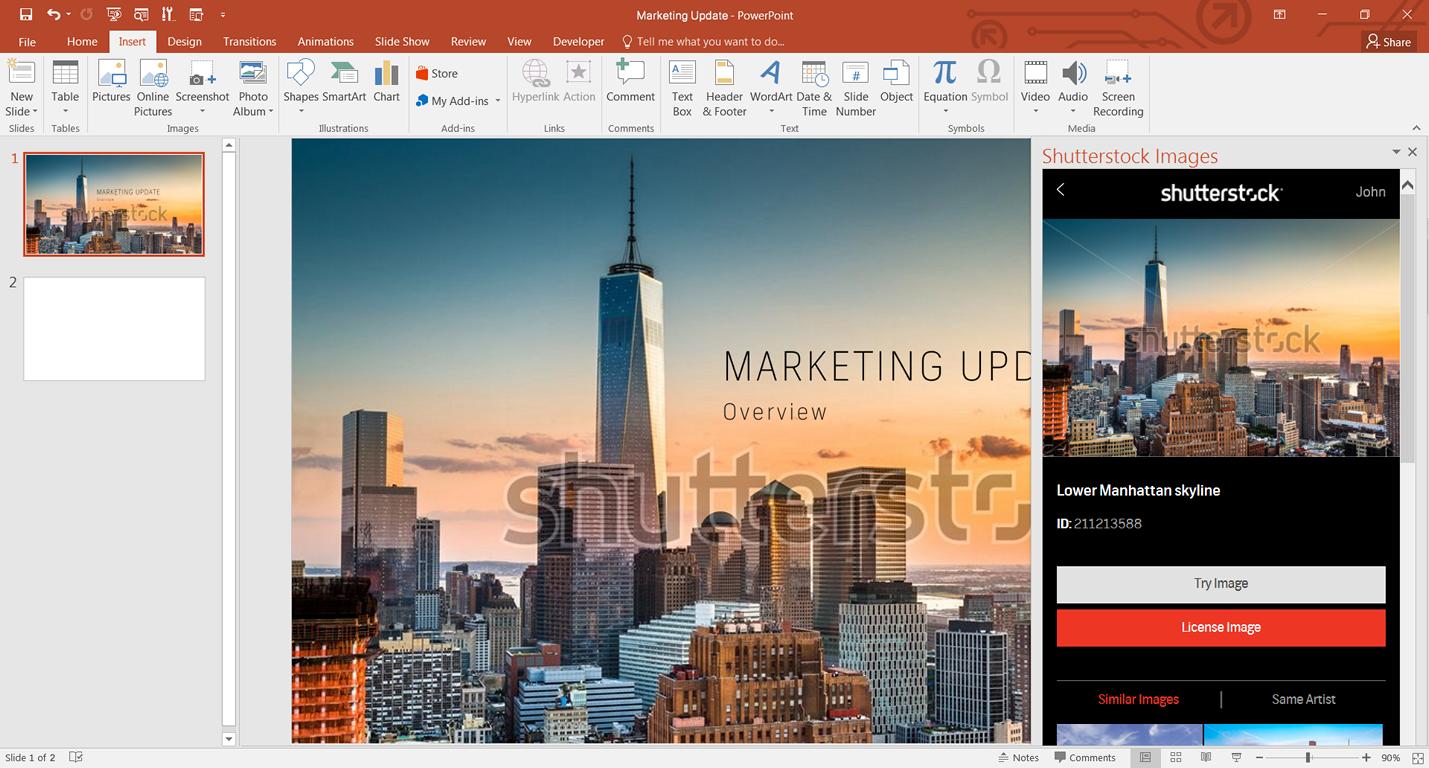
Click on an image to view details. To use it legally in your presentation, you’ll need to license the image. Click the “Add to Cart” or “Download” button, depending on your plan. - Download the Images
Once licensed, download the image in your preferred resolution. Shutterstock typically offers options for high-resolution downloads, which are best for presentations. - Open PowerPoint and Insert the Image
Launch your PowerPoint presentation. To insert the image, go to the slide where you want it, click on “Insert” > “Pictures” > “This Device,” then locate the downloaded Shutterstock image on your computer and select it. - Adjust and Position the Image
Once inserted, you can resize, crop, or move the image to fit your slide perfectly. Use the formatting options to make it look just right.
And that’s it! Now you know how to find, license, and insert Shutterstock images into your PowerPoint slides seamlessly. With these steps, your presentations will look professional and polished, making your message more compelling and engaging.
Inserting Shutterstock Images into PowerPoint Presentations
Once you’ve found the perfect Shutterstock image for your presentation, the next step is inserting it into PowerPoint seamlessly. It’s a straightforward process, but a few tips can make it smoother and ensure your slides look professional.
First, download your chosen image from Shutterstock in a high-resolution format. Typically, you’ll get options like JPEG or PNG. Remember, if you plan to edit or resize the image significantly, a PNG with a transparent background can be especially useful.
After downloading, open your PowerPoint presentation and navigate to the slide where you’d like to add the image. Here’s the simple step-by-step process:
- Insert Tab: Click on the Insert tab in the ribbon at the top of PowerPoint.
- Pictures: Select Pictures > This Device (or From File, depending on your version).
- Locate the Image: Browse to where you saved your Shutterstock image, select it, and click Insert.
Once inserted, you can resize, move, or crop the image as needed. PowerPoint offers handy tools for adjusting image position and size—just click on the image and use the handles around it. To maintain quality, try to avoid enlarging images beyond their original resolution, as this can cause pixelation.
Another tip: if you want to add effects or borders, use the Picture Format tab to enhance your image without compromising quality. Remember, keeping the image’s aspect ratio intact prevents distortion—hold down the Shift key while resizing or make sure the lock aspect ratio option is enabled.
And that’s it! With these simple steps, you can effectively incorporate stunning Shutterstock images into your slides, making your presentation visually engaging and polished.
Tips for Ensuring Image Quality and Proper Licensing
Using images from Shutterstock is a fantastic way to elevate your presentation, but it’s crucial to ensure you’re using them properly. Here’s how to keep your images crisp and your licensing on point.
Maintaining Image Quality
- Download the Right Resolution: Always opt for the highest resolution available, especially if your slides will be displayed on large screens. Look for options labeled as ‘HD’ or ‘print quality.’
- Avoid Resizing Too Much: While PowerPoint does allow you to resize images, enlarging a low-resolution image can lead to pixelation. To keep images sharp, resize only within the limits of their original resolution.
- Use PNG for Transparent Backgrounds: If your design requires transparent elements, PNG images preserve transparency and often maintain quality better than JPEGs.
- Optimize for Screen Display: Sometimes, saving your images in an optimized format for screens (like PNG or JPEG with appropriate compression) can improve load times and clarity.
Understanding and Managing Licensing
- Check Your License Type: Shutterstock offers different licensing options—Standard and Enhanced. Make sure your license covers the intended use, especially if your presentation will be shared publicly or commercially.
- Always Attribute When Needed: Most Shutterstock images do not require attribution, but double-check the license details to be sure. Proper licensing avoids legal issues down the line.
- Keep Records of Your Licenses: Save confirmation emails or license certificates. These can be helpful if you need to verify your right to use specific images later.
- Use Licensed Images Responsibly: Don’t modify images in a way that could misrepresent or damage the reputation of the creator or subject. Respect the licensing terms to support fair use.
Final Thought
By paying attention to image quality and licensing, you ensure your presentation looks professional and stays within legal boundaries. High-quality visuals combined with proper licensing not only impress your audience but also give you peace of mind. Remember, a great image can tell a story, but only if it’s used correctly!
Frequently Asked Questions About Using Shutterstock Images in PowerPoint
If you’re new to adding Shutterstock images to your PowerPoint presentations, you probably have a few questions. Let’s go over some of the most common ones to help you feel more confident and clear about the process.
Q: Do I need a Shutterstock subscription to use images in PowerPoint?
Yes, generally speaking, you’ll need a Shutterstock subscription or a license to legally use their images. Shutterstock offers various plans—some for individual images and others for bulk downloads. If you want access to a wide range of high-quality images, subscribing is the way to go. Remember, using images without proper licensing can lead to copyright issues, so it’s best to ensure you have the right permissions.
Q: How can I insert Shutterstock images into PowerPoint without losing quality?
When you download images from Shutterstock, opt for the highest resolution available. Then, insert the image directly into PowerPoint by clicking Insert > Pictures > This Device and selecting your downloaded file. Avoid resizing images too much, as it can cause pixelation. If you need to resize, do so proportionally by dragging from the corners, or set exact dimensions in the size options. This way, your images stay sharp and professional-looking.
Q: Can I edit Shutterstock images in PowerPoint?
Absolutely! PowerPoint lets you do basic edits like cropping, resizing, adding borders, or applying effects. For more advanced edits, you might want to open the image in an image editor first. Just remember, if you plan to crop or modify images significantly, keep the original files safe in case you need to revert.
Q: Are there any copyright concerns I should be aware of?
Definitely! Always make sure you have the appropriate license for the images you use. Shutterstock provides licensing options that specify how images can be used. Using images without proper licensing can lead to legal trouble. Also, avoid using images with identifiable people or trademarks without proper permissions to prevent rights infringement.
Q: Can I use Shutterstock images in commercial presentations?
Yes, Shutterstock licenses typically cover commercial use, but check your specific license agreement to be sure. Most standard licenses allow for use in business presentations, marketing materials, and other commercial projects. When in doubt, consult Shutterstock’s licensing terms or contact their support to clarify your rights.
Conclusion and Best Practices for Including Shutterstock Images in Your Slides
Using Shutterstock images in PowerPoint can really elevate your presentations, making them more engaging and visually appealing. But to make the most of this resource, keep a few best practices in mind:
- Always ensure you have the proper license. This avoids legal issues and respects creators’ rights.
- Choose high-resolution images to keep your slides crisp and professional-looking.
- Maintain consistency by sticking to a color palette and style that matches your presentation’s theme.
- Use images to enhance, not clutter. Select visuals that support your message and keep slides clean.
- Optimize image size for quick loading and smooth transitions. Resize images appropriately within PowerPoint.
- Be mindful of copyright and privacy concerns, especially when featuring recognizable individuals or trademarks.
Remember, a well-chosen Shutterstock image can make your message stand out and resonate more deeply with your audience. Take the time to select the right visuals, license them properly, and incorporate them thoughtfully. With these tips, you’ll create compelling, professional presentations that leave a lasting impression!