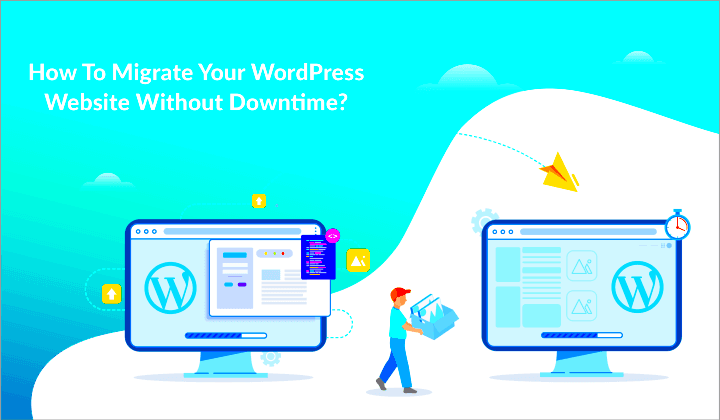
Migrating your WordPress site to a new host might sound like a daunting task, but it doesn’t have to be! Whether you’re looking to enhance performance, cut costs, or access better support, migrating can provide significant benefits. In this guide, we’ll walk you through the ins and outs of WordPress migration, ensuring that the whole process feels seamless and manageable. Let’s dive into why you might consider making this change!
Reasons for Migrating Your WordPress Site
There are several compelling reasons why you might decide to migrate your WordPress site. Here are some key factors to consider:
- Improved Performance: If you’re experiencing slow load times or frequent downtime, it could be a sign that your current hosting solution isn’t cutting it. A new host with better technology can significantly enhance your site’s performance.
- Better Customer Support: If you find yourself struggling with technical issues and your current host isn’t providing the support you need, switching to a provider known for excellent customer service may make all the difference.
- Cost-Effectiveness: Sometimes, hosting plans can become too expensive or provide inadequate resources for your needs. Migrating to a host that offers better pricing or more suitable plans can save you money.
- More Features: New hosting providers might offer features that your current one lacks, such as enhanced security, staging environments, or built-in caching solutions.
- Greater Scalability: If you expect your site’s traffic to grow, you’ll want a host that can accommodate your increasing needs. Upgrading ensures that you aren’t caught off guard.
Ultimately, the decision to migrate should align with your goals and needs. Taking the plunge can lead to a more robust, efficient, and enjoyable online presence!
Preparing for Migration
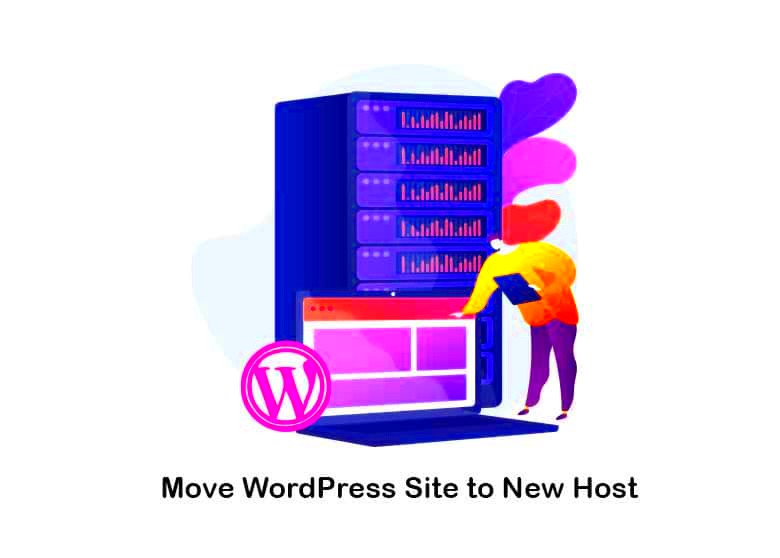
Before you actually dive into migrating your WordPress site, it’s essential to prep properly. Think of this phase as your warm-up before the big game; you don’t want to jump right in without making sure everything’s ready to go! Here are some steps you should follow:
- Backup Your Site: This is non-negotiable! Use plugins like UpdraftPlus or BackWPup to create a complete backup of your WordPress files and database. You can also do this manually by downloading files from your web server and exporting your database via phpMyAdmin.
- Make a List of What Needs to be Migrated: Consider all the components of your site, including themes, plugins, uploads, comments, and widgets. Having a checklist can help ensure that nothing gets overlooked.
- Check Current Hosting Features: Make a note of your existing hosting features. This includes your current bandwidth, storage capacity, security measures, and any configurations that you may need to replicate on the new host.
- Inform Your Users: If your site has regular traffic, let your users know about the migration. It might be beneficial to notify them if there are going to be any downtimes.
Once you’ve completed these steps, you’ll be in a great position to handle the actual migration. Remember, a little preparation goes a long way in ensuring a smooth transfer!
Choosing a New Hosting Provider
Choosing a new hosting provider can feel overwhelming with so many options on the market. However, selecting the right one for your WordPress site is crucial for its performance and security. Here are things to consider:
| Criteria | What to Look For |
|---|---|
| Performance | Look for hosts with high uptime rates (99.9% or higher) and fast loading speeds. |
| Customer Support | 24/7 customer service via chat, email, or phone is ideal for troubleshooting any issues. |
| Scalability | Choose a provider that allows for easy upgrades as your site grows. |
| WordPress-Specific Features | Look for plans that offer one-click WordPress installs, automatic backups, and security features. |
Finally, don’t forget to consider your budget. Compare different providers and look for special deals or discounts. Make your choice based on a balance of performance and cost to get the best value for your new WordPress home!
5. Backing Up Your Current WordPress Site

Backing up your current WordPress site is a crucial step before making any major changes, such as migrating to a new host. You wouldn’t want to lose your hard work, right? Here’s how to ensure you have a solid backup in place.
First off, there are two primary components of your WordPress site that need backing up: your files and your database.
Your Files: These include themes, plugins, and media uploads. You can use an FTP client like FileZilla to connect to your web server and download these folders:
- /wp-content/
- /wp-includes/
- /wp-admin/
It’s as easy as dragging and dropping these folders to your local computer!
Your Database: This contains all your posts, comments, and settings. To back it up, you can use tools such as phpMyAdmin. Here’s a quick walkthrough:
- Log in to your phpMyAdmin.
- Select your WordPress database from the left-hand column.
- Click on the ‘Export’ tab and choose the ‘Quick’ option.
- Click ‘Go’ to download your database backup.
And just like that, you have a full backup of your current site! Now you can proceed confidently to the next steps, knowing your content is safe and sound.
6. Exporting Your WordPress Database
Exporting your WordPress database is an essential task when migrating to a new host. It’s the heart of your website, containing all your important data. Let’s break down the steps to make this as smooth as possible!
As mentioned earlier, the database is where all your posts, user information, settings, and more reside. You’ll want to export it carefully to ensure everything is captured accurately.
To export your database, the easiest method is through phpMyAdmin, a popular tool available in most hosting control panels. Here’s a detailed guide:
- Access your hosting control panel (like cPanel) and locate “phpMyAdmin.”
- Select your WordPress database from the list on the left.
- In the top menu, click on the “Export” tab. You’ll typically have two options: “Quick” and “Custom.”
- If you choose “Quick,” just hit the “Go” button. If you’re feeling adventurous, choose “Custom” for more control over what gets exported.
- Once selected, a .sql file will automatically download to your computer!
Things to Note:
- Make sure to save this .sql file in a secure location.
- If your database is large, the export may take a few moments.
Once you have your exported database file, you’re one step closer to migrating your site. Easy-peasy, right? Just keep this file handy for the next phase of your migration.”
7. Transferring Files to the New Host
Let’s dive into the nitty-gritty of transferring your WordPress files to your new host. This process might sound daunting, but it’s more straightforward than it appears!
Before we transfer files, ensure you have your FTP client ready – popular choices include FileZilla and Cyberduck. Here’s a step-by-step guide to help you along:
- Connect to the Old Host: Open your FTP client and enter the FTP credentials provided by your old host. You’ll be able to browse your WordPress files.
- Download Files: Locate your WordPress installation folder, usually in the ‘public_html’ directory. Select all files (including hidden files like .htaccess) and download them to a local directory on your computer.
- Connect to the New Host: Once your files are backed up, it’s time to connect to your new host. Use the FTP credentials provided by your new hosting service.
- Upload Files: Navigate to the desired directory (again, typically ‘public_html’) on your new host, and upload all the files you just downloaded. This step might take some time, depending on the size of your site.
And voilà! You’ll have successfully transferred your WordPress files. If everything looks good so far, let’s move to the next crucial step!
8. Creating a New Database on the New Host
Now that we have your files transferred, it’s time to create a new database on your new host. This step is essential for your WordPress site to function correctly on the new server.
Follow these easy steps to set up your new database:
- Log into Your New Hosting Account: Navigate to the control panel, often cPanel or a custom dashboard, and look for the “MySQL Databases” option.
- Create a New Database: In the database section, find a field to create a new database. Name it something relevant to your site, and click “Create Database”. Keep note of this name!
- Create a Database User: After creating the database, you’ll need a user. Scroll down to the user creation section, enter a username and a strong password, and click on “Create User”.
- Add User to Database: Link the user you just created to your new database. You might find an option that says “Add User to Database”. Select your user and database from the drop-down menus. Assign “All Privileges” for full access.
Once you complete this process, you’ll have a new database ready for your WordPress site. It’s like planting the seeds for a beautiful garden – everything will flourish once it’s set up right! Next, you’ll connect your migrated files to this database.
9. Importing Your Database to the New Host
After you’ve exported your database from your old hosting provider, the next crucial step is to import it to the new host. This can sound a bit intimidating if you’ve never done it before, but it’s pretty straightforward once you get the hang of it. Here’s how you can do this smoothly.
First, log into your new hosting account and access the cPanel or phpMyAdmin. This tool is often found under the Databases section in your hosting control panel. Once there, follow these steps:
- Create a New Database: In the cPanel, find the MySQL databases section. Create a new database by filling in the database name and clicking the “Create Database” button.
- Create a Database User: You will need a user to administer this new database. Make sure to create a username and a strong password. Remember these credentials, as you’ll need them later.
- Assign the User to the Database: Link your newly created user to the database and grant all privileges. This ensures that your WordPress site can access and modify the database.
- Import the Database: Go to phpMyAdmin, select the newly created database, and click on the “Import” tab. Click “Choose File” and upload the SQL file you exported from the old host. Hit the “Go” button, and let it work its magic!
And that’s it! You’ve just imported your database. If everything goes well, you should now see all your website’s data populating in the new database.
10. Updating wp-config.php File
With your database successfully imported to the new host, it’s time to make your WordPress site aware of this new database. This is done through the wp-config.php file, which is a crucial configuration file for your WordPress installation. Updating it is essential to ensure a seamless transition.
Here’s how to update the wp-config.php file:
- Locate the wp-config.php File: Use an FTP client or the file manager in cPanel to navigate to your WordPress root directory. You should see the wp-config.php file there.
- Download a Backup: Before making changes, it’s always a good idea to download a backup copy of this file. If anything goes wrong, you can revert to the original.
- Edit Database Information: Open the wp-config.php file in a text editor. Look for the lines that define database settings:
- Update these values:
define('DB_NAME', 'database_name_here');define('DB_USER', 'username_here');define('DB_PASSWORD', 'password_here');define('DB_HOST', 'localhost');- DB_NAME: Enter the name of the database you created.
- DB_USER: Enter the username you created for your database.
- DB_PASSWORD: Enter the password you set for that user.
- DB_HOST: This is usually ‘localhost’, but check with your new host just to be sure.
And voilà! You’ve updated the wp-config.php. Your WordPress site should now be able to connect to the new database seamlessly. Just a few more steps, and you’ll be all set in your new hosting environment.
Pointing Your Domain to the New Host
So, you’ve successfully migrated your WordPress site to a new host. Awesome! The next crucial step in this process is to point your domain to the new hosting server. This action essentially directs traffic from your domain name to the new server’s IP address. Let’s break it down into simple steps:
- Locate Your Domain Registrar: This is the company where you purchased your domain name.
- Access DNS Settings: After logging into your domain registrar’s control panel, find the DNS (Domain Name System) management section.
- Update Nameservers: You’ll need to replace the old nameservers with the new ones provided by your new hosting service. Nameservers usually look something like this:
Old Nameservers New Nameservers ns1.olddomain.com ns1.newdomain.com ns2.olddomain.com ns2.newdomain.com - Save Changes: Don’t forget to save your settings. This might take a few minutes to propagate across the internet.
It’s important to note that DNS changes can take anywhere from a few minutes to 48 hours to fully propagate. During this time, your site might be accessible through both the old and new hosts.
Testing Your Site on the New Host
Before making your new host live for all users, you want to ensure everything is functioning as expected. Testing your site on the new host is a crucial step. Here’s how you can do it:
- Access Your Site via Temporary URL: Often, hosting providers give you a temporary URL or IP address to test your site before linking it to your domain. Use this to review your site.
- Check Functionality: Click through various pages, test forms, and interact with any dynamic features. Ensure everything works just as it did on your previous server.
- Verify Media Files: Don’t forget to check the media files to ensure images, videos, and other files appear correctly.
- Review Site Speed: Use tools like Google PageSpeed Insights or GTmetrix to see if your site loads quickly on the new host.
- Examine SEO Settings: Ensure that all your SEO settings and plugins (like Yoast) are functioning well. It’s essential for your site’s visibility.
If you encounter issues, this is the perfect time to troubleshoot before your site goes live to users. Once you’re satisfied with your testing results, you’re ready to officially switch everything over to the new host!
Troubleshooting Common Migration Issues
Migrating your WordPress site to a new host can sometimes feel like a walk through a minefield. While it’s often a straightforward process, issues can crop up along the way. Here are some common problems you might encounter and how to tackle them effectively:
- Broken Links to Images or Pages: If you notice images or pages that just won’t load, it’s often due to incorrect URLs. Use a plugin like “Better Search Replace” to update old URLs in your database, ensuring everything points to the right location.
- Missing Plugins or Themes: Sometimes certain plugins or themes don’t carry over seamlessly during migration. Ensure that you download the necessary files from your old host and reinstall them on your new site. Always have a backup of these files stored safely.
- Database Connection Errors: If you run into a “database connection error,” check your wp-config.php file. Make sure your database name, username, password, and host details are correct. It’s easily fixable, often just needing a little tweak!
- PHP Errors: If your site is throwing PHP errors post-migration, it may be due to incompatible plugins or themes, or the PHP version on your new host might differ from your old one. Try disabling plugins or switching the theme temporarily while you troubleshoot further.
- Performance Issues: If your site feels sluggish after migration, it could be related to server settings or resource allocation. Check with your new host to ensure you’ve got adequate performance provisions in place.
As with any tech-related task, the key lies in patience and detailed attention. Issues may arise, but with a little problem-solving know-how, you can have your site running smoothly in no time!
Conclusion and Final Thoughts
Migrating your WordPress site to a new host doesn’t have to be a daunting task. If you approach it with the right mindset, a solid plan, and an understanding of common pitfalls, you’ll be able to tackle it without a hitch. Here’s a quick recap of the essential steps:
- Perform a complete backup of your site.
- Export your database and files.
- Upload site files and import the database to the new host.
- Update your DNS settings.
- Test your site thoroughly after migration.
Remember, even if you run into issues during migration, you have troubleshooting strategies at your disposal, just as we discussed. And if all else fails, don’t hesitate to reach out to your host’s support team—they’re there to help! Switching hosts can really enhance your site’s performance, so it’s worth the effort.
In a nutshell, take your time, follow the steps carefully, and before you know it, you’ll be relishing your upgraded hosting environment. Happy migrating!

