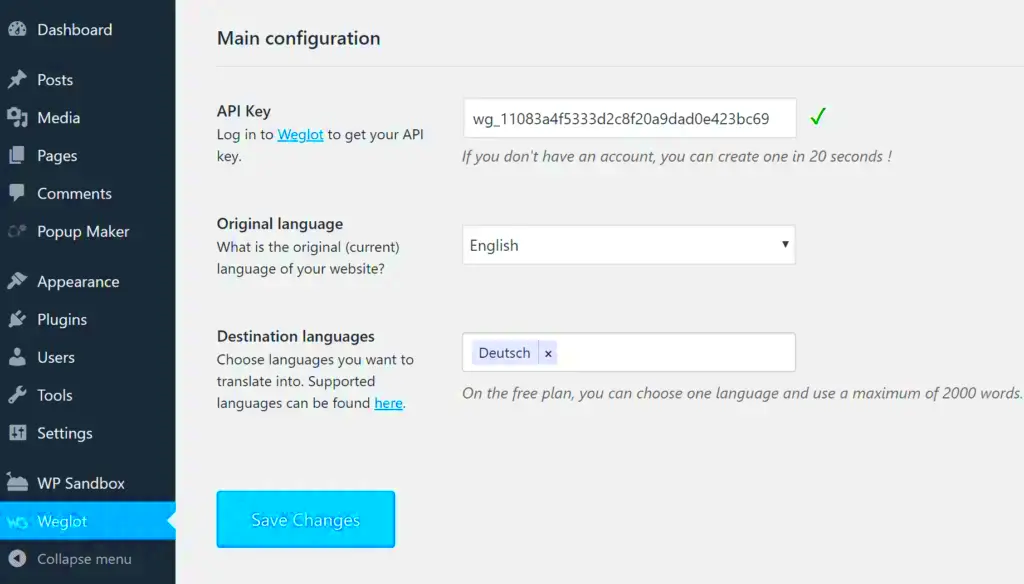
If you’re running a WordPress website that caters to a diverse audience, you might want to consider adding a language selector. This subtle addition can significantly enhance user experience, allowing visitors to navigate your site in their preferred language. In this post, we’ll explore how to manually add a language selector to your WordPress site, giving your users an easy way to switch languages and understand your content better. So, let’s dive into why a language selector is necessary and what it entails!
Understanding the Need for a Language Selector
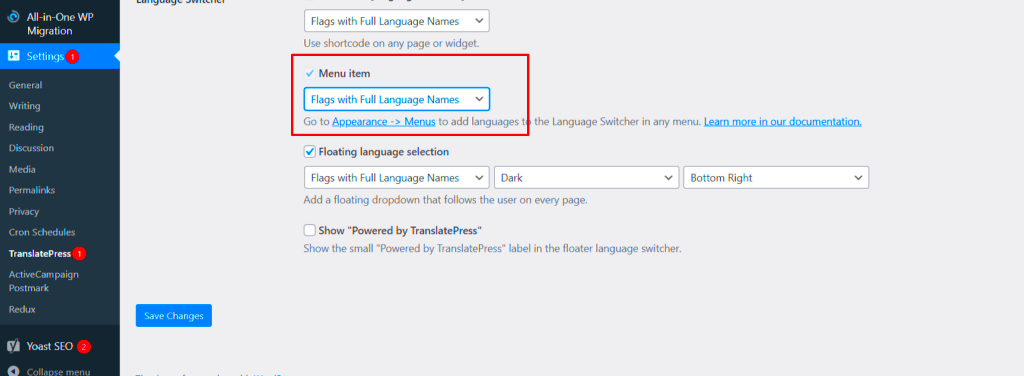
When you operate a website in a multilingual environment, the need for effective communication cannot be overstated. A language selector serves as a bridge allowing users to switch between languages effortlessly. Here’s why implementing this feature is crucial:
- Enhanced User Experience: Nothing makes a visitor feel more welcomed than being able to read content in their native language. This simple act can increase user satisfaction significantly.
- Broader Audience Reach: By offering content in multiple languages, you’re opening your website to a wider global audience. This means more potential customers and followers!
- Improved SEO: Multilingual sites can rank better in search engines for specific keywords in different languages, giving you an edge over competitors. Plus, localized content tends to perform better in respective regions.
- Inclusive Brand Image: A site that caters to multiple languages exhibits a commitment to diversity and inclusion. This branding can resonate well with your audience and create a loyal community.
In summary, adding a language selector is not just about functionality; it’s about shaping a user-friendly experience that fosters understanding and engagement across various demographics. In the next sections, we’ll guide you through the steps to implement this important feature on your WordPress website!
Preparing Your WordPress Site for Multilingual Support
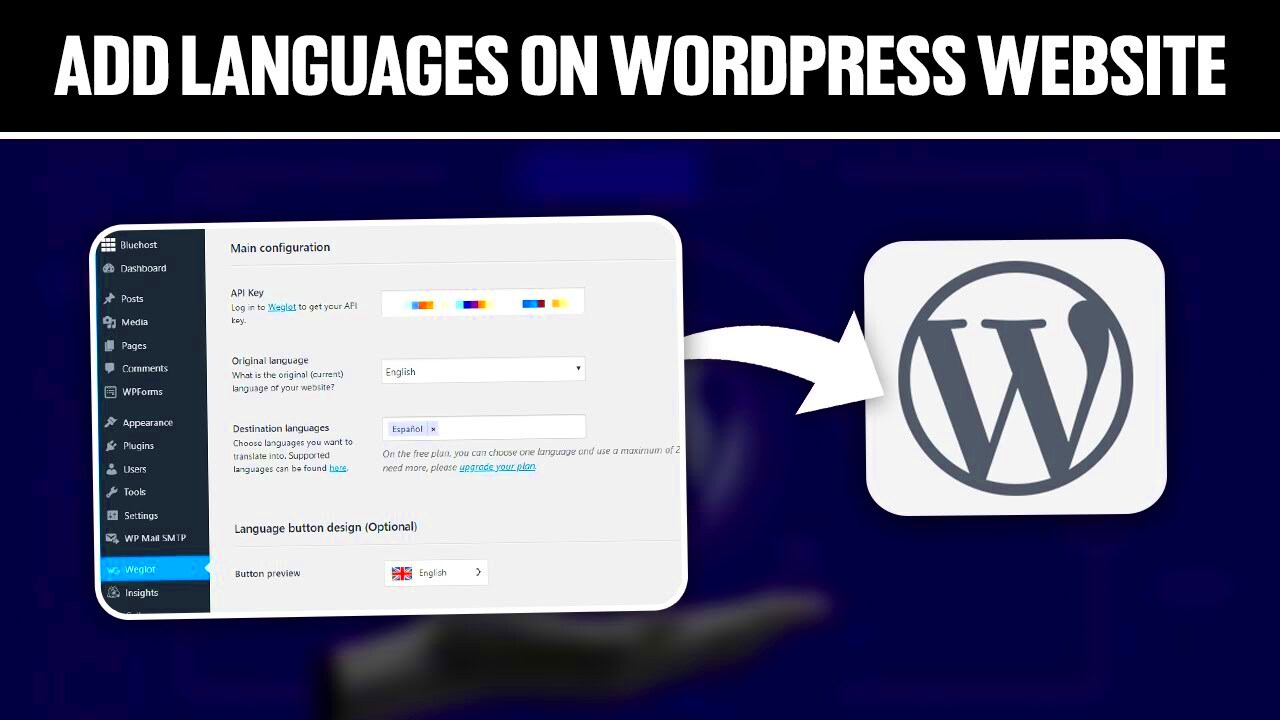
Before diving into adding a language selector, it’s essential to prepare your WordPress site for multilingual support. This step ensures that when you do implement languages, everything runs smoothly. Here’s how to get your site ready:
- Check Current Plugin Compatibility: Make sure that your current plugins are compatible with multilingual functionality. Some themes and plugins do not support multilingual features, so you’ll want to verify this first.
- Backup Your Website: Always back up your site before making any significant changes. This ensures that you can easily restore your site if something goes wrong. You can use plugins like UpdraftPlus or BackupBuddy for this purpose.
- Update Core, Themes, and Plugins: Make sure your WordPress core, themes, and plugins are up to date. This helps prevent any compatibility issues down the line.
- Choose a Multilingual Plugin: There are several plugins available that can help manage multilingual content effectively. Some popular choices include WPML, Polylang, and TranslatePress. Do some research and choose one that fits your needs best.
- Configure Your Permalinks: Make sure your permalink structure is set to a format that allows for multilingual support, such as “Post name.” You can do this by going to Settings > Permalinks in your WordPress dashboard.
By preparing your site properly, you set yourself up for success in creating a multilingual experience. It makes the process smoother and ensures your visitors enjoy a seamless transition between languages.
Choosing the Right Language Selector Method
Once your site is prepared for multilingual support, the next step is choosing the right method for your language selector. The way you present your language options can significantly impact user experience. Here are some common methods to consider:
| Method | Description | Pros | Cons |
|---|---|---|---|
| Dropdown Menu | A compact menu that expands when clicked. | Space-efficient, clean design | Less visibility for language options |
| Language Flags | Displays small flags representing each language choice. | Visually appealing, quick recognition | Potential to confuse users with similar-looking flags |
| Inline Links | Includes direct links to each language option in text. | Full visibility of options | Can clutter the header area |
| Sidebar Widget | A widget that can be added to a sidebar for language selection. | Out of the way, but still accessible | Requires extra widget space in your layout |
When choosing a method, think about your site’s layout and how your audience interacts with content. The right language selector will not only enhance user experience but will also help in keeping your site organized and professional. Whatever you choose, ensure it is straightforward and easy to find for your users!
5. Implementing a Custom Language Selector

If you’re looking to enhance your WordPress site with a tailored touch, implementing a custom language selector can be a game changer. Not only does it offer a personalized experience for your visitors, but it also shows that you’re invested in catering to a diverse audience. Let’s dive into how to effectively add this feature to your website.
To get started, the first step is to choose the location of your language selector. Usually, this is positioned in the header or footer for easy access. Here’s how you can implement it:
- Custom CSS and HTML: You can create a language dropdown by customizing your theme’s header or footer files directly. Use basic HTML for the dropdown and CSS for styling it to fit your website’s aesthetic.
- Shortcode Usage: Many multilingual plugins offer shortcodes that could be directly inserted into your theme files or pages. This makes it convenient if you’re not comfortable with adjusting code manually.
- Callback Functions: For those who love code, consider creating a custom function in your theme’s functions.php file. This function can generate your language selector dynamically based on the available languages.
Once you’ve inserted the code, it’s crucial to style the selector for a cohesive look. Use CSS to ensure it blends seamlessly with your site’s design. Test it out to make sure it works properly—after all, a functional language selector ensures that your users can switch effortlessly between languages.
6. Using Widgets for Language Selection
If coding isn’t your forte, don’t worry! WordPress offers a user-friendly alternative to implement a language selector—using widgets. This method allows you to add a language switcher without diving deep into code.
Here’s a straightforward way to add a language selector via widgets:
- Access Your Widgets: From your WordPress dashboard, go to Appearance > Widgets. Here, you’ll see a list of available widgets and widget areas.
- Locate the Language Selector Widget: Depending on your multilingual plugin, you’ll find a widget specifically designed for language selection. Drag and drop this widget into your desired widget area, such as the sidebar or footer.
- Configure the Widget: Once placed, you can give your widget a title and customize its settings. Choose how you want your languages to appear: dropdown, flags, or a list. Don’t forget to save your changes!
Using widgets to add a language selector is an excellent way to maintain flexibility without needing technical skills. Plus, it allows for easy adjustments when necessary. Just remember to periodically check how user-friendly the language switcher is and make any tweaks to ensure an optimal experience for your audience.
7. Styling Your Language Selector
Styling is such an essential part of any website, and your language selector is no exception. A well-styled language selector not only enhances the aesthetics of your website but also improves user experience. Here’s how to give your language selector a touch of flair.
First, you’ll need to add some custom CSS styles to your WordPress theme. If your theme has a built-in customizer, you can navigate to Appearance > Customize > Additional CSS and add your styles there. Here’s an example of how you can style your language selector:
selector-id { background-color: #f0f0f0; /* Light background */ border: 1px solid #ccc; /* Subtle border */ padding: 10px; /* Spacing */ border-radius: 5px; /* Rounded corners */ font-size: 16px; /* Font size */}
Feel free to adjust the values to match your site’s color scheme and overall design. If your language selector is a dropdown, you might want to add a hover effect. Here’s a tip:
- Hover Effect: Change the background color or text color on hover to enhance interactivity.
- Transition: Adding a transition effect (e.g.,
transition: all 0.3s ease;) makes changes smoother.
Also, don’t forget about mobile users! Ensure that your language selector is responsive and looks great on all screen sizes. You might want to add media queries to your CSS for that, making it responsive on different devices. Trust us; a stylish, functional language selector will resonate well with your visitors!
8. Testing the Language Selector
Once you’ve set up your language selector, testing it thoroughly is essential. You want to ensure it works smoothly without any glitches. A well-functioning language selector improves user navigation, making it crucial to check every single aspect of it.
Start by checking the functionality:
- Select Each Language: Click on each option in your language selector to ensure the page updates accordingly.
- Page Redirects: Verify that the website redirects to the correct language-specific version.
- Content Display: Make sure all the content translates correctly and is readable! A language selector is only useful if the translation works.
Next, test on different browsers and devices. This is super important, as users might be accessing your site from various platforms. Check your language selector on:
| Device | Browser | Status |
|---|---|---|
| Desktop | Chrome | Passed |
| Desktop | Firefox | Passed |
| Mobile | Safari | Passed |
| Mobile | Chrome | Passed |
Testing doesn’t stop once everything seems fine on your end. You might also want to enlist friends or family to test things out. Fresh eyes can catch things you might miss. Overall, rigorous testing will help ensure your language selector is user-friendly and efficient!
Troubleshooting Common Issues
Adding a language selector to your WordPress website can be a straightforward process, but sometimes things don’t go as planned. No need to worry, though! Here are some common issues you might encounter, along with practical solutions to help you get everything back on track.
- Language Selector Not Displaying: One of the most frequent issues is that the language selector doesn’t show up on your site. Make sure that you’ve properly added the code to your theme’s header or footer. Double-check your theme’s specific instructions, as some might require different hook points.
- Languages Displaying Incorrectly: If your languages don’t appear in the order you expected, revisit the code where you set the options. You might have accidentally swapped elements or left a typo. Ensure that your array of languages is correct.
- Styling Issues: Sometimes your language selector may look odd or out of sync with your website’s design. You can address this by adjusting the CSS. Here’s a simple example to consider:
- Not Updating Language When Selected: If clicking the selector doesn’t change the language, ensure your JavaScript or PHP redirection code is working correctly. Debugging scripts can help identify where the hiccup is occurring.
| Property | Value |
|---|---|
| background-color | white |
| color | black |
| border | 1px solid #ccc |
Whenever you face issues, don’t hesitate to consult the WordPress support forums or online communities. Often, others have faced similar problems and can offer valuable insights.
Conclusion
In today’s interconnected world, providing a multilingual website is more important than ever. By manually adding a language selector to your WordPress site, you create a welcoming atmosphere for non-native speakers and broaden your audience reach. It may seem daunting, but with the right steps and attention to detail, you can create an effective tool that enhances user experience.
Throughout this guide, we’ve covered everything from the initial setup to troubleshooting common issues. Here’s a quick recap of the key takeaways:
- Understand Your Audience: Knowing your target demographic will help you choose the right languages to include.
- Choose Your Method: Whether you use code snippets or a plugin, start with the option that feels comfortable for you.
- Test Thoroughly: Always double-check that everything works as expected across different devices and browsers.
If you find yourself in a pickle, remember the troubleshooting tips we discussed. Don’t hesitate to refine and revisit your setup as your website evolves or as technology advances. You’re not just building a website; you’re fostering a community. Happy multilingual blogging!
Additional Resources
In your journey to manually add a language selector to your WordPress website, you may find the following resources invaluable. These tools and guides can enhance your understanding and simplify the process of creating a multilingual site.
Helpful Guides
- WordPress Multilingual Documentation – A comprehensive guide on setting up multilingual WordPress sites.
- WPML Language Setup – Step-by-step instructions on using WPML, one of the most popular multilingual plugins.
- Polylang Documentation – Authoritative resources on using the Polylang plugin for multilingual management.
Useful Plugins
| Plugin Name | Description |
|---|---|
| WPML | A premium plugin that allows you to create a multilingual website with ease. |
| Polylang | An easy-to-use plugin for translating posts, pages, media, categories, and tags. |
| TranslatePress | A powerful tool to translate your entire WordPress site directly from the front-end in real time. |
Forums and Community
Joining WordPress-related forums can provide support and answers to your specific questions. Consider participating in:
- WordPress Stack Exchange – A Q&A platform for WordPress users.
- WordPress Support Forums – Official support forum to get help from the community.
Incorporating a language selector can significantly enhance your website’s accessibility and reach. Utilize these resources to guide your development process and ensure a smooth implementation of multilingual capabilities.

