Creating additional login credentials for your WordPress site can significantly enhance your website management and collaboration experience. It’s essential for managing multiple users, helping them access specific areas without compromising security. In this guide, I’ll walk you through the reasons for establishing extra logins and how to do it effectively. So, whether you’re a business owner or a freelance developer, let’s dive into the world of WordPress logins!
Why Create Additional Login Credentials?
There are several compelling reasons to create additional login credentials for your WordPress site. Understanding these reasons can help you maintain security, streamline operations, and effectively collaborate with your team. Here are some key points to consider:
- Enhanced Security: By creating separate logins, you limit access for each user type. This reduces the risk of unauthorized access and provides a layer of security for sensitive data.
- Role Management: Different users have different needs. By assigning roles (like Administrator, Editor, Author, etc.), you can control who can edit, publish, or delete content. This helps in preventing unintended changes to your site.
- Collaboration: If you’re working with a team—be it writers, designers, or developers—having individual logins allows for seamless collaboration without sharing passwords.
- Personalization: Each user can have customized settings, plugins, and themes based on their role, making the WordPress experience tailored to individual needs.
- Audit Trails: Having multiple logins helps in tracking changes made to the site. You can easily see who made specific changes and when, offering accountability.
Overall, creating additional login credentials can transform how you manage your WordPress site, making it more secure, organized, and efficient.
3. Understanding Different User Roles in WordPress
When it comes to managing a WordPress site, one of the first things you’ll notice is the variety of user roles available. Each role comes with its own set of permissions, shaping how users can interact with your site. Understanding these roles is crucial, especially if you’re planning on creating another login to manage your website efficiently.
Here’s a quick rundown of the main user roles in WordPress:
- Administrator: This is the top-level user role. Administrators have complete control over the site, including the ability to manage settings, install plugins, and create new user accounts. This role is best reserved for those who need full access to your site’s backend.
- Editor: Editors can publish and manage posts, including those of other users. They have the ability to moderate comments and manage categories, allowing for significant control over content without the high-level access of an administrator.
- Author: Authors can write, edit, publish, and delete their own posts. However, they cannot manage posts written by others, giving them a level of autonomy while still keeping certain controls in place.
- Contributor: Contributors can write and manage their own posts, but they can’t publish them. Their posts have to be reviewed and published by someone with a higher role, usually an Editor or Administrator.
- Subscriber: Subscribers can manage their own profile and read content on the site. They have the least permissions, making this role typically suited for users who need minimal interaction with the site.
Understanding these roles will help you decide which user type should have access to your new login. It ensures that your website’s security isn’t compromised while allowing users to perform their necessary tasks.
4. Step-by-Step Guide to Creating Another Login for Your WordPress Site
Now that you have a good grip on user roles in WordPress, let’s dive into the step-by-step process of creating another login for your site. Whether you’re adding a new team member or simply want to manage your site more securely, this guide will help you through the process.
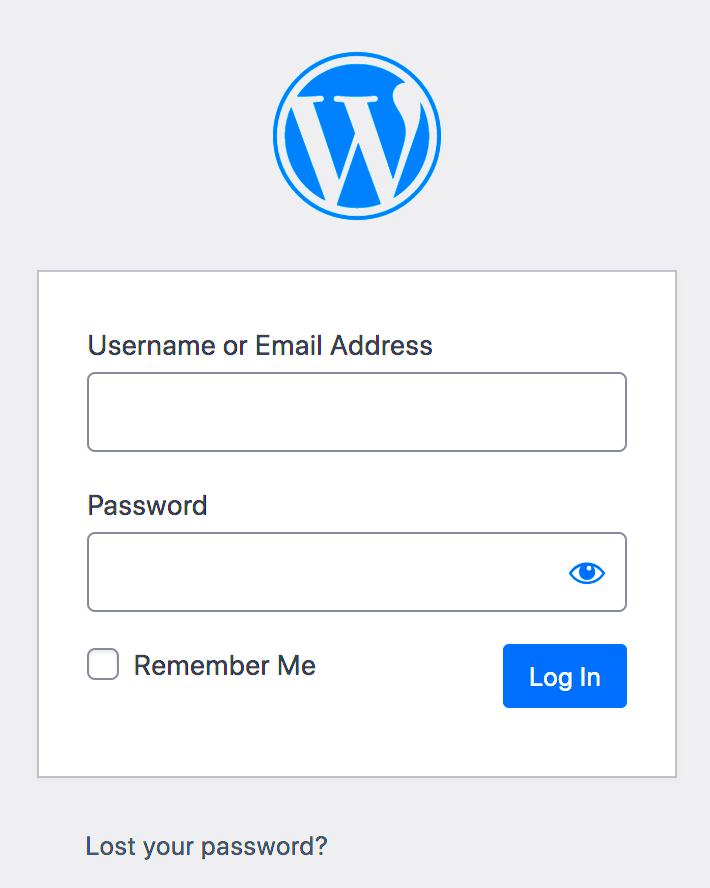
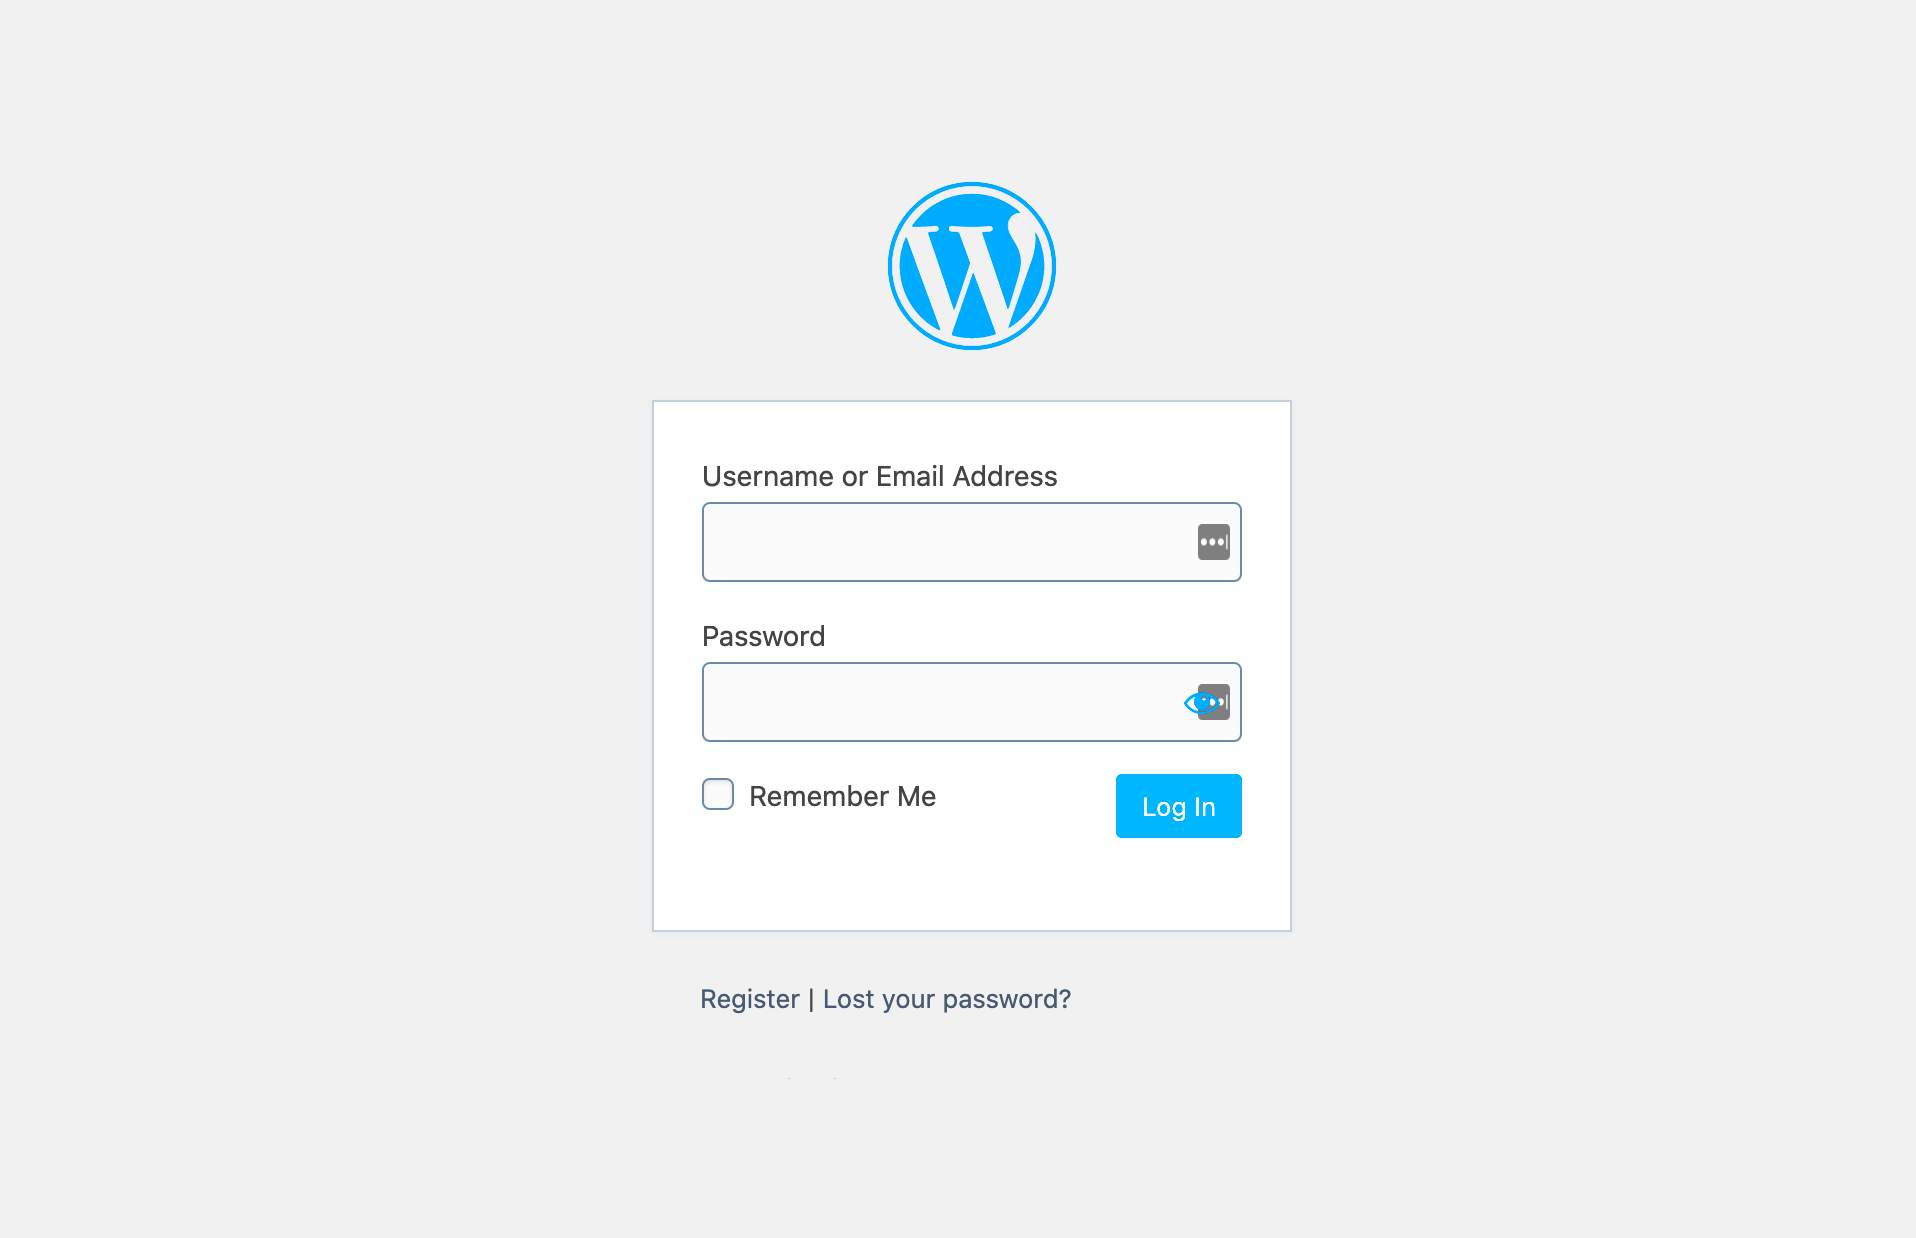
- Log in to Your WordPress Dashboard: The first step is to log into the backend of your WordPress site. You can typically access this by navigating to
yourdomain.com/wp-admin. - Go to Users: Once you’re on the dashboard, look for the ‘Users’ option in the left-hand menu. Click on it to see a list of existing users.
- Add New User: At the top of the Users screen, click on the Add New button. This will bring you to a form to create a new user account.
- Enter User Details: Fill in the required information for the new user. This includes the username, email address, first and last name, and website URL (if applicable). Make sure to set a strong password. You can either create one or let WordPress generate a secure password for you.
- Select User Role: One of the critical parts of this process is to choose the right user role for the new login. Refer back to the user roles we discussed earlier and select the one that best fits the user’s needs. Use the dropdown menu to make your selection.
- Send User Notification: If you want the new user to receive an email about their account, check the box that says Send User Notification. This will automatically send them their login details.
- Click Add New User: Finally, once everything is filled out to your satisfaction, click the Add New User button at the bottom of the form. That’s it!
Now, you’ve successfully created another login for your WordPress site! The new user can log in using the credentials you’ve set up. This process not only facilitates collaboration but also ensures that your site remains organized and secure.
5. Setting User Roles and Permissions
When you’re creating a new login for your WordPress site, one of the most important aspects to consider is user roles and permissions. WordPress has a built-in system that allows you to assign different roles to users, each with its own level of access and capabilities. By understanding how these roles work, you can ensure that each user can perform their tasks without overstepping into areas they shouldn’t be in.
Here are the default user roles in WordPress:
- Administrator: Has access to all administrative features. Best for site owners or those who need complete control.
- Editor: Can publish and manage posts, including those of other users. Perfect for team leaders.
- Author: Can publish and manage their own posts. Ideal for individual contributors.
- Contributor: Can write and manage their own posts but cannot publish them. Great for draft writers.
- Subscriber: Can only manage their profile. Useful for sites with registered users who don’t need editing capabilities.
To set user roles and permissions, follow these simple steps:
- Log in to your WordPress dashboard.
- Navigate to Users and select Add New.
- Fill out the required information and select the user role from the dropdown menu.
- Click the Add New User button.
By carefully assigning user roles, you can maintain a well-organized and secure website environment. This way, you empower your team while keeping sensitive areas of your site safe from unauthorized access.
6. Common Issues When Adding New Users
Adding new users to a WordPress site can sometimes come with its own set of challenges. If you’re not familiar with the platform or if you’ve neglected certain settings, you might encounter some bumps along the way. Here are some common issues and how to address them.
1. Email Issues: One frequent problem is users not receiving their login credentials via email. This could be due to:
- SMTP settings not configured on the site.
- Spam filters catching the email.
- Incorrect email addresses entered during user registration.
To troubleshoot this, make sure your email settings are configured properly. You can use plugins like WP Mail SMTP to improve email deliverability.
2. Permissions and Access Problems: Sometimes, users find they can’t access certain parts of the site. This usually occurs when:
- The correct user role wasn’t assigned.
- Permissions have been altered or restricted.
Always double-check the user role settings to resolve this issue.
3. Confusion Over Roles: Another common hiccup is users misunderstanding their access levels. To avoid confusion:
- Provide a brief introduction or guide on what each role can do.
- Keep communication open so users know who to ask if they need help.
By being proactive about these common issues, you can create a smooth user experience for everyone involved in your WordPress site!
7. Best Practices for Managing User Logins
Managing user logins on a WordPress site is crucial for maintaining security, optimizing user experience, and ensuring smooth administrative processes. Implementing best practices can help safeguard your site and make life easier for both you and your users. Let’s dive into some essential practices that you should consider.
- Use Strong Passwords: Encourage users to create unique, complex passwords. A good password typically includes a mix of uppercase letters, lowercase letters, numbers, and special characters. Consider implementing a password strength meter to help users gauge their password choices.
- Enable Two-Factor Authentication (2FA): Adding an extra layer of security is always a smart choice. By requiring users to verify their identity through a second method, such as a code sent to their mobile device, you can drastically reduce the chances of unauthorized access.
- Regularly Update User Roles: As your site evolves, so do the roles of users. Periodically review user accounts and update their permissions accordingly. This ensures that users only have access to the areas necessary for their roles, reducing the risk of data breaches.
- Set Inactive User Policies: Users who haven’t logged in for a specific time can pose a risk. Implement policies to deactivate or delete accounts that have been inactive for an extended period.
- Monitor Login Attempts: Use security plugins to keep track of login attempts, especially failed ones. This can alert you to potential attacks and help you take proactive measures.
By following these best practices, you can maintain a secure and efficient environment for managing user logins on your WordPress site.
8. Conclusion
Creating additional logins for your WordPress site can open up a world of opportunities for collaboration and community building. But it’s essential to approach this task with an eye toward security and usability. As we’ve discussed, incorporating best practices like strong passwords, two-factor authentication, and regular audits of user roles can make a significant difference.
This isn’t just about keeping the bad guys out; it’s also about ensuring that your legitimate users have a smooth and enjoyable experience. A user-friendly login process can enhance engagement and foster a deeper connection with your audience.
Finally, staying informed about the latest trends in security and user management tools can empower you to make the best decisions for your specific needs. So, take action today—start implementing these tips and see how they can transform your WordPress site into a safer and more welcoming space for everyone.

