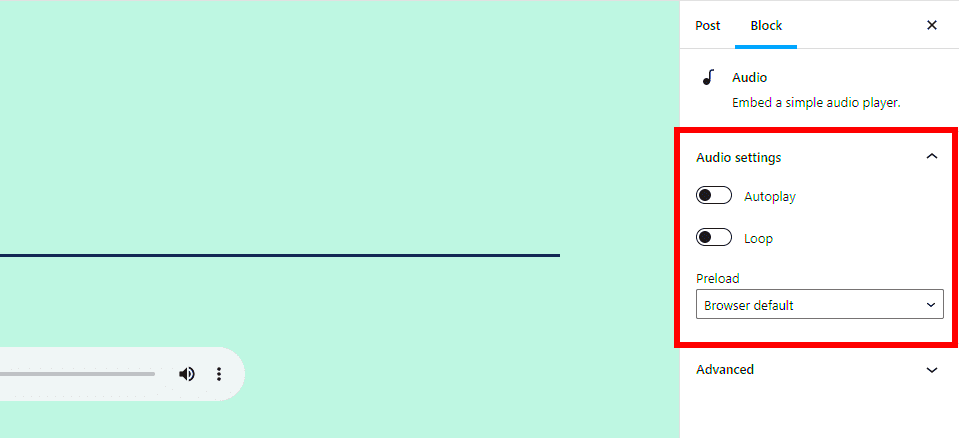
Are you looking to optimize your WordPress site by controlling audio playback? Limiting audio plays can improve user experience, reduce bandwidth usage, and keep your content dynamic. Whether you’re a podcaster, a musician, or simply a site owner who includes audio content, managing how often and when audio plays is essential. In this post, we’ll uncover practical methods to help you limit audio plays effectively.
Understanding the Importance of Limiting Audio Plays
Limiting audio plays on your WordPress site isn’t just about controlling sound; it’s about enhancing the overall visitor experience. Here’s why it’s so crucial:
- Improved User Experience: Too much autoplay or uncontrolled sound can frustrate users, causing them to leave your site quickly. By limiting audio plays, you give visitors more control over what they listen to.
- Better Performance: Limiting audio plays can significantly reduce server bandwidth and load times. When audio files aren’t continuously played, you free up resources for other site functions.
- SEO Benefits: Search engines favor fast-loading sites. Reducing audio plays can enhance page load speed, potentially boosting your search engine ranking.
- Increased Engagement: When audio plays are limited, users are more likely to interact with your content instead of passively listening. This can lead to increased comments, shares, and overall engagement.
In essence, limiting audio plays is not just about volume control; it’s about creating a more focused and enjoyable experience for your visitors. Let’s dive deeper into how you can implement these limits effectively!
Methods for Limiting Audio Plays in WordPress
If you’re looking to limit audio plays on your WordPress site, you’re not alone! Many site owners want to control how often their audio content is accessed, whether to manage bandwidth or to enhance user experience. Let’s explore effective methods you can use to achieve this goal.
Here are some practical methods you might consider:
- Session-Based Playback: This method limits audio plays based on user sessions. You can track how many times a user listens within a session and restrict access if they exceed a certain threshold.
- Time-Interval Restrictions: You can set specific time intervals before users can listen to the same audio file again. For example, limiting replays to every hour or day can enhance engagement without overwhelming the user.
- User Role Restrictions: If your site has a membership feature, you can limit audio plays based on user roles. For instance, only premium members might have access to unlimited plays while basic members have a limit.
- IP Address Limiting: Although a bit more technical, you could restrict audio plays based on the user’s IP address. This method is useful if you wish to block certain users from excessive plays.
- Custom Scripts: For more advanced users, writing custom PHP scripts could allow you to track and limit audio plays more precisely. This gives you total control but does require programming knowledge.
These methods offer you a flexible way of managing audio plays on your site, providing a better experience both for you and your users!
Using Plugins to Control Audio Playback
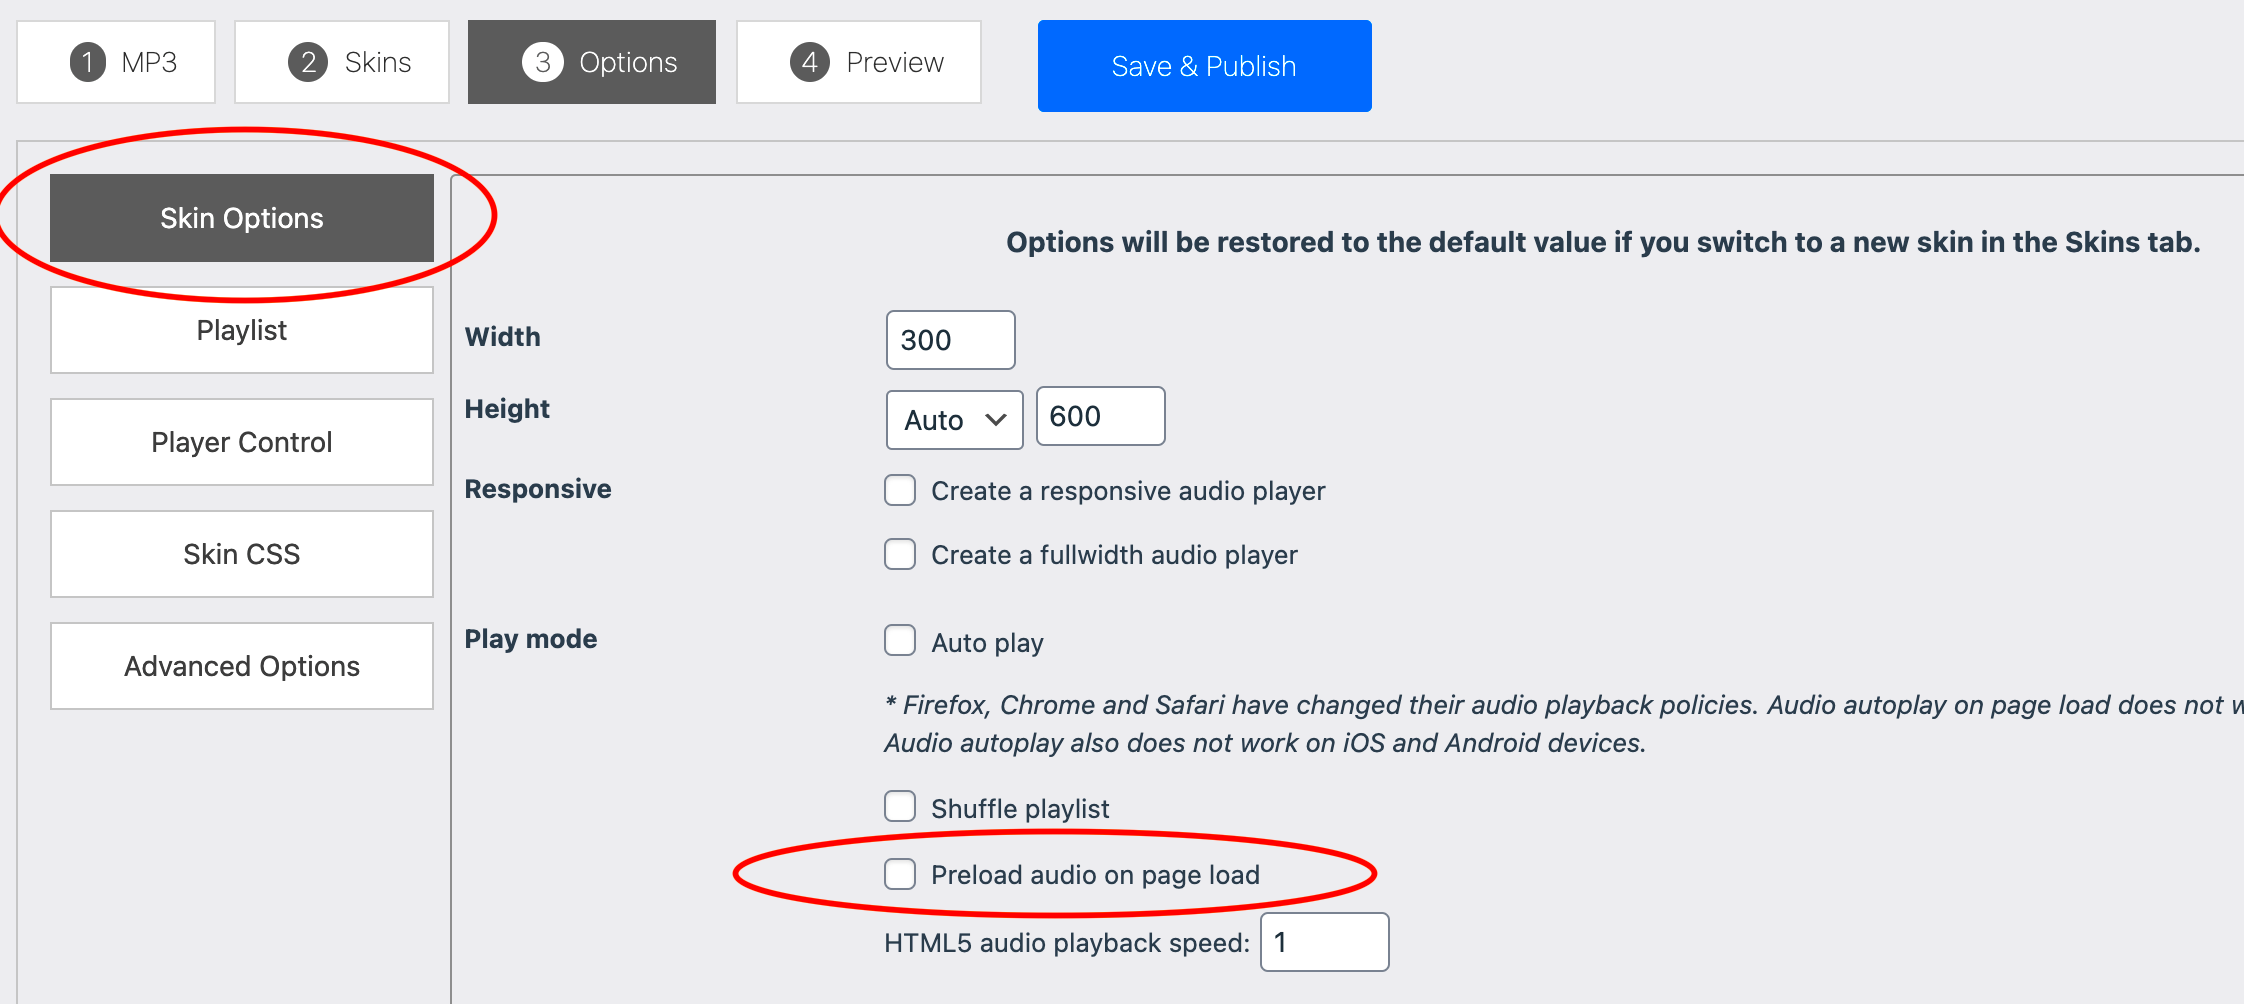
If coding isn’t your thing, or you prefer a plug-and-play solution, WordPress plugins are a fantastic way to limit audio plays easily. The availability of numerous plugins means you can find something that fits perfectly with your specific needs.
Here are some popular plugins you can consider:
| Plugin Name | Description | Price |
|---|---|---|
| AudioIgniter | Perfect for creating playlists and controlling playback limits easily. | Free |
| Compact WP Audio Player | A lightweight plugin that supports various audio formats and allows for customizable controls. | Free |
| Seriously Simple Podcasting | Great for podcasters; you can manage your audio content and also keep track of plays. | Free, with premium features available |
| WP Audio Player | Features simple controls and can easily be embedded anywhere on the site, allowing you to control playback. | Free |
Using plugins not only saves you time but also gives you functionality that’s easy to manage, often with user-friendly interfaces. Just install your preferred plugin, configure the settings to limit audio plays, and you’ll be ready to go!
Custom Coding Solutions for Advanced Users
If you’re comfortable with a bit of coding, you can create a custom solution to limit audio plays on your WordPress site. This approach offers the flexibility to tailor the features exactly to your needs. The key is leveraging WordPress hooks and JavaScript to restrict how often users can play audio files.
Here’s a simple guide to get you started:
- Understand WordPress Hooks: Familiarize yourself with actions and filters in WordPress that can be used to add your custom functionality. Hooks allow you to inject code at specific points during the execution of WordPress.
- Create a Custom Function: You’ll want to write a function that counts the number of times a specific audio file is played. For example, you could use JavaScript to track when the audio is played, incrementing a counter each time the event occurs.
- Store Play Counts: Use the WordPress database to store the play counts. You can use the WordPress `update_post_meta` or even create a custom database table if you need something more robust.
- Check Play Limits: Before the audio loads, check if the user has reached their limit using JavaScript. Display a message if they try to play the audio after reaching the limit.
- Test Your Code: Always test the code to ensure it works as expected and doesn’t interfere with other functionalities on your site.
Custom coding can seem daunting at first, but it opens up a world of possibilities. Start small and build upon your solution as you gain more confidence.
Best Practices for Implementing Audio Limits
When implementing audio limits on your WordPress site, it’s essential to follow best practices to ensure a smooth user experience while managing your content effectively. Here’s a breakdown of strategies that can help you with this process:
| Best Practice | Description |
|---|---|
| Set Clear Limits: | Decide the number of plays you want to allow and communicate this to your users. Being transparent helps manage expectations. |
| Provide Feedback: | Let users know how many plays they have left. Simple notifications can enhance user satisfaction. |
| Test on Various Devices: | Make sure your limits function seamlessly across platforms. Test on mobile, tablet, and desktop. |
| Keep Accessibility in Mind: | Ensure that audio limits don’t hinder accessibility. Provide alternative options for users who may have difficulty accessing audio content. |
| Monitor User Feedback: | After implementing audio limits, pay attention to user feedback and adjust your strategy accordingly to improve user engagement. |
By adhering to these best practices, you can create a user-friendly experience while maintaining control over your audio content. Remember, the goal is to protect your resources while providing value to your audience.
7. Testing and Monitoring Audio Limits
Once you’ve set your audio play limits in WordPress, the next crucial step is testing and monitoring to ensure everything is functioning as expected. It’s vital to see not just if the audio plays, but also how often and in what context users are engaging with it. Here’s how to effectively test and monitor those audio limits:
- Perform User Testing: Enlist a few users to test your audio features. Ask them to engage with your audio content and observe their experience. Were they able to play it multiple times, or did the limits kick in correctly?
- Check Your Analytics: Utilize tools like Google Analytics or WordPress plugins to track audio interaction data. Look for metrics such as play rate, duration, and user retention, which can help gauge the effectiveness of your audio limits.
- Review Console Logs: If you’re using custom JavaScript for your audio player, inspect the console for errors. This can help identify if the limitations you’ve set are causing any issues that users might encounter.
- Collect Feedback: Don’t shy away from asking your audience how they find the audio limits. They may have insights or suggestions that can help you refine their experience further.
By implementing rigorous testing and utilizing monitoring tools, you can ensure your audio limits are not just functional but also enhance the overall user experience on your WordPress site.
8. Troubleshooting Common Issues
Even with the best settings in place, you may occasionally face some bumps in the road regarding audio play limits in WordPress. Here are some common issues and their solutions to help you navigate these challenges effectively:
| Issue | Possible Causes | Solutions |
|---|---|---|
| Audio player not limiting plays | Incorrect settings or plugin conflicts | Check your plugin settings and test for conflicts with other active plugins. |
| Audio not playing at all | File format issues or incorrect URLs | Ensure the audio files are in supported formats (like MP3) and that URLs are correct. |
| Users reporting errors | Browser compatibility or script errors | Test across different browsers and devices, and check your JavaScript for any errors. |
| Analytics not tracking correctly | Improper configuration or missing setup | Review your analytics setup to ensure proper tracking codes are implemented. |
If you encounter any issues, remember that troubleshooting is part of the process. Patience and systematic checking will guide you to a solution. And of course, don’t hesitate to reach out to the WordPress community or forums for help; there’s a good chance someone else has faced the same issue!
Conclusion and Final Thoughts
In the realm of user experience, streamlining audio plays on your WordPress site is crucial for maintaining visitor engagement and reducing server load. By limiting the audios played simultaneously, you can create a more organized and enjoyable listening environment for your audience. Here are some key takeaways:
- Understanding the Need: Recognizing why limiting audio plays is important helps you make informed decisions about your content delivery.
- Plugins to the Rescue: Utilizing specific plugins, such as AudioIgniter and Compact WP Audio Player, provides efficient control over audio playback.
- Custom Code: For those who are technically inclined, adding custom scripts to your theme can offer personalized limitations and enhance your site’s functionality.
- Testing Compatibility: Always ensure that any plugins or code modifications you implement are compatible with your current theme and other plugins.
- User Feedback: Once changes are made, gathering user feedback can help you assess if the limitations effectively enhance their experience.
By thoughtfully implementing these strategies, you can create a balanced audio experience that both entertains and retains your site visitors. Limitations not only improve user satisfaction but also contribute to efficient site management, leading to better performance and a more enjoyable browsing experience overall.

