Cloudflare is a powerful service designed to enhance your website’s performance and security. If you’re running a WordPress website, integrating Cloudflare can be a game changer. Not only does it speed up page load times, but it also shields your site from various online threats. This introductory section will explore what Cloudflare is and the numerous benefits it brings to your online presence.
So, why consider Cloudflare for your WordPress site? Here are some compelling reasons:
- Improved Load Times: Cloudflare uses a global network of servers, which means users accessing your site from different regions can benefit from reduced latency.
- Security: It offers protection against DDoS attacks, ensuring your site remains online even during traffic spikes.
- SSL Encryption: Cloudflare provides free SSL certificates, which help secure the data exchanged between your website and its visitors.
- Content Delivery Network (CDN): It caches your site’s content across its servers, allowing faster access for users no matter where they are in the world.
- Analytics: You’ll gain insights into your website’s traffic patterns and security threats.
- Easy Configuration: Installation is straightforward, making it accessible even for those who aren’t tech experts.
In short, integrating Cloudflare on your WordPress site will not only enhance its speed and performance but will also significantly bolster its security measures, giving both you and your visitors peace of mind.
Prerequisites for Installing Cloudflare on WordPress

- A WordPress Website: You should have an active WordPress site up and running. This is the foundation on which you’ll integrate Cloudflare.
- An Email Address: To create a Cloudflare account, you’ll need a valid email address where you can receive account verification and notifications.
- Access to Your Domain Registrar: You must have access to your domain registrar to change your nameservers, which is a key step in pointing your domain to Cloudflare.
- Backup Strategy: Although installing Cloudflare is generally safe, it’s a good idea to back up your website before making significant changes.
- Clear Understanding of Your Hosting Environment: Knowing how your hosting provider works can help you troubleshoot any potential issues during setup.
Once you have all these prerequisites in order, you’re ready to begin the installation process. This preparation will ensure a smooth transition to Cloudflare, enhancing your WordPress site’s performance and security with minimal hassle.
Step 1: Sign Up for a Cloudflare Account

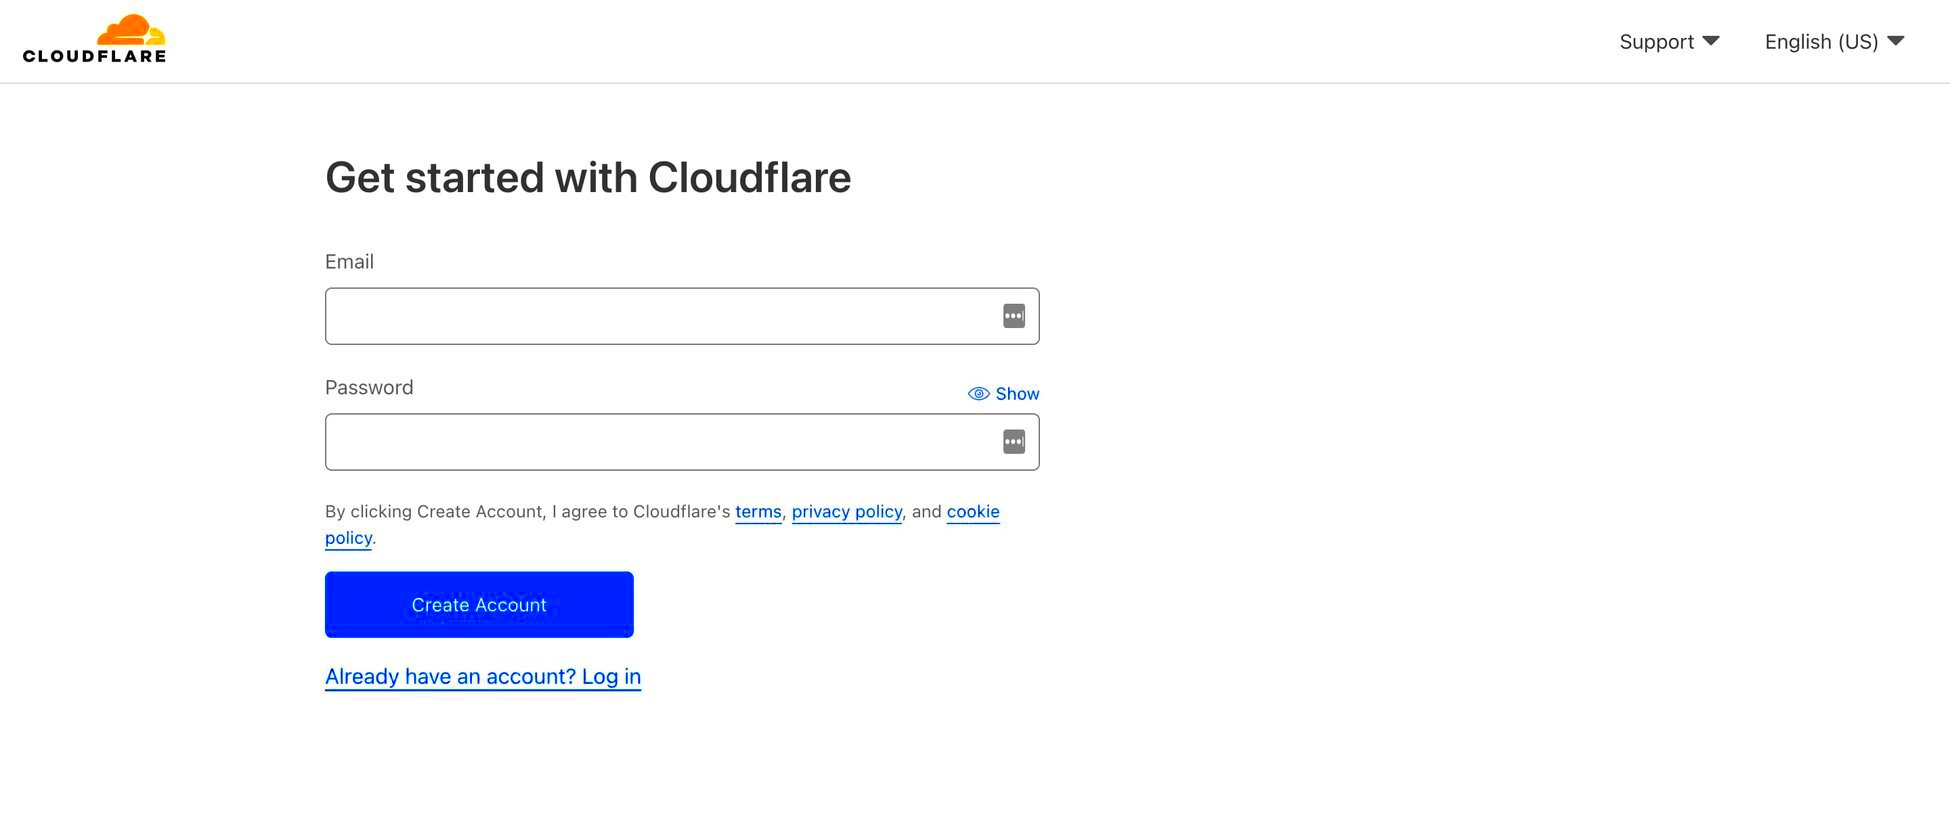
Getting started with Cloudflare is a breeze! First, you’ll need to create a Cloudflare account. Don’t worry, it’s completely free and only takes a few minutes. Here’s how to do it:
- Visit the Cloudflare website.
- Click on the “Sign Up” button located at the top right corner of the page.
- You will be prompted to enter your email address and create a strong password. Make sure to use an email you check regularly, as you’ll need it to verify your account.
- After filling in your details, click the “Create Account” button.
Once your account is created, you’ll receive a confirmation email. Head over to your inbox and click on the verification link to activate your account. Now you’re all set to take that next exciting step into enhancing your website’s security and performance!
Did you know? Cloudflare handles over 25 million HTTP requests every second! By signing up, you’re joining a community dedicated to optimizing online experiences. So let’s move on to adding your website!
Step 2: Add Your Website to Cloudflare

Now comes the fun part! Adding your WordPress website to Cloudflare is straightforward and can be completed in just a few steps. Here’s what you need to do:
- Log in to your newly created Cloudflare account.
- Once logged in, click on the “Add Site” button. This is usually front and center on your dashboard.
- Enter your website’s URL (e.g., www.example.com) in the provided field and click “Add Site.”
You will then be prompted to choose a plan. Since we’re focusing on the free service, select the Free Plan and continue.
Cloudflare will now scan your domain’s existing DNS records. This process only takes a few moments. Once completed, you’ll see a list of the DNS records currently associated with your domain.
Important: Review these records to ensure they match what you have on your hosting provider to avoid any disruptions. If everything looks good, click on the “Continue” button.
Finally, make note of the nameservers provided by Cloudflare; you’ll need to update your domain registrar with these. This step is essential as it points your domain to Cloudflare, enabling its powerful features. You’re almost there!
Step 3: Update Domain Name Server (DNS) Settings
Once you have created your Cloudflare account and added your website, it’s time to tackle the Domain Name Server (DNS) settings. This step is crucial because it connects your domain to Cloudflare’s network, allowing you to leverage its benefits, like improved speed, security, and reliability.
Here’s how to update your DNS settings:
- Get Cloudflare Nameservers: After adding your site to Cloudflare, you’ll be provided with two nameservers. They usually look something like this: jake.ns.cloudflare.com and sara.ns.cloudflare.com.
- Access Your Domain Registrar: Log into your domain registrar account where you purchased your domain (like GoDaddy, Namecheap, etc.).
- Find DNS Management Section: Once logged in, find the DNS management or nameserver settings. This may vary by registrar, but look for options that mention DNS or Nameservers.
- Update Nameservers: Replace your existing nameservers with the Cloudflare nameservers you copied earlier. Save the changes.
Keep in mind that DNS changes can take anywhere from a few minutes to 24 hours to propagate across the internet. Meanwhile, feel free to explore Cloudflare’s user-friendly dashboard where you can monitor the status of your site!
Step 4: Configure Cloudflare Settings for Your WordPress Site
With your DNS settings now pointing to Cloudflare, it’s time to tweak some configuration settings. This step allows you to customize your Cloudflare setup and optimize it for your WordPress site. Here’s what you need to consider:
1. Enable Automatic HTTPS Rewrites: By enabling this feature, Cloudflare will automatically redirect users to the HTTPS version of your site, boosting security.
2. Security Level: In your Cloudflare dashboard, navigate to the “Firewall” settings. Depending on your audience, you can adjust the security level from “Essentially Off” to “I’m Under Attack!” Choose wisely!
3. Page Rules: Use page rules to set specific behaviors for your URLs. For example, you can cache static content or redirect from one URL to another easily.
4. Performance Settings: Under the “Speed” tab, consider enabling options like Minification of CSS, JavaScript, and HTML. This reduces file sizes and speeds up your site.
5. Caching Level: Adjust the caching level to speed up your site. Choose from “No Query String” to “Standard,” depending on your content needs.
Once you’re happy with your settings, click save, and you’re all set! Congratulations, you’ve successfully configured Cloudflare for your WordPress site. Enjoy enhanced security and performance!
Step 5: Install the Cloudflare Plugin on WordPress
Now that you’ve set up your Cloudflare account and made the necessary DNS changes, it’s time to install the Cloudflare plugin on your WordPress site. This is a crucial step as the plugin helps you to manage your Cloudflare settings directly from your WordPress dashboard without needing to go back to the Cloudflare website repeatedly.
To install the Cloudflare plugin, follow these simple steps:
- Log into your WordPress admin dashboard.
- Navigate to the Plugins section on the left sidebar.
- Click on Add New.
- In the search bar, type Cloudflare.
- You’ll see the Cloudflare plugin in the search results—click on Install Now.
- Once the installation is complete, click on Activate to enable the plugin.
After activation, you’ll find a new Cloudflare option in your WordPress dashboard sidebar. Clicking on it will take you to the plugin’s settings page. There, you can configure various options, including purging your cache, enabling automatic cache management, and even managing options like minification or rocket loader support.
Tip: Make sure you have your Cloudflare API key handy, as you will need it to connect the plugin with your Cloudflare account. You can find your API key in the ‘My Profile’ section of your Cloudflare account.
Step 6: Verify Cloudflare is Working
Once you’ve installed the Cloudflare plugin and connected it to your site, it’s crucial to ensure that everything is functioning as expected. Verification is a simple process, and it helps you confirm that Cloudflare is actively protecting and optimizing your WordPress site.
Here are some effective methods to verify that Cloudflare is up and running:
- Check Your DNS Settings: Go back to your Cloudflare dashboard, navigate to the DNS settings, and ensure that your A records point to Cloudflare’s IP addresses.
- Look for the Cloudflare Header: You can use tools like WhatsMyDNS.net to check your site’s headers. Open your site and right-click to select Inspect. Navigate to the Network tab, refresh your page, and click on the first request. Under the Headers section, look for a header called CF-Cache-Status. If it says ‘HIT’ or ‘MISS,’ Cloudflare is functioning properly.
- Check Performance Improvements: Use tools like GTmetrix or Google PageSpeed Insights to see if you notice any performance improvements in loading times and overall site speed.
If everything checks out, you can confidently enjoy the benefits of Cloudflare’s CDN, security features, and enhanced performance. Happy browsing!
Troubleshooting Common Issues
Installing Cloudflare on your WordPress website can significantly enhance performance and security, but sometimes things don’t go as smoothly as we’d hope. If you encounter issues during or after installation, don’t fret! Here’s a straightforward guide to help you troubleshoot common problems.
1. DNS Resolution Issues:
If your site isn’t resolving correctly after pointing your domain to Cloudflare’s nameservers, the problem might be with DNS propagation. This process can take up to 48 hours. To check the status, you can use tools like What’s My DNS.
2. Mixed Content Warnings:
If your site runs on HTTPS but certain elements (like images or scripts) are still being requested over HTTP, you’ll see mixed content warnings. You can resolve this by ensuring all URLs are set to HTTPS in your WordPress settings or by using plugins like Really Simple SSL.
3. Caching Issues:
Sometimes, after making changes, you might not see them immediately. This is often due to caching, either from Cloudflare or your WordPress caching plugin. Clear the Cloudflare cache from the dashboard, and also purge any cache from plugins like W3 Total Cache or WP Super Cache.
4. Firewall Blocks:
If legitimate users can’t access your site, check Cloudflare’s firewall settings. It might be erroneously blocking certain traffic. You can either adjust the security level or create specific firewall rules to allow access.
5. SSL Certificate Issues:
If you’re using Cloudflare’s SSL settings, ensure they’re correctly configured. You may need to set it to “Full” or “Flexible” depending on your setup. Check the SSL/TLS app in your Cloudflare dashboard for detailed settings.
These are just a few common issues you may encounter when setting up Cloudflare. If you face another problem, Cloudflare’s help center and community forums are excellent resources.
Conclusion
And there you have it! Installing Cloudflare on your WordPress website can drastically improve your site’s performance and security without costing you a penny. By following the steps outlined in this post, you should now have a deeper understanding of not just the installation process, but also how to effectively troubleshoot any common issues that might pop up along the way.
If you’re still on the fence about using Cloudflare, consider the many benefits it offers:
- Faster Load Times: The CDN helps serve your content from the nearest data center, reducing latency.
- Enhanced Security: Enjoy features like DDoS protection and web application firewalls.
- Simplified Management: With a user-friendly interface, managing settings is a breeze.
Whether you’re a newbie or a seasoned website owner, integrating Cloudflare is a strategic move that balances ease of use with powerful features. Don’t hesitate to refer back to this guide whenever you need a refresher or if troubles arise. Happy website building!


