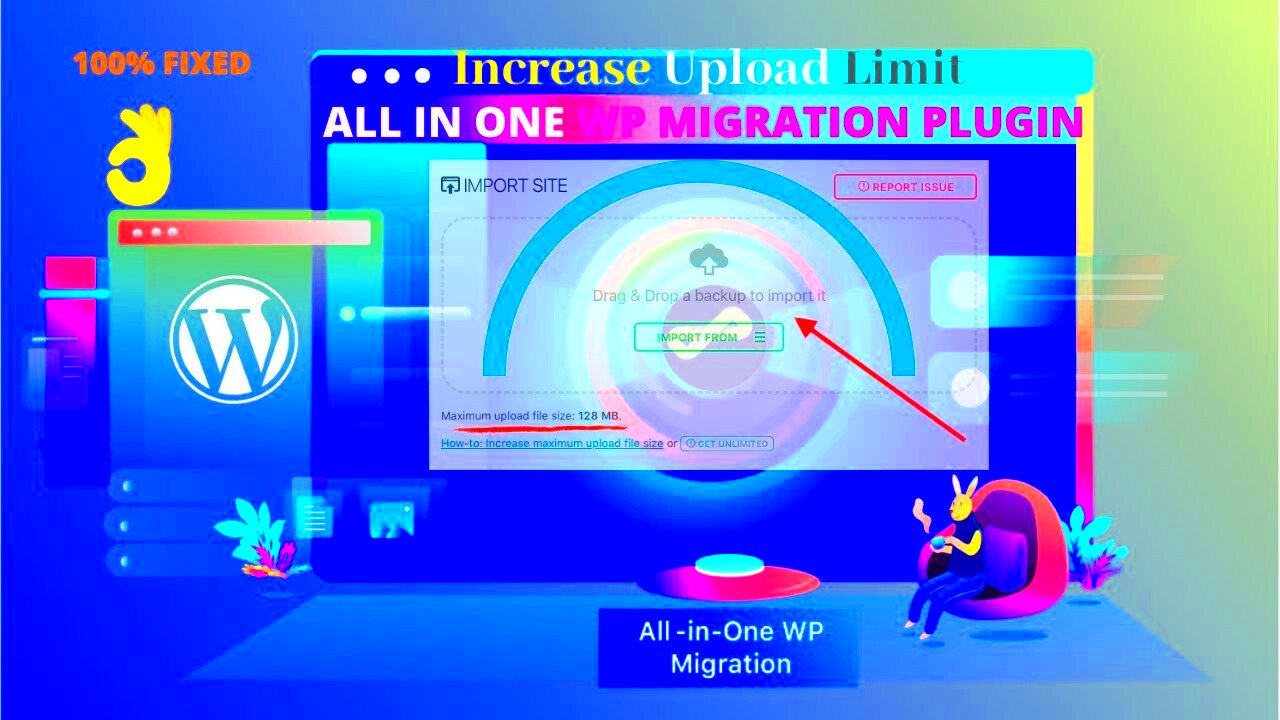
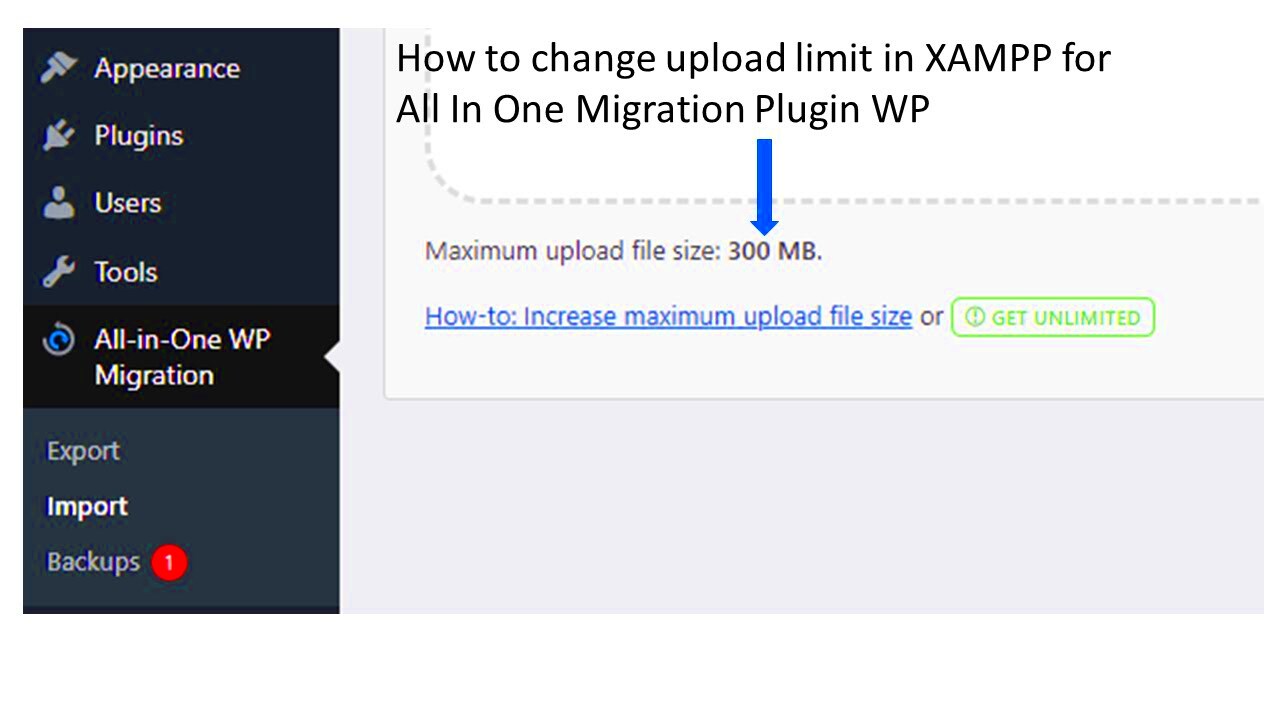
If you’ve ever tried to migrate your WordPress site using All-In-One WP Migration, you might have stumbled upon that pesky upload limit. It can be frustrating, especially when you’re eager to get your site up and running. But don’t worry! In this guide, we’ll break down the steps you need to take to increase those upload limits, allowing for a smoother and quicker migration process. Let’s dive right in!
Understanding Upload Limits in WordPress

Before we jump into increasing upload limits, it’s important to understand what these limits actually are and why they exist. Here’s a quick overview:
- What Are Upload Limits? – Upload limits are restrictions set on the size of files you can upload to your WordPress site. This can include everything from images to plugins and database backups.
- Where Do They Come From? – These limits can stem from various sources, including your hosting provider’s server settings, the PHP configuration on your server, and WordPress itself.
In general, the default upload limit for WordPress is set to 2MB, but many users find this insufficient, especially with larger site migrations. Here’s how you can identify your current upload limits:
| Method | How to Check | Tip |
|---|---|---|
| WordPress Dashboard | Go to Media > Add New and look for the “Maximum upload file size” message. | Note this number as it indicates your current limit! |
| phpinfo.php | Create a phpinfo.php file and upload it to your root directory to view comprehensive PHP settings. | Look for “upload_max_filesize” and “post_max_size”. |
Understanding these limits and where they come from is the first step in figuring out how to adjust them for your All-In-One WP Migration needs. Ready to clear those limits? Let’s move on!
Why Increase Upload Limits?
Increasing the upload limits in All-In-One WP Migration is something that many WordPress users overlook but is crucial for a smooth experience. So, why should you consider raising these limits? Let’s explore some of the top reasons!
- Enhanced Functionality: With higher upload limits, you can easily migrate large websites, including high-resolution images, extensive media files, and complex plugins. This means a more seamless transition and less hassle!
- Time Efficiency: Imagine trying to upload a backup of your website only to be stopped halfway due to a size limit. By increasing your upload limits, you save time and frustration, allowing for quicker migrations without interruptions.
- Future-Proofing: As your website grows, so does your content. By setting higher limits now, you prepare yourself for future expansions without having to constantly tweak settings in the future.
- Improved User Experience: If you’re managing a multi-user environment where contributors upload files, having higher limits means everyone can contribute without running into upload barriers.
Ultimately, increasing your upload limits ensures a smoother, more efficient, and user-friendly website management experience. Don’t let size restrictions stifle your website’s growth!
Method 1: Modifying the .htaccess File
Updating the .htaccess file is one of the effective methods to increase your upload limits in All-In-One WP Migration. For those who are familiar with this file, it’s essentially used by your server to manage configurations for your website. So, let’s walk through the steps on how to modify it safely!
Here’s how you can do it:
- Access Your .htaccess File: You can access the .htaccess file through your website’s root directory via FTP or your hosting provider’s file manager.
- Back It Up: Before making any changes, always make a backup of your current .htaccess file. This ensures that you can revert to the original version if something goes wrong.
- Add Upload Limits: Open the .htaccess file and add the following lines of code:
php_value upload_max_filesize 64Mphp_value post_max_size 64Mphp_value max_execution_time 300php_value max_input_time 300These values can be changed based on your needs—just keep in mind that the numbers represent the maximum size limit you’re allowing.
- Save Your Changes: After editing the file, save it, and re-upload it to the same directory if you’re using FTP.
- Test the Changes: Go back to your All-In-One WP Migration and try uploading a file that previously failed due to size restrictions. If it works, congratulations—you’ve successfully modified your upload limits!
By following these steps, you can effortlessly increase your upload limits, making your migration tasks much more manageable. Happy migrating!
Method 2: Updating the php.ini File
When it comes to increasing upload limits for your All-In-One WP Migration plugin, one effective approach is updating the php.ini file. This file is your PHP configuration file and dictates many important server settings, including upload size limits.
Here’s how you can go about it:
- Locate the php.ini file: The
php.inifile can typically be found in your server’s root directory or inside a folder named “etc“. If you’re using shared hosting, you might be able to access it via your hosting control panel, or you might need to connect through FTP. - Open the file for editing: Once you’ve found it, open the
php.inifile using a text editor. If you’re using a control panel, look for an option to edit files. - Find the upload_max_filesize directive: In the file, search for
upload_max_filesizeandpost_max_size. These directives control the maximum file size for uploads. - Modify the values: Change the values to the desired limits. For example:
| Directive | New Value |
|---|---|
| upload_max_filesize | 256M |
| post_max_size | 256M |
Be sure to save your changes!
After you make these updates, restart your web server to ensure the new settings take effect. Checking your WordPress dashboard under Media > Add New will help confirm that your upload limit has increased successfully.
Method 3: Using the wp-config.php File
If updating the php.ini file sounds too technical, don’t worry! There’s another method you can try: modifying the wp-config.php file. This is a core WordPress file that contains configuration settings for your site, and it allows you to easily override specific PHP settings.
Here’s how you can do it:
- Access your wp-config.php file: You can find this file in the root directory of your WordPress installation. Just like with the
php.inifile, you can edit it through an FTP client or your hosting’s file editor. - Open the file for editing: Use a text editor to open the
wp-config.phpfile. - Add the following lines before the
/* That's all, stop editing! Happy blogging. */line:
define('WP_MEMORY_LIMIT', '256M');define('WP_MAX_MEMORY_LIMIT', '256M');
These lines will allocate more memory for your WordPress installation, helping with larger uploads.
Extra tip: Always create a backup of your wp-config.php file before making any changes. This way, you can easily revert back if anything goes wrong.
Once you’ve saved your changes, try uploading files again to see if your limits have increased! The beauty of using the wp-config.php file is that it’s straightforward and gives you the ability to customize your site’s behavior quickly and effectively.
Method 4: Adjusting Server Settings via cPanel
If you’re looking to increase the upload limits for your All-In-One WP Migration, tweaking your server settings through cPanel can be a game-changer. This method is particularly useful for those who have access to their hosting dashboard and feel comfortable navigating it. Here’s how you can do it:
First things first, log in to your cPanel account. Once you’re in, you should look for the following sections:
- File Manager: This is where you can directly manage your files.
- MultiPHP INI Editor: An essential tool that allows you to configure PHP settings.
- PHP Version: Check if your site is running on an appropriate PHP version.
After you’ve familiarized yourself with these sections, here are the specific settings you may want to adjust:
| Setting | Default Value | Suggested Value |
|---|---|---|
| upload_max_filesize | 2M | 64M or more |
| post_max_size | 8M | 64M or more |
| max_execution_time | 30 | 300 or more |
| max_input_time | 60 | 300 or more |
After you’ve made these changes, don’t forget to save them. A quick restart of your web services might be required for the changes to take effect. This method allows direct modification of settings that dictate how your site handles uploads, ensuring you’re all set to import those backups without a hitch!
Method 5: Utilizing a Plugin
If diving into server settings sounds a bit too technical for your liking, another effective way to increase your upload limits is by utilizing a plugin. Thankfully, the WordPress ecosystem is brimming with plugins designed specifically for this purpose, making things easier for you. Here’s how you can go about it:
One popular plugin that can help you raise upload limits is WP Increase Upload Filesize. Here’s a quick step-by-step guide:
- Install the Plugin: Head over to your WordPress dashboard, go to Plugins, and click Add New. Search for “WP Increase Upload Filesize” and install it.
- Activate: Once the installation is complete, activate the plugin.
- Configuration: Navigate to the settings of the plugin. Here, you can set your desired upload limit by just typing in the new size.
- Save Changes: Make sure to save your changes for them to take effect.
There are also other plugins available, such as Increase Max Upload Filesize and Upload Max File Size. By using these plugins to manage your upload limits, you rid yourself of the hassle of editing server files and dealing with cPanel, making it a user-friendly solution.
Remember, whichever method you choose, always double-check the results after applying the changes. You want to ensure that you can upload your data without encountering pesky limit errors again!
Common Issues and Troubleshooting
When working with All-In-One WP Migration to increase upload limits, you might encounter a few common issues. No need to panic; most of them are quite straightforward to fix. Below are some of these issues and troubleshooting tips to help you get back on track.
- File Size Exceeds Limit: If you see an error message indicating your file exceeds the upload size limit, this usually means your server settings haven’t been adjusted. To resolve this, check your
php.inifile and increase the values forupload_max_filesize,post_max_size, andmax_execution_time. Make sure to restart your server after changes. - Timeout Issues: If the upload process keeps timing out, it’s typically related to the server’s execution settings. Increase the
max_execution_timeandmax_input_timevalues in yourphp.inifile to allow for longer uploads, especially if you’re working with large files. - Memory Limit: Sometimes, the PHP memory limit can stop uploads in their tracks. To fix this, look for the
memory_limitdirective in yourphp.inifile and increase it. A good starting point is256M. - Browser Compatibility: If you’re experiencing issues, try different browsers. Occasionally, browser settings or extensions could interfere with the upload process.
Still having trouble? Consult your hosting provider, as they can provide insights into server-related issues or configurations that may need to be changed.
Conclusion
Increasing upload limits in All-In-One WP Migration doesn’t have to be a daunting task. With a little bit of configuration in your server settings and some foresight about potential issues, you can smoothly import or export your WordPress site without a hitch.
Remember, the key steps include:
- Editing your
php.inifile to adjust the relevant settings. - Exploring your web hosting provider’s control panel for any customizable limits.
- Understanding and troubleshooting common issues that may arise during your upload process.
By following these guidelines, you’ll be better equipped to handle larger files and ensure that your WordPress site migration goes off without a hitch. In the end, don’t forget to maintain regular backups of your site to prevent any surprises in the future. Happy migrating!


