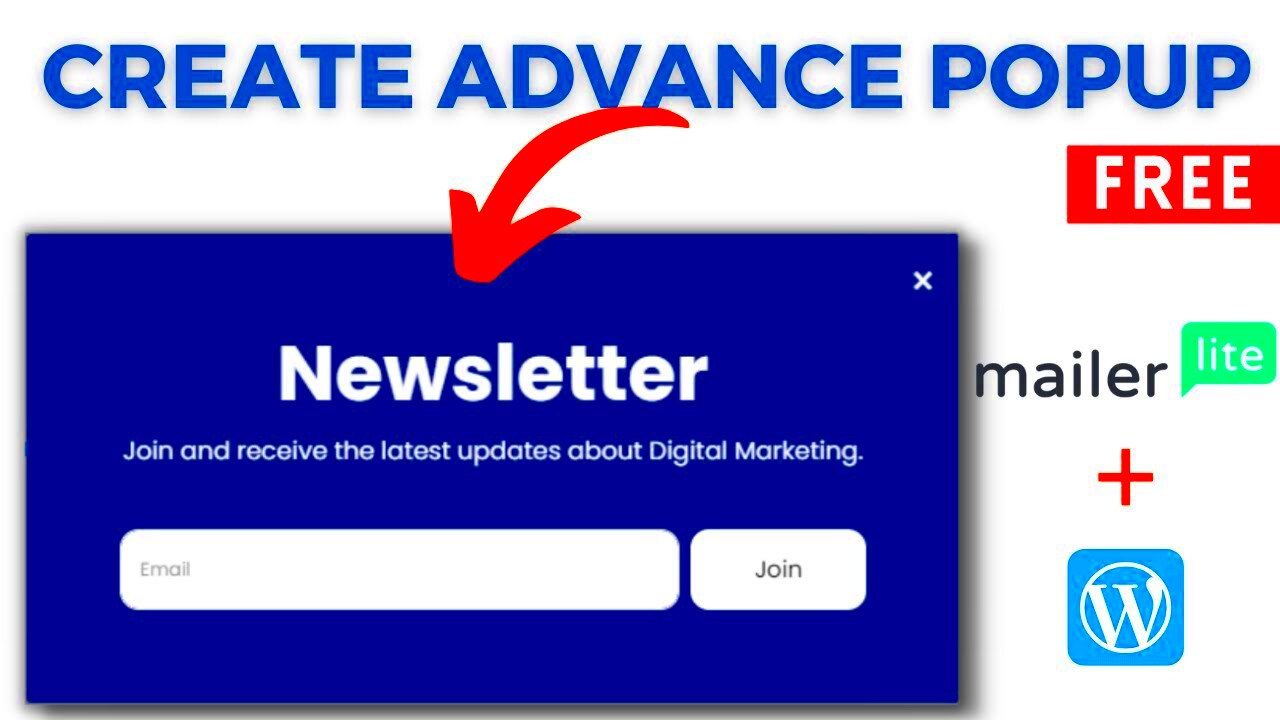
Custom popup forms in WordPress are a powerful tool for capturing leads, promoting special offers, or gathering feedback from your website visitors. They appear as overlays that grab attention, offering a non-intrusive way to engage users. These forms can be set to appear based on various triggers, such as time spent on the page or scrolling behavior, making them highly effective for boosting conversions.
When used correctly, popup forms can lead to higher engagement and help you grow your email list, increase sales, or promote content more effectively. Customization allows you to tailor the design, functionality, and behavior of these popups to fit your site’s needs, making them an essential tool in any WordPress website owner’s toolkit.
Why Use MailerLite for Popup Forms?

MailerLite is a popular email marketing tool known for its simplicity and effectiveness. Using MailerLite for popup forms on your WordPress website offers several advantages:
- Ease of Use: MailerLite provides an intuitive drag-and-drop editor that makes creating popup forms straightforward, even for beginners.
- Customizability: You can customize the appearance of your popup forms to match your branding. Choose from different templates or design your own form.
- Seamless Integration: The MailerLite WordPress plugin integrates easily with your website, allowing you to add forms without any coding knowledge.
- Advanced Targeting: MailerLite allows you to control when and where your popups appear, optimizing them based on user behavior like exit intent or time on page.
- Automation Features: With MailerLite, you can automate follow-up emails and integrate your popup forms with other marketing tools, streamlining your marketing efforts.
Overall, MailerLite’s features make it an ideal choice for adding custom popup forms that not only look great but also drive results.
Steps to Implement a Custom Popup Form Using MailerLite in WordPress
Implementing a custom popup form using MailerLite in WordPress involves several simple steps. Follow this guide to get started:
Step 1: Install the MailerLite Plugin
First, you need to install the MailerLite plugin on your WordPress website. Here’s how:
- From your WordPress dashboard, go to Plugins > Add New.
- Search for MailerLite in the plugin search bar.
- Click Install Now and then Activate the plugin.
Once activated, the plugin will be ready for use.
Step 2: Create an Account on MailerLite
If you don’t have a MailerLite account yet, you’ll need to create one. Visit the MailerLite website and sign up for a free or paid plan depending on your needs. Once your account is set up, you’ll get access to the MailerLite dashboard, where you can manage your email marketing and popup forms.
Step 3: Design Your Popup Form
In the MailerLite dashboard, navigate to the Forms section. Select Create Popup and choose from a variety of templates or start from scratch. Here, you can:
- Customize the design: Use the drag-and-drop editor to add text, images, and fields. Make sure your popup form aligns with your website’s style.
- Set triggers: Choose when the popup will appear (e.g., after a certain amount of time, when a user scrolls down, or when they attempt to leave the page).
- Add targeting rules: Decide which pages or posts the popup will appear on, and set the conditions for its display (e.g., showing the popup to first-time visitors only).
Step 4: Integrate the Popup with WordPress
After designing your form, you need to connect it to your WordPress website:
- Go to the MailerLite plugin settings in your WordPress dashboard.
- Enter your MailerLite API key (you can find this in your MailerLite account under Account Settings).
- Choose the form you created from the list of available popups and save your settings.
Once connected, your popup form will automatically display on your WordPress website as per the settings you configured.
Step 5: Test the Popup Form
Before going live, it’s essential to test your popup form. Ensure that:
- The popup appears at the right time.
- It displays correctly across different devices and screen sizes.
- The form fields work properly, and data is being captured in MailerLite.
Test the popup multiple times to check its performance. You can also tweak the form’s design or behavior based on the results.
Installing the MailerLite Plugin
Installing the MailerLite plugin on your WordPress website is quick and simple. Once installed, it seamlessly integrates MailerLite’s powerful email marketing tools with your site. Here’s how to do it:
- From your WordPress dashboard, navigate to Plugins > Add New.
- In the search bar, type in MailerLite and press enter.
- Click the Install Now button next to the MailerLite plugin.
- After installation, click Activate to enable the plugin on your website.
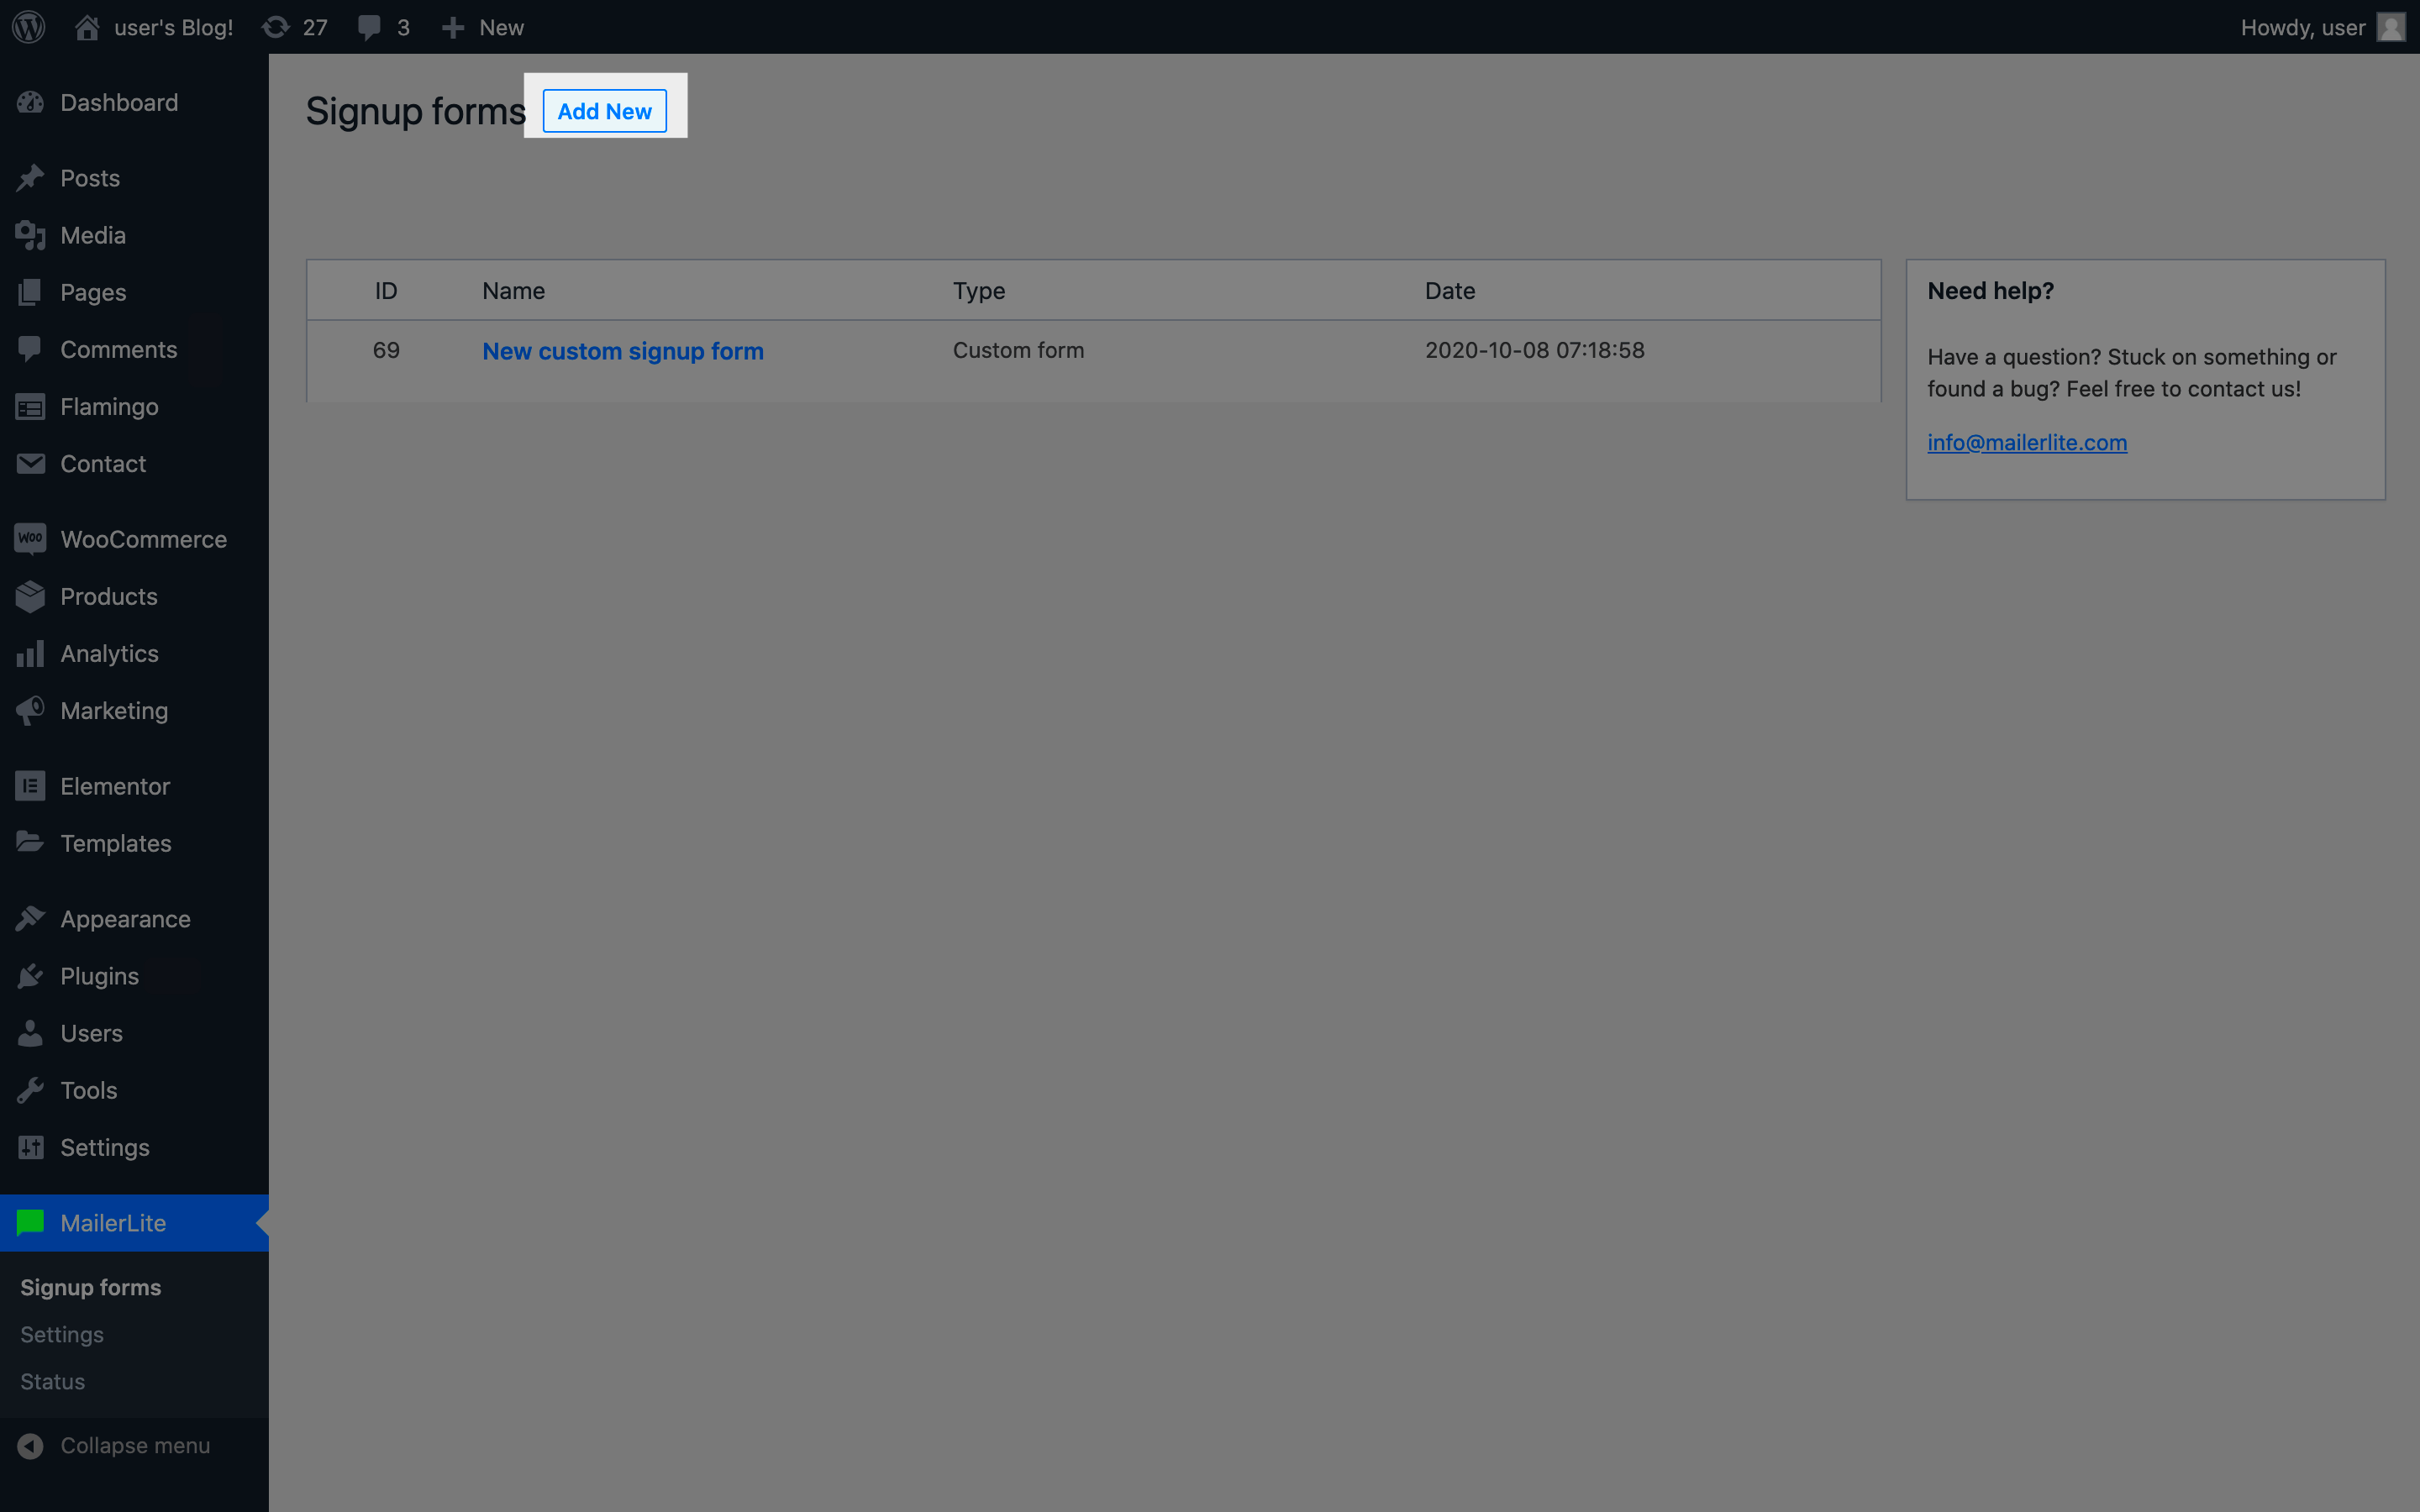
Once activated, you’ll notice a new menu item for MailerLite in your WordPress dashboard. This is where you’ll manage everything related to email forms and campaigns. Before proceeding with creating popups, it’s essential to connect the plugin to your MailerLite account.
To do so:
- Go to the MailerLite tab in the dashboard and click Settings.
- Here, you’ll find an option to enter your API key. You can get this key from your MailerLite account by navigating to Account Settings > API.
- Copy the API key from MailerLite and paste it into the plugin settings on WordPress.
- Click Save Changes.
Now, your WordPress site is connected to MailerLite, and you can start creating custom forms and popups to boost your site’s engagement.
Creating and Customizing Your Popup Form in MailerLite
Once you’ve installed and activated the MailerLite plugin, it’s time to create your custom popup form. MailerLite offers a user-friendly drag-and-drop editor that makes this process easy and fun. Here’s how to get started:
Step 1: Access the Popup Form Builder
In the MailerLite dashboard, go to Forms and click on Create Popup. You will be presented with a variety of templates to choose from. Pick one that fits your site’s style or start with a blank canvas.
Step 2: Design Your Popup
The editor lets you easily add elements like:
- Text: Add a catchy headline or offer description that grabs the visitor’s attention.
- Images: Use visuals to make the popup more engaging.
- Input Fields: Include fields like name and email to collect user information. You can add custom fields if needed.
- Buttons: Add clear call-to-action buttons, such as “Subscribe Now” or “Get Your Offer.”
Use the design tools to adjust the layout, font styles, colors, and more. Customize everything to match your website’s branding for a seamless user experience.
Step 3: Set Display Rules and Triggers
Next, decide when and where your popup form will appear. MailerLite allows you to set rules based on:
- Time-based triggers: Show the popup after a certain time spent on the page.
- Scroll depth: Trigger the popup after a user scrolls a specific percentage of the page.
- Exit intent: Display the popup when the user moves their mouse towards the top of the screen (indicating they might leave the page).
- Page-specific rules: Show the popup only on specific pages or posts on your website.
These triggers help ensure your popup doesn’t annoy visitors while still being highly effective in converting them.
Step 4: Save and Preview Your Popup
Once you’re happy with the design and settings, save your form. You can preview how it will look on different devices, ensuring it is responsive and user-friendly.
Adding the Popup Form to Your WordPress Website
Now that your custom popup form is ready, it’s time to add it to your WordPress website. Thanks to the MailerLite plugin, this process is simple. Follow these steps:
Step 1: Connect the Popup Form with WordPress
Once your popup is created, go back to the WordPress dashboard and find the MailerLite menu. Click on the Forms section, where you will see your newly created popup form listed. Simply select it, and the form will automatically be connected to your site.
Step 2: Customize Display Settings
After connecting the form, you can adjust how it appears on your site:
- Popup frequency: Decide how often the popup will show to the same user (e.g., once every 30 days).
- Mobile optimization: Ensure that your popup looks great on all devices, including smartphones and tablets.
- Animation effects: Add subtle animations to make the popup more eye-catching when it appears on the screen.
Step 3: Publish the Popup Form
After you’ve customized the settings, click Publish to make the form live on your website. MailerLite will automatically inject the necessary code into your WordPress site to display the popup form according to your set rules.
Step 4: Test and Adjust the Popup
It’s important to test the popup on your website. Make sure the triggers work as expected, and that the form displays correctly on different screen sizes. If necessary, make adjustments to improve the user experience or increase conversions.
That’s it! You’ve successfully added a custom popup form to your WordPress site using MailerLite. With this tool, you can capture leads, increase engagement, and promote offers effectively.
Testing and Optimizing Your Popup Form
After setting up your popup form using MailerLite, it’s crucial to test and optimize it for maximum effectiveness. Testing helps you ensure that the form is working as expected, and optimization helps improve conversions. Here’s how to do both:
Step 1: Test the Popup’s Functionality
Before you make your popup live, it’s essential to test it across multiple scenarios:
- Popup Triggers: Check if the form appears at the correct times (after a specific time, when the user scrolls, or on exit intent).
- Responsive Design: Test how the popup looks on different devices, such as desktops, tablets, and mobile phones.
- Form Fields: Ensure all form fields are working properly, especially for data collection (e.g., email addresses).
- Close Functionality: Verify that users can easily close the popup if they wish to without any glitches.
Step 2: Monitor User Engagement
Once the popup is live, track its performance using analytics. Check these key metrics:
- Conversion Rate: How many visitors are actually filling out the form?
- Exit Rate: Are visitors leaving your site quickly after the popup appears? If so, your form might be too intrusive.
- Interaction Rate: Are users interacting with the form, or is it just showing up without action?
Step 3: Optimize Based on Results
If your popup isn’t performing well, don’t worry! You can tweak it based on the data you gather. Here’s how to improve your form’s performance:
- Adjust Timing: If the popup is appearing too early or too late, modify the trigger time.
- Improve Design: Make sure the form is visually appealing and aligns with your website’s branding.
- Clear Call-to-Action: Ensure the text on your buttons is compelling and clear, such as “Sign Up Now” or “Get Your Discount.”
By continuously testing and optimizing your popup, you can boost its effectiveness, leading to higher engagement and conversions on your WordPress site.
FAQ
Here are some frequently asked questions about using MailerLite to implement popup forms on your WordPress website:
1. How do I add multiple popup forms to my WordPress site?
With MailerLite, you can create and display multiple popup forms. To add different popups, simply create new forms in the MailerLite dashboard, and configure them with unique triggers or display rules. Each form can be assigned to specific pages or posts.
2. Can I target popups to specific user groups?
Yes! MailerLite allows you to set advanced targeting rules based on user behavior, like showing popups to new visitors or those who have spent a certain amount of time on the page. You can also display popups to users from specific countries or segments.
3. Is it possible to customize the popup’s design without coding?
Absolutely! MailerLite’s drag-and-drop editor makes it easy to customize the popup form’s design without any coding. You can adjust colors, fonts, images, and button styles to match your site’s branding and make the popup visually appealing.
4. How can I track the performance of my popup form?
MailerLite offers built-in analytics to track the performance of your popups. You can see important metrics like conversion rates, exit rates, and user engagement to help you evaluate the form’s success and optimize it further.
5. Are popups mobile-friendly?
Yes, MailerLite’s popup forms are fully responsive and mobile-friendly. The editor automatically adjusts the design for different screen sizes, ensuring that your popup looks great on desktops, tablets, and smartphones.
Conclusion
Popup forms are a powerful tool for engaging visitors and collecting leads on your WordPress site. By integrating MailerLite, you can create customized, eye-catching forms that convert visitors into subscribers or customers. Whether you’re offering a discount, gathering emails for your newsletter, or promoting a special offer, popups can significantly improve user engagement.
Remember, creating an effective popup isn’t just about adding a form—it’s about testing, optimizing, and ensuring that the popup works well across all devices. With MailerLite, you can easily manage your popups, track performance, and make improvements that boost your conversion rates. With the right approach, popups can become a valuable asset to your website’s marketing strategy.


