Are you looking to spice up your WordPress header? Having two lines of text can give your website a fresh, organized look that enhances your branding. Whether it’s your site title and slogan, or a catchy tagline alongside your logo, this simple change can pack a punch. In this guide, we’ll walk you through the steps to achieve this, ensuring your header is not only visually appealing but functional as well. Ready to make your header stand out? Let’s dive in!
Understanding WordPress Header Structure

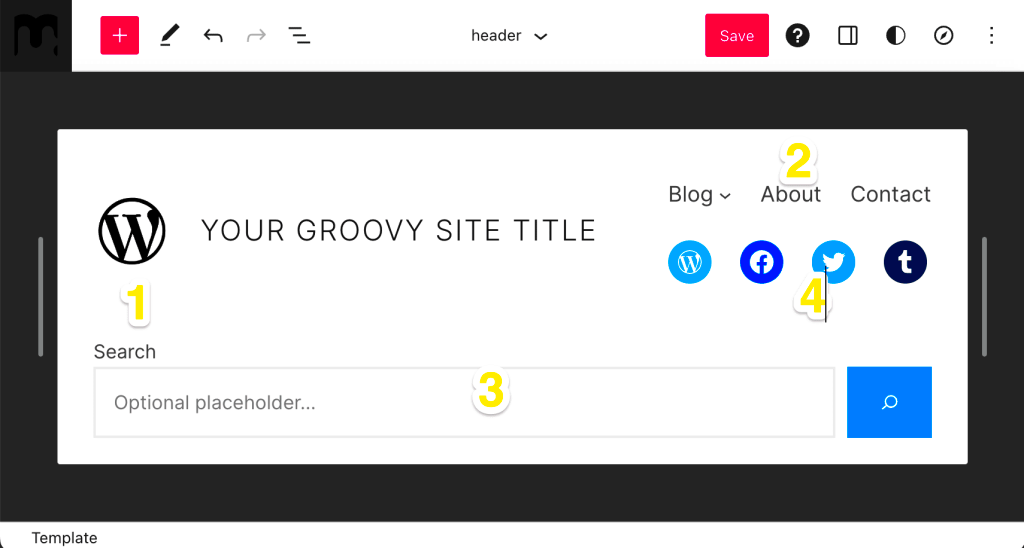
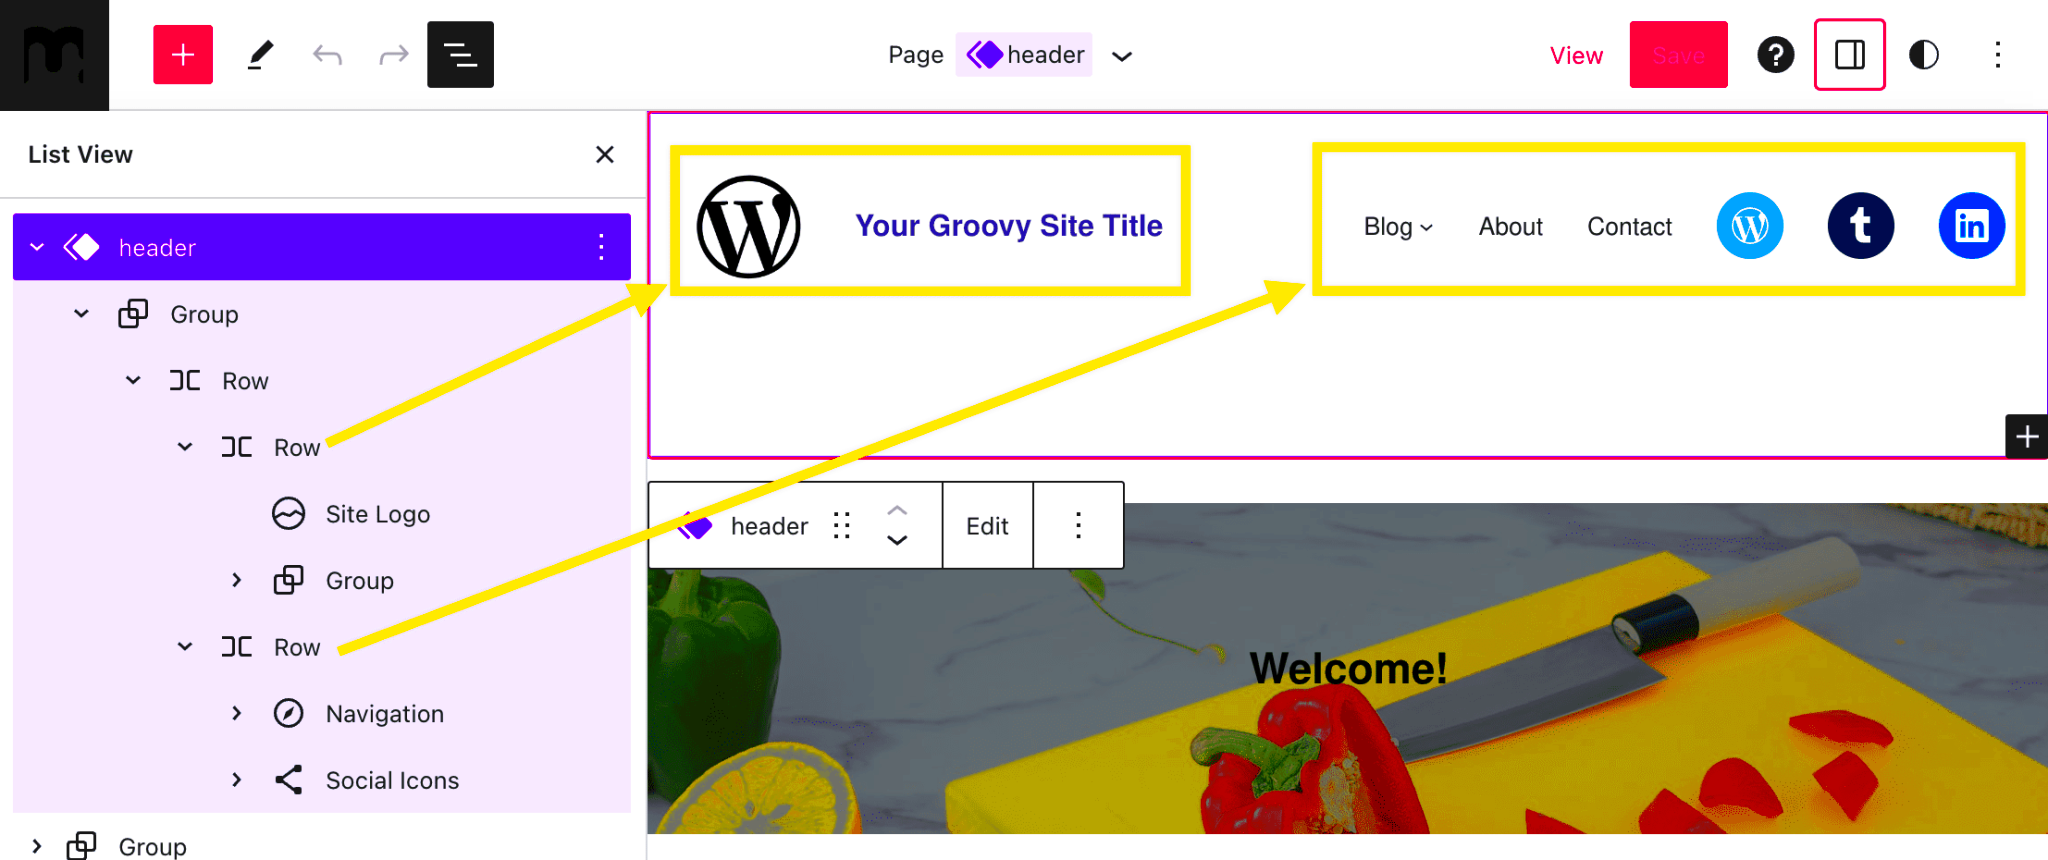
Before diving into how to adjust your header, it’s important to understand the structure of a WordPress header. At its core, the header is the top section of your website that typically includes:
- Site Title: This is the main name of your website.
- Tagline: A brief description or slogan that encapsulates what your site is about.
- Logo: An image representation of your brand, often placed prominently.
- Navigation Menu: Links that help users find their way around your site.
The header is made up of several elements, and knowing how they work together is key to making any modifications. Generally, the header layout will depend on the WordPress theme you’re using, but most modern themes allow some customization.
Let’s break down these elements further for clarity:
| Element | Description |
|---|---|
| Site Title | Main identifier of your website, often linking back to the homepage. |
| Tagline | Offers a succinct summary of your site’s purpose or theme. |
| Logo | Visual representation of your brand, reinforcing your identity. |
| Navigation Menu | Essential for user experience, helping visitors find content easily. |
Understanding these components will help you when we get into how to modify them for two lines of text. You’ll be well-equipped to tailor your header to fit your vision!
Methods to Create Two Lines of Text

When it comes to having two lines of text in your WordPress header, there are a few methods you can explore. Each method varies in complexity and customization options, but all of them will help you achieve a neat, organized header that aligns with your website design. Here are a couple of popular methods you can try:
- Through Theme Customizer: Many WordPress themes come with default options in the theme customizer. This is the easiest method if you’re looking for a quick fix. Simply navigate to Appearance > Customize > Header, and check if there are any options for header text. You might find a field that allows you to enter multiple lines of text by using a special separator such as a line break.
- Using a Page Builder Plugin: If you’re using a page builder like Elementor or Beaver Builder, you can easily add two lines of text to your header. These builders allow more flexibility regarding the content and design, which can help you create stunning headers without any coding knowledge.
- Text Widget in Header Area: If your theme supports widgets in the header area, you can use a text widget to add your text. Simply go to Appearance > Widgets, drag the text widget to your header widget area, and enter your text with a line break.
Remember, regardless of the method you choose, testing your header on different screen sizes is crucial to ensure responsiveness. Striking a balance between aesthetics and functionality is the key to a successful header design!
Using Custom CSS

If you’re comfortable tweaking a little code and want a more tailored approach, using custom CSS is a fantastic option for creating two lines of text in your WordPress header. Here’s a step-by-step guide to help you implement this method effectively:
- Access the Customizer: Head over to your WordPress dashboard, click on Appearance, and then on Customize. This will open the theme customizer.
- Locate the Additional CSS Tab: In the customizer menu, look for a section labeled “Additional CSS.” This is where you’ll input your custom styles.
- Input Your Custom CSS: You can use the following CSS code as an example to create a two-line header:
.site-title { display: block; line-height: 1.5; /* Adjust line height as needed */ margin: 0; } .site-description { display: block; font-size: 0.8em; /* Adjust font size for the second line */ } - Publish Your Changes: After pasting the code, be sure to hit the “Publish” button to make your changes live on your site.
With this method, you can also further customize the appearance of your text by modifying properties such as color, font, and spacing. Custom CSS gives you the creative freedom to style your header text exactly the way you want it!
Editing Header.php File

Editing the header.php file in WordPress can feel a bit intimidating if you’re new to web development, but don’t worry—it’s quite manageable once you grasp the basics! The header.php file is a crucial part of your theme, as it essentially dictates how your site’s header is structured and what it displays.
To get started, you’ll first want to navigate to your WordPress dashboard. From there, follow these steps:
- Go to Appearance and then click on Theme Editor.
- Once the editor opens, you’ll see a list of theme files on the right side. Look for
header.php. - Click on
header.phpto open it in the editor.
Before making any changes, it’s a good idea to create a backup of the file or even your entire theme. This way, if something goes wrong, you can easily revert back to the original setup.
Now, within the header.php file, you can locate the section where the site title or tagline is displayed, commonly wrapped in <h1> or <h2> tags. To add a second line of text, you can do something like this:
<h1>Your Site Title</h1><h2>Your Tagline Here</h2>
After adding your second line of text, save the changes! Be sure to preview your site to ensure that everything looks just as you envisioned it. If something doesn’t look right, you can always go back to the Theme Editor and make further tweaks.
Utilizing Header Widgets
Header widgets can be a fantastic way to add a second line of text to your WordPress header without the need to dive deeply into coding. Many WordPress themes, especially those from the newer generation, come with widget-ready areas that allow you to place additional content easily.
To utilize header widgets, follow these straightforward steps:
- Navigate to Appearance and click on Widgets.
- Look for a widget area labeled something like Header or Header Widget Area.
- Drag and drop a
Textwidget orCustom HTMLwidget into the header area.
In your widget, you can input the second line of text, format it as you wish, and even add links or images if your widget type supports it. Here’s a quick example of what you might input:
<h2>Your Tagline Here</h2>
Once you’ve added your content, be sure to hit Save. Then, refresh your website to see the changes. If it looks great, you’re all set! If not, feel free to return to the widgets area and make any necessary adjustments.
Utilizing header widgets is a non-code way to achieve the customization you’re looking for, making it perfect for those who prefer a straightforward approach to website design.
7. Testing Responsiveness
Once you’ve set up your two lines of text in your WordPress header, it’s essential to check how that looks across different devices. Responsive design ensures your website looks great no matter what screen it’s on—be it a desktop, tablet, or mobile phone. Here’s a step-by-step approach to testing responsiveness:
1. Use Browser Developer Tools
Most modern browsers come equipped with developer tools that let you preview how your site appears on various devices. Here’s how you can do it:
- Right-click anywhere on your webpage and select “Inspect” or “Inspect Element.”
- Click the device toggle icon, usually a smartphone and tablet icon, within the developer tools panel.
- Select different device presets to see how your header text adjusts.
2. Resize Your Browser
Another simple method is to manually resize your browser window. As you make it smaller, watch how your two lines of text behave. Are they still legible, or do they overlap?
3. Test on Real Devices
While developer tools are useful, nothing beats checking your website on actual devices. Load your site on different smartphones and tablets. Are the lines clear and cohesive, or do they spill over into each other? Consider asking friends or colleagues to test it too!
4. Use Online Tools
There are plenty of online tools available, like BrowserStack or Responsive Design Checker, that help you preview your site on multiple devices. These can give you a more comprehensive view of how your header looks across the board.
By thoroughly testing responsiveness, you ensure that visitors to your site have a seamless experience, no matter how they access it. So go ahead, make those adjustments, and ensure your header shines everywhere!
8. Conclusion
Creating a two-line header in WordPress can significantly enhance your site’s visual appeal and communication. By breaking up your text, you can effectively convey your message without overwhelming visitors. However, implementing this isn’t just about the aesthetics; you also want to make sure your design remains user-friendly and responsive.
Key Takeaways:
- Utilize custom CSS or plugins for easy formatting of header text.
- Always preview changes on both desktop and mobile versions to check responsiveness.
- Test across various devices to ensure a consistent and engaging user experience.
In conclusion, a well-designed header not only grabs attention but also sets the tone for what’s to come on your site. Take the time to craft it thoughtfully, keep testing, and remember—your visitors will appreciate a header that’s easy to read and visually appealing. Happy designing!


