Elementor is a powerful drag-and-drop page builder for WordPress and it comes packed with features that make designing websites a breeze. One of its standout features is the ability to use templates. Elementor templates are pre-designed sections and entire pages that you can easily modify to suit your needs. Whether you’re a newbie or a seasoned web designer, these templates save you time and help you create stunning pages without starting from scratch.
Why Use Templates in Elementor?

There are plenty of reasons to fall in love with Elementor templates. Let’s break down some of the key benefits:
- Time-Saving: Instead of building a page from the ground up, you can quickly insert a template and customize it, saving hours of design work.
- Professional Quality: Templates are often designed by professionals, ensuring that your website looks polished and high-quality right from the start.
- Consistency: Using templates helps maintain a consistent style and layout across different pages of your site, which enhances user experience.
- Flexibility: Need to tweak a template? Elementor allows you to easily change colors, fonts, and layout to align with your brand identity.
- No Coding Required: Templates are great for those who lack coding skills. You can achieve sophisticated designs without touching a line of code.
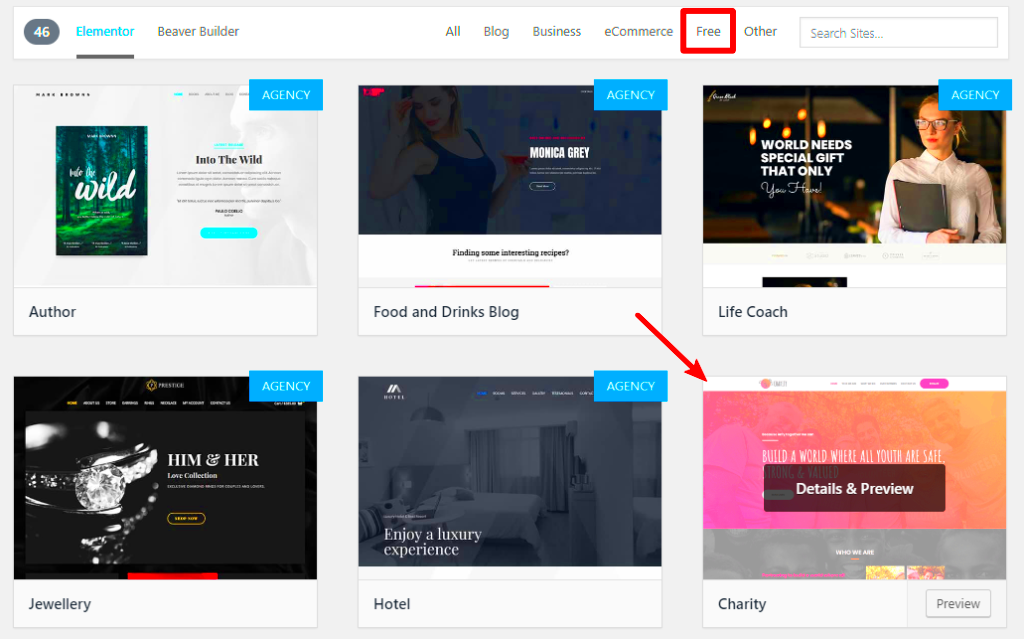
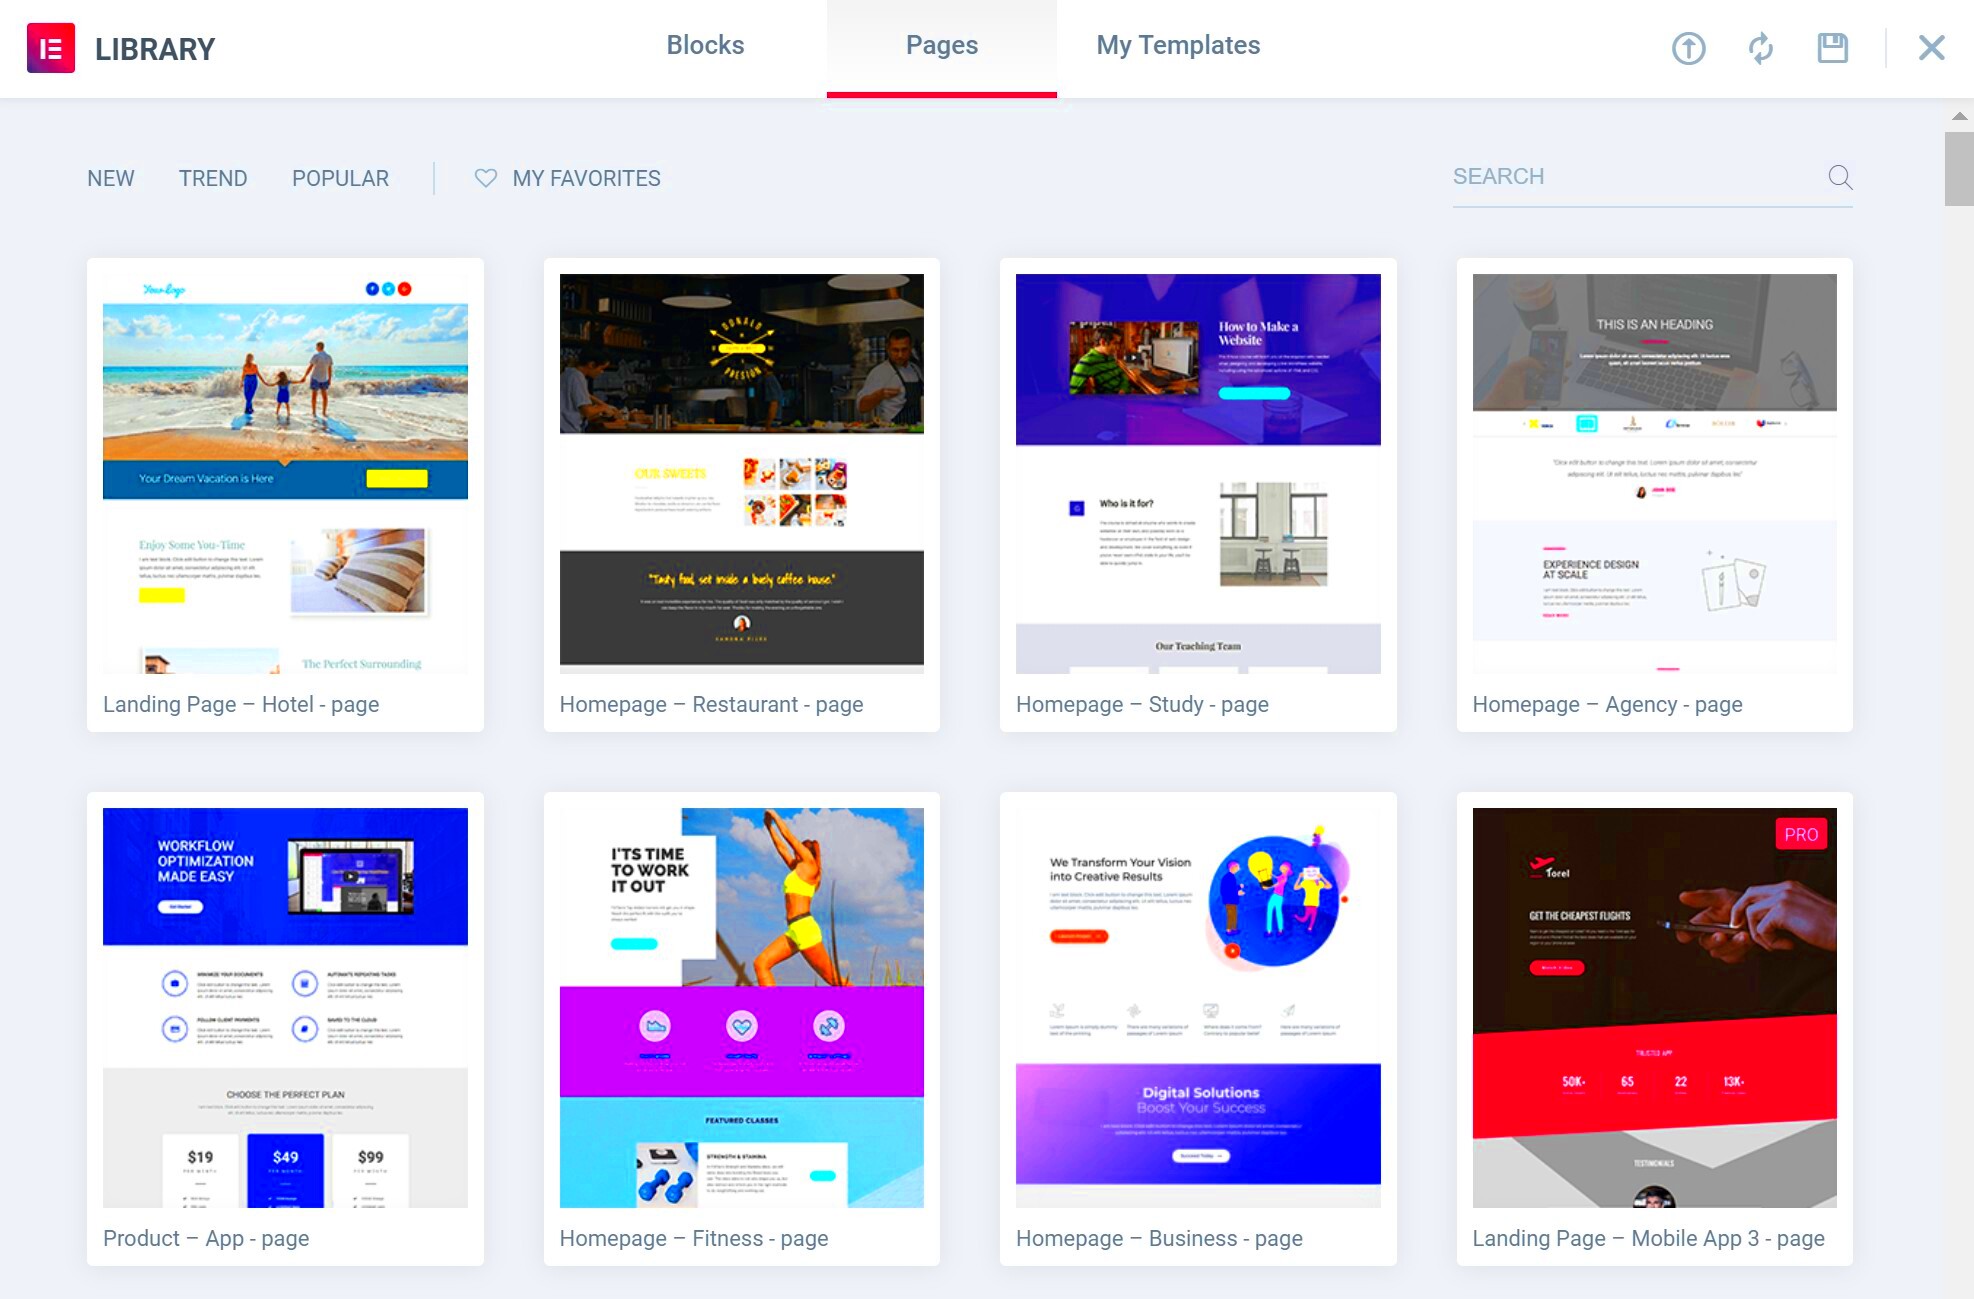
Additionally, Elementor offers a wide variety of templates that cater to different industries and purposes. This means you’ll likely find something that fits your needs perfectly. Select from landing pages, service pages, portfolios, and more!
In summary, using templates in Elementor enhances productivity, provides quality designs, and allows for easy customization, making them an invaluable tool for anyone looking to build or improve their WordPress site.
Accessing Templates in Elementor
Accessing templates in Elementor can be a smooth and intuitive process, especially if you’re familiar with the WordPress interface. First, you need to log into your WordPress dashboard. Once you’re in, navigate to the “Templates” section, which you can find in the left-hand menu. Here, you’ll be greeted by two options: “Saved Templates” and “Theme Builder.” Let’s break down how to access each of these:
- Saved Templates: This is where all your custom templates live. If you’ve created or imported templates earlier, they will appear here. To access them, simply click on “Templates” and then select “Saved Templates.” You’ll see a list of all your saved designs. From here, you can either edit an existing template or create a new one.
- Theme Builder: For those of you looking for a more dynamic approach, the Theme Builder is your best friend! It allows you to create and manage templates for various parts of your site, like headers, footers, single post layouts, and archives. To access it, click on “Templates” and then choose “Theme Builder.” This takes you to an interface where you can create new templates for these specific areas.
To create a new template, whether from the “Saved Templates” or “Theme Builder” section, just click on the “Add New” button. Select the type of template you want, and Elementor will guide you through the setup. Pretty straightforward, right?
Types of Templates Available
Elementor offers a variety of templates that cater to different needs and preferences. Let’s explore the main types of templates available, so you can pick the one that fits your project best:
- Page Templates: These are designed for individual pages and can serve various purposes, such as landing pages, about pages, or service listings. They can either be built from scratch or based on pre-existing structures.
- Section Templates: Sometimes, you don’t need a full page; you just need a specific section! Section templates help you incorporate ready-made sections like CTAs (Call to Actions), testimonials, or galleries into your pages.
- Blocks: These are even smaller than sections. They are snippets of content, like a header or footer, which you can easily drag and drop inside your existing layouts.
- Header and Footer Templates: The Theme Builder allows you to create global header and footer designs that will be automatically applied to your site’s pages. This consistency is vital for branding!
- Single Post Templates: If you run a blog or publish articles, single post templates allow you to define how individual blog posts are displayed, including elements like post title, author information, and featured images.
- Archive Templates: These templates manage how all your blog posts or custom post types are displayed in an overview format, ensuring that your site has a cohesive and organized layout.
With these various templates at your disposal, you can create a sophisticated, visually appealing website without needing to start from scratch each time. It’s like having a toolbox filled with everything you need to build your online presence!
Creating a New Template
Creating a new template in Elementor is a breeze, and it’s a fantastic way to streamline your design process for future projects. This feature allows you to save your custom layouts and styles, making them available for use across multiple pages. It’s like having your very own design library at your fingertips!
Here’s a quick step-by-step guide on how to create a new template:
- Open Elementor Editor: First, start by opening the Elementor editor on a page where you’d like to design your template.
- Design Your Page: Use Elementor’s drag-and-drop interface to construct your page. This includes adding sections, widgets, and customizing them to match your vision.
- Access the Templates Panel: Once your design is set, click on the arrow next to the ‘Update’ button at the bottom left corner of the screen. This will bring up the ‘Templates’ panel.
- Save as Template: Click on ‘Save as Template.’ A pop-up will appear prompting you to name your template. Choose a descriptive name that reflects its purpose, then hit ‘Save’.
- Confirm and Exit: You’ll receive a confirmation message once your template is saved. You can now exit the editor, and your new template will be available in the Templates library whenever you need it!
And just like that, you now have a reusable template ready to go! This not only saves time but also ensures design consistency across your site, making it a valuable tool in your Elementor toolkit.
Importing and Exporting Templates
Another fantastic feature of Elementor is the ability to import and export templates. This is especially handy when you’re working on multiple projects or collaborating with others. Sharing your unique designs or importing templates from other sources can elevate your website to a whole new level!
Here’s how you can effortlessly import and export templates in Elementor:
Exporting a Template
- Go to Templates: From your WordPress dashboard, navigate to ‘Elementor’ > ‘Templates’.
- Find Your Template: Locate the template you want to export in the list.
- Export: Hover over the template title, and you’ll see an ‘Export’ option appear. Click it, and your template will download as a .json file.
Importing a Template
- Go to Templates: Similar to exporting, navigate back to ‘Elementor’ > ‘Templates.’
- Import Templates: At the top, click on the ‘Import Templates’ button.
- Select Your File: Choose the .json file you previously downloaded or received from a colleague.
- Upload and Confirm: Hit the ‘Import Now’ button to upload your template. Once imported, it will be available in your template library!
Using these steps, you can easily share templates with your team or use templates designed by others, adding a versatile edge to your design projects. Embrace the flexibility that importing and exporting templates in Elementor offers, and watch your design workflow become more efficient!
7. Customizing Templates in Elementor
Customizing templates in Elementor is not only straightforward but also a fun process that allows you to unleash your creativity. Once you’ve selected a template, the real magic happens when you start tailoring it to your preferences. Here’s a quick guide to get you rolling:
- Accessing the Template: Start by opening the template you want to customize, either in the Elementor editor or from your saved templates. Don’t worry; it’s very user-friendly!
- Section and Widget Adjustment: You can click on various sections or widgets on your template. When you click, you’ll notice a settings panel on the left side. This is where you can change text, images, and styles quite easily.
- Styling Your Content: Use the Style tab to adjust things like fonts, colors, and spacing. Choose a color palette that matches your website’s theme or branding.
- Layout Flexibility: You have the flexibility to resize sections, add new ones, or even remove elements you don’t need. Just drag and drop to get it right!
- Responsive Adjustments: Don’t forget about mobile users! Switch to tablet or mobile view in the Elementor editor and make necessary adjustments to ensure your template looks great on all devices.
Customizing templates in Elementor allows you to add a personal touch, making your website truly yours. Always preview your changes to see how they appear before publishing. Happy customizing!
8. Publishing and Managing Templates
Once you’ve created your masterpiece using Elementor templates, it’s time to publish and manage them effectively. This step is crucial because a well-managed template ensures consistent branding and easy updates across your site. Here’s how you can go about it:
- Publishing Your Template: After final adjustments, simply hit the Publish button in the Elementor editor. You can also set specific visibility options, like private or public.
- Accessing Your Templates: To view your published templates, navigate to the Templates section in the WordPress dashboard. There, you will find all of your saved and published templates neatly organized.
- Editing Existing Templates: If you need to make changes later, just find your template in the list, hover over it, and click Edit with Elementor. Make any necessary modifications and re-publish.
- Deleting Templates: If you find templates that you no longer need, you can easily delete them by hovering over the template and selecting Delete.
- Importing and Exporting: Elementor allows you to import and export templates. Use this feature if you want to share templates across different sites or save backups.
Managing your templates effectively ensures your site remains cohesive and professional. So, take your time with this process and don’t hesitate to tweak things as you go! Remember, consistency is key!
Troubleshooting Common Issues with Elementor Templates
Using Elementor for building stunning websites can be a breeze, but every now and then, you might bump into some hiccups—especially when it comes to templates. Here’s a guide to help you troubleshoot the most common issues you might face with Elementor templates:
- Templates Not Loading: If your templates aren’t loading, it could be due to a plugin conflict. Try deactivating plugins one by one to identify the troublemaker.
- Elementor Stuck on Loading: Sometimes, the editor might stay stuck on ‘Loading’. This could be a memory issue. Increase your PHP memory limit or clear your browser cache and cookies.
- Broken Layouts: If your templates look off, check if the theme you’re using is compatible with Elementor. A good test is to switch to a default theme like Hello Elementor.
- Missing Templates: If you can’t find your saved templates, make sure you’re looking in the right section within the Elementor dashboard. It’s easy to get lost, so double-check the ‘Templates’ area.
- Template Import Errors: While importing templates, errors might occur. Ensure that the template file is in the right format (.json) and that you have the latest version of Elementor.
It’s always smart to keep your Elementor and WordPress versions updated to minimize issues. And don’t forget to check the Elementor community forums—there’s usually someone who has encountered the same problem!
Conclusion and Final Tips
So, you’ve learned how to navigate Elementor templates and troubleshoot common problems. Before you dive into your next big project, here are a few final tips to make your Elementor experience even smoother:
- Backup Frequently: Always back up your website regularly. This way, if there’s ever a mishap with your templates, you can restore your site quickly.
- Stay Updated: Keeping Elementor and other plugins updated minimizes compatibility issues. Check for updates weekly!
- Experiment with Templates: Don’t hesitate to experiment. Elementor provides tons of ready-to-use templates—utilize them as a springboard for your designs.
- Utilize the Elementor Community: Join forums and Facebook groups. The Elementor community is robust and filled with wealth of knowledge.
- Documentation is Key: Familiarize yourself with the official Elementor documentation, as it’s an essential resource full of guides and tips.
By keeping these tips in mind, your journey with Elementor will be not just productive, but also enjoyable. Happy designing!


