Have you ever found yourself scratching your head, trying to locate all the completed orders in your WooCommerce store for the year? Well, you’re not alone! Many store owners face similar challenges. Luckily, with the right approach, it’s easy to pull together this crucial data. In this post, we’ll explore practical techniques to get a comprehensive overview of your completed orders for the year. Whether you want to analyze sales, provide customer service, or just keep track of your performance, we’ve got you covered!
Understanding WooCommerce Order Statuses

Before diving into how to retrieve completed orders, it’s essential to grasp what order statuses are and how they function in WooCommerce.
WooCommerce uses various order statuses to keep track of where an order stands in the buying process. Here’s a quick rundown:
| Status | Description |
|---|---|
| Pending Payment | The order has been received but is awaiting payment. |
| Processing | Payment has been received, and the order is being prepared for shipment. |
| On Hold | Waiting for payment confirmation; usually involves manual verification. |
| Completed | The order has been fulfilled and shipped, with payment successfully processed. |
| Cancelled | The order was cancelled, either by the customer or the store owner. |
| Refunded | The order has been refunded either fully or partially. |
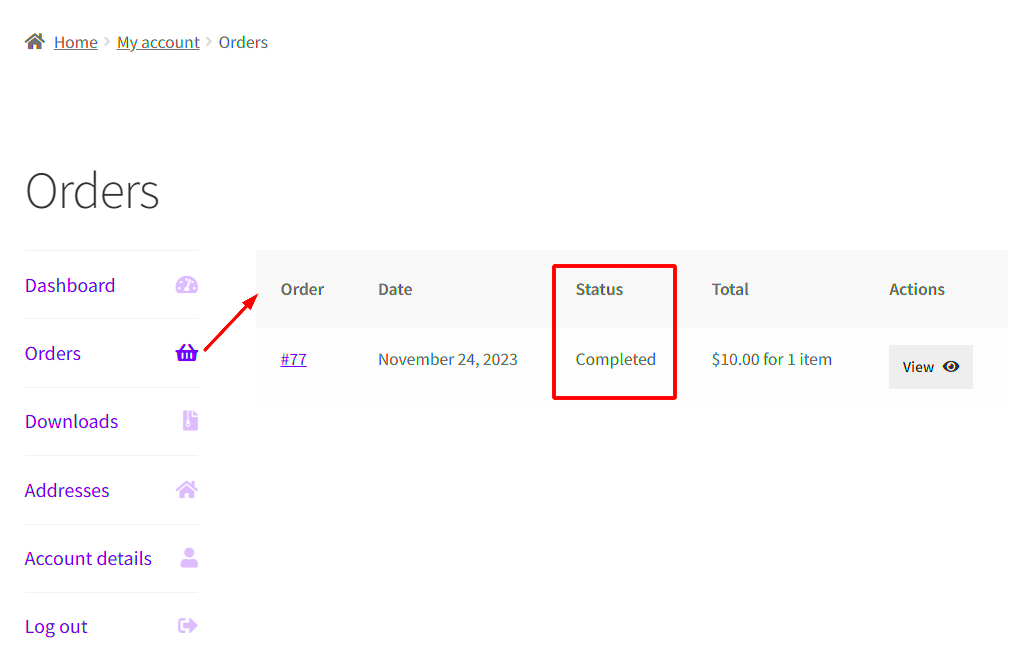
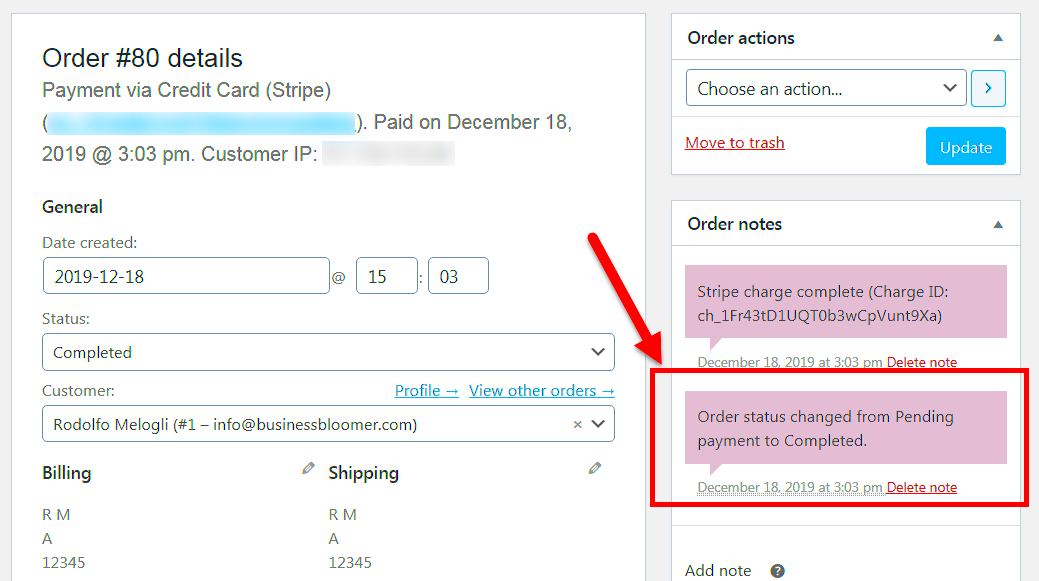
Among these statuses, the “Completed” status is particularly important as it signifies successful transactions. Understanding how to filter and track these completed orders will help you gauge your store’s performance effectively.
Accessing Completed Orders in Your WooCommerce Dashboard

Accessing completed orders in your WooCommerce dashboard is a straightforward process, but it can be a little tricky if you’re not familiar with the layout of your dashboard. Let’s break it down step-by-step.
- Log into your WordPress admin panel: Start by logging into your WordPress account where your WooCommerce store is hosted. This is your gateway to managing your online store.
- Navigate to WooCommerce: Once you’re in the admin panel, find the “WooCommerce” section on the left sidebar. Click on it to expand the options.
- Go to Orders: Under the WooCommerce section, you’ll see an option labeled “Orders.” Click on it, and you will be redirected to a page displaying all your orders.
- Filter by Order Status: To specifically view completed orders, look for a filter option at the top of the orders list. You can use the dropdown menu to select “Completed.” This will instantly refresh the page and show only those orders that have been completed this year.
- Sort and View Details: You can also sort the orders by date or total amount. When you click on an order, you’ll be able to view detailed information about the customer, items purchased, and transaction history.
And just like that, you’ve accessed all the completed orders in your WooCommerce dashboard! This list can help you analyze trends or address any customer inquiries you may have. It’s as easy as pie once you get the hang of it!
Using the WooCommerce Reports Feature

If you’re looking to dive deeper into your completed orders, the WooCommerce Reports feature is your best friend. It’s packed with insights that can help guide your business decisions for the year ahead. Let’s explore how to make the most of this tool!
- Access Reports: From the WordPress dashboard, head back to the WooCommerce section and click on “Reports.” This will take you to an overview of various report categories.
- Select Sales Reports: Click on “Sales” to view a detailed report of your transactions. Here, you’ll find a variety of data regarding new orders, completed orders, and returns.
- Adjust Date Range: To find completed orders for this year, look for the date range selector at the top. Set your start date to January 1st of this year and the end date to today’s date. This allows you to focus solely on the completed orders for the current year.
- Analyze Data: Once you’ve adjusted the date range, you can view a graphical representation of your sales. This will show you trends over time, such as peak months for sales and revenue accumulated from completed orders.
- Export Data: If you want to share this data with your team or study it further, WooCommerce allows you to export reports in various formats, making it easy to analyze elsewhere.
Utilizing the Reports feature not only gives you a clear picture of your completed orders but also empowers you to plan better for future sales and strategies. It’s like having a bird’s eye view of your business success!
Filtering Orders by Date Range
Filtering your completed orders by date range in WooCommerce is a straightforward way to view specific periods, enabling you to analyze sales trends or prepare reports for your business. Whether you’re looking to review sales for a particular month, a holiday season, or even a specific promotion, this feature can dramatically streamline your order management process.
To filter your completed orders by date range, follow these simple steps:
- Access the Orders Page: Log in to your WordPress Dashboard, navigate to WooCommerce, and click on “Orders.” This will display a list of all your orders.
- Select Filter Options: In the orders overview, look for the date filter options. Depending on your WooCommerce setup, you may find a “Filter” button or a similar concept at the top of your orders table.
- Set Your Date Range: Choose your desired “From” and “To” dates. Make sure to be precise, as even small adjustments could impact the data retrieved.
- Apply the Filter: Click the “Filter” button (or however it’s labeled). Your orders should refresh, displaying only the completed orders that fall within your specified date range.
This process not only saves time but allows you to zero in on trends and make informed decisions based on your historical sales data. Remember, analyzing your orders in batches can give you valuable insights into your business performance!
Exporting Completed Orders for Analysis
Once you have your completed orders filtered to your satisfaction, the next logical step is to export this data for deeper analysis. Exporting your completed orders allows you to create elaborate reports, back up your data, or even share your findings with your team. In this digital age, having a tangible dataset to work with can be incredibly beneficial for decision-making.
Here’s how you can easily export your completed orders:
- Use the Export Tool: If you have an export tool installed (like WooCommerce’s built-in CSV exporter or a plugin), head over to it. If not, consider installing a plugin that facilitates order exporting.
- Select Your Orders: You may want to use the previously mentioned date range filter again to narrow down the orders. Once you’re satisfied with the filtered results, look for an “Export” button on this page.
- Choose Your Data Format: Most export tools will let you choose a file format, typically CSV or Excel. Select one based on how you plan to analyze the data afterward.
- Download the File: Once you click on “Export,” the file will typically download automatically. Check your downloads folder to retrieve it.
Now that you have your completed orders exported, you can analyze them in your favorite spreadsheet software or database tools, identifying patterns, trends, and areas for improvement. Utilizing this data effectively can lead to smarter strategies and better business outcomes!
Using Plugins for Enhanced Order Management
If you’re looking to supercharge your WooCommerce order management, plugins are your best friend! The vast assortment of plugins available can help you take control of your orders like a pro. WooCommerce provides a solid foundation, but sometimes you need that extra boost. Let’s dive into a few options.
First off, consider order management plugins that simplify viewing and processing orders. A popular choice is:
- WooCommerce Order Tracker: This plugin allows customers to track their orders in real time, enhancing their experience and reducing the number of inquiries you receive.
- Advanced WooCommerce Reporting: This tool gives you in-depth insights into your orders. You can generate reports that detail sales, customer data, and inventory levels, all of which can help you make informed business decisions.
- WooCommerce PDF Invoices & Packing Slips: This handy plugin automatically generates PDF invoices and packing slips for your orders. This not only saves you time but ensures that your customers receive professional documentation.
Moreover, don’t overlook tools like AutomateWoo or WP All Export. They can automate certain tasks, like sending follow-up emails or exporting data for analysis, turning your order management into a seamless process.
It’s like having a personal assistant but without the coffee breaks! Keep in mind that not all plugins are created equal, so make sure to choose ones that suit your specific business needs and test them thoroughly before fully integrating them into your workflow.
Troubleshooting Common Issues with Order Retrieval
While WooCommerce does a great job of managing orders, you might occasionally run into a few hiccups, particularly when it comes to retrieving completed orders from this year. But don’t fret! Here’s how to troubleshoot some common issues.
1. Orders Not Showing Up? If you’re not seeing all your completed orders, it might be due to a simple filter or pagination settings. Check if you’ve accidentally set the filter to a specific date range. Navigate to the Orders page and ensure that the date filter matches your needs.
2. Database Corruption: A corrupt database can prevent order retrieval. Using a plugin like WP Optimize can help clean up your database and eliminate overhead, leading to better performance. Always back up your data before making changes!
3. Caching Issues: Sometimes, caching can cause outdated information to show. Clear your site’s cache through your caching plugin and check if your orders are now visible.
| Issue | Solution |
|---|---|
| Orders Not Showing Up | Check filters and pagination settings |
| Database Corruption | Use WP Optimize to clean database |
| Caching Issues | Clear site cache |
If these troubleshooting steps don’t resolve your issue, consider reaching out to WooCommerce support for more personalized assistance. With a little persistence, you’ll be fetching those completed orders like a breeze!
Conclusion
In summary, optimizing the process of retrieving completed orders in WooCommerce is essential for effective inventory management and customer service. With the right tools and steps, you can easily access this information and use it to make informed business decisions.


