Looking for that perfect Shutterstock image but feeling overwhelmed by the vast library? Don’t worry—you’re not alone! Finding a specific image can seem daunting, but with a few handy tips and tricks, you can streamline your search and get exactly what you need in no time. Whether you’re a designer, blogger, or just someone hunting for that one perfect picture, this guide will help you navigate Shutterstock’s search features effortlessly. Let’s dive in and make your image search quick, easy, and stress-free!
Understanding Shutterstock’s Search Functionality
Before jumping into how to find that specific image, it’s important to understand how Shutterstock’s search system works. Think of it as a smart assistant that helps you sift through millions of images to find the ones that match your criteria. The platform uses advanced algorithms, keywords, filters, and suggestions to streamline your search experience.
When you start typing in the search bar, Shutterstock doesn’t just match your words literally; it also considers related terms, popular searches, and trending categories. This means that even if your initial keywords are broad or slightly off, the platform can still guide you toward relevant results. For example, typing “sunset beach” might also suggest related searches like “dawn,” “ocean,” or “vacation,” helping you refine your search efficiently.
Here are some key components of Shutterstock’s search functionality:
- Keyword Matching: Uses your entered words to find images tagged with similar keywords.
- Auto-Suggestions: As you type, Shutterstock offers suggestions based on popular searches and your previous activity.
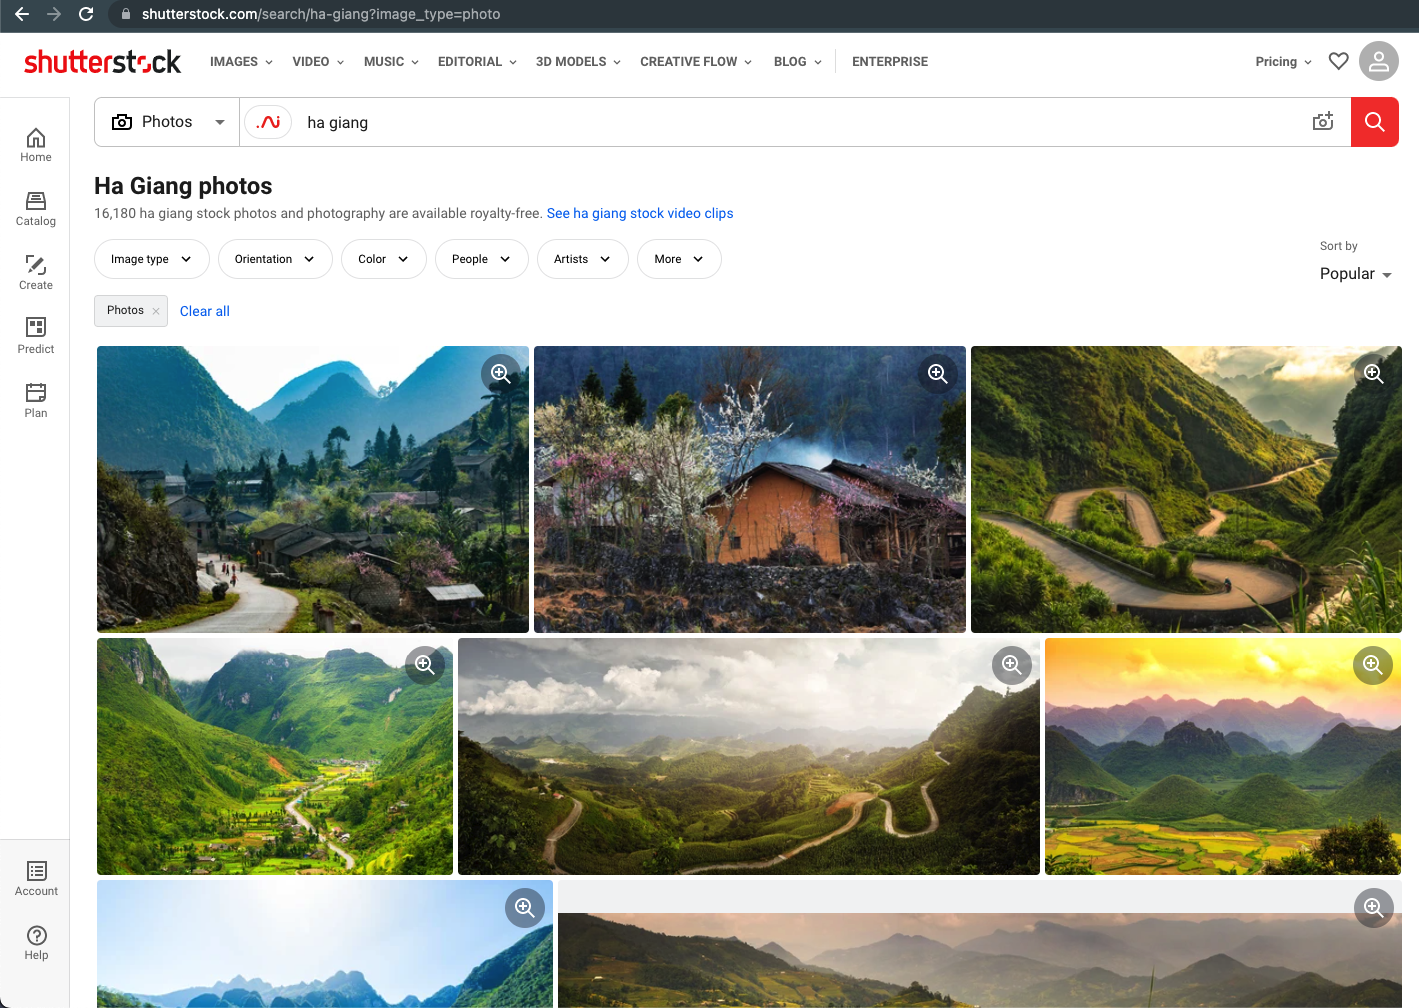
- Filtering Options: You can narrow down results based on orientation (horizontal or vertical), image type (photo, vector, illustration), color, and more.
- Advanced Search: Allows you to combine multiple filters for a more precise search.
- Similarity Search: Upload an image or select one to find visually similar images, which is perfect if you have a reference picture in mind.
Understanding these features will help you craft better search queries and make the process faster. Instead of just typing random words, think about the specific aspects of the image you want—like the mood, color scheme, or subject—and use the filters to narrow down your options.
Next, let’s look at some practical tips on how to leverage these functionalities to find that specific Shutterstock image you’re after, quickly and easily. Stay tuned!
Tips for Using Keywords Effectively
Finding that perfect Shutterstock image can sometimes feel like searching for a needle in a haystack. But one of the most powerful tools at your disposal is the right use of keywords. When you craft your search terms thoughtfully, you dramatically increase your chances of landing exactly what you need, quickly and efficiently.
First, think about the main idea or concept you’re after. Be specific! Instead of searching for a broad term like “dog,” try “golden retriever puppy playing in the park.” The more precise your keywords, the fewer irrelevant images you’ll encounter.
Another tip is to use descriptive adjectives. Words like “vibrant,” “serene,” “modern,” or “rustic” help narrow down your options and match the mood or style you’re aiming for. For example, searching “modern office workspace” will bring up images that fit a contemporary aesthetic.
Don’t forget about synonyms and related terms. If your initial search isn’t yielding enough results, try alternative words. For instance, if “mountain hiking” isn’t giving you enough options, try “mountain trekking” or “trail adventure.”
Utilize specific keywords related to the image details—such as colors (“blue sky,” “red dress”), settings (“urban,” “nature”), or subjects (“businesswoman,” “family picnic”). The more specific you are, the more targeted your search will be.
Also, consider including keywords related to the image orientation or style if needed. Terms like “vertical,” “portrait,” “minimalist,” or “vector” can help refine your results further.
Finally, keep a list of effective keywords for different themes you frequently search for. Over time, you’ll develop a personal library of high-performing search terms that make your image hunting even quicker.
Utilizing Filters and Advanced Search Options
Once you’ve entered your initial keywords, the real magic happens with Shutterstock’s filters and advanced search features. These tools allow you to narrow down your results in a way that saves you time and frustration.
First, explore the filter options typically located on the search results page. You can filter images by:
- Image orientation – choose between horizontal, vertical, or square.
- Image type – photos, illustrations, vectors, videos, or 3D images.
- Color – select images that match a specific color palette, such as “blue,” “pastel,” or “monochrome.”
- People – specify age, gender, or ethnicity if relevant.
- License type – decide between standard or enhanced licenses based on your usage needs.
Next, take advantage of the advanced search options. These often include features like:
- Exact phrase search – by wrapping your search in quotes, e.g., “team collaboration.”
- Exclude words – use a minus sign to omit certain terms, like “mountain -snow.”
- File type filters – specify image formats like JPEG, PNG, or vector files.
- Upload your own image – some platforms allow reverse image searches to find similar images, which is handy if you already have a reference picture.
Using these filters and advanced options together can make your search incredibly precise. For example, you might start with the keyword “business meeting,” then filter for vertical images, add a color filter for “blue,” and specify “photos” only. This way, your search results become highly tailored to your specific needs, saving you precious time.
Remember, the more you familiarize yourself with these tools, the faster you’ll be able to locate that one perfect Shutterstock image you’re envisioning. So don’t hesitate to experiment with different filter combinations and advanced search tactics—your ideal image is just a few clicks away!
How to Use Image Similarity and Reverse Image Search
Ever found an image online that you love, but you don’t know exactly where it originally came from or want to find more like it? That’s where image similarity and reverse image search tools come in handy. They’re like your digital detective, helping you track down the source or discover similar visuals with just a few clicks.
Let’s start with reverse image search. It’s simple: you upload an image, and the search engine scans the web for visually similar images or the exact match. Here are some popular options you can try:
- Google Images: Click on the camera icon in the search bar, upload your image, or paste an image URL. Google will then show you where else that image appears online and similar images.
- TinEye: A dedicated reverse image search engine. Upload or paste an image URL, and TinEye will find matches and highlight the sources.
- Bing Visual Search: Similar to Google, you can upload an image or drag it into the search bar, and Bing will find visually similar images.
Using these tools is straightforward, but here are some tips to get the best results:
- Use high-quality images: Clear, sharp images tend to produce more accurate results.
- Crop or edit if necessary: If the image has distracting backgrounds or watermarks, cropping them out can help focus the search on the main subject.
- Experiment with different versions: Sometimes, slightly different angles or resolutions can lead to better matches.
For image similarity, some platforms like Google Images allow you to browse through visually similar images after the initial search. This can be a goldmine when you’re looking for a particular style, color palette, or just want to find more images that match your vibe.
Remember, reverse image searches aren’t perfect—they might not find every source or match, especially if the image is unique or new. But they’re a super useful first step in tracking down that perfect Shutterstock image or finding similar options for your project.
Organizing and Saving Your Favorite Images for Fast Access
Let’s be honest—finding the perfect Shutterstock image is exciting, but what happens when you stumble upon several favorites? If you don’t organize them properly, it can become a messy scramble next time you need that specific image. So, here’s a game plan to keep your visual treasures neatly stored and easily accessible.
First things first: choose your organization method. Some folks prefer folders on their desktop, while others use cloud-based tools or dedicated apps. Here are some popular options:
- Folder Structure: Create folders based on themes, projects, or clients. For example, “Website Redesign,” “Healthy Lifestyle,” or “Client XYZ.”
- Bookmark Folders: Use your browser’s bookmark feature to save Shutterstock image links directly, organized into relevant folders.
- Digital Asset Management Tools: Apps like Adobe Bridge, Lightroom, or specialized stock image managers help you organize, tag, and search your images effortlessly.
Next, consider tagging or labeling your images. Adding descriptive keywords like “bright,” “nature,” “business,” or “summer” makes it easier to find the right image later. Many tools support tagging, so take advantage of this feature.
Tips for effective organization:
- Use descriptive filenames: Instead of generic names like “Image1,” use details like “Sunset_Beach_2023.jpg.”
- Create a consistent naming convention: For example, [Theme]_[Color]_[Number] – like “Nature_Green_001.”
- Regularly review and update: Delete duplicates or outdated images, and refine your tags or folders for clarity.
- Sync across devices: Use cloud storage services like Google Drive, Dropbox, or OneDrive to access your images from anywhere without losing organization.
Finally, consider creating a visual catalog or mood board if you’re working on a big project. Tools like Pinterest, Canva, or Milanote let you compile images into mood boards, making it super easy to see your entire visual palette at a glance.
By keeping your favorite Shutterstock images well-organized, you’ll save yourself time and frustration. The next time inspiration strikes or you need a specific image, you’ll be able to access your collection quickly and confidently—making your creative process smoother and more enjoyable.
Common Mistakes to Avoid When Searching for Shutterstock Images
Searching for the perfect Shutterstock image can sometimes feel like finding a needle in a haystack. It’s easy to make some common mistakes that slow down your process or lead to less-than-ideal results. Let’s talk about a few pitfalls to watch out for so you can streamline your search and get exactly what you need.
1. Using Vague Keywords
One of the biggest mistakes is entering broad or generic keywords like “business” or “nature.” These can return thousands of images, making it overwhelming and difficult to find the right one. Instead, be specific. For example, try “modern office workspace” or “sunset over mountain range.” The more precise your keywords, the better your results.
2. Ignoring Filters and Advanced Search Options
Many users skip over the powerful filters Shutterstock offers. Filters like orientation (horizontal or vertical), color, image type (photo, illustration, vector), and even people’s age or gender can narrow down your options significantly. Don’t forget to explore the advanced search options—it can save you time and frustration.
3. Not Checking Image Licensing Details
While hunting for images quickly, it’s easy to overlook licensing info. Remember, Shutterstock offers different types of licenses—Standard and Enhanced—and knowing which one fits your project is crucial. Always double-check licensing and usage rights to avoid legal issues down the line.
4. Overlooking Similar or Related Images
If your initial search doesn’t yield perfect results, look at the “Similar” or “Related Images” sections. Sometimes, a slightly different image can make all the difference. It’s a great way to discover hidden gems that match your needs.
5. Rushing the Download Process
In your hurry, you might click on an image without reviewing its details or licensing. Take a moment to review the image’s quality, resolution, and licensing terms before downloading. This helps ensure your final project looks professional and complies with copyright laws.
Conclusion and Final Tips for Efficient Image Search
Finding the perfect Shutterstock image doesn’t have to be a stressful or time-consuming task. With a few smart strategies, you can quickly locate high-quality images that suit your needs perfectly. Here are some final tips to keep in mind:
- Be Specific with Keywords: Use detailed and descriptive words to get the best results.
- Utilize Filters: Take advantage of the filters and advanced search options to narrow down your options.
- Preview Before Download: Always check the image’s resolution and licensing info before hitting download.
- Explore Related Images: Don’t hesitate to browse the related or similar images for more options.
- Save Your Favorites: Use collections or wishlists to organize images you’re considering, making comparisons easier.
Remember, practice makes perfect. The more you familiarize yourself with Shutterstock’s search tools and features, the faster and more efficiently you’ll find exactly what you’re looking for. Happy searching!