WordPress is a powerful platform that allows users to create a variety of content types. One of its standout features is the ability to create Custom Post Types (CPTs). These are not just limited to posts and pages; they can be anything from portfolios and product listings to event announcements. In this blog post, we’ll dive into the exciting world of custom post types and share some tips on filtering and editing titles when they’re saved. Let’s roll up our sleeves!
Understanding Custom Post Types in WordPress
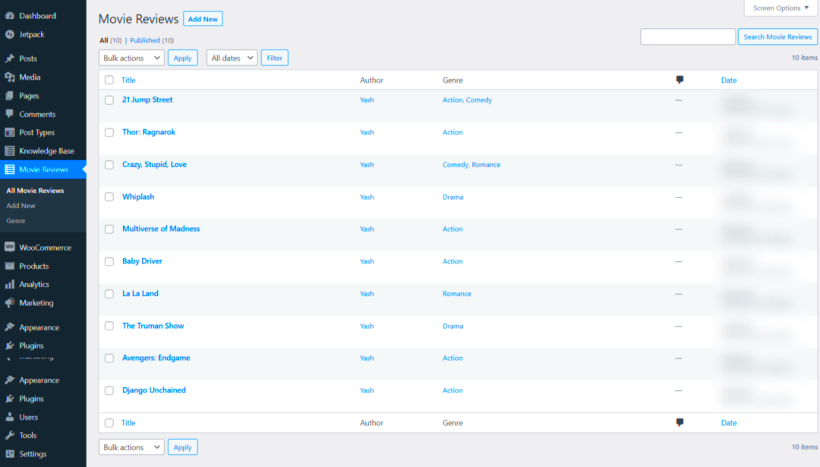
Custom Post Types (CPTs) in WordPress extend its functionality beyond the default post and page options. They let you create content that’s tailored to your needs. Here’s what you need to know:
- What are Custom Post Types?
Essentially, CPTs are types of content that can be used for different purposes. For example, if you want to create a showcase for your artwork, you could create a “Portfolio” CPT.
- Examples of Custom Post Types:
- Portfolio
- Testimonials
- Products
- Events
- Reviews
- Why Use Custom Post Types?
CPTs help structure your content, making it easier to manage. Instead of cluttering your blog with posts and pages that don’t belong together, you can keep everything organized. Plus, they can improve SEO by providing more specific content types for search engines to index.
- How to Register Custom Post Types:
You can register CPTs via your theme’s functions.php file using the
register_post_type()function. Here’s a simple code snippet:function create_portfolio_cpt() { register_post_type('portfolio', array( 'labels' => array( 'name' => __('Portfolios'), 'singular_name' => __('Portfolio'), ), 'public' => true, 'has_archive' => true, ) );}add_action('init', 'create_portfolio_cpt');
Now that you have a basic understanding of Custom Post Types, you’re one step closer to customizing your WordPress site. Next up, we’ll explore how to filter and edit titles when saving a CPT for a better user experience and site functionality. Stay tuned!
Why Filter Edit Titles?
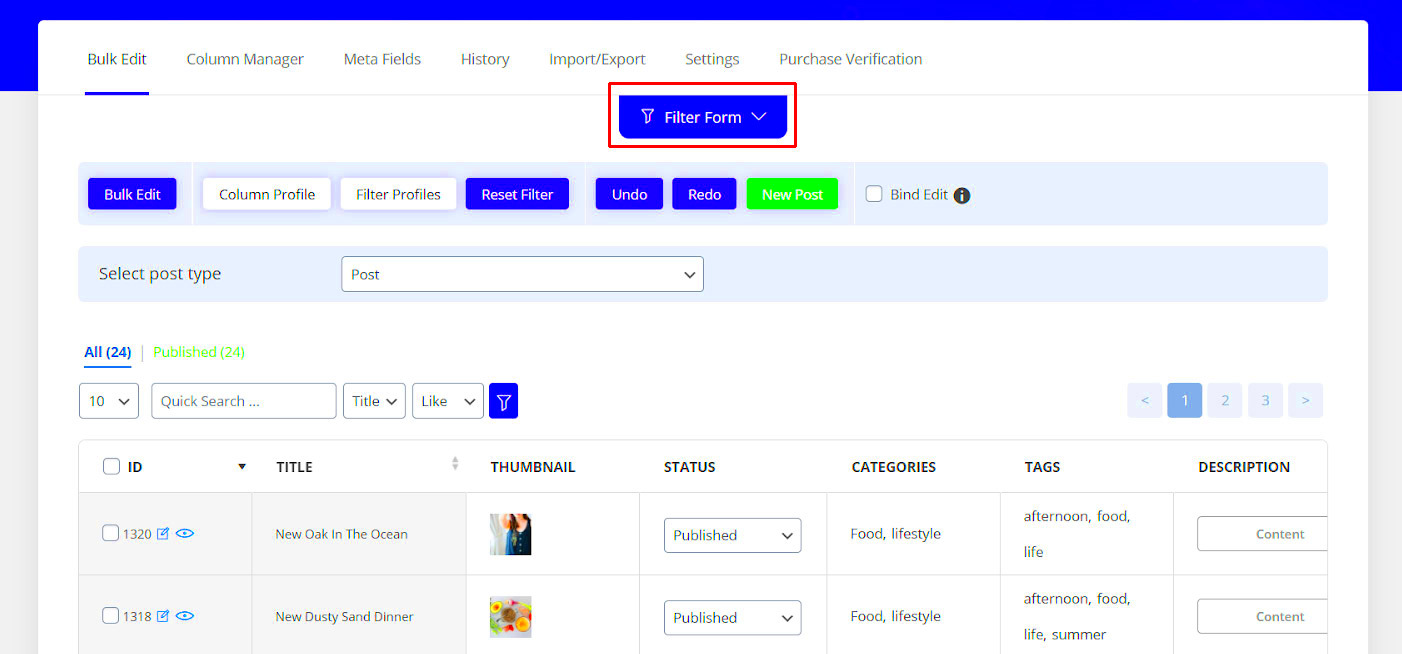
When working with custom post types in WordPress, having the ability to filter edit titles opens up a world of possibilities. But why exactly is this important? Let’s dive into a few key reasons that make filtering edit titles a valuable feature:
- User Experience: A well-structured title editing process enhances the user experience. For instance, if you’re creating a custom post type for testimonials, having a standardized title format can ensure consistency across entries.
- SEO Benefits: Titles significantly impact SEO. By filtering edit titles, you can incorporate keywords or phrases that align with your SEO strategy, helping improve visibility in search engines.
- Avoiding Duplication: If multiple users are adding similar content, filtering can prevent duplicate titles, which can confuse both users and search engines. This is crucial for maintaining clarity and organization.
- Branding: Custom post types often represent specific aspects of a brand. Filtering titles can align them with brand guidelines, ensuring every title reflects the company’s voice and mission.
- Automated Processes: By filtering titles when saving, you can automate certain functions, such as appending a date or a custom prefix, making data management easier and reducing manual input errors.
In short, filtering edit titles is about more than just aesthetics; it’s about creating a streamlined, effective, and user-friendly environment that resonates with both your users and search engines. The more control you have over titles, the better your content can serve its purpose.
Setting Up the Filter Function
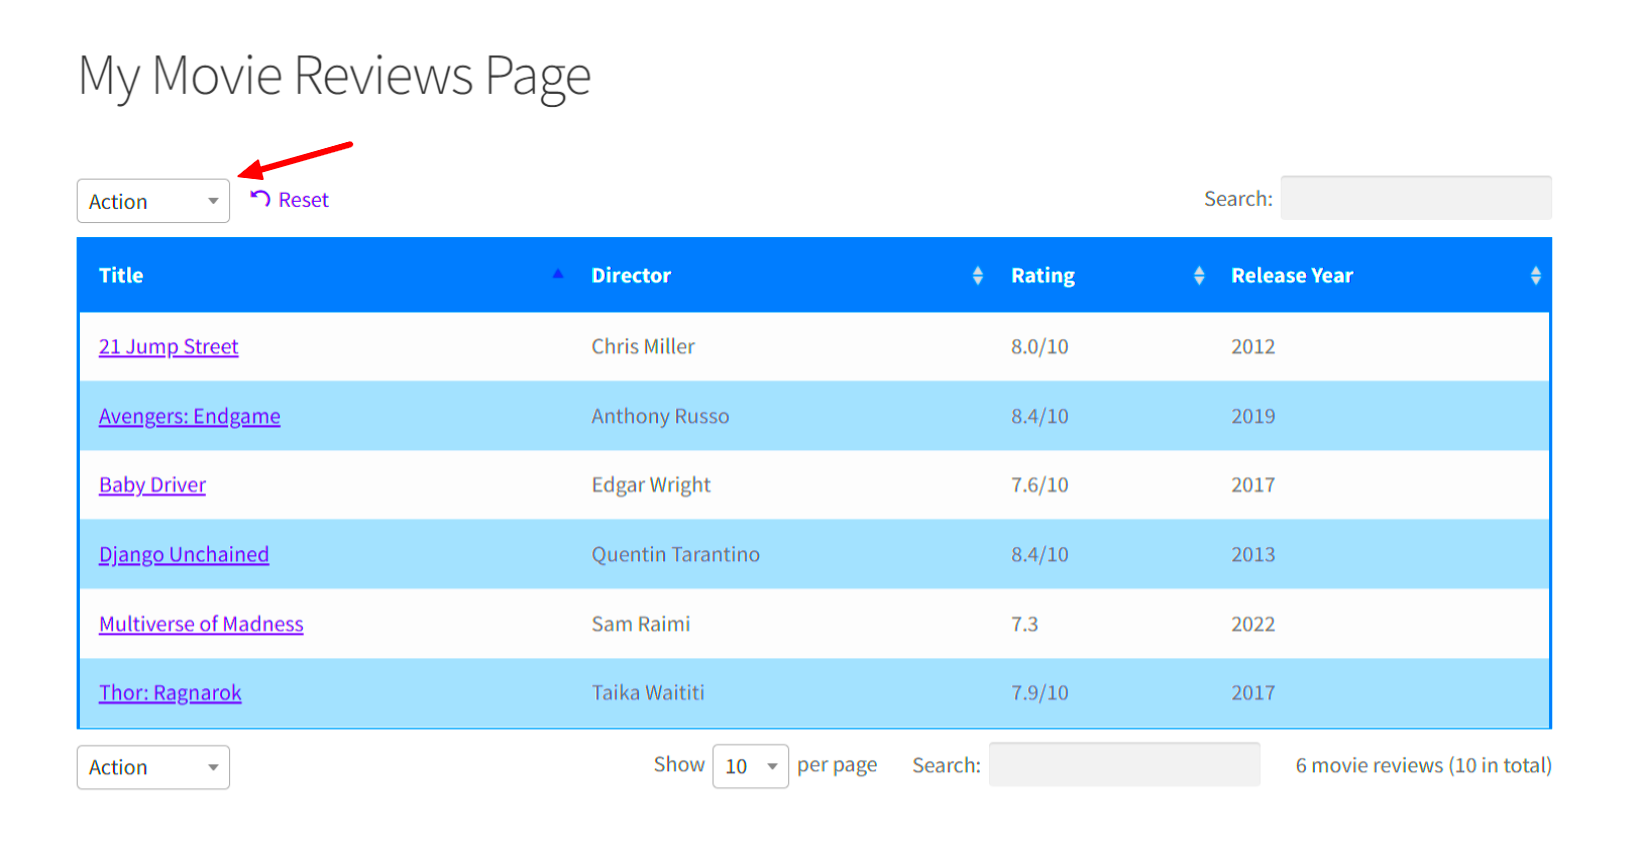
Now that we understand why filtering edit titles is crucial, let’s get into the nitty-gritty of setting up the filter function. WordPress makes this process surprisingly easy with just a few lines of code. Here’s a step-by-step guide:
- Access Your Theme’s functions.php File: Start by accessing the functions.php file located in your active theme directory. This is where you’ll add your custom code snippets.
- Add the Filter Hook: Use the `add_filter` function to hook into the title edit process. Here’s a basic example:
add_filter('title_save_pre', 'my_custom_title_filter');- Create the Callback Function: Define the `my_custom_title_filter` function that will modify the title. Here’s a simple implementation:
function my_custom_title_filter($title) { // Your custom logic here return $title;}- Customize Your Logic: Within the callback function, you can apply specific rules. For instance, you can append a prefix or enforce lowercase letters:
function my_custom_title_filter($title) { // Convert the title to lowercase $title = strtolower($title); // Prepend a custom string $title = 'Custom Prefix - ' . $title; return $title;}- Test Your Changes: Always ensure to test your code. Create a new post using your custom post type and see the changes in action!
And there you go! With these straightforward steps, you’ve successfully set up a filter function for edit titles in WordPress. This makes managing your custom post types easier, clearer, and tailored to your unique needs.
5. Code Walkthrough: Filtering the Edit Title

Alright, let’s dive into the nitty-gritty of filtering the edit title for a custom post type in WordPress! This process is fairly straightforward once you grasp the basics of how WordPress hooks work. In this section, we’ll be looking at the code that allows us to filter the title, making it specific to our needs.
Firstly, we’ll need to use the ‘edit_post_title’ filter hook. This hook lets us modify the post title before it’s saved. Here’s a basic structure of what the code looks like:
function my_custom_edit_title($title, $post_id) { if (get_post_type($post_id) === 'your_custom_post_type') { // Modify title here $title = 'Custom Prefix - ' . $title; } return $title;}add_filter('edit_post_title', 'my_custom_edit_title', 10, 2);Let’s break this down a bit:
- my_custom_edit_title: This is our custom function that modifies the title.
- get_post_type($post_id): This checks if the current post type matches our custom post type.
- $title: This variable holds the original title, and we’re prepending our prefix before returning it.
This snippet can be added to your theme’s functions.php file or a custom plugin. Keeping it organized will save you from headaches later on! And there you have it—when you save a post of your custom post type, the title will be filtered as you specified.
6. Testing Your Implementation
After you’ve added the code for filtering the edit title, it’s time for some peer review—let’s test our implementation! Testing is crucial because it ensures that everything runs smoothly and your customizations work as intended. Here’s how you can go about it:
1. Create a New Post: Start by navigating to the add new post page for your custom post type in the WordPress dashboard. Enter a test title.
2. Save the Post: After you’ve filled in the necessary details, save the post. This is the moment of truth!
3. Check the Title: Head back to your posts list and locate your newly created post. Click on it to edit again, and you should see your modified title. If you used our example, it should read something like “Custom Prefix – Your Original Title.”
Troubleshooting Tips:
- Make sure the correct post type is being targeted. A simple typo can lead to unexpected results.
- Clear any caching plugins you might be using. Cached pages might display the old title.
- Check the console for any PHP errors if it’s not working as expected.
Once you’ve confirmed that everything is working, congratulations! You’ve successfully filtered the edit title of a custom post type in WordPress. This can enhance the user experience and streamline content management on your site.
Troubleshooting Common Issues
Working with custom post types in WordPress is usually a breeze, but like any technology, you might run into some bumps along the way. Let’s look at some common issues you might encounter when filtering and editing titles and how you can tackle them effectively.
- Issue: Titles Not Updating
If you find that your titles aren’t updating as expected after saving the post, check your filtration function. Ensure that the hook you’re using is correctly set in your custom post type registration. The main hooks to look at are
save_postandwp_insert_post. - Issue: Titles Being Overwritten
Have you noticed that the titles you’re manually setting are being overwritten? This usually means there’s a conflict or an error in the logic of your custom function. Review your filter and ensure that you’re only changing the title under the correct conditions.
- Issue: Conflicts with Themes or Plugins
Sometimes, themes or other plugins might interfere with custom functions. To troubleshoot, try deactivating plugins one by one or switching to a default theme to see if the issue persists. This helps pinpoint the conflict.
- Issue: Cache Problems
If changes aren’t appearing, you might be dealing with caching. Clear your site’s cache or disable caching plugins temporarily to see if that resolves the issue.
Remember, debugging is all about patience and process of elimination. Check your console for any errors and log messages where necessary, which might give you insights into what’s going wrong!
Conclusion
In conclusion, filtering and editing titles for custom post types in WordPress may seem daunting at first, but it opens a world of customization and flexibility for your site. By using the right hooks, understanding the code, and utilizing WordPress best practices, you can seamlessly transform your titles to align with your content strategy.
Here’s a quick recap of what we’ve covered:
- Understanding the significance of custom post types and their titles.
- The importance of choosing the right hooks when filtering titles.
- Common issues that may arise and how to troubleshoot them effectively.
As you continue to refine your WordPress site, don’t hesitate to experiment with different functions and configurations. This not only improves your workflow but also enhances user experience. Embrace the process of learning and tweaking until you get your titles just right!
Happy coding, and may your titles always be precise and appealing!

