WordPress plugins are like the Swiss Army knives of the WordPress ecosystem—they add functionality, enhance features, and can even transform your website’s entire user experience. Whether you want to improve SEO, integrate social media, or create an online store, there’s likely a plugin for that. In this section, we’ll explore how plugins work, their benefits, and why they are essential for anyone looking to get the most out of their
Plugins essentially extend the capabilities of your WordPress site by providing additional features and functionalities. Here’s a quick overview of why they are so crucial:
- Customization: Tailor your website to your specific needs without needing to touch a single line of code.
- Community Support: With a vast library of plugins, you’re likely to find support and documentation easily.
- SEO Enhancements: Many plugins focus solely on optimizing your website for search engines, helping you climb the search results.
- Time-Saving: They automate tasks and simplify complex processes, allowing you to focus on content creation.
- Cost-Effective: Most plugins are free or inexpensive, providing extensive functionality without breaking the bank.
What is a Boilerplate Plugin?

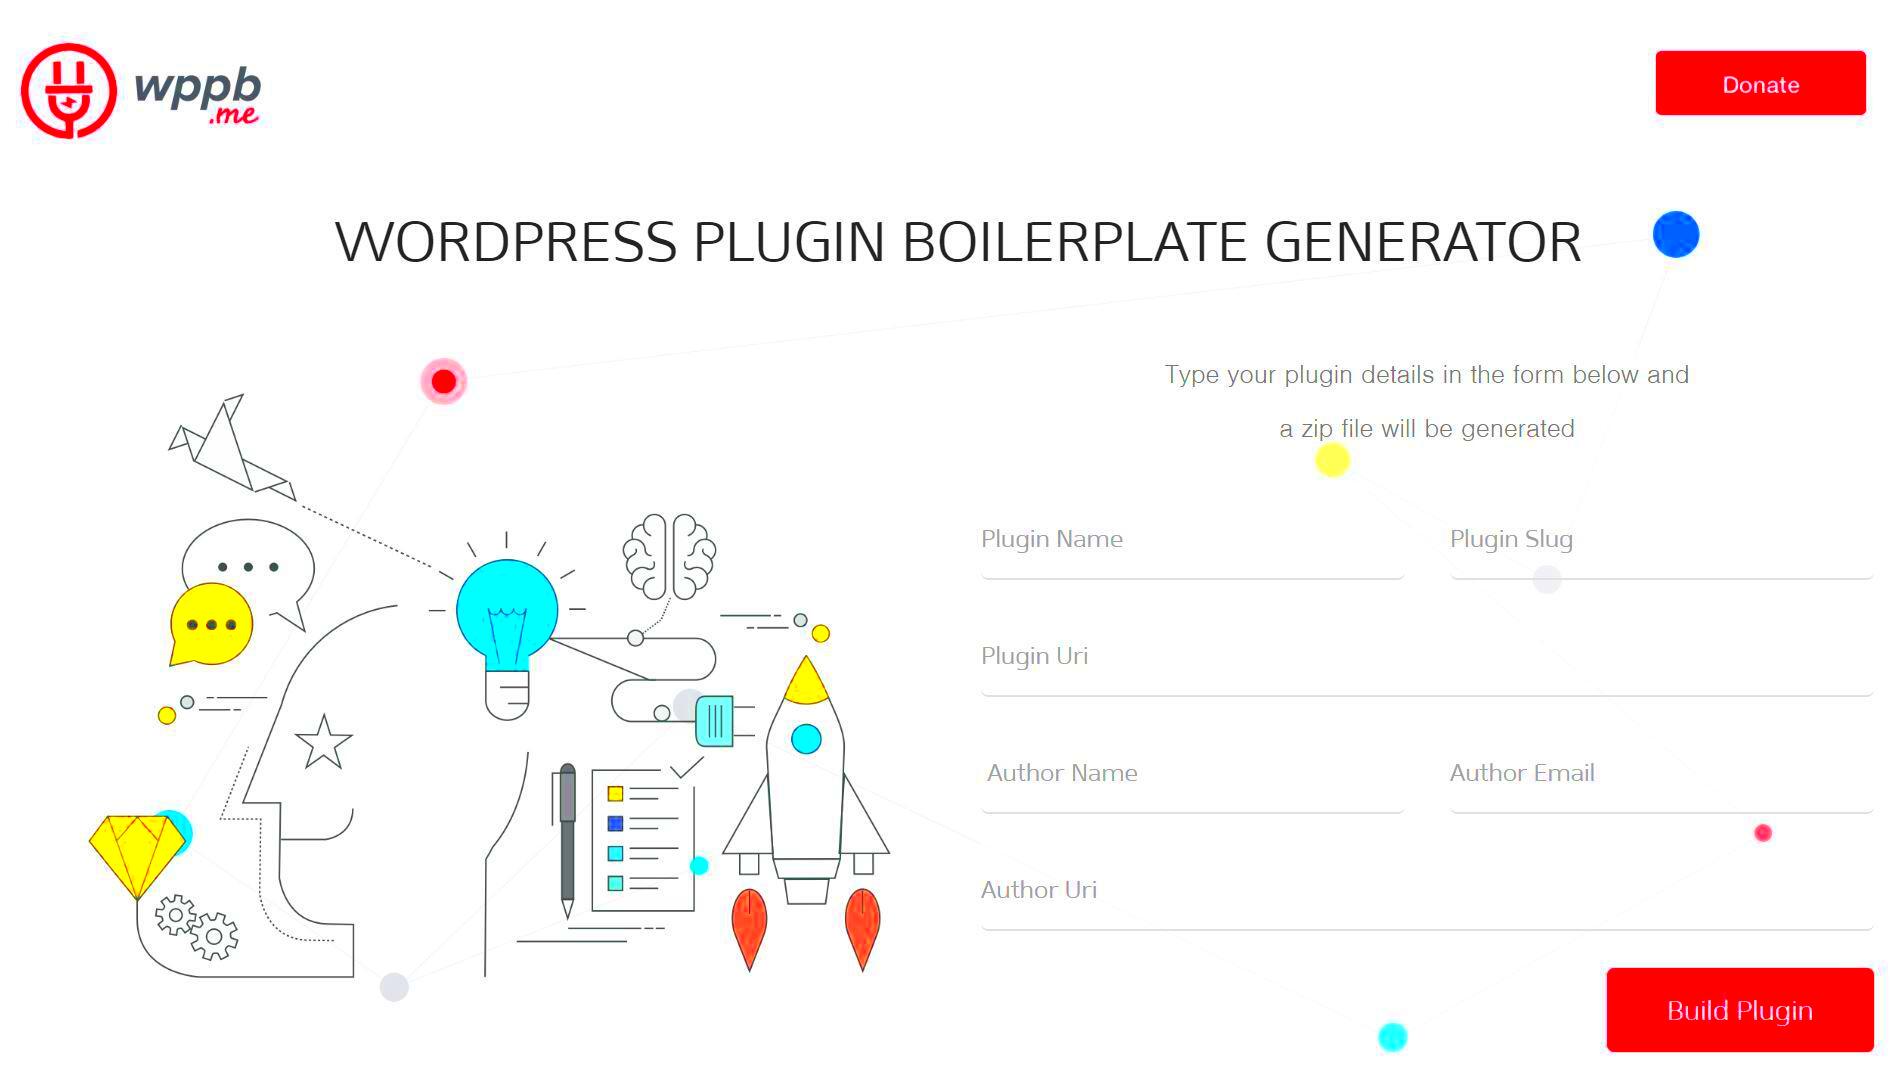
A boilerplate plugin is essentially a template or starting point for developing WordPress plugins. Think of it as a blank canvas that provides foundational code and organizational structure, helping you kickstart your plugin development process without having to reinvent the wheel every single time.
Here are some aspects that define a boilerplate plugin:
- Pre-Defined Structure: A boilerplate provides a standardized structure, including necessary files, folders, and naming conventions, making it easy to follow best practices.
- Code Standards: It often adheres to WordPress coding standards, ensuring that your plugin is not only functional but also clean and maintainable.
- Modular Approach: Boilerplates encourage a modular approach, enabling you to build features in isolation, which makes managing your codebase easier.
- Documentation: Well-designed boilerplate plugins usually come with documentation, guiding new developers on how to use and expand the template effectively.
In essence, a boilerplate plugin makes the journey of plugin development smoother and more streamlined, allowing developers to focus on adding unique features rather than starting from scratch. If you’re serious about extending WordPress, familiarizing yourself with boilerplate plugins can be a game-changer!
Benefits of Using Boilerplate Plugins

When it comes to developing WordPress plugins, boilerplate plugins offer a treasure trove of advantages that can significantly enhance your coding experience. Let’s dive into why using boilerplate plugins is a smart move for both newbies and seasoned developers.
- Time-Saving: Boilerplate plugins come pre-loaded with essential features, which allows developers to save time on the setup phase. Instead of reinventing the wheel, you can focus on adding unique functionalities to your plugin.
- Best Practices: These plugins are often built following best coding practices, ensuring that your project adheres to WordPress coding guidelines. This will ultimately make your code cleaner and more maintainable.
- Learn by Example: A boilerplate acts as an educational resource. By examining the structure and components, developers can learn how to implement various WordPress APIs and features. This can be particularly helpful for beginners.
- Ease of Maintenance: With standardized code, maintaining and updating your plugin becomes much smoother. The consistent structure makes it easier for others (or even yourself) to jump in and make changes.
- Community Support: Many boilerplate plugins have robust communities around them. Engaging with developers who use the same boilerplate can lead to troubleshooting, tips, and general collaboration opportunities.
- Scalability: As your project grows, boilerplate plugins provide a scalable structure that can accommodate additional features without compromising the integrity of the code.
Setting Up Your Development Environment

Getting your development environment ready is crucial when you’re planning to dive into WordPress plugin development. A proper setup not only streamlines your workflow but also helps in testing and debugging your plugins efficiently. Here’s how to get started!
- Choose a Local Server Environment: Select a local server environment to host your WordPress installation. Popular choices include:
- XAMPP
- MAMP
- Local by Flywheel
- WAMP
- Install WordPress: Once your local server is up and running, download the latest version of WordPress from the official site. Follow the instructions to set it up on your local server.
- Set Up Version Control: It’s a good idea to use version control, like Git. This will help you manage changes, collaborate with others, and keep track of your code’s history. Tools like GitHub or GitLab can be very beneficial.
- Choose Your Code Editor: Select a code editor that makes you feel comfortable. Whether it’s Visual Studio Code, Sublime Text, or Atom, pick one that suits your coding style and enhances your productivity with useful extensions.
- Install Necessary Tools: Consider adding tools like PHPStorm or debugging tools to enhance productivity. Also, plugins like Query Monitor can help you identify performance issues while developing.
- Run Tests: Regularly test your plugin by creating both functional and unit tests to make sure everything works smoothly as you go. Keeping an eye on potential issues early can save you headaches down the line.
With these steps in place, you’ll have a solid foundation to start crafting your WordPress plugins with boilerplate examples. Happy coding!
5. Basic Structure of a Boilerplate Plugin
Creating a boilerplate plugin in WordPress is an exciting step toward extending the functionality of your website. A boilerplate plugin serves as a template that lays down a solid foundation for building more complex plugins. Understanding the basic structure is essential to get you started. Here’s a breakdown of the core components:
- Plugin Folder: Create a unique folder in the
wp-content/pluginsdirectory. This folder will house all your plugin files. Naming it appropriately, ideally with a prefix related to your project or website’s name, helps avoid conflicts with other plugins. - Main Plugin File: This is the file that WordPress recognizes as the entry point of your plugin. Typically named after your plugin, it should have a .php extension. At the top of this file, you’ll define a standard plugin header that provides information about your plugin, such as its name, description, version, and author.
- Includes Directory: If your plugin grows in complexity, you might want to separate functionality into different files. Creating an
includesdirectory within your plugin folder is a great way to organize your code, allowing for better maintainability. - Assets Folder: This is where you can store stylesheets, JavaScript files, and images. Organizing your assets helps keep your plugin tidy and makes it easier to manage resources.
- Languages Directory: If you’re planning to make your plugin multilingual, adding a
languagesfolder will allow you to include translation files needed for internationalization, which can greatly expand your audience!
With this structure in mind, you’ll be better prepared to dive into the actual coding and development of your WordPress plugin.
6. Example 1: Creating a Simple Plugin
Now that you understand the basic structure of a boilerplate plugin, let’s take a hands-on approach by creating a simple plugin. For our example, we will create a simple “Hello World” plugin. This is a classic starting point that helps you grasp WordPress plugin development. Here’s how to do it step-by-step:
- Create Your Plugin Folder: Navigate to your
wp-content/pluginsdirectory and create a new folder namedhello-world-plugin. - Create Main Plugin File: Inside your plugin folder, create a file named
hello-world-plugin.php. This is your main plugin file! - Write the Plugin Header: Open your
hello-world-plugin.phpfile and add the following code at the top:
/*Plugin Name: Hello World PluginPlugin URI: http://yourwebsite.comDescription: A simple plugin that greets visitors.Version: 1.0Author: Your NameAuthor URI: http://yourwebsite.com*/
This header provides WordPress the basic details about your plugin.
- Add Functionality: Below the header, add a function that displays a greeting message:
function hello_world_plugin() { echo "Hello, World! Welcome to my WordPress site.
";}add_action('wp_footer', 'hello_world_plugin');
What this does is use WordPress’s wp_footer action hook to display your greeting message at the bottom of your site.
Activate Your Plugin: Finally, head to the WordPress admin area, navigate to the Plugins page, and activate your “Hello World Plugin.” Once activated, visit your site’s frontend and you should see your greeting!
This simple plugin serves as a great starting point. You can expand it by adding various features like shortcode support or custom settings in the WordPress admin area.
Example 2: Developing a Plugin with Shortcodes
Shortcodes are a powerful feature in WordPress that allow you to insert custom content into posts and pages with just a simple tag. When developing a plugin, utilizing shortcodes can make your content more dynamic and user-friendly. In this example, we’ll explore how to create a plugin that adds a custom shortcode to showcase a motivational quote.
To get started, you’ll need to create a new plugin folder within the wp-content/plugins directory. Name it something like motivational-quotes-shortcode and inside that folder, create a file named motivational-quotes-shortcode.php. The structure will look like this:
- wp-content/
- plugins/
- motivational-quotes-shortcode/
- motivational-quotes-shortcode.php
- motivational-quotes-shortcode/
- plugins/
Now, open the motivational-quotes-shortcode.php file and begin by adding the plugin header:
/*Plugin Name: Motivational Quotes ShortcodeDescription: A simple plugin that adds a motivational quote shortcode.Version: 1.0Author: Your Name*/
Next, you can define the shortcode function:
function motivational_quote() { return "“Believe you can and you're halfway there.” - Theodore Roosevelt";}add_shortcode('motivate', 'motivational_quote');
Finally, activate your plugin through the WordPress admin area. Now you can use the shortcode [motivate] in any post or page to display your motivational quote. This approach is not only straightforward but also enhances the interactivity of your content!
Example 3: Building a Plugin with Custom Post Types
Custom Post Types (CPTs) are an excellent way to extend WordPress’s functionality beyond just posts and pages. They allow you to create tailored post types that fit your unique content needs. For example, let’s build a plugin that introduces a Custom Post Type for ‘Books’. This will be great for a site focused on literature or reviews.
As before, start by creating a new plugin directory. This time, let’s call it book-review-post-type. Inside the folder, create a PHP file named book-review-post-type.php. Here’s how your structure will look:
- wp-content/
- plugins/
- book-review-post-type/
- book-review-post-type.php
- book-review-post-type/
- plugins/
Inside book-review-post-type.php, start with your plugin header:
/*Plugin Name: Book Review Post TypeDescription: A plugin that creates a custom post type for book reviews.Version: 1.0Author: Your Name*/
Now, let’s register the custom post type:
function create_book_post_type() { register_post_type('book', array( 'labels' => array( 'name' => __('Books'), 'singular_name' => __('Book') ), 'public' => true, 'has_archive' => true, 'supports' => array('title', 'editor', 'thumbnail'), 'rewrite' => array('slug' => 'books'), ) );}add_action('init', 'create_book_post_type');
After activating your plugin, you’ll notice a new menu item called ‘Books’ in your WordPress dashboard. From there, you can add, manage, and display book reviews directly on your site. With custom post types, the possibilities are endless—you can create something tailored specifically for your audience’s needs!
9. Best Practices for Plugin Development
When diving into WordPress plugin development, it’s crucial to adhere to best practices. Not only does this enhance the quality of your plugins, but it also ensures that they’re secure, efficient, and user-friendly. Here are some best practices to consider:
- Follow Coding Standards: Always stick to the WordPress Coding Standards for PHP, HTML, CSS, and JavaScript. This helps maintain consistency and readability in your code, making it easier for others (and future you) to understand.
- Use Unique Prefixes: To avoid naming collisions, be sure to prefix your functions, classes, and variables with a unique string related to your plugin.
- Keep it Modular: Build your plugin in a modular fashion. This means break your code into smaller, manageable parts or functions, which not only improves organization but also makes debugging easier.
- Enqueue Scripts and Styles Properly: Always enqueue scripts and styles using WordPress’s built-in functions like `wp_enqueue_script` and `wp_enqueue_style`. It helps prevent conflicts and ensures your files load in the proper order.
- Secure Your Plugin: Security should be a top priority. Use nonces for form submissions, sanitize user input, and escape output to prevent XSS attacks.
- Provide Comprehensive Documentation: A well-documented plugin is invaluable. Include readme files, inline comments, and user guides to help others understand how to use your plugin.
By following these best practices, you’ll not only create better plugins but also contribute to a healthier WordPress ecosystem.
10. Testing and Debugging Your Plugins
No matter how experienced you are, testing and debugging are essential parts of the plugin development lifecycle. They ensure your plugin runs smoothly and provides a good user experience. Here’s how you can effectively test and debug your plugins:
- Set Up a Local Development Environment: Start by developing and testing your plugins on a local environment. Tools like XAMPP or Local by Flywheel make it easy to create a safe space for testing without affecting your live site.
- Use Debugging Tools: Leverage WordPress’s built-in debugging tools. Enable debugging in your `wp-config.php` file by setting `define(‘WP_DEBUG’, true);` This will output PHP errors to the screen, giving you immediate feedback on what might be going wrong.
- Test with Multiple Themes and Plugins: Ensure compatibility by testing your plugin with various themes and other plugins. This will help you identify conflicts that could arise in different environments.
- Utilize Unit Testing: Consider writing unit tests using the PHPUnit framework. This allows you to verify that each part of your code is functioning as expected in isolation.
- Gather User Feedback: Sometimes, the best way to find bugs is through real user interaction. Encourage users to provide feedback and report issues that they encounter.
- Monitor Performance: Keep an eye on how your plugin affects site performance. Use tools like Query Monitor to assess how quickly your plugin runs and identify any slow queries.
By incorporating thorough testing and debugging into your development workflow, you can enhance both the reliability and functionality of your WordPress plugins, ultimately leading to happier users.
Conclusion: Next Steps in Your Plugin Development Journey
As you venture into the world of WordPress plugin development using boilerplate examples, it’s essential to understand the foundational steps that lead to successful implementation. Boilerplate code serves as a well-structured template that accelerates your development process and maintains best practices. Here’s a detailed overview of how you can build upon your boilerplate plugin examples:
- Understand the Basics: Familiarize yourself with WordPress coding standards. Knowledge of PHP, JavaScript, and WordPress hooks is crucial.
- Choose the Right Boilerplate: Select a reliable boilerplate like the WordPress Plugin Boilerplate, which offers a solid structure and code organization.
- Custom Functionality: Identify the unique features you wish to implement. Customize the boilerplate to suit your specific requirements.
- Testing and Debugging: Implement unit tests and debugging practices. Use the WP_DEBUG feature to troubleshoot any errors efficiently.
- Documentation: Maintain clear documentation of your code and functionality. It assists both current and future developers who may work on your plugin.
Enhancing your skills may involve following various online tutorials, engaging in community forums, or even contributing to open-source WordPress projects. Collaboration can significantly improve your understanding and performance in plugin development.
| Resource | Type | Purpose |
|---|---|---|
| WordPress Codex | Documentation | Comprehensive resource for learning about WordPress functions |
| GitHub | Version Control | To maintain and collaborate on plugin code |
| WordPress Meetups | Community | Network with other developers and learn advanced techniques |
In conclusion, by leveraging boilerplate plugin examples, adhering to best practices, and continuously enhancing your skills, you can embark on a successful plugin development journey while making a positive impact on the WordPress ecosystem.


