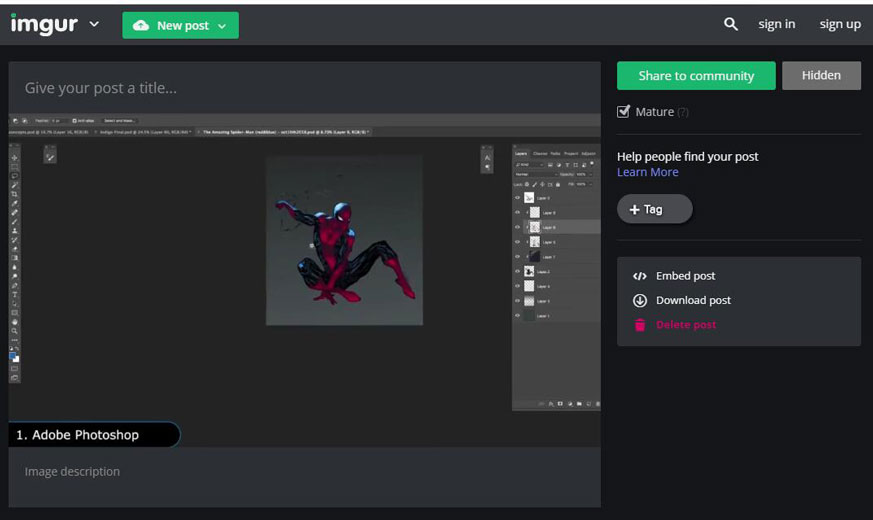
Imgur is a popular image hosting service that allows users to upload, share, and embed images easily. Whether you are a blogger, designer, or a casual user, Imgur provides a straightforward way to store and share visuals with a wide audience. Its user-friendly interface and community features make it an attractive choice for those looking to enhance their websites or blogs with engaging images. In this guide, we will explore the reasons for using Imgur as an image host and how to seamlessly embed images from Imgur onto your site.
Why Use Imgur for Image Hosting
Imgur offers numerous benefits that make it a preferred choice for image hosting:
- Easy Uploading: Users can quickly upload images without needing an account, which speeds up the sharing process.
- Unlimited Bandwidth: Imgur supports unlimited bandwidth for images, ensuring that your hosted images are always accessible to your audience.
- Community Features: Imgur has a robust community where users can engage, comment, and share content, providing increased visibility for your images.
- Image Organization: Users can organize their uploads into albums, making it simpler to manage images related to specific projects or themes.
- High Reliability: The platform ensures high uptime and reliability, ensuring that images load quickly and are always available.
- Embedding Options: Imgur offers various embedding options, allowing for flexibility in how images are displayed on websites or blogs.
Given these advantages, Imgur is an excellent choice for anyone looking to enhance their online presence with visuals. Whether you need a single image or a gallery of photos, Imgur can accommodate your needs while providing a seamless user experience.
7. Embedding Imgur Images in Blogs
Embedding Imgur images in your blog can enhance your posts significantly, making them visually appealing and engaging for your readers. Here’s a straightforward guide on how to do it!
First, navigate to the Imgur website and find the image you want to embed. Once you have the image up, look for the share options typically found on the right side of the image. You’ll see a few links, including:
- Direct Link: This will link directly to the image file.
- Hotlinking: A formatted link meant for embedding.
- Markdown Link: Useful if you’re using a markdown-supported platform.
For most blogs, you’ll want to use the Hotlinking option, which is perfect for embedding images directly into your HTML. Simply copy the code provided, which typically looks something like this:
<img src="https://i.imgur.com/example.jpg" alt="Description of image">Next, paste this code into your blog’s HTML editor where you want the image to appear. If you want to adjust the size, you can modify the width and height attributes within the <img> tag.
Here’s a quick tip: Always include an alt attribute for accessibility and SEO purposes. This not only helps visually impaired users understand your content through screen readers, but it also provides context to search engines.
And just like that, your Imgur image is live on your blog! It’s a simple yet effective way to add that extra flair to your writing.
8. Using Imgur for Social Media Sharing
When it comes to sharing beautiful images on social media, Imgur is a powerhouse. It not only allows you to host images for free but makes sharing them across various social platforms a breeze.
To share your Imgur images on social media, follow these easy steps:
- Upload Your Image: Start by uploading your image to Imgur.
- Use Share Options: After the upload, you’ll find a share section on the right. Here, you’ll see options for different platforms such as Facebook, Twitter, and Reddit.
- Copy the Link: You can also copy the image link directly if you prefer to paste it manually. This is especially useful for platforms like Instagram.
When sharing on platforms like Twitter or Facebook, simply pasting the link often generates a rich preview of your image, attracting more engagement. Additionally:
- Use Relevant Hashtags: This can help your posts reach a wider audience.
- Engage with Your Audience: Ask for feedback or comments on the images you share.
Finally, consider creating albums or collections on Imgur and then sharing the album link. This approach not only organizes your images but also gives your audience a broader context, making your social media storytelling even more compelling!
Troubleshooting Common Issues
Embedding Imgur images on your website or blog is usually a smooth process, but sometimes things don’t go as planned. Here are some common issues you might encounter and how to resolve them:
- Image Not Displaying: If your image isn’t showing up, double-check the URL you used. Ensure that it starts with
https://i.imgur.com/orhttps://imgur.com/. Any typos or missing elements in the link can prevent the image from loading. - Broken Link: Sometimes, the image might be deleted from Imgur or set to private. If you access the image URL directly and it doesn’t appear, you may need to upload it again or use a different image.
- Improper Formatting: Make sure you’re using the correct HTML tags when embedding. The standard
<img>tag should include the correctsrcattribute and optionallyaltfor accessibility. Here’s an example:
<img src="https://i.imgur.com/example.png" alt="Description of Image">- Slow Loading Times: If your page is loading slowly, it might be due to large image files. Consider resizing images before uploading them to reduce load times.
- Responsive Display Issues: To ensure your images look good on all devices, use CSS to make them responsive. For example:
img { max-width: 100%; height: auto; }If you’re still experiencing difficulties after trying these solutions, consider checking forums or the Imgur support page for additional help. Often, other users have had similar issues, and helpful solutions are readily available.
Conclusion and Best Practices
Embedding Imgur images is a straightforward and effective way to enhance your website or blog. By following best practices, you can ensure your images are displayed correctly and optimally. Here are some key takeaways:
- Choose the Right Image Type: JPEGs for photos, PNGs for graphics with transparency, and GIFs for animations. This choice impacts the quality and loading time.
- Use Image Links Wisely: Always ensure the image is publicly accessible. Links to private images won’t work for your users.
- Optimize Images: Compress images before uploading to minimize loading times without sacrificing quality. Tools like TinyPNG or other image optimizers can help with this.
- Responsive Design: Make sure your images scale appropriately for different devices to provide the best user experience.
- Utilize Alt Text: Adding descriptive
alttext not only improves accessibility but also benefits SEO.
In conclusion, when done right, embedding Imgur images can significantly enhance your content’s visual appeal. Keep these best practices in mind, and you’ll ensure a smoother embedding experience for both you and your audience. Happy blogging!


