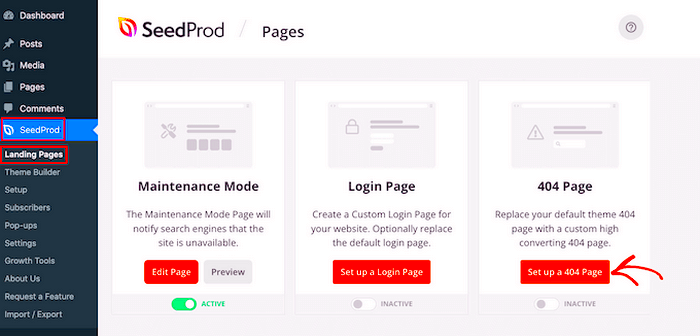
So, you’ve clicked on a link, and suddenly you’re faced with a 404 error page. Oops, right? In the realm of WordPress, a 404 page pops up when a user tries to access a page that doesn’t exist anymore or perhaps never did. It’s essentially a digital dead end, and having a properly designed 404 page is crucial for your site. While WordPress provides a default 404 page, it often lacks personality and can leave visitors feeling frustrated. Luckily, customizing it is a straightforward process, and we’ll delve into that shortly.
Understanding the Importance of a Custom 404 Page
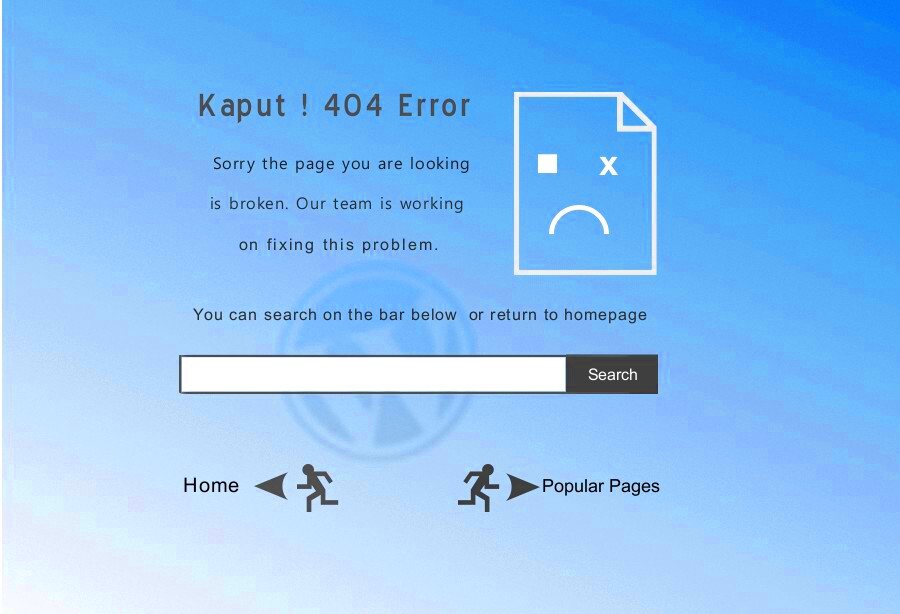
You might wonder, “Why should I bother customizing my 404 page?” Well, it’s actually a big deal! Here are a few reasons why tailoring your 404 page is essential for your WordPress site:
- Improves User Experience: A custom 404 page can guide users back to the right path, providing links to popular pages or a search bar to find what they’re looking for. Imagine visitors feeling lost and frustrated—you can change that!
- Preserves Brand Image: A generic 404 page might hurt your brand’s credibility. By customizing the design and tone of your message, you can maintain brand consistency and showcase your personality.
- Enhances SEO: While a 404 page itself won’t boost your SEO, a well-designed one can keep users on your site longer, reducing bounce rates, and helping you rank better in search engines.
In summary, investing time in creating a bespoke 404 page is more than just a cosmetic change; it’s a strategic decision to enhance user satisfaction, uphold your brand, and potentially improve your site’s visibility in search engines. So, let’s get started on how you can whip your 404 page into shape!
Accessing the WordPress Theme Editor

Editing the design of your 404 page in WordPress requires a bit of navigation. First, you need to access the Theme Editor, which you can find in the WordPress dashboard. Here’s how to do it:
- Log into your WordPress Dashboard: Use your credentials to access the backend of your website.
- Navigate to Appearance: On the left sidebar, look for the “Appearance” option. Click on it to expand the submenu.
- Select Theme Editor: In the “Appearance” submenu, you will find the “Theme Editor” option. Click on it to open the editor.
You’ll see a warning message at the top of the Theme Editor, reminding you that direct changes to your theme files can break your site. It’s essential to understand this risk before you proceed. If you’re a bit hesitant about editing code directly, consider creating a backup of your theme or using a child theme to preserve your customizations.
Upon entering the Theme Editor, you will be greeted by a list of files on the right side. Here, you can make changes to styles, themes, and other templates. But always remember, the goal is to enhance the look and feel of your 404 page, so tread carefully and keep your changes reversible whenever possible.
Locating the 404.php File in Your Theme
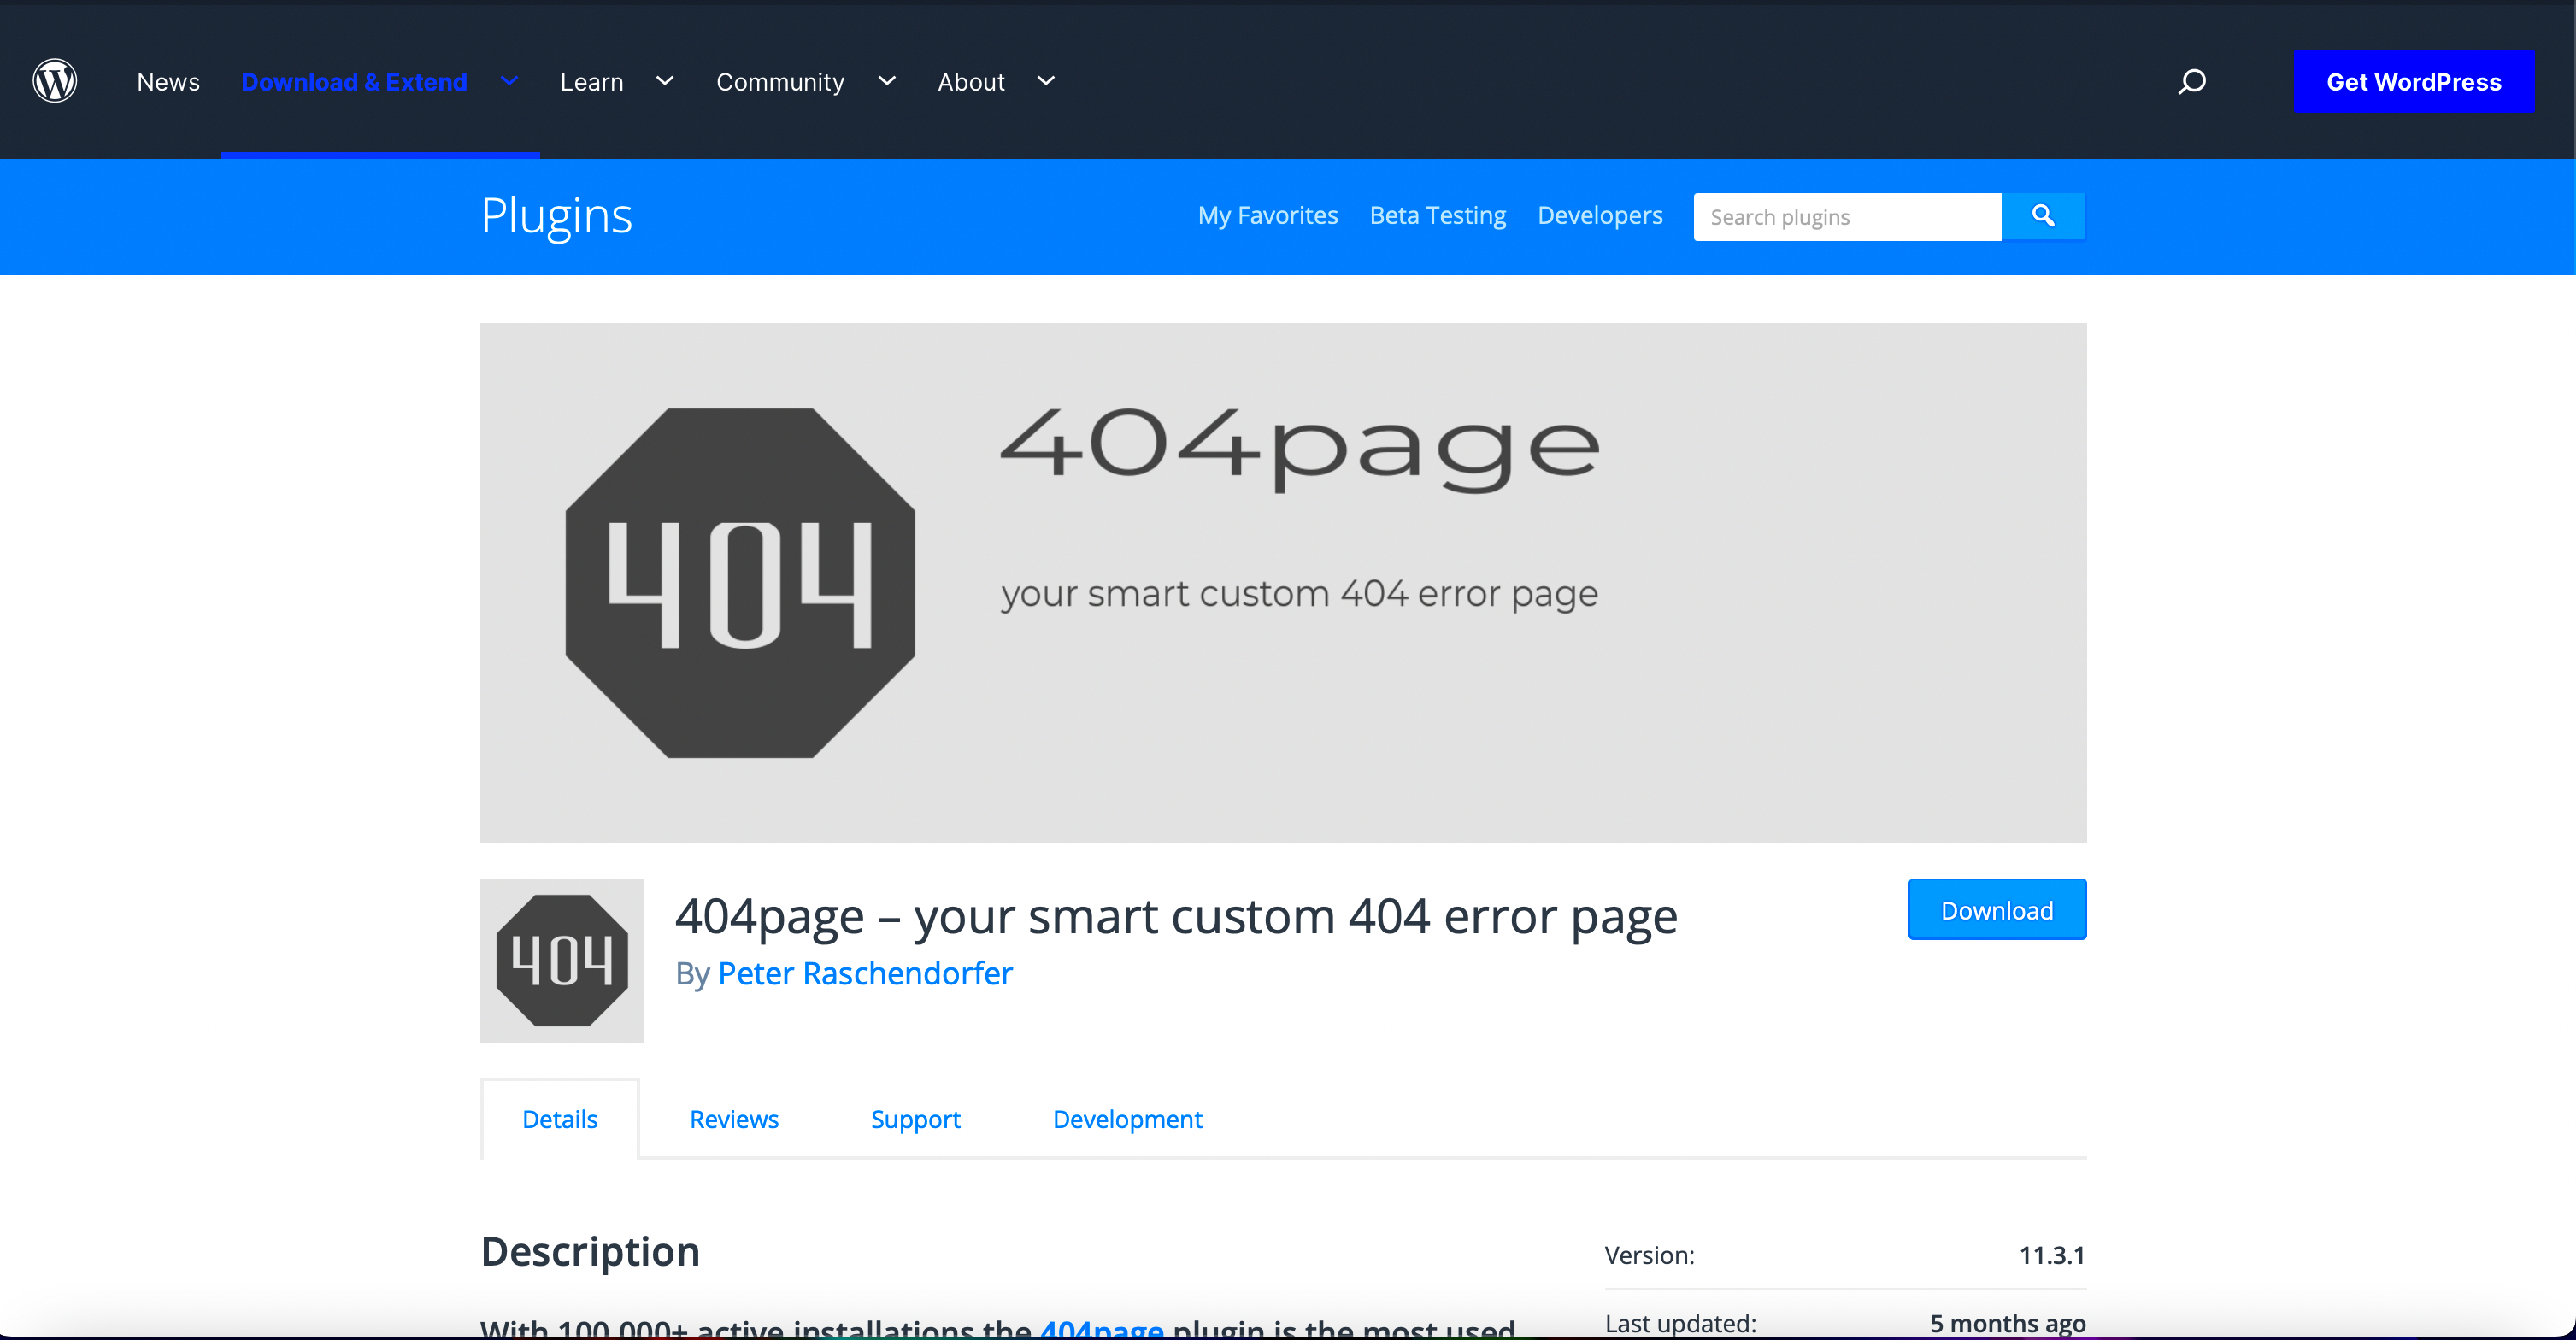
Once you’re in the Theme Editor, the next step is to find the correct file to edit your 404 error page: the “404.php” file. Here’s how to locate it:
- Scroll through the list of Theme Files: On the right side of the Theme Editor, you will see a list of files associated with your active theme. Look closely at this list.
- Search for 404.php: The 404.php file will be labeled as “404.php.” If you don’t see it immediately, you might need to scroll down or look under the “Theme Files” category.
- Select the File: Click on 404.php to open it in the editing area. This file is what controls the design and layout of your site’s 404 error page.
Now that you have located the 404.php file, you can start customizing its design! You might want to add a friendly message, images, or even helpful links to guide visitors back to relevant content. If you’re not comfortable making changes to HTML or PHP, that’s totally okay! There are plenty of plugins that can help you customize your 404 page without diving into code.
So, whether you’re looking to keep it simple or get creative, this file is the key gateway to crafting a better user experience even when users hit dead ends on your site.
Creating a Backup of Your 404 Page
Before diving into the creative process of redesigning your 404 page, it’s crucial to take a step back and make a backup. This step isn’t just a suggestion; it’s a safeguard against potential hiccups that may arise during the editing process. You wouldn’t want to lose your existing design, would you? Let’s explore how to create that all-important backup!
Here’s a simple breakdown of the backup steps:
- Access Your WordPress Dashboard: Begin by logging into your WordPress account. This is where all the magic happens.
- Use a Backup Plugin: Search for a reliable backup plugin. Some popular options include:
- UpdraftPlus
- BackupBuddy
- WP Time Capsule
- Follow the Plugin Instructions: Each plugin will have clear instructions on how to set up backups. Typically, it involves selecting files to backup and scheduling automatic backups if desired.
- Perform Manual Backup: If you prefer a hands-on approach, you can manually back up your WordPress database and files using your hosting provider’s control panel.
- Store Your Backup Safely: Make sure to save the backup files in a secure location. Cloud storage or an external hard drive works well!
By taking these precautions, you ensure that whatever changes you make can be easily reverted if things don’t go as planned. Your 404 page is often the last line of defense in keeping visitors on your site – so why not make sure it’s well-protected during its makeover?
Editing the 404 Page Design
Now that you’ve created a backup, it’s time to unleash your creativity! Editing the design of your 404 page doesn’t have to be an overwhelming task. It’s a chance to enhance user experience and add a little personality to your site. Let’s go through the various methods of tweaking the design!
Here are some popular ways to edit your 404 page design:
- Custom Page Template: Many themes allow for the creation of a custom 404.php template file. You can access your theme editor and add your unique design elements. The template can include:
- Custom imagery or graphics
- Thoughtful messaging (e.g., “Oops! Page not found.”)
- A search bar or navigation links to guide users back to relevant content
- Utilizing Page Builder Plugins: If you’re not into coding, page builder plugins like Elementor or Beaver Builder make things easier. Simply drag and drop elements to create a visually appealing 404 page without writing a single line of code.
- Styling with CSS: For those with a little technical skill, adding custom CSS to your 404 page can completely transform its look. This can allow for unique fonts, colors, and layouts that better align with your brand.
- Keep it On-Brand: Remember to maintain brand consistency by using the same colors, fonts, and overall aesthetic you have throughout your website. Your visitors will appreciate the cohesive experience!
After making these changes, be sure to test your 404 page thoroughly. Navigate to non-existent URLs to see how your new design looks and feels. A well-designed 404 page not only reduces frustration but can also keep visitors engaged, leading them to other parts of your site.
7. Adding Useful Links and Search Functionality
When visitors stumble upon a 404 page, it can be frustrating for them, especially if they’re looking for something specific on your website. That’s why adding useful links and search functionality to your 404 page is crucial! It not only helps to enhance user experience (UX) but also keeps visitors engaged with your site. Let’s break down how you can effectively implement this.
First off, consider adding popular links in your 404 page design. These could be links to:
- Your homepage
- About page
- Contact page
- Blog section
- Featured products or services
Having these links readily available can guide users to other areas of your site, thus minimizing frustration and potential bounce rates. It acts as a little safety net that helps them navigate your site instead of giving up.
Next up is the search functionality. A search bar allows users to type in keywords related to what they were originally looking for. To add this feature, you can easily implement a search form like so:
<form role="search" method="get" id="searchform" action="">
This small addition can make a huge difference! It empowers users to find what they need instead of redirecting them to other pages. Tools like Google Custom Search can further enhance this feature for improved results. Remember, the goal here is to create a seamless experience even when things go wrong!
8. Using Page Builder Plugins for Customization
If you’re looking to customize your 404 page without diving deep into code, page builder plugins are your best friends! These intuitive tools provide a drag-and-drop interface that makes the design process as easy as pie, even for non-techies.
Some popular page builder plugins include:
- Elementor
- Beaver Builder
- WPBakery Page Builder
- Divi Builder
Here’s a quick rundown of how to get started:
- Install and activate your chosen page builder plugin.
- Navigate to your 404 template in the theme settings or the page builder interface.
- Start designing! Use the drag-and-drop features to add elements like text, images, buttons, and even forms.
- Preview your changes to ensure everything looks and functions correctly.
- Publish your custom 404 page.
With these plugins, you have the flexibility to make your 404 page as informative and visually appealing as any other page on your site. Also, you can add custom backgrounds, change fonts, and include eye-catching call-to-action buttons directing users to relevant content. This way, you transform a potentially annoying experience into a more pleasant interaction. So, why let a 404 page be an end-point? Let it be a gateway instead!
9. Previewing Your Changes
After you’ve made adjustments to your 404 page in WordPress, it’s time to preview those changes to ensure everything looks and functions as expected. Previewing is a crucial step that allows you to catch any errors or design issues before your visitors encounter them. So, how do you go about previewing your 404 page? Let’s break it down!
- Use the Customizer: If you’ve used the WordPress Customizer to design your 404 page, click the ‘Preview’ button. This allows you to see how your changes look in real-time.
- Check Different Devices: Don’t forget to preview your changes on various devices. Switch between desktop, tablet, and mobile views to ensure a responsive design.
- Browser Testing: Use different web browsers (Chrome, Firefox, Safari) to check for any inconsistencies in how your page appears across platforms.
- Preview Links: If you’ve added links on your 404 page (like redirecting to the homepage or a search function), test them in preview mode. This helps ensure users can easily navigate away from the error.
After you’ve taken these steps, it’s often a good idea to admit at least a little doubt. Invite a friend or colleague to look at your changes and share their thoughts. Fresh eyes can spot things you might have missed!
10. Testing the 404 Page on Your Site
So, the design is set, and you’re feeling pretty good about your 404 page. But wait! It’s time for the real test: seeing how it works when a user actually hits a dead end on your site. This is super important, as you want to make sure your visitors don’t feel lost or frustrated when encountering the page. Here’s how you can effectively test your 404 page:
- Simulate a Missing Page: The easiest way to test your 404 page is by trying to access a non-existent URL on your site (like www.yoursite.com/no-such-page). This action should trigger the 404 error and direct you to your custom page.
- Check Functionality: Verify all the features on your 404 page work as intended. Are your links functional? Does your search bar return results? Everything should be seamlessly operational.
- Analyze User Experience: After a few visits, take a step back and see how easy it is to navigate away. Is there an appealing call-to-action? Are users able to find the information they need or return to your main content without hassle?
| Test Item | Status |
|---|---|
| Simulated Access to Non-Existent URL | ✔️ |
| Links Functionality | ✔️/❌ |
| Search Bar Usability | ✔️ |
| User Experience Check | ✔️/❌ |
Once you’ve completed the testing, monitor user feedback and website analytics. If you notice any anomalies—like high bounce rates on the 404 page—consider making further adjustments. Remember, the goal is to turn a frustrating experience into a helpful one!
Best Practices for an Effective 404 Page
Every website owner cringes at the thought of a visitor landing on a 404 page, but the truth is, it’s an inevitable part of web browsing. Instead of viewing this as a negative, why not turn it into a positive? Here are some essential best practices to create an effective 404 page that not only informs but engages your visitors!
- Clear Messaging: Start with a friendly message that acknowledges the error. Something like “Oops! We couldn’t find that page.” sets the tone right and makes visitors feel comfortable.
- Search Bar: Help users navigate your site better by providing a search bar. This allows them to find what they were looking for with ease.
- Links to Popular Pages: Include links to your website’s most popular or recent pages. This keeps the user engaged and encourages them to explore your site further.
- Reinforce Branding: A well-designed 404 page should reflect your brand’s identity. Use colors, logos, and fonts consistent with your website to maintain brand recognition.
- Humor or Creativity: Using humor or creative graphics can lighten the mood of an unexpected situation. Just make sure it resonates with your audience!
- Contact Information: If users are still struggling to find what they need, provide a link to your contact page. This way, they can reach out for assistance without frustration.
Ultimately, your goal is to soften the blow of the 404 error and redirect your visitors back into the heart of your content!
Conclusion
Designing an effective 404 page in WordPress is not just about aesthetics; it’s about creating a seamless user experience even in times of error. By adhering to the best practices we discussed, you can transform what is often seen as a frustrating encounter into an opportunity for engagement. A well-crafted 404 page helps maintain your brand image and ensures that your visitors remain on your site rather than bouncing off to competitors.
Remember, your website is a reflection of your business, and every page, including the 404, should maintain your voice and personality. So, take some time to edit and enhance your 404 page—it’s worth it! If you approach it with creativity and clarity while keeping your users in mind, you might just turn a potential problem into a chance for connection.
Happy editing, and here’s to transforming those pesky 404s into engaging experiences!

