As a contributor on Shutterstock, your portfolio is your storefront — it showcases your work to potential buyers worldwide. Keeping it organized and up-to-date is key to attracting more downloads and growing your reputation. Sometimes, you might need to remove photos that no longer reflect your style, are outdated, or simply aren’t performing well. Deleting uploaded photos is a straightforward process, but knowing exactly how to do it can save you time and frustration. In this guide, we’ll walk you through each step to help you manage your portfolio effectively and keep your gallery fresh and professional.
Accessing Your Shutterstock Contributor Account
Getting started begins with logging into your Shutterstock contributor account. If you’re new, you’ll need to create an account first — but if you’re already a contributor, just follow these simple steps:
- Visit the Shutterstock Contributor Website: Head over to submit.shutterstock.com. This is the dedicated portal for contributors to upload, manage, and delete their work.
- Click on ‘Log In’: Located at the top right corner of the page, the ‘Log In’ button is your gateway to your account.
- Enter Your Credentials: Input your email address and password associated with your contributor account. If you’ve forgotten your password, click on ‘Forgot Password?’ to reset it.
- Navigate to Your Dashboard: Once logged in, you’ll be directed to your contributor dashboard. This is your control center where you can view your uploaded images, check sales stats, and manage your portfolio.
From here, you’re all set to start managing your uploaded photos, including deleting the ones you no longer want in your portfolio. Remember to keep your login details secure, and if you encounter any issues, Shutterstock’s support resources are just a click away to help you troubleshoot.
Locating Your Uploaded Photos
So, you’ve uploaded some photos to your Shutterstock portfolio, and now you want to find them to decide which ones to delete. Don’t worry—it’s pretty straightforward once you know where to look. First, log into your Shutterstock Contributor account using your usual credentials. Once you’re in, you’ll be taken to your dashboard, which is your hub for managing all your uploads.
Look for the menu or navigation bar—usually located on the top or side of the page. Find and click on the “Manage Photos” or “Uploads” section. This is where Shutterstock keeps all the photos you’ve uploaded so far. Depending on the interface, you might see options like “All Uploads”, “Pending”, or “Approved”. To view your entire collection, select “All Uploads”.
Once inside, you’ll see a gallery or list view displaying your images. You can use the search bar or filters to locate specific photos, especially if you have a large portfolio. For example, filter by upload date, keywords, or status. This makes it easier to find the exact photos you want to delete.
If you remember the filename or keywords associated with the photo, try searching those terms. Remember, each photo thumbnail has details like upload date, title, and keywords—use these to identify the images you want to remove. Take your time browsing through your uploads and make sure you select the correct photos before proceeding to delete.
Pro tip: It’s a good habit to review your uploaded images periodically. Removing outdated or unwanted photos not only keeps your portfolio neat but can also help improve your overall portfolio quality. And don’t worry—if you accidentally select the wrong photo, you can always go back and select the right one later.
How to Delete Photos from Your Shutterstock Portfolio
Now that you’ve located your photos, let’s talk about how to delete them. Shutterstock makes this process pretty simple, but it’s important to be cautious—once deleted, an image is gone for good, and you can’t undo it. So, double-check before confirming the deletion.
Here’s a step-by-step guide:
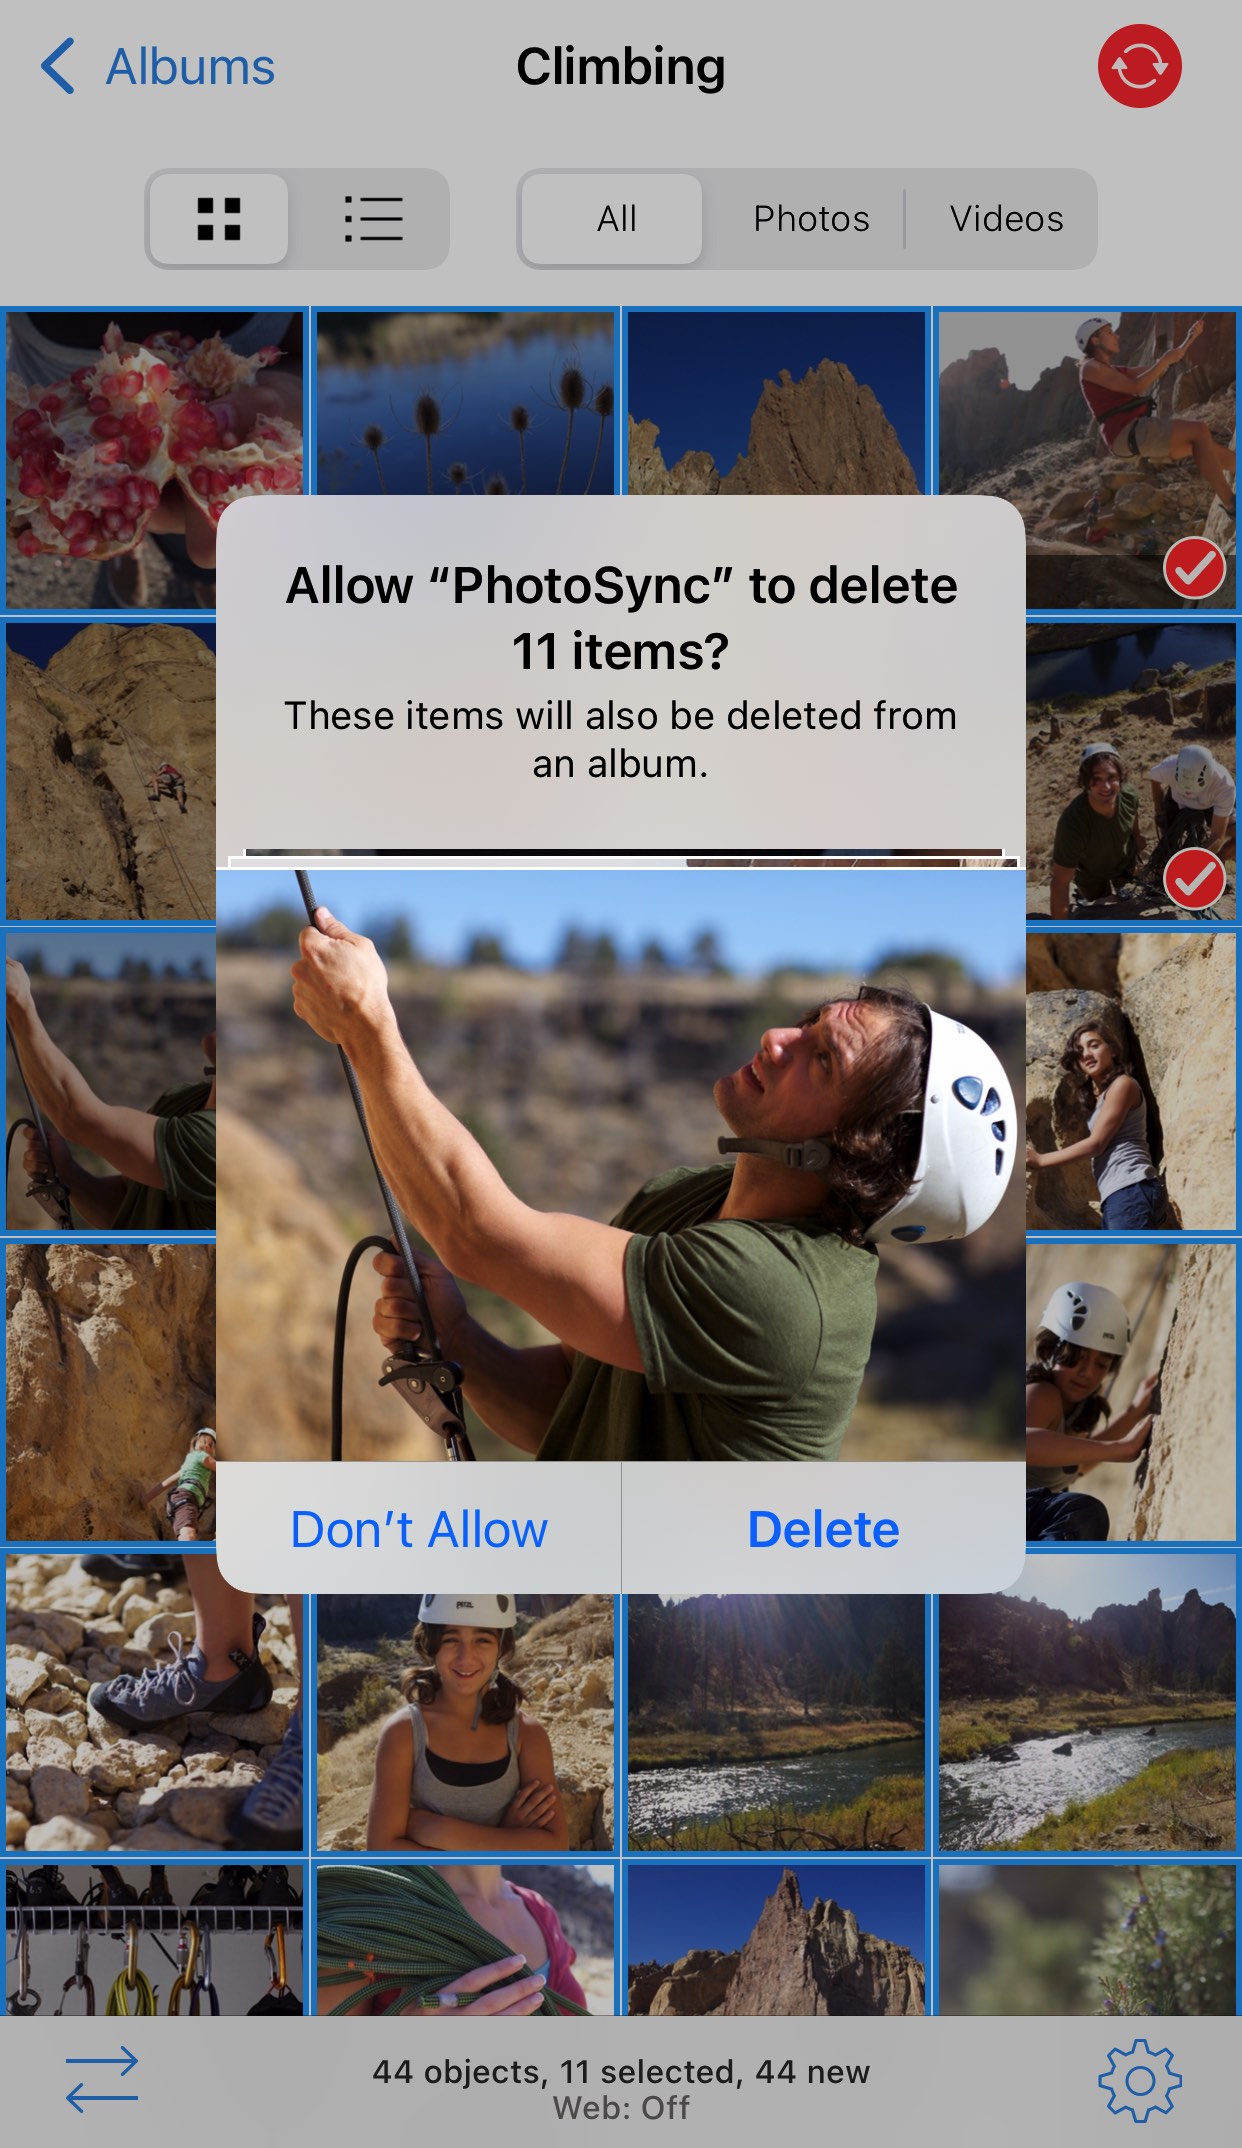
- Select the Photo(s): In your “Manage Photos” section, click on the checkbox or select the thumbnail of the photo you want to delete. If you’re deleting multiple images, you can usually select several at once.
- Look for the Delete Option: Once your images are selected, find the “Delete” button. It’s often located above or below the gallery, or within a menu that appears after selecting images.
- Confirm Deletion: Clicking “Delete” will typically prompt a confirmation window asking if you’re sure you want to remove the selected images. Read the message carefully. Remember, deletions are permanent.
- Complete the Process: Confirm your choice by clicking “Yes” or “Delete”. The images will then be removed from your portfolio immediately.
And that’s it! Your photos are now deleted from your Shutterstock portfolio. Keep in mind, if you want to replace or update images, deleting old ones can be a good first step before uploading new versions.
Tip: If you’re managing a large number of images, consider doing this in batches to avoid mistakes. Also, it’s worth noting that deleting a photo from your portfolio doesn’t delete it from Shutterstock’s entire database—your images will no longer be visible or available in your portfolio, but they may still exist in Shutterstock’s backend for licensing and copyright reasons.
Finally, always make sure you’re deleting the right images. It’s a good practice to review your selection one last time before confirming. Once deleted, you can’t recover the images, so double-check that you’ve selected the correct photos!
Tips for Successfully Removing Photos from Shutterstock
Deleting photos from Shutterstock might seem straightforward, but there are some tips that can make the process smoother and ensure your images are removed without any hiccups. Whether you’re cleaning up your portfolio or removing outdated content, keeping these tips in mind can save you time and frustration.
1. Double-Check Before Deleting
Before hitting the delete button, take a moment to review the photos carefully. Make sure you’re deleting the correct image, especially if you have multiple similar ones. Once deleted, recovering the photo can be difficult or impossible without contacting support.
2. Understand Shutterstock’s Deletion Policies
Shutterstock has specific policies regarding image removal. For example, if your photo has been downloaded or licensed by customers, there might be restrictions on deleting it immediately. Familiarize yourself with these policies on their submission guidelines to avoid surprises.
3. Keep Track of Your Uploaded Photos
Maintaining a personal record of your uploads—like keeping organized folders or a spreadsheet—can help you quickly locate the images you want to delete. This is especially helpful if you upload many photos regularly.
4. Use the Correct Account and Login Details
Ensure you’re logged into the right Shutterstock contributor account. Sometimes, contributors manage multiple accounts, and deleting images from the wrong one can cause confusion. Verify your login credentials before starting the deletion process.
5. Clear Your Browser Cache
If you encounter issues with the Shutterstock website not updating after deletion, try clearing your browser cache. Sometimes, cached data prevents the latest changes from showing up, leading to confusion about whether the deletion was successful.
6. Be Patient After Deletion
Once you’ve requested to delete a photo, it might take some time for the change to reflect across all platforms. Shutterstock may review or process deletions in the background, so if you don’t see immediate results, give it a little time before checking again.
Common Issues and Troubleshooting When Deleting Photos
While deleting photos from Shutterstock is usually a straightforward process, some users encounter common issues. Here’s a rundown of those problems and simple troubleshooting steps to help you resolve them quickly.
Issue 1: Photos Not Deleting or Deletion Not Reflecting
- Solution: Refresh your browser or clear your cache. Log out and log back into your account to ensure the changes are updated. If the photo still appears, try deleting it from a different browser or device.
Issue 2: Unable to Locate the Delete Option
- Solution: Make sure you are logged into your contributor account with the correct permissions. Sometimes, if your account doesn’t have the necessary rights or if you’re viewing the photo in a restricted view, the delete option might be hidden. Check your account status and ensure you’re in the right section of the dashboard.
Issue 3: Photos Still Licensed or Downloaded by Customers
- Solution: If your photo has active licenses or downloads, Shutterstock might restrict immediate deletion. Contact their support team for assistance. They can sometimes help you remove images that are no longer needed or provide guidance on timing.
Issue 4: Error Messages During Deletion
- Solution: Note down the exact error message and try to troubleshoot accordingly. Common causes include network issues, session timeouts, or browser incompatibilities. Updating your browser, disabling browser extensions, or switching to a different device can help resolve these errors.
Issue 5: Deletion Limits or Restrictions
- Solution: Shutterstock may impose limits on how many images you can delete within a certain time frame. If you’ve hit a limit, wait for the cooldown period or contact support for further assistance.
In most cases, following these troubleshooting steps can resolve common problems when deleting photos. If issues persist despite your efforts, don’t hesitate to reach out to Shutterstock’s customer support. They’re usually quite helpful and can guide you through any complex situations to ensure your portfolio stays exactly how you want it.
Final Recommendations for Managing Your Shutterstock Uploads
Effectively managing your Shutterstock uploads is essential to maintain a professional portfolio and ensure your images are easily accessible when needed. Here are some key tips to help you stay organized and optimize your upload process:
- Regularly review your portfolio: Periodically check your uploaded images to identify outdated or less relevant photos that may need to be deleted or replaced.
- Use descriptive keywords: Proper tagging improves discoverability and reduces the need for multiple uploads or deletions caused by misclassification.
- Maintain consistent file naming: Adopt a clear naming convention to easily locate and manage your images on your device before uploading.
- Archive unused images: For photos you might want to reuse later, create a dedicated archive folder instead of deleting them, making future uploads quicker.
- Utilize batch actions: When managing multiple images, use Shutterstock’s batch editing tools to delete or update several files at once, saving time.
Additionally, consider creating a tracking spreadsheet to monitor upload dates, keywords, and sales performance. This helps you identify which images perform well and should be prioritized for updates or deletions.
| Tip | Benefit |
|---|---|
| Regular reviews | Keeps your portfolio fresh and relevant |
| Consistent keywords | Enhances discoverability |
| Archiving unused images | Prevents clutter without losing potential future content |
| Batch management | Speeds up editing and deletion processes |
By implementing these best practices, you can streamline your Shutterstock management process, ensuring your portfolio remains organized, relevant, and optimized for success.