Managing your Shutterstock image library can feel a bit overwhelming at first, especially if you’ve uploaded a lot of images over time. Whether you’re cleaning up outdated photos, removing duplicates, or just tidying your collection, knowing how to efficiently delete images is super helpful. Your Shutterstock library is like your personal portfolio—keeping it organized ensures you can find and showcase your best work easily. Plus, deleting unwanted images can free up space and help maintain a professional, polished appearance for your portfolio. In this guide, we’ll walk through the steps to delete images smoothly and confidently.
Prerequisites for Deleting Images from Shutterstock
Before you dive into deleting images, there are a few important things to keep in mind to make the process as seamless as possible:
- Account Access: You need to be logged into your Shutterstock contributor or user account. If you don’t have one, you’ll need to create it first.
- Ownership and Permissions: Ensure that the images you want to delete are yours or that you have the necessary rights to manage them. You can’t delete images uploaded by others.
- Image Status: Check the status of your images. If an image has been accepted, you can generally delete it. However, if it’s under review or pending, deletion might not be possible until the process is complete.
- Understanding Limitations: Be aware that Shutterstock may have specific policies or restrictions on deleting images, especially if the images have been sold or downloaded multiple times.
- Backup Your Files: Before deletion, consider downloading and saving copies of any images you might want to use later, just in case.
Having these prerequisites sorted out will help you avoid any hiccups during the deletion process and keep your Shutterstock library tidy without any surprises.
Logging into Your Shutterstock Contributor Account
Alright, so now that you’re ready to tidy up your Shutterstock portfolio, the first step is logging into your Contributor account. Think of this as unlocking the door to your personal gallery of images. It’s pretty straightforward, but here are a few tips to make sure everything goes smoothly.
First, head over to the Shutterstock Contributor login page. You’ll see the login form right there — simply enter your email address and password associated with your contributor account. If you’ve forgotten your password, don’t worry! Just click on the “Forgot password?” link, and Shutterstock will guide you through resetting it.
For added security, if you have two-factor authentication enabled, be prepared to enter a code sent to your email or mobile device. Once logged in, you’ll be welcomed by your dashboard, which is your control center for managing all things related to your images and account.
Pro tip: Save your login details securely and avoid logging in from public or shared computers to keep your account safe. Now that you’re logged in, you’re all set to start managing your images and, when needed, deleting those you no longer want to keep online.
Navigating to Your Image Portfolio
Great! You’re logged in. The next step is finding that treasure trove of your images — your portfolio. Think of it as your personal photo gallery where all your uploaded images are stored, organized, and ready for editing or deletion.
Once inside your dashboard, look for the “Uploads” or “My Portfolio” tab. This is usually located in the main menu or sidebar. Click on it, and you’ll be taken to a page displaying all your images. The layout typically shows thumbnails of your images, making it easy to scan through them visually.
If you have a large collection, use the search bar or filter options to narrow down your images by keywords, upload date, or status. This helps you quickly locate the images you want to delete or manage. You can also select multiple images at once by clicking on checkboxes or icons, which makes batch deletions a breeze.
Take your time to browse through your portfolio. When you find an image you want to remove, look for the options or settings next to it — usually represented by three dots or a gear icon. Clicking on this will reveal options like “Edit,” “Download,” or “Delete.”
Remember, your portfolio is your creative space. Regularly reviewing it not only helps keep your profile tidy but also ensures that only your best work is showcased. Now that you know how to navigate to your images, you’re ready to select and delete the ones you no longer want online. Up next, we’ll walk through the actual process of deleting those images step-by-step.
Selecting the Images You Want to Delete
Once you’ve logged into your Shutterstock contributor account, the next step is to identify the images you want to remove. Shutterstock‘s library can contain hundreds or even thousands of images, so it’s important to have a clear plan to make the deletion process smooth and efficient.
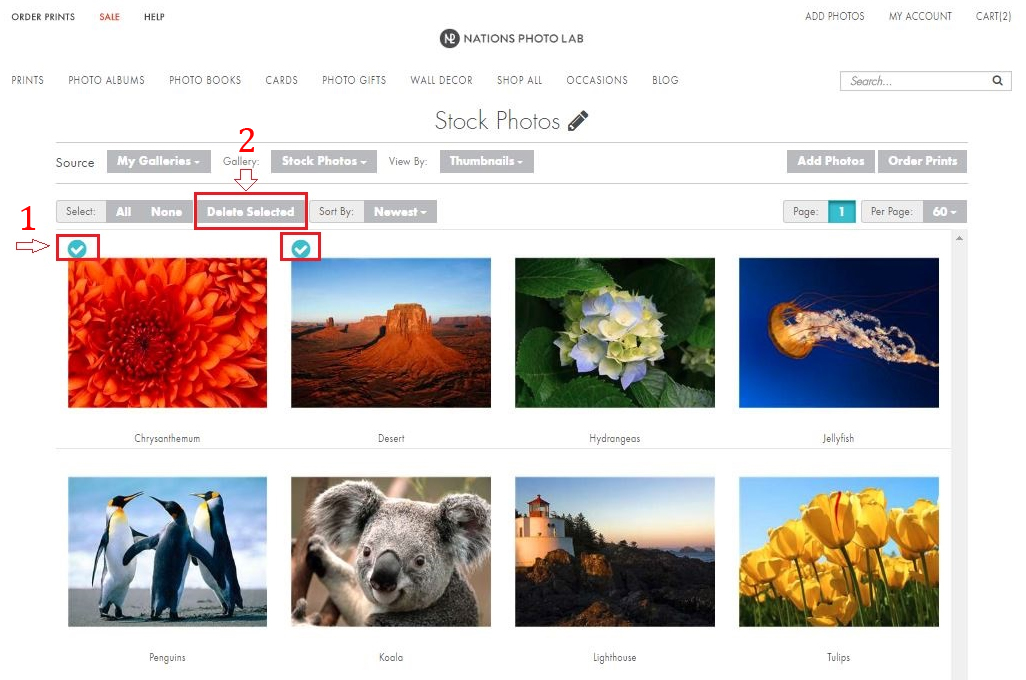
Start by navigating to your “My Portfolio” or “My Files” section. Here, you’ll see thumbnails of all your uploaded images. To make selecting easier, you can:
- Use the filtering options: Shutterstock often allows filtering by upload date, image type, or status (like pending review or approved). This can help narrow down your list.
- Search by tags or keywords: If you remember specific tags or titles associated with the images, use the search bar to locate them quickly.
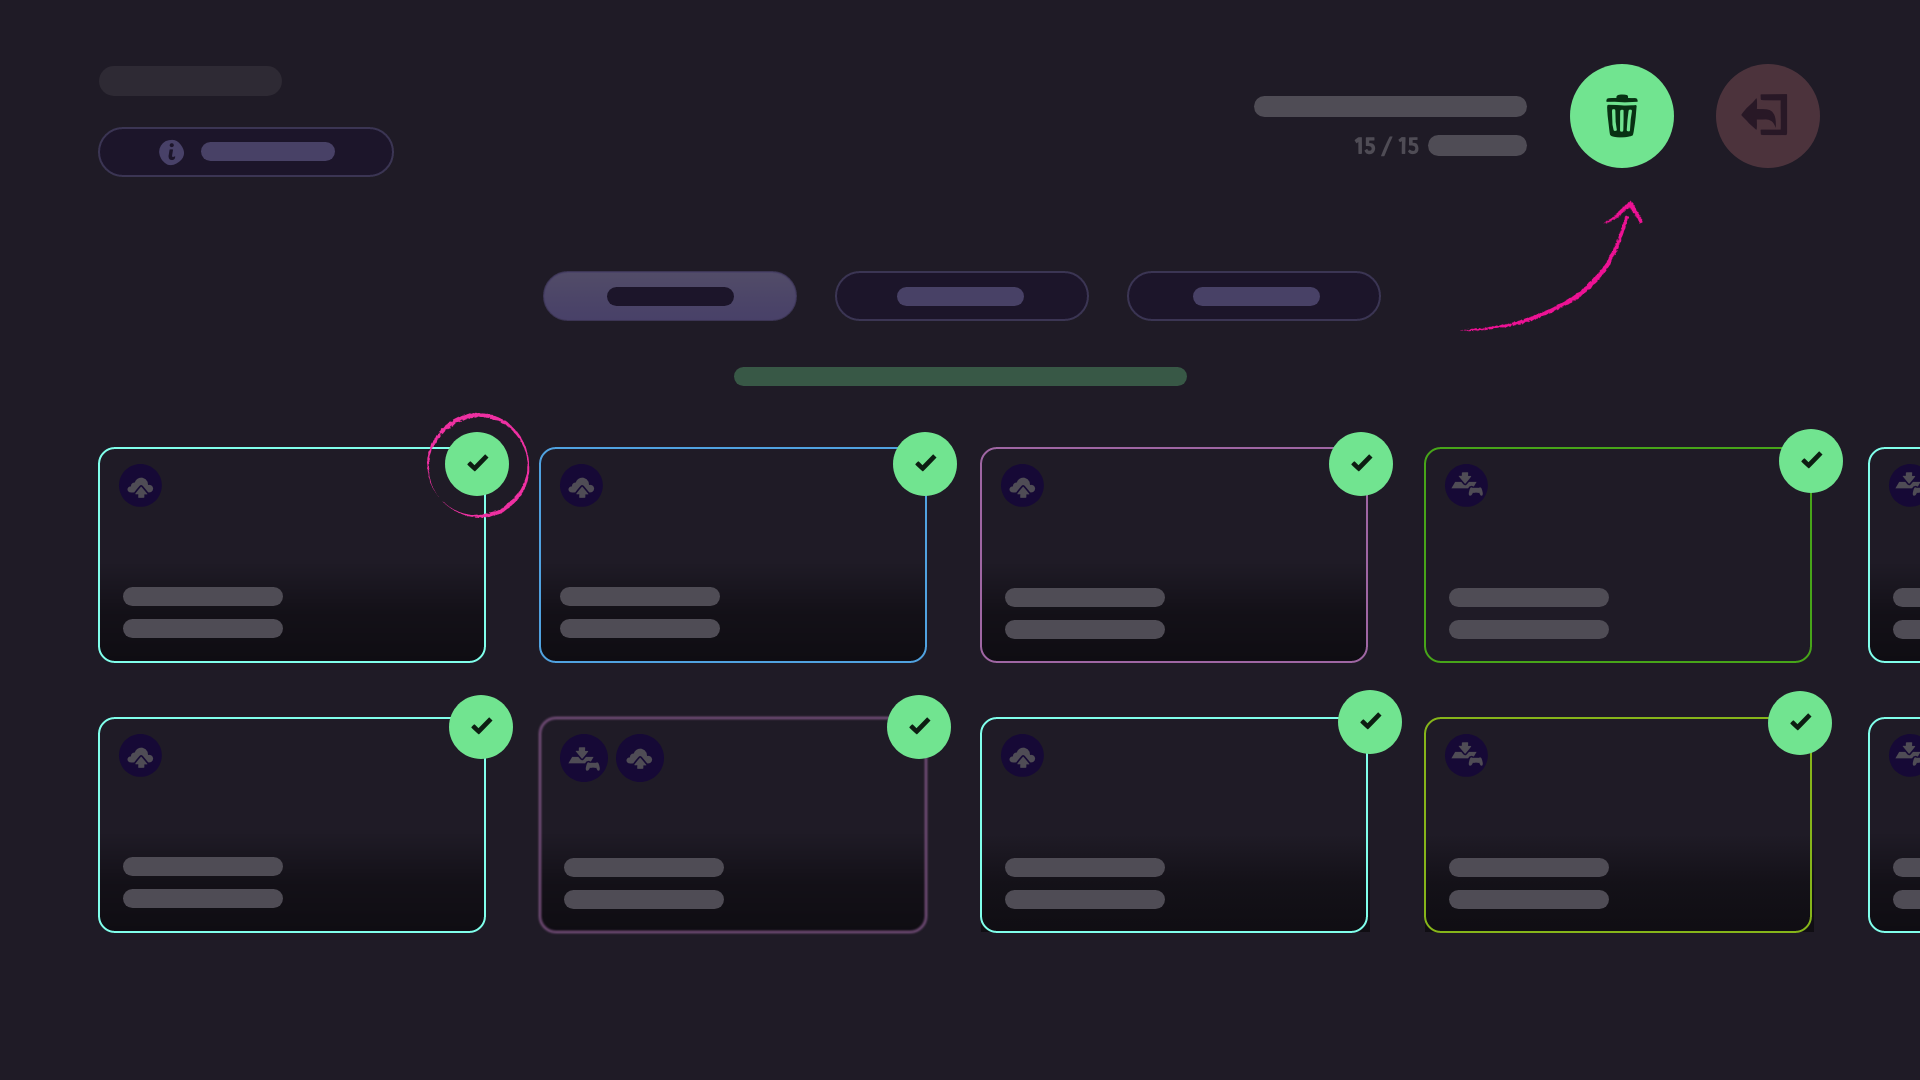
- Select multiple images at once: Most platforms enable you to click checkboxes next to each image. For bulk selection, click the first image, hold down the shift key, and then click the last image to select a range.
Take your time to review each image before selecting it for deletion. It’s easy to accidentally select the wrong images, especially if your library is large. Double-check the thumbnails or click on individual images to preview them fully before confirming your choice.
Remember, once you delete an image, it can be challenging to recover unless you have a backup, so be sure you’re selecting the correct files. If you’re planning to delete multiple images, consider creating a list or spreadsheet to keep track of which ones you’ve marked for removal.
Deactivating or Removing Images from Your Library
After selecting the images you want to delete, the next step is to deactivate or remove them from your Shutterstock library. The terminology can vary—some platforms might call it “deactivating,” “removing,” or “deleting”—but the process is generally similar.
Here’s a typical step-by-step process:
- Locate the delete or deactivate option: Usually, you’ll find a button labeled “Delete,” “Remove,” or “Deactivate” near the selected images or in a dropdown menu.
- Confirm your selection: Clicking this will often prompt a confirmation dialog. This is your chance to double-check that you’re deleting the correct images. Read the message carefully—some platforms differentiate between temporary deactivation and permanent deletion.
- Understand the implications: Deactivation might hide the images from public view but keep them stored in your account for potential reactivation later. Permanent deletion, on the other hand, will remove all traces of the images from your library and might be irreversible.
- Proceed with the deletion: If you’re sure, click the confirmation button. Some platforms might ask for your password or a verification code to prevent accidental deletions.
In some cases, Shutterstock allows you to delete images in bulk, which is a big time-saver if you’re removing many files. Always review your selections one last time before confirming the delete action.
And that’s it! Once confirmed, the images will be removed from your library according to the platform’s policies. If you’ve chosen to deactivate instead of delete, remember you can usually reactivate those images later if your needs change.
Tip: If you’re unsure about permanently deleting images, consider downloading copies for your records before removal. This way, you won’t lose access to your work entirely.
Confirming the Deletion Process
Once you’ve gone through the steps of deleting an image from Shutterstock’s library, you might be wondering, “Did it really go through?” That’s a totally normal question! The good news is, Shutterstock provides clear confirmation to ensure you’re in the know.
After clicking the delete option, most of the time you’ll see a confirmation pop-up or message on your screen. It might say something like “Are you sure you want to delete this image?” with options to confirm or cancel. Make sure you click “Confirm” or “Yes” to finalize the deletion.
Once confirmed, Shutterstock typically displays a message like “Image successfully deleted” or updates your library view to reflect the removal. Sometimes, you’ll also see the image disappear from your list immediately, which is a good indication that the process worked.
If you don’t see any confirmation, or if you’re unsure whether the image was deleted, here are some quick tips:
- Refresh your browser page and check your library again.
- Use the search bar within your dashboard to see if the image still appears.
- Check your email inbox for any confirmation messages from Shutterstock.
In case the image is still there after a while, or if you encounter any errors, don’t hesitate to reach out to Shutterstock’s support team. They can help verify whether the deletion went through or assist with any issues.
Remember, managing your content carefully is important, so always double-check that the images you intend to delete are no longer visible or accessible in your account.
Additional Tips for Managing Your Shutterstock Content
Managing your images on Shutterstock doesn’t have to be a daunting task! Here are some handy tips to help you stay organized and keep your library tidy:
- Create Folders or Collections: If Shutterstock allows, organize your images into folders or collections. This makes it easier to find and manage specific groups of images, especially if you upload frequently.
- Regularly Review Your Library: Set aside some time every few months to go through your uploaded images. Delete outdated, unused, or low-quality images to keep your portfolio focused and manageable.
- Use Descriptive Names and Tags: When uploading images, add clear titles and tags. This helps you locate images quickly later on, especially when searching through large libraries.
- Backup Important Files: Keep copies of your favorite or most valuable images outside of Shutterstock. This way, you won’t lose them if something happens to your account or if you decide to delete them from Shutterstock later on.
- Stay Updated on Shutterstock Policies: Licensing rules, submission guidelines, and content management features often change. Regularly check Shutterstock’s help center or updates to stay informed about best practices.
- Utilize Version Control: If you update an image (like adding a new version or editing), consider uploading it as a new file rather than overwriting the old one. This keeps your history intact and makes it easier to revert if needed.
- Monitor Your Performance: Use Shutterstock analytics to see which images are performing well. If some images aren’t generating views or downloads, consider deleting or updating them to improve your portfolio’s overall quality.
By staying organized and proactive, you’ll make managing your Shutterstock content a smoother experience. Remember, a clean and well-maintained library not only saves you time but also enhances your portfolio’s professionalism and appeal.
Frequently Asked Questions About Image Deletion on Shutterstock
Deleting images from Shutterstock can raise a few questions, especially if you’re new to the platform or managing a large portfolio. Let’s go over some of the most common questions so you’re clear on how the process works and what to expect.
Q: Can I delete images that have been downloaded or purchased?
No, once an image has been downloaded or purchased, you can’t delete it from Shutterstock’s archive. However, you can remove your own uploaded files from your contributor account, which prevents new downloads. Existing downloads or licenses will remain valid for users who have already purchased or downloaded the image.
Q: How long does it take for a deleted image to be removed from the website?
The removal process is usually quick, often within 24 to 48 hours after you submit the deletion request. However, it might take longer if the image is involved in ongoing licensing or if there are pending reviews. Rest assured, once your request is processed, the image will no longer be visible or available for download.
Q: Will deleting an image affect my contributor account’s statistics or earnings?
No, deleting images does not impact your overall account statistics or earnings directly. However, if an image has been earning royalties, those earnings are finalized before deletion. Also, removing images reduces your portfolio size, which might influence your visibility or sales opportunities.
Q: Can I delete multiple images at once?
Yes! Shutterstock allows you to select multiple images for deletion within your contributor dashboard. Just check the boxes next to the images you want to remove and follow the same deletion process for bulk removal. This is a huge time-saver if you have a large batch of images to delete.
Q: Is there a limit to how many images I can delete at once?
While there isn’t a strict limit, Shutterstock recommends deleting images in manageable batches—say, 50 to 100 at a time—to ensure the process completes smoothly. If you have thousands of images, consider doing it in phases to avoid potential technical issues.
Q: What should I do if my deletion request is denied?
If your request is denied, it could be due to pending licensing, copyright concerns, or other platform policies. In such cases, review the message from Shutterstock and contact support if needed. Sometimes, images can’t be deleted if they are involved in active licensing or legal matters.
Contacting Shutterstock Support for Assistance
If you encounter issues or have specific questions about deleting images, reaching out to Shutterstock support is your best bet. They’re there to help you navigate any hiccups and ensure your account management goes smoothly.
How to Contact Shutterstock Support
- Help Center: Start by visiting the Shutterstock Contributor Help Center at support.shutterstock.com. It’s filled with articles and FAQs that might answer your question instantly.
- Contact Form: If you need personalized assistance, use the contact form available on the Help Center. Provide detailed information about your issue, including your contributor ID and specific images involved.
- Live Chat: Shutterstock offers live chat support during certain hours. Look for the chat icon on their support pages to chat with a support representative in real-time.
- Email Support: Alternatively, you can send an email describing your problem. Be clear and concise, including relevant details like image IDs, account info, and the nature of your request.
Tips for Effective Support Communication
When reaching out, keep these tips in mind to get quicker and more accurate assistance:
- Include your contributor username and account details.
- Specify the images you want to delete with their IDs or filenames.
- Describe the issue clearly—are you unable to delete an image? Is the deletion process taking too long?
- Attach screenshots if possible. Visuals help support teams understand your problem faster.
Remember, Shutterstock support is there to help ensure your experience is smooth and hassle-free. Don’t hesitate to reach out if you’re stuck or need guidance—getting professional help can save you time and frustration.
Conclusion and Best Practices for Managing Your Image Portfolio
Effectively managing your image portfolio on Shutterstock is essential for maintaining a professional presence and maximizing your earning potential. Regularly reviewing and organizing your images helps ensure that your portfolio remains relevant, high-quality, and appealing to clients. Remember to keep your best images prominently displayed and consider removing outdated or less successful ones to make room for new content.
Here are some best practices to keep in mind:
- Consistent Organization: Use folders and tags to categorize images by theme, style, or project for easy navigation and updates.
- Quality Over Quantity: Focus on submitting high-resolution, well-composed images that meet Shutterstock’s standards.
- Regular Audits: Periodically review your portfolio to delete underperforming or outdated images, freeing up space for fresh content.
- Stay Updated: Keep abreast of Shutterstock’s guidelines and industry trends to ensure your images remain relevant and compliant.
- Use Metadata Wisely: Properly tag and describe your images to improve discoverability and sales potential.
By adhering to these best practices, you can streamline portfolio management, enhance your visibility, and increase your success as a contributor on Shutterstock. Consistent organization and strategic updates will help you maintain a professional and profitable image library.