If you’re a photographer or digital artist earning through Shutterstock, you’re probably familiar with the Contributor Portal. It’s your personal dashboard where you upload, manage, and track your images. Think of it as your online studio—easy to navigate, packed with tools to help you showcase your work and monitor your earnings. Whether you’re a seasoned contributor or just starting out, understanding how to manage your portfolio, including deleting images when needed, is essential. In this guide, we’ll walk you through the steps to delete images smoothly, so your portfolio stays up-to-date and aligned with your creative goals.
Why You Might Want to Delete Images from Your Portfolio
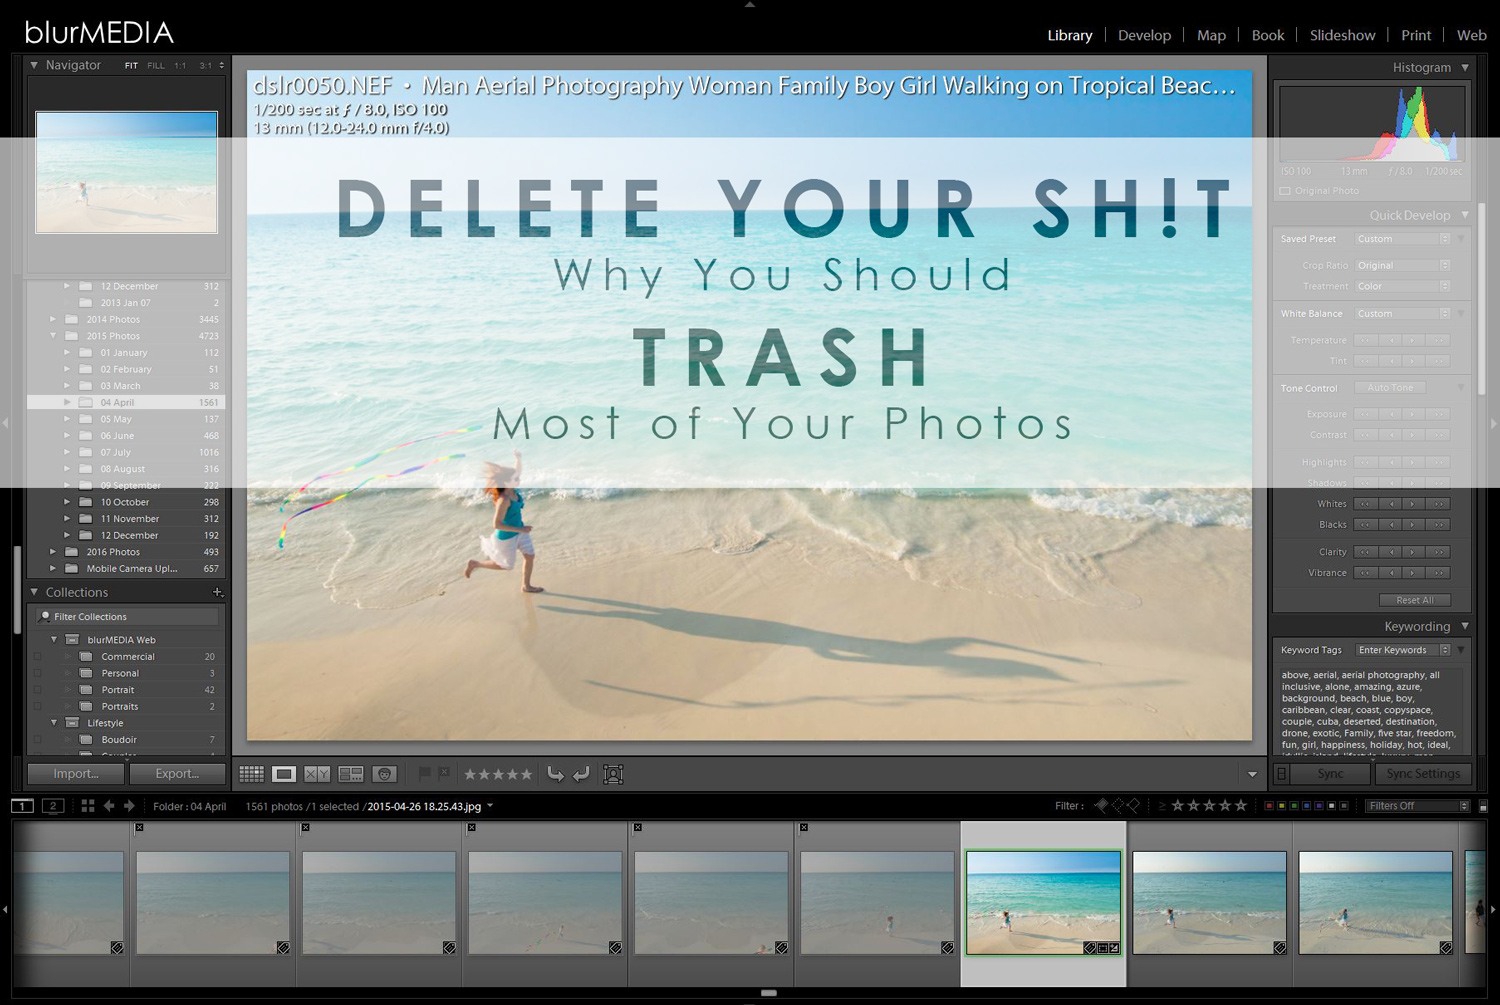
There are several reasons why you might decide to remove images from your Shutterstock portfolio. Sometimes, you might notice that certain images no longer reflect your current style or standards. Maybe an image isn’t performing well in sales or has become outdated. Other times, you might want to clear out duplicates or low-quality files to keep your portfolio looking professional. Additionally, if an image was uploaded by mistake or you have copyright issues, deleting it is the best course of action. Keeping your portfolio curated not only enhances your professional image but also helps you focus on showcasing your best work, making it easier for clients to find and purchase your top-quality images.
Prerequisites for Deleting Images
Before you dive into deleting images from your Shutterstock contributor account, it’s good to make sure you have everything in place. Think of it as prepping your workspace before starting a big project — the smoother the prep, the easier the process.
First off, you’ll need to have access to your Shutterstock contributor account. If you’re already a contributor, you’re halfway there! If not, you’ll need to sign up first, which is pretty straightforward.
Next, it’s important to identify the images you want to delete. You might want to do this in a few ways:
- By browsing your portfolio to find the specific images.
- Using the search and filter options to locate images based on keywords, upload date, or other criteria.
- Checking your image submission history to review recent uploads.
Make sure you have the necessary rights to delete images. Typically, as a contributor, you can delete your own images, but if an image is under review or has certain licensing restrictions, you might need to wait or get approval from Shutterstock support.
Finally, have your internet connection ready and a device like a computer or tablet. While you can technically do this on a mobile device, a larger screen makes managing images much easier, especially if you have many to delete.
Logging Into Your Shutterstock Contributor Account
Now that you’re all set with your prerequisites, let’s get into the actual login process. It’s straightforward, but here are some tips to ensure everything goes smoothly.
First, open your preferred web browser and go to the Shutterstock Contributor Portal at https://submit.shutterstock.com. This is the main hub where you manage your images, submissions, and account details.
Once the page loads, look for the login section. You’ll need your:
- Username or Email Address
- Password
Enter your credentials carefully. If you’ve forgotten your password, don’t worry! Just click on the “Forgot password?” link, and Shutterstock will guide you through resetting it.
For added security, Shutterstock may ask you to verify your login via two-factor authentication, especially if you’ve enabled this feature. This typically involves receiving a code on your registered email or mobile device — so keep those handy!
Once logged in, you’ll be directed to your dashboard, where you can see your uploaded images, earnings, and other account settings. From here, you can easily navigate to your image portfolio to start deleting images.
Remember to log out when you’re done, especially if you’re using a shared or public computer, to keep your account secure.
Locating the Images You Want to Delete
Once you’re logged into your Shutterstock Contributor account, the first step to deleting images is to find those specific files. It might seem straightforward, but if you have a large portfolio, locating the right images can feel like searching for a needle in a haystack. Don’t worry—there are some handy tips to make this process smoother.
Start by navigating to the “Manage Portfolio” or “My Files” section. This is usually found in the main menu or dashboard. Once there, you’ll see a list or grid of all your uploaded images. To make things easier, you can use the search bar to filter images by keywords, titles, or tags you’ve added during upload. If you remember the approximate date you uploaded the images, sorting by upload date can also help narrow down your search.
Another helpful tip is to utilize the filters available. Shutterstock often allows you to filter images based on status (approved, rejected, pending review), keywords, or categories. This way, if you’re looking to delete only approved images or those in a specific category, you can quickly spot them without scrolling endlessly.
If you have a large number of images, consider creating a spreadsheet or list of filenames or IDs beforehand. When you find the images you want to delete, note their details to avoid confusion later. Remember, accuracy is key here—double-check before moving to the deletion step.
Finally, take your time to review each image’s thumbnail and details to ensure you’re selecting the correct files. Once you’ve located your target images, you’re ready to move on to the next step: deletion.
How to Delete Images from Your Portfolio
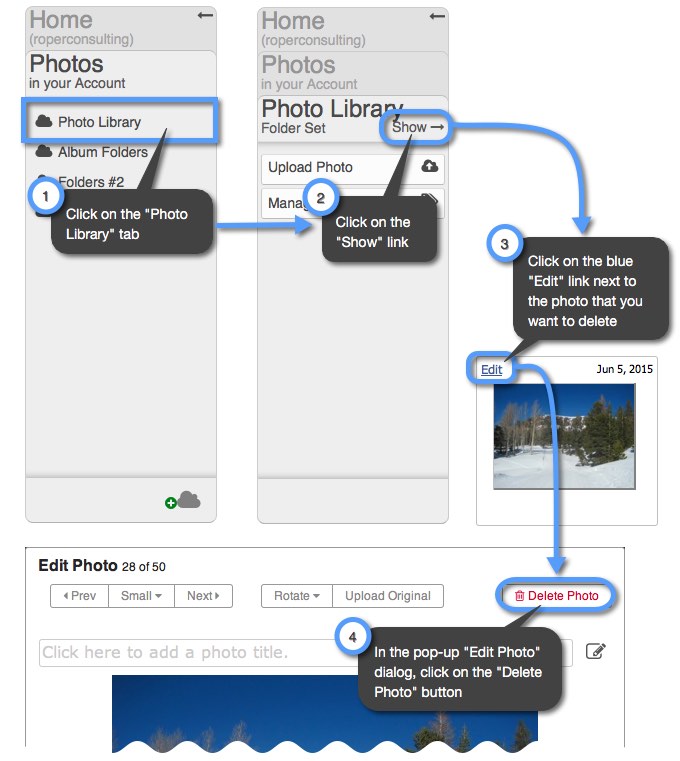
Deleting images from your Shutterstock contributor portfolio is a straightforward process, but it’s important to do it carefully to avoid deleting the wrong files. Here’s a step-by-step guide to help you remove images efficiently:
- Select the Images: After locating your images, click on the checkbox or thumbnail to select each image you want to delete. Some platforms allow bulk selection, which is a huge time-saver if you’re deleting multiple files at once.
- Look for the Delete Option: Once your images are selected, find the delete or remove option. This is often represented by a trash can icon or labeled as “Delete” in the menu. If you don’t see it immediately, check for a dropdown menu or right-click on the selected images for additional options.
- Confirm the Deletion: A confirmation prompt will typically appear, asking you to verify your decision. This step helps prevent accidental deletions. Read the prompt carefully—some platforms may warn you about the irreversible nature of this action.
- Finalize the Process: Click “Yes,” “Confirm,” or the equivalent button to proceed with the deletion. Once confirmed, the images will be removed from your portfolio.
Important Tips:
- Backup Important Files: Before deleting, ensure you have copies of images you might want later. Once deleted, retrieving images from Shutterstock isn’t possible unless you have your original files stored elsewhere.
- Check for Pending Sales or Usage: If any images are currently being used or pending sales, double-check with Shutterstock support or your account details to avoid deleting images that might still be in demand or under review.
- Bulk Deletion Caution: When deleting multiple images at once, make sure each selected file is meant for removal. Mistakes can be costly and time-consuming to fix.
And that’s it! Deleting images from Shutterstock’s contributor portal is designed to be straightforward, but always take your time to review your selections before confirming the deletion. Now, with your unwanted images out of your portfolio, you can keep your collection fresh, organized, and tailored to your current focus.
Confirming the Deletion of Your Images
Once you’ve requested to delete your images on Shutterstock’s Contributor Portal, you might be wondering, “Did it really go through?” It’s a good idea to double-check to make sure everything’s in order. Confirming the deletion not only gives you peace of mind but also ensures that your portfolio stays clean and up-to-date.
Here’s how you can confirm the deletion:
- Check Your Contributor Dashboard: Log back into your account and navigate to your “My Files” or “My Portfolio” section. Look for the images you attempted to delete. If they no longer appear, that’s a good sign they’ve been removed successfully.
- Review the Status Indicators: Shutterstock often shows the status of your images—such as “Pending,” “Published,” or “Removed.” After deletion, the status should change to something like “Removed” or “Deleted.”
- Look for Confirmation Emails: Shutterstock sometimes sends email notifications confirming actions like deletions. Check your inbox for any messages that confirm your images have been successfully deleted.
- Perform a Search: Use the search bar on your dashboard to look for the image by filename or keywords. If it doesn’t show up, it’s likely been removed.
In case you notice that an image still appears after a few days, don’t hesitate to contact Shutterstock’s support. Sometimes, there might be delays or technical issues, and their team can assist you in resolving any discrepancies.
Remember, deleting images is a permanent action. If you’re unsure, consider downloading a copy for your records before confirming the deletion. That way, you won’t lose access to the high-quality version if you decide to re-upload it later.
Tips for Managing Your Shutterstock Portfolio Effectively
Managing your portfolio on Shutterstock can feel overwhelming at times, especially as it grows. But with a few smart strategies, you can keep things organized, make your workflow smoother, and maximize your earning potential. Here are some practical tips to help you stay on top of your contributor account:
Stay Organized
- Create folders or tags for different themes, styles, or projects. This makes it easier to locate specific images when needed.
- Regularly review your portfolio and remove outdated or underperforming images. Keeping your portfolio fresh attracts more buyers.
Use Metadata Wisely
Accurate and detailed keywords and descriptions help your images get discovered. Take the time to add relevant tags, including synonyms and related terms, to increase visibility.
Schedule Regular Uploads
Consistent uploading keeps your portfolio active and signals to Shutterstock that you’re an engaged contributor. Set achievable goals—like uploading a few images every week or month—and stick to them.
Monitor Performance
Use Shutterstock’s analytics tools to see which images perform best. Notice trends—are certain styles or topics more popular? Use this insight to guide your future submissions.
Stay Updated and Compliant
Keep an eye on Shutterstock’s contributor guidelines and updates. Ensuring your images meet their quality standards and legal requirements reduces the risk of removals or rejections.
Backup Your Work
Always keep copies of your high-resolution images and their metadata. This way, if you need to re-upload or make adjustments, you won’t have to start from scratch.
Engage with the Contributor Community
Join forums, social media groups, or Shutterstock’s contributor community. Sharing tips, asking questions, and learning from others can boost your success and keep you motivated.
By implementing these tips, you’ll find managing your Shutterstock portfolio becomes more manageable and even enjoyable. Remember, a well-organized, active portfolio not only makes your workflow easier but also increases your chances of earning more from your creative work!
Common Issues and Troubleshooting
Even with the best intentions, sometimes things don’t go as smoothly as we’d like when deleting images from Shutterstock’s Contributor Portal. Don’t worry—many issues are common, and there are simple ways to troubleshoot them.
Issue 1: Images Not Deleting
If you’ve followed the steps but your images still appear on your portfolio, double-check if the images are still in the “Pending” or “Approved” status. Sometimes, an image might be under review or in the process of being approved, which can temporarily prevent deletion. Also, ensure you’re logged into the correct contributor account that uploaded those images.
Issue 2: Error Messages During Deletion
Encountering error messages? Common reasons include browser issues, incomplete sessions, or temporary server hiccups. Try these quick fixes:
- Refresh the page or restart your browser.
- Clear your browser cache and cookies.
- Ensure your browser is up-to-date.
- Try using a different browser or device.
Issue 3: Deletion Limits or Restrictions
Sometimes, Shutterstock might restrict deleting certain images—especially if they are part of ongoing licensing or if the image has been purchased. Review Shutterstock’s policies or contact support if you believe your images are being unfairly restricted.
Issue 4: Account Permissions
If you’re using a shared or managed account, make sure you have the necessary permissions to delete images. If not, reach out to the account administrator for assistance.
Helpful Tips:
- Always double-check the image status before attempting deletion.
- Keep a record of your images and their statuses to track any issues.
- If problems persist, contact Shutterstock support directly. They’re usually quick to help resolve technical issues.
Conclusion and Additional Resources
Deleting images from Shutterstock’s Contributor Portal might seem daunting at first, but once you familiarize yourself with the steps and common troubleshooting tips, it becomes a straightforward process. Remember to keep your account information handy, verify the image statuses, and don’t hesitate to reach out to support if you encounter persistent issues.
By keeping your portfolio clean and up-to-date, you can better showcase your best work and improve your sales potential. Regularly reviewing your uploaded images and removing those you no longer wish to sell ensures your portfolio remains fresh and relevant.
For further help and information, here are some valuable resources:
- Shutterstock Contributor Resources
- Shutterstock Support Center
- Contributor Portal Login
- Community forums and user groups can also be a great way to get tips and share experiences with fellow contributors.
We hope this guide has demystified the process and equipped you with everything you need to manage your images effectively. Happy contributing!