Hey there! If you’re a Shutterstock contributor, you know how important it is to keep your profile, especially your contact information, up to date. Whether you’re changing your email, updating your phone number, or just tidying up your details, managing your profile ensures you stay connected and receive important updates. Sometimes, you might need to delete or remove outdated contact info—maybe you’re no longer using a particular email or want to tighten your privacy. In this guide, we’ll walk through the simple steps to delete or update your contact information, so your profile always reflects the latest and most accurate details.
Reasons You Might Want to Remove or Update Your Contact Information
There are several reasons why you might decide to update or completely remove your contact details from your Shutterstock contributor account. Here are some common scenarios:
- Privacy Concerns: If you’re worried about privacy or receiving unwanted communications, removing outdated or unnecessary contact info can help protect your personal information.
- Changing Email or Phone Number: Life happens! Maybe you’ve switched to a new email provider or got a new phone number. Keeping your contact info current ensures you don’t miss out on important notifications or earnings reports.
- Account Security: If you suspect your account has been compromised or you’re not using an old email anymore, removing or updating contact details is a smart security step.
- Business Changes: If you’re rebranding or shifting your photography focus, you might want to update your contact info to align with your new brand or business contact channels.
- Clearing Out Old Data: Sometimes, contributors want to clean up their profile to ensure only relevant and current information is visible, especially if they’re no longer active or wish to withdraw from certain communications.
Whatever your reason, keeping your contact information accurate and current is key to maintaining a smooth experience on Shutterstock. Now, let’s dive into how you can delete or update that info step-by-step!
3. Preparing to Delete Contact Details from Your Account
Before diving into the process of removing your contact information from your Shutterstock Contributor account, it’s a good idea to get everything in order. Think of this as the prep work that makes the whole process smoother and less stressful. First off, take a moment to review what contact details you have on file. This typically includes your email address, phone number, and possibly your mailing address.
Why review? Well, you want to be sure of what exactly needs to be deleted or updated. Sometimes, contributors keep their contact info outdated or incorrect, which can cause issues if Shutterstock needs to reach you. So, double-check your current details in your account settings to confirm what’s stored there.
Next, consider any reasons you might have for removing your contact info. Are you switching to a different email? Or do you simply want to increase your privacy? Having a clear reason helps you stay focused during the process. Also, think about whether you want to replace your contact info with new details or just delete it entirely. If you plan to update it later, make sure you have the new info ready to input after deletion.
Another helpful tip is to back up any important information. If you have email addresses, phone numbers, or other contact details saved elsewhere, keep a secure record of them. This way, if you change your mind later or need to refer back, you’ll have the info handy.
Lastly, check Shutterstock’s support policies. Sometimes, removing certain contact details might have specific guidelines or restrictions. It’s always good to know the official procedures or potential implications before making changes. If you’re unsure, visiting Shutterstock’s help center or FAQ section can provide additional insights.
In short, preparing means reviewing your current contact info, deciding what to remove or update, backing up important data, and understanding the platform’s policies. Doing this groundwork will save you time and hassle when it’s time to make the changes.
4. Logging into Your Shutterstock Contributor Account
Alright, now that you’re prepared, the next step is to actually log into your Shutterstock Contributor account. This might sound simple, but it’s crucial to ensure you do it securely and correctly so you can access all the settings you need to change.
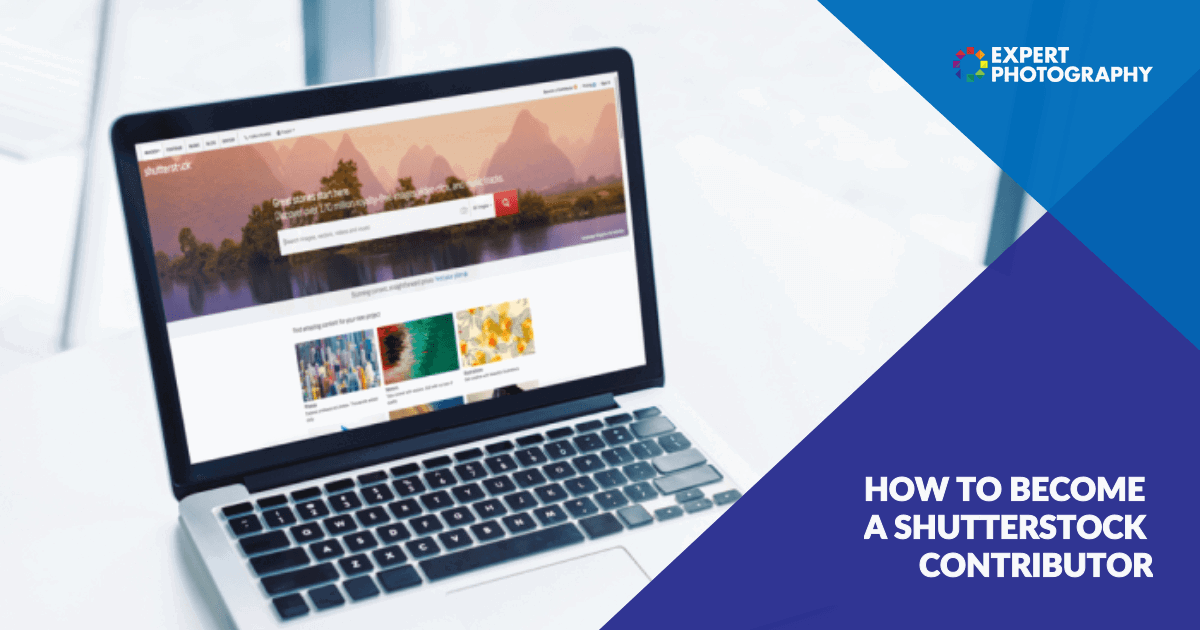
Start by opening your preferred web browser and heading over to the Shutterstock Contributor login page. The URL is typically https://submit.shutterstock.com/. Make sure you’re visiting the official site to keep your account safe from phishing scams or malicious sites.
Once you’re on the login page, enter your registered email address and password. If you’ve forgotten your password, don’t worry—just click the “Forgot Password?” link, and Shutterstock will guide you through resetting it. It’s a good idea to use a strong, unique password to protect your account, especially if you’re planning to make significant changes like deleting contact info.
After entering your login credentials, click the “Log In” button. If your details are correct, you’ll be redirected to your contributor dashboard. Take a moment to familiarize yourself with the layout. Usually, you’ll see a menu or links to different sections such as “Profile,” “Settings,” “Payments,” and “Uploads.”
If you encounter any issues logging in—like error messages or forgotten passwords—check your internet connection first. If problems persist, consult Shutterstock’s support resources or try resetting your password. Also, ensure your browser is up to date and that any ad-blockers or security extensions aren’t interfering with the login process.
Once you’re logged in successfully, you’re ready to navigate to your account settings where you can manage your contact information. Keep this login information safe and private, and consider enabling two-factor authentication if available, for added security.
5. Navigating to Your Profile Settings

Alright, now that you’re ready to update or remove your contact info, the first step is to find your way to the right place on Shutterstock. It’s actually pretty straightforward, but it helps to know exactly where to click so you don’t get lost in the dashboard.
When you log into your Shutterstock Contributor account, you’ll land on your dashboard. From there, look for your profile icon or your username—usually located at the top right corner of the page. Click on it to reveal a dropdown menu. This menu typically includes options like Profile, Dashboard, Account Settings, and maybe even Help.
To get to your profile settings, select Account Settings or Profile. Sometimes, Shutterstock updates their interface, so if you don’t see those exact labels, look for anything similar that suggests account or profile management. Once you click on it, you’ll be taken to a page where you can see and edit your personal details, contact info, payment info, and more.
If you’re having trouble locating it, don’t worry—there’s usually a sidebar or a menu on the page that lists different sections like Personal Info, Payment Details, and Contact Information. Just click on the relevant section, and you’ll be on your way to making the changes you want.
Tip: It’s always a good idea to bookmark the settings page once you find it. That way, next time you need to update your info, you can jump right there without searching around.
6. Finding the Contact Information Section
Great! Now that you’re in your profile settings, it’s time to locate the specific section where your contact details are stored. Usually, this part is clearly labeled, but the layout can vary depending on updates or regional differences.
Scroll through your account settings page until you see a section titled Contact Information, Personal Details, or something similar. This section typically includes fields like your email address, phone number, mailing address, and sometimes social media links or other ways people can reach you.
Here’s what you might see:
- Email Address: The primary way Shutterstock or clients might contact you.
- Phone Number: Optional but useful if you want quick contact.
- Mailing Address: Usually for tax purposes or official correspondence.
If you want to delete or update any of this info, look for an Edit button or icon (often a pencil or similar). Clicking on it will bring up editable fields.
To remove your contact details, simply clear out the fields or select the option to delete if available. Remember, some fields might be required for account verification or tax purposes, so be cautious about deleting essential info. If you’re unsure, it’s a good idea to check Shutterstock’s help resources or contact their support team for guidance.
Once you’ve made your changes, don’t forget to save! Look for a Save or Update button at the bottom of the section. Without clicking that, your changes won’t stick.
And that’s it! Navigating to your profile and finding the contact info section is usually quick once you know where to look. The next step will be to review and make the necessary deletions or updates to keep your account information just the way you want it.
7. How to Delete or Edit Your Contact Details
So, you’ve decided it’s time to update or remove your contact information from your Shutterstock contributor account. Maybe you changed your email, phone number, or just want to tighten your privacy. Whatever your reason, the process is pretty straightforward, and I’ll walk you through it step-by-step.
First off, log into your Shutterstock contributor account. Once you’re in, look for the dashboard or profile settings. You can usually find this by clicking on your profile picture or username in the top right corner of the page.
Next, locate the Account Settings or Profile section. This is where all your personal information is stored. Click on that to access your details.
In the profile section, you’ll see fields for your:
- Email Address
- Phone Number
- Mailing Address
- Other Contact Details
To edit your contact info, simply click on the Edit button next to each field. Make the necessary changes—whether updating your email, removing your phone number, or correcting your address.
If you want to delete or hide certain contact details, check if there’s an option like Remove or Clear. Some fields might allow you to delete the information entirely, while others might just let you leave them blank. For example, if you want to remove your phone number, clear the field and save.
Important tip: Before removing any contact details, consider whether Shutterstock might need this info for account verification or communication purposes. If you’re unsure, check their support guidelines or contact their help desk.
Once you’ve made your changes, look for the Save button. Don’t forget to click it to make your updates official. If you navigate away without saving, your changes will be lost, so double-check before exiting.
And that’s it! You’ve now successfully edited or deleted your contact details. Remember, keeping your account information up-to-date ensures you stay connected and can receive important notifications from Shutterstock.
8. Saving Changes and Verifying Updates
Great! You’ve edited or deleted your contact information, now let’s make sure everything is in order. It’s always a good idea to verify that your updates went through correctly and that your account information is current.
After clicking the Save button, give the page a moment to process your changes. Some sites might display a confirmation message like “Your profile has been updated successfully.”—if you see this, you’re all set! If not, double-check that you didn’t miss the save button or leave any required fields blank.
Next, it’s smart to revisit your profile or account overview page. Navigate back to your profile section and review your contact details. Confirm that the information displayed matches what you intended to update or delete.
If you notice discrepancies or your old details are still showing, try refreshing the page or logging out and back in. Sometimes, changes need a moment to sync across the platform.
Another handy step is to test your contact info—say, if you updated your email, send yourself a quick test email to verify it’s working correctly. If you removed your phone number, consider whether you still receive notifications or alerts as needed.
In addition, if Shutterstock offers account notifications or email alerts, check your email inbox (and spam folder just in case) to see if you received any confirmation messages related to your profile updates. Many platforms send a confirmation email when sensitive info is changed, providing an extra layer of assurance.
Lastly, if you encounter any issues or your updates aren’t reflected after a reasonable wait, don’t hesitate to reach out to Shutterstock’s support team. They can provide assistance and ensure your account details are properly updated.
Keeping your contact information current isn’t just about privacy—it also helps ensure you don’t miss out on important updates or opportunities as a Shutterstock contributor. So, take a few minutes to verify your changes and enjoy peace of mind knowing your profile is accurate and secure!
9. Additional Tips for Managing Your Contributor Profile
Keeping your Shutterstock contributor profile in top shape isn’t just about deleting outdated contact information—it’s about creating a professional and engaging presence that attracts buyers and showcases your best work. Here are some handy tips to help you manage your profile effectively:
- Update Your Portfolio Regularly: Make sure your portfolio reflects your latest and most impressive work. Regular updates keep your profile fresh and appealing to potential buyers.
- Optimize Your Keywords: Use relevant and specific keywords to make your images easier to find. Think about what buyers might search for and include those terms thoughtfully.
- Write an Engaging Bio: Your bio is your chance to tell your story. Keep it friendly, professional, and concise. Highlight your expertise, style, and what makes your work unique.
- Maintain Consistent Branding: Use a consistent profile picture and style across your portfolio and social media links. This helps build your personal brand and makes you more recognizable.
- Review Your Contact Info Periodically: While you’ve already updated your contact details, it’s good practice to review them periodically to ensure they’re still accurate and professional.
- Engage with the Community: Participate in forums, comment on other contributors’ work, and stay active within the Shutterstock community. This can increase your visibility and open up networking opportunities.
- Monitor Your Performance: Keep an eye on your sales data, downloads, and feedback. Use this information to tweak your portfolio and marketing strategies for better results.
Managing your contributor profile is an ongoing process. By staying active, professional, and attentive to detail, you’ll set yourself up for continued success and growth on Shutterstock.
10. Contacting Shutterstock Support for Further Assistance
If you find yourself stuck or have specific questions that aren’t covered by the help articles or guides, reaching out to Shutterstock support is a good next step. They’re there to help you resolve issues efficiently and ensure your contributor experience remains smooth.
Here’s how you can get in touch with Shutterstock support:
- Visit the Shutterstock Contributor Help Center: Navigate to their official Help Center. You’ll find a wealth of articles and FAQs that might answer your question quickly.
- Submit a Support Ticket: If you can’t find what you need, look for the “Contact Us” or “Submit a Request” option. Fill out the form with detailed information about your issue. Be specific to get the best assistance.
- Use the Live Chat (if available): Some issues can be resolved faster through live chat support. Check if this option is accessible from the Help Center.
- Reach Out via Email: For more complex or account-specific issues, emailing support directly can be effective. Look for their official support email address in the Help Center.
- Check Community Forums: Sometimes, other contributors or Shutterstock staff participate in community discussions. Browsing or posting there can provide additional guidance.
Helpful Tips When Contacting Support:
- Provide detailed information about your issue, including screenshots if applicable.
- Be polite and patient; support teams handle many requests daily.
- Keep a record of your correspondence for future reference.
Remember, Shutterstock support is there to help you navigate any challenges smoothly. Don’t hesitate to reach out if you need personalized assistance or encounter technical difficulties during the contact information update process or with other account issues.
Conclusion and Best Practices for Profile Privacy Management
Managing your profile privacy on Shutterstock is essential to protect your personal information and maintain a professional online presence. By regularly reviewing and updating your account settings, you can ensure that your contact details are only shared with intended parties. Remember, the key to effective privacy management lies in being proactive and vigilant about your account security.
Here are some best practices to keep your profile information secure:
- Regularly review your contact information: Periodically check your account details and delete any outdated or unnecessary information.
- Use strong, unique passwords: Protect your account from unauthorized access by creating complex passwords and updating them regularly.
- Enable two-factor authentication (2FA): This adds an extra layer of security, making it harder for others to access your account without permission.
- Limit public profile visibility: Adjust privacy settings to control what information is visible to the public or other contributors.
- Stay informed about platform updates: Keep up-to-date with Shutterstock’s privacy policies and new security features to ensure your profile remains protected.
In conclusion, diligent privacy management not only safeguards your personal information but also enhances your credibility as a contributor. By implementing these best practices, you can enjoy a secure and professional experience on Shutterstock, allowing you to focus on creating and sharing your work with confidence.