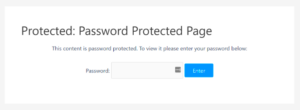
WordPress offers a variety of ways to protect sensitive content, and one of the most common methods is using password protected forms. These forms restrict access, allowing only users who know the password to submit or view specific information. Whether you’re running a private survey, collecting customer feedback, or protecting a contact form, this feature can ensure that your content stays secure.
Setting up password protection is easy, but what about personalizing it to fit your brand? This blog post will guide you through customizing password protected forms to reflect your brand’s personality, keeping your design consistent and professional.
Why Customizing Password Protected Forms Is Important for Branding
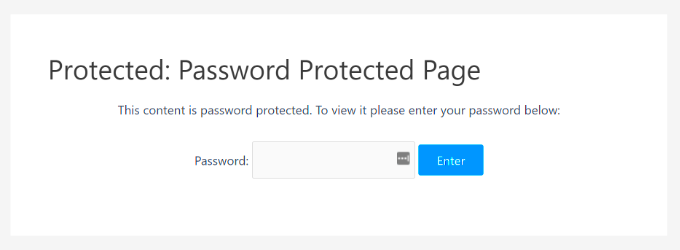
Customizing password protected forms isn’t just about making them look good—it’s about creating a seamless user experience that aligns with your brand identity. Here are some reasons why customization is important:
- Consistency: Branding consistency is key to building trust with your audience. A customized password form that matches your website’s look and feel provides a cohesive experience for users.
- User Experience: A well-designed form creates a positive user experience. It shows users that you care about their journey on your site, even when they’re accessing restricted content.
- Professionalism: A professional appearance boosts your credibility. Customizing forms allows you to go beyond the default WordPress styles and give your visitors a polished, branded experience.
- Security Perception: When users see that a password protected form fits seamlessly into your site’s design, it helps reassure them that their data is secure and that you take privacy seriously.
With just a few tweaks, you can make these forms stand out and help users feel confident in the security of your site, all while enhancing your brand’s reputation.
How to Access Password Protected Forms in WordPress
Accessing password protected forms in WordPress is a straightforward process, but the steps can vary depending on how the form was set up. Generally, here’s how you can access and manage them:
- Login to Your WordPress Admin Panel: Start by logging into your WordPress admin dashboard.
- Navigate to the Page or Post with the Password Protected Form: If the form is embedded in a post or page, find the page where the form is located in the “Pages” or “Posts” section of your dashboard.
- Enter the Password: When you visit the page, you will be prompted to enter a password. This password is set either by you or your site administrator. Simply input the correct password to view or interact with the form.
- Using a Plugin for Form Protection: If you’re using a plugin like “Password Protected” or another form protection plugin, ensure that the password protection is correctly set for the page where the form is located. You can also modify settings directly through the plugin’s configuration options.
- Manage Your Password Settings: Once you access the form, you can manage and update your password settings via the form’s settings or through the plugin you’re using. Adjust the password strength, change the form fields, and even customize the confirmation messages to enhance the experience.
Accessing and managing password protected forms is simple, but customizing them for your brand takes a bit more effort. Let’s dive into how you can personalize these forms to ensure they match your brand style.
Step-by-Step Guide to Customize Your Password Protected Form
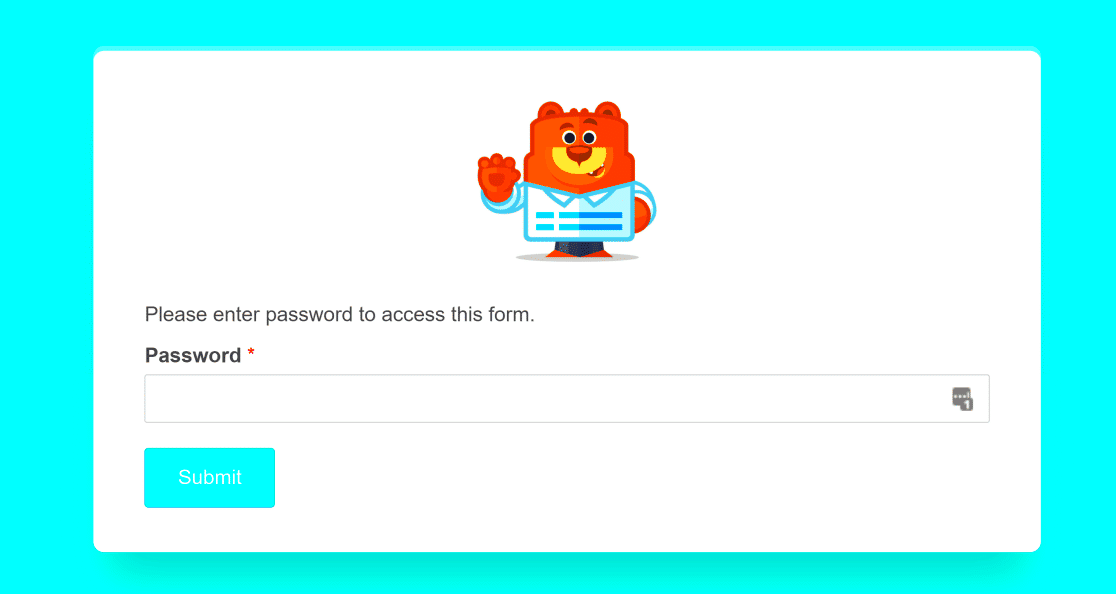
Customizing your password protected form on WordPress doesn’t have to be difficult. In fact, with a few simple steps, you can make it look professional and tailored to your brand. Here’s how to get started:
- Choose the Right Plugin: Start by selecting a form plugin that allows customization of password protected forms. Popular plugins like “WPForms” or “Formidable Forms” offer easy-to-use options for customization.
- Access the Form Settings: Go to the WordPress dashboard, find your form, and access its settings. Most plugins will have a section dedicated to customizing form elements, including password protection options.
- Customize Form Appearance: This is where you can make your form fit your brand. Adjust the colors, fonts, and layout of the form. Many plugins provide an intuitive drag-and-drop interface to help you design the form visually.
- Add Custom Branding Elements: Add your logo, brand colors, and typography to ensure consistency with your website. If you want to go beyond simple styling, you can add custom CSS to tweak the form’s design.
- Edit Password Protection Message: You can personalize the message that users see when they try to access a protected page. This message should match your brand’s tone—whether it’s formal or friendly.
- Test Your Form: After making your changes, always test the form to ensure everything works as expected. Check both the password protection functionality and the appearance on different devices.
With these steps, you’ll have a customized password protected form that fits seamlessly with your site’s branding and provides a great user experience.
Design and Branding Tips for Customizing the Form
Designing your password protected form to reflect your brand is crucial for maintaining consistency across your website. Here are some tips to help you create a branded experience:
- Use Your Brand Colors: Choose colors that align with your brand’s identity. If you have primary and secondary colors, use these to design the form buttons, background, and text fields.
- Incorporate Your Logo: Including your logo in the form design helps users identify the form as part of your website. This small touch enhances brand recognition and makes your form feel official.
- Choose Consistent Fonts: Use the same font styles you use on your website. If you have a specific brand font, make sure it’s applied to headings, labels, and input fields in the form.
- Add Personalized Message: The password protection message is an opportunity to show users your brand’s personality. Whether you use formal language or a casual tone, ensure it’s aligned with your brand voice.
- Use Clear Calls to Action: Buttons should have clear labels like “Enter” or “Submit.” Avoid generic phrases like “Click Here” and ensure the action is aligned with the user’s expectation.
- Optimize for Mobile: More people are browsing on mobile devices, so make sure your form looks good and works well on all screen sizes. Mobile responsiveness is key for a positive user experience.
By following these tips, you can create a form that not only looks great but also strengthens your brand’s identity across your WordPress website.
Common Issues and How to Fix Them
While customizing your password protected form, you may run into a few challenges. Here are some common issues and how to resolve them:
- Issue: Password Not Working
Solution: Ensure that the password you’ve set for the page is correct. Also, check if there are any conflicting plugins that could be interfering with the password functionality. - Issue: Form Design Doesn’t Match the Website
Solution: Double-check your custom CSS or styling settings. If you’re using a page builder, make sure the form styling is applied correctly within the builder’s theme settings. - Issue: Form is Not Mobile-Friendly
Solution: Make sure the plugin you are using is mobile-responsive. If it’s not, consider adjusting your form’s layout or adding custom CSS to ensure it displays properly on all devices. - Issue: No Confirmation or Thank You Message
Solution: Most form plugins have an option to customize the confirmation message. Go to the form settings and ensure that you’ve set up a personalized message for after form submission. - Issue: Users Can’t Access the Form
Solution: Verify that the page or post containing the form is correctly password protected. Ensure that the correct permissions are set so users can access the protected content after entering the right password.
By addressing these common issues, you can ensure your password protected forms work smoothly, look great, and function as expected for your users.
Frequently Asked Questions
Here are some frequently asked questions about customizing password protected forms in WordPress to help clear up any doubts you might have:
- Can I use a password protected form with any WordPress form plugin?
Yes, most WordPress form plugins support password protection, but it’s important to choose one that allows customization. Plugins like WPForms, Gravity Forms, and Formidable Forms offer customization options for password protected forms. - How can I customize the password protected message?
To customize the message, go to the settings of the form plugin you’re using. Look for options under “Password Protection” or “Form Messages.” Here, you can edit the message that users will see when they attempt to access the protected form. - Can I add branding elements like logos and custom fonts to the form?
Yes, you can add logos, custom fonts, and adjust color schemes to make the form match your brand. Most form plugins offer visual design options, or you can use custom CSS to tweak the design to your exact specifications. - Is it necessary to use custom CSS to style the password protected form?
Custom CSS is optional but highly recommended if you want to fully control the form’s appearance. Many form plugins allow you to style the form through their interface, but using CSS can provide more flexibility and precision. - How can I make the form mobile-friendly?
Ensure that your form plugin is mobile-responsive. Most modern plugins are designed to be mobile-friendly, but you may need to adjust specific settings or add custom CSS to optimize the form for smaller screens. - Can I password protect multiple forms or pages at once?
Yes, you can set up password protection for multiple forms or pages individually. Each page or form can have a unique password, or you can use the same password across multiple protected areas.
Conclusion and Final Thoughts
Customizing your password protected forms is a great way to enhance the user experience and ensure your branding remains consistent across your website. By following the steps outlined above, you can easily make your forms more secure, professional, and on-brand. With a little creativity and the right tools, your password protected forms can become an integral part of your site’s design and functionality, offering both security and seamless integration with your overall website theme.

