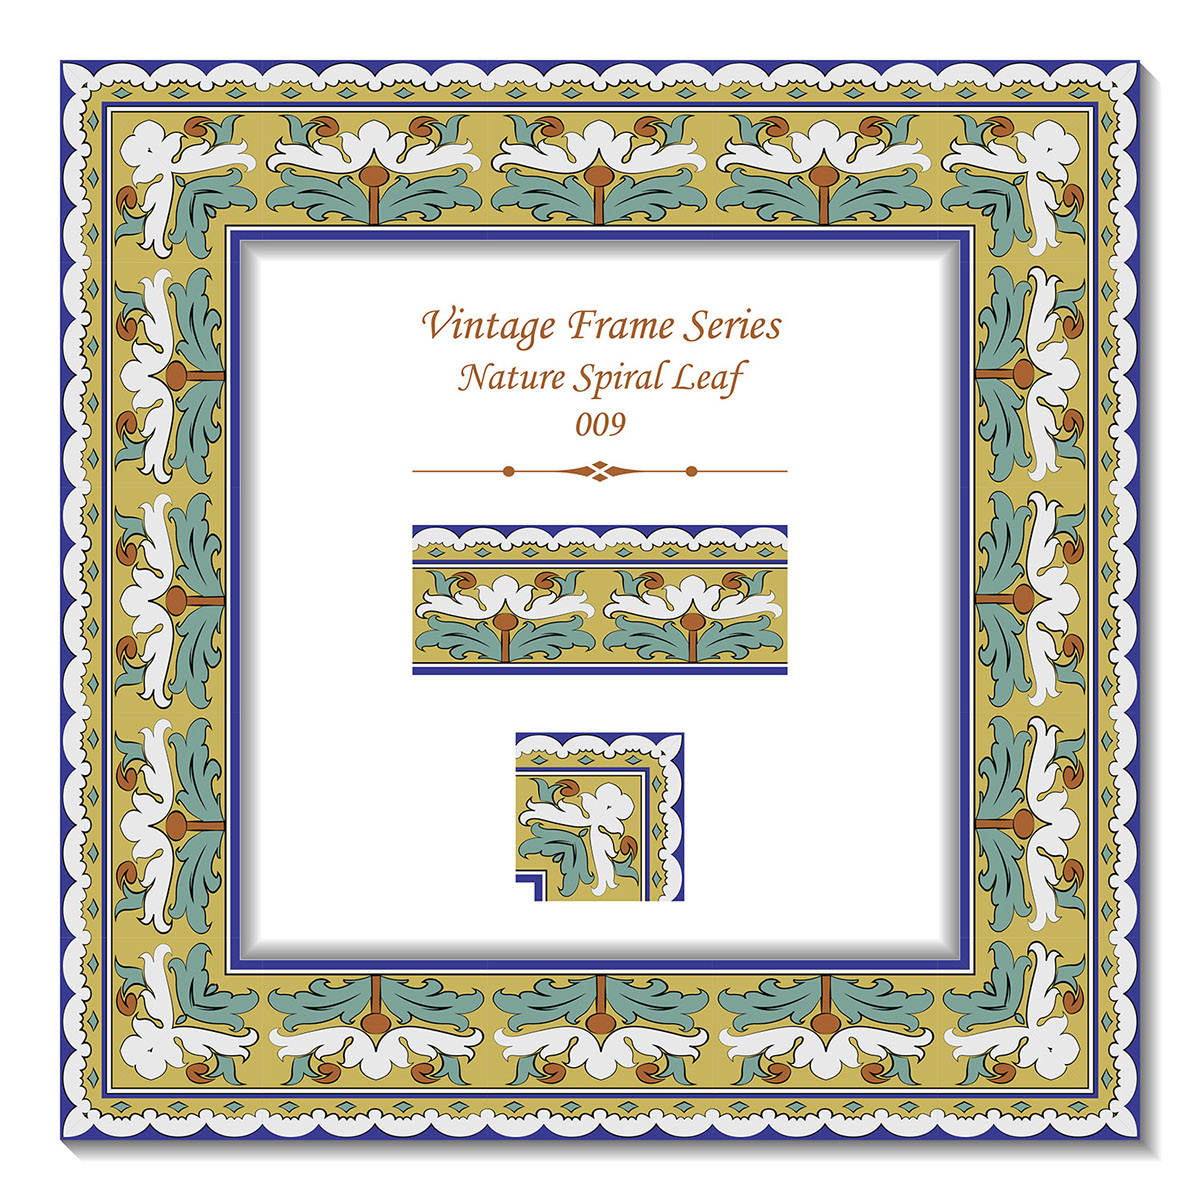
Designing a logo is just the first step—making sure it’s versatile and easy to use across different projects is equally important. One way to do this efficiently is by creating reusable frames in Shutterstock that can hold your logos perfectly every time. Think of these frames as customizable templates that save you time and ensure consistency. In this guide, we’ll walk through how to set up these frames so you can quickly insert your logos, whether for social media, branding materials, or presentations. Let’s dive into making your logo presentations seamless and professional!
Understanding the Benefits of Reusable Logo Frames
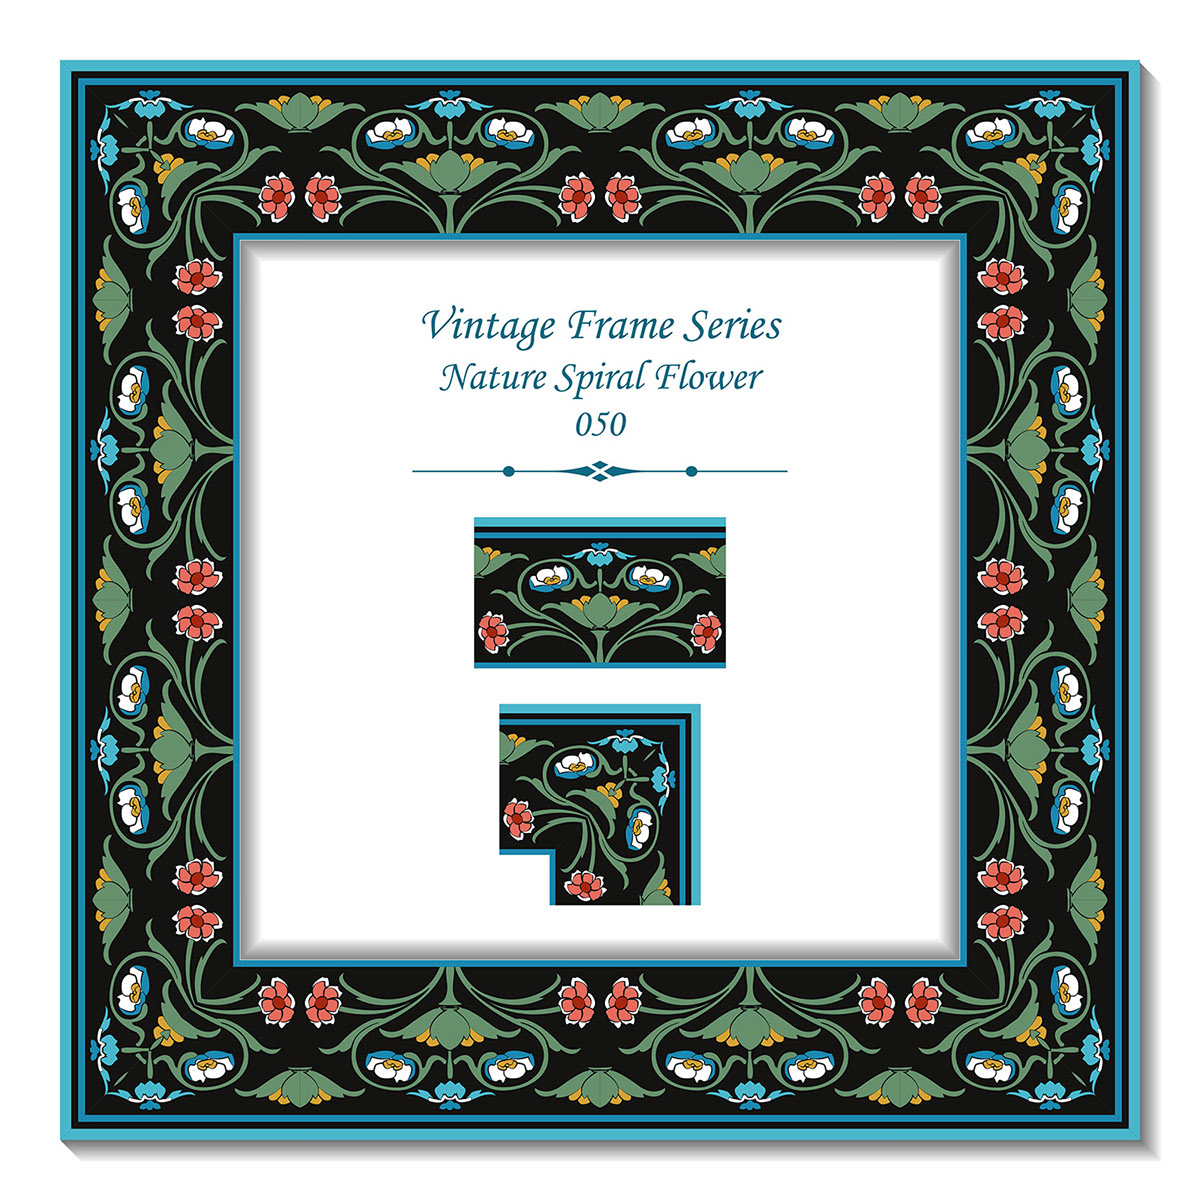
Using reusable frames for your logos in Shutterstock offers a bunch of advantages that can really streamline your workflow. First off, consistency is key—by having a dedicated frame, your logo always appears in the same size, shape, and style, which helps build a recognizable brand identity. It’s like having a personal template that you can use over and over without worrying about alignment or proportions.
Another big perk is time savings. Instead of creating new mockups or adjusting logos every time you need to showcase your brand, you simply insert your logo into the pre-made frame. This is especially handy when working on multiple projects or client presentations—imagine how much faster your process becomes!
Reusable frames also promote professionalism. They give your logos a polished, consistent look across all platforms, whether it’s a website header, social media post, or printed collateral. Plus, once you have a well-designed frame, you can easily update it or adapt it for different logos, making your branding adaptable without starting from scratch each time.
Finally, creating these frames allows you to maintain control over style and branding guidelines. If your brand has specific colors, borders, or spacing requirements, you can embed these into your frame, ensuring every logo placement adheres to your branding standards. This reduces the risk of inconsistent visuals and helps keep your branding cohesive.
Step-by-Step Guide to Creating a Reusable Frame in Shutterstock
Creating a reusable frame for logos on Shutterstock might sound complex at first, but once you break it down into manageable steps, it’s pretty straightforward. Let me walk you through the process so you can start designing your own versatile logo frames today.
Step 1: Set Up Your Design Environment
- Open your preferred design software—Adobe Illustrator, Photoshop, or any vector-based tool works well.
- Create a new document with the ideal dimensions for your logos. A square aspect ratio (e.g., 1000×1000 px) is a safe choice for versatility.
Step 2: Design Your Frame
- Start by drawing a rectangle or shape that will serve as the outer boundary of your frame.
- Add decorative elements or borders inside the rectangle, keeping in mind simplicity and scalability.
- Ensure the frame has enough space inside for the logo to be visible and prominent.
Step 3: Make the Frame Reusable
- Convert your frame into a vector object if it isn’t already—this keeps it scalable without losing quality.
- Save the frame as a separate layer or group, clearly labeled for easy access.
- Design it to be adaptable: consider creating variations like different border thicknesses or styles that can be swapped depending on the logo or branding needs.
Step 4: Save Your Frame as a Template
- Save the file in a format compatible with Shutterstock’s guidelines—preferably as an AI, EPS, or high-res PNG with transparent background.
- Develop a library of such frames for different styles or branding themes.
- Document how to customize or resize the frame, making it easier for you or team members to reuse in various projects.
Step 5: Test and Refine
- Insert sample logos into your frame to see how they fit.
- Adjust the spacing, border style, or size as needed for better visual harmony.
- Ensure the frame looks good across different logo types and sizes.
And voilà! You now have a reusable, customizable logo frame ready to be uploaded to Shutterstock or used in your branding projects. The key is maintaining flexibility and clarity so that your frame can serve multiple purposes without needing a complete redesign each time.
Tips for Designing Effective Logo Frames
Designing a logo frame isn’t just about creating a pretty border—it’s about crafting a tool that enhances your logos and communicates your brand’s style effectively. Here are some tips to help you design logo frames that are both functional and visually appealing:
1. Keep It Simple
A cluttered or overly elaborate frame can distract from the logo itself. Aim for clean lines and minimal decoration. Think of your frame as a subtle enhancer rather than the main attraction.
2. Match Your Brand Style
The frame should reflect your brand’s personality. For a luxury brand, go for elegant, thin lines; for a playful, creative brand, consider bold, colorful borders. Consistency is key to brand recognition.
3. Ensure Scalability and Flexibility
Your frame needs to look good at all sizes. Test it in small and large formats to make sure details don’t get lost or look awkward. Also, design variations—like different border widths or shapes—to match different logo types.
4. Use Transparent Backgrounds
Save your frames with transparent backgrounds (.PNG or vector formats). This makes it super easy to overlay them onto various logos without worrying about background clashes.
5. Test with Different Logos
Before finalizing, try inserting various logos—text-based, icon-based, complex, simple—to see how your frame complements each one. Adjust spacing, size, or style as needed.
6. Think About Compatibility
Make sure your frames work well across different use cases—digital, print, social media. Consider how they will look on different backgrounds and in various contexts.
7. Document Customization Options
Include notes or preset options for easy customization—like changing colors, borders, or adding effects—so others can adapt the frame without hassle.
By keeping these tips in mind, you’ll craft logo frames that are not only beautiful but also practical, versatile, and aligned with your brand identity. The goal is to create a design tool that simplifies your workflow and elevates your branding efforts.
Saving and Managing Your Logo Frames in Shutterstock
Once you’ve created your perfect logo frame in Shutterstock, you want to make sure it’s easy to access and organize for future use. Saving and managing your frames effectively can save you a lot of time and ensure consistency across your branding projects.
Shutterstock offers a handy way to save your frames directly within your account. Here’s how you can do it:
- Save as a Favorite: After designing your frame, simply click the “Save” or “Favorite” button. You can assign a descriptive name so you’ll remember exactly what it is later.
- Create Collections: For better organization, consider creating collections. For example, have one collection for logo frames for your main brand, another for sub-brands, and perhaps one for seasonal campaigns.
- Tag Your Frames: Use relevant tags like “header frame,” “circle logo,” or “business card frame” to make searching easier.
Managing your saved frames is just as important as saving them. Here are some tips:
- Regularly Review and Clean: Over time, you might accumulate outdated or unused frames. Periodically review your collection and remove anything no longer relevant.
- Organize by Usage: Group similar frames together to streamline your workflow. For example, keep all circular logo frames in one collection and rectangular ones in another.
- Backup Your Collections: Consider exporting your saved frames or noting down their details, so you don’t lose access if your account changes or you need to recreate anything.
Remember, the goal is to keep your assets organized so you can quickly find the perfect frame when inspiration strikes, or when deadlines are tight. A little upfront effort in managing your frames can make a big difference in maintaining brand consistency and saving time in your design process.
Best Practices for Using Reusable Frames Across Multiple Logos
Reusable frames are a fantastic way to maintain consistency across multiple logos and branding materials. But to get the most out of them, there are some best practices you should keep in mind.
Here’s what I recommend:
Maintain Consistency
- Use the same frame for similar logo types: If you have a standard header or badge style, stick with the same frame across different logos to create a cohesive look.
- Stick to your brand guidelines: Make sure your frames align with your brand’s color palette, spacing, and overall style. This helps keep your branding uniform.
Customize When Necessary
- Adjust size and position: Reusable frames are flexible. Feel free to resize or reposition them to suit specific logos without altering the core design.
- Modify elements subtly: Small tweaks, like changing the stroke thickness or color, can help the frame complement different logo styles while maintaining a consistent framework.
Organize and Label Your Frames Clearly
- Use descriptive names: Instead of generic labels like “Frame 1,” use clear descriptions like “Main Header Frame” or “Circular Badge Frame.”
- Create a style guide: Document how each frame should be used, including when and where it’s appropriate, to ensure team members follow a consistent approach.
Test and Preview
Before finalizing multiple logos, always preview how your reusable frame works with different designs. This helps you catch any inconsistencies or adjustments needed early on.
By keeping these best practices in mind, you’ll ensure that your reusable frames serve as a powerful tool for creating cohesive, professional logos. They’ll save you time, improve consistency, and give your branding a polished, unified appearance across all platforms and materials.
Conclusion and Additional Resources for Logo Frame Creation
Creating a reusable frame in Shutterstock for logos is a valuable skill that can streamline your branding process and ensure consistency across all your visual assets. By mastering the techniques of designing flexible and adaptable frames, you can save time and maintain a professional appearance for your logos in various contexts. Remember to keep your frames simple, versatile, and aligned with your brand identity to maximize their effectiveness. Experiment with different shapes, colors, and styles to find what best suits your needs, and always test your frames across multiple platforms to ensure they work seamlessly.
For further learning and to enhance your skills, consider exploring the following resources:
- Adobe Illustrator Tutorials: Offers comprehensive guides on creating vector-based frames and logos.
- Shutterstock Contributor Resources: Provides tips on using Shutterstock tools effectively for design projects.
- Design Blogs: Websites like Behance and Dribbble showcase innovative logo framing ideas.
- Online Courses: Platforms like Udemy and Skillshare offer courses on logo design and branding strategies.
By leveraging these resources and practicing regularly, you’ll become more proficient in creating stylish, reusable logo frames that enhance your branding efforts and make your visual content stand out.