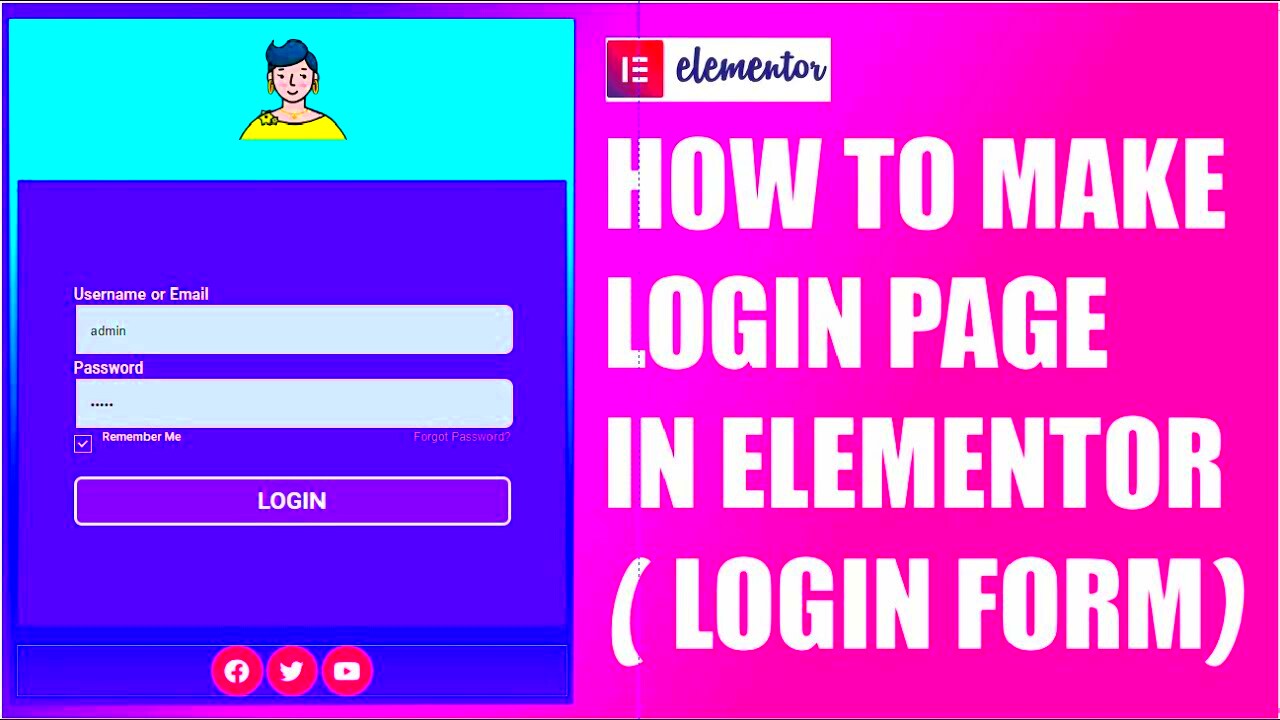
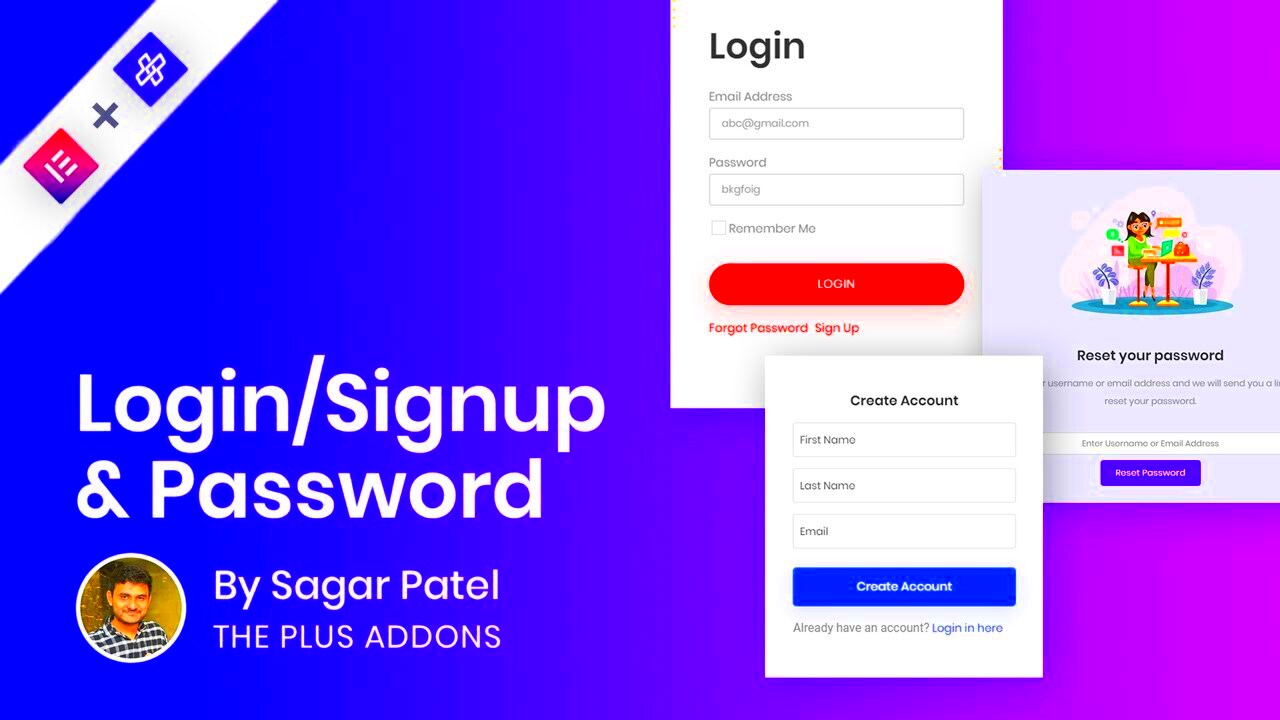
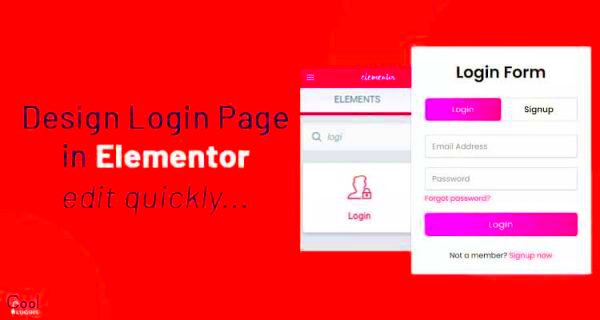
Creating a login page is a fundamental necessity for any website that requires user authentication. Whether you’re running a membership website, an online course platform, or a community forum, a well-designed login page is essential to provide users with a seamless experience. In this post, we’ll explore how to create a stunning login page using Elementor, a powerful WordPress page builder known for its user-friendly interface and flexibility. By the end of this guide, you’ll have a fully functional login page tailored to your site’s design and needs.
Prerequisites

Before diving into the fun part of designing your login page, you’ll need to ensure you have a few essential elements in place. Here’s what you need:
- WordPress Installation: Make sure you have a WordPress website set up. It’s the foundation for using Elementor and will be essential for your login page.
- Elementor Plugin: Install the Elementor plugin. You can use the free version, but the Pro version offers more advanced features and widgets that can enhance your login page.
- Login Form Widget: If you’re using Elementor Pro, you’ll have access to the Login Form widget, making the process straightforward. If you’re using the free version, consider installing an additional plugin for creating login forms.
- Basic Elementor Knowledge: Familiarity with the Elementor interface will be beneficial. If you’re new to Elementor, don’t worry! There are plenty of tutorials available to help you get accustomed to its features.
- This Theme Compatibility: Using a theme that is compatible with Elementor will provide a seamless building experience. Look for themes marked as “Elementor-friendly.”
Once you have everything set up, you’re ready to get started on creating your beautiful login page!
Installing Elementor

Getting started with Elementor is a breeze! This powerful page builder allows you to create stunning web pages without any coding knowledge required. So, let’s dive into the process of installing Elementor on your WordPress website.
First things first, you’ll want to make sure you’re logged into your WordPress admin dashboard. From this point, follow these simple steps:
- Navigate to Plugins: On the left-hand sidebar, you’ll see the “Plugins” option. Click on that.
- Add New: After that, click on the “Add New” button located at the top of the page.
- Search for Elementor: In the search box, type “Elementor” and hit enter. You should see Elementor Page Builder pop up in your search results.
- Install and Activate: Click on the “Install Now” button next to the Elementor Page Builder plugin. Once it’s installed, the button will change to “Activate” – go ahead and click that to enable Elementor on your site.
That’s it! You’ve just installed Elementor and are ready to start designing your pages. If you want to unlock even more features, you can explore the Elementor Pro version, which comes with additional widgets, templates, and customization options.
In summary, installing Elementor isn’t just easy – it opens the door to endless design possibilities that can elevate your website’s appearance and functionality.
Setting Up Your WordPress Environment

Before diving into the creation of your login page using Elementor, it’s essential to ensure that your WordPress environment is perfectly set up. A well-configured WordPress setup lays a solid foundation for a seamless design experience.
Let’s consider a few key aspects when setting up your WordPress environment:
- Selecting a Reliable Hosting Provider: Ensure that your WordPress website is hosted on a reliable platform. A good hosting provider guarantees speed, security, and uptime – all crucial for a smooth user experience.
- Choosing the Right Theme: While Elementor works well with most themes, it’s always a good idea to choose a theme optimized for page builders. Look for themes that offer full compatibility with Elementor to maximize your design capabilities.
- Permalink Structure: Navigate to Settings > Permalinks in your WordPress dashboard. Select the “Post name” option for SEO-friendly URLs that are easy to read. This helps in better indexing by search engines.
- Installing Essential Plugins: Besides Elementor, consider installing plugins for SEO, caching, and security. Some popular choices include Yoast SEO, WP Super Cache, and Wordfence Security. These plugins enhance your site’s performance and safety.
By following these steps, you’ll create a WordPress environment that not only works well with Elementor but also provides a stable platform for your future projects. Now that your setup is ready, you’re all set to start creating that login page you’ve been wanting to design!
5. Creating a New Page for the Login Form

Creating a new page for your login form using Elementor is quite a straightforward process. Let’s dive into the steps to get you set up in no time!
- Access Your WordPress Dashboard: First things first, you need to log into your WordPress admin area. That’s where all the magic happens!
- Navigate to Pages: On the left sidebar, you’ll see a menu. Click on the “Pages” option to see your existing pages.
- Add New Page: At the top of the Pages section, there’s an “Add New” button. Go ahead and click that!
- Title Your Page: Give your new page a name that reflects its purpose, such as “User Login” or simply “Login.” This title will appear in your site’s navigation.
- Launch Elementor: Once your title is set, look for the “Edit with Elementor” button. Click on it to start customizing your page with the Elementor interface.
- Set Page Attributes (Optional): If you want to customize the layout, you can alter the page attributes on the right sidebar. This can include selecting a full-width template for a cleaner look.
- Publish the Page: Before you move on, don’t forget to hit the “Publish” button. This will make your new login page live for your site visitors!
And there you have it! You’ve successfully created a new page for your login form using Elementor. Let’s move on to designing it!
6. Designing the Login Form with Elementor
Now that we have our page set up, it’s time to roll up our sleeves and design the login form itself! Elementor makes this step easy, allowing you to create an attractive and functional login form in just a few clicks.
Here’s how to do it:
- Open the Elementor Editor: You should already be in the Elementor interface from the last step. If not, return to your “User Login” page and click on “Edit with Elementor.”
- Search for the Login Widget: On the left panel, type “Login” into the widget search bar. You’ll notice various login modules appear. Drag and drop the “Login” widget into your page canvas.
- Customize the Form Fields: After placing the widget, click on it to access its settings. You can customize the following:
- Field Labels: Change the text for username, password, and login buttons.
- Placeholder Text: Help users know what to input in each field by setting helpful placeholder texts.
- Button Text: Adjust the login button text as desired—something as simple as “Log In” works!
- Style Your Form: Click on the “Style” tab to delve into design options. You can change font sizes, colors, and backgrounds to match your website’s aesthetic. Don’t skip this step—the visual appeal makes a difference!
- Mobile Responsiveness: Always check how your form looks on various devices. Utilize Elementor’s responsive settings to make adjustments for mobile and tablet views.
- Preview and Test: Elementor allows you to preview your design in real-time, so you can see what it’ll look like before going live. Make sure everything works as intended by testing the login functionality!
And with that, you’ve successfully designed a stylish and functional login form using Elementor! The next step will be to ensure everything is connected properly so your users can log in without any hitch. You’re well on your way to creating an amazing user experience on your website!
Adding Login Functionality
Creating a login page is not just about the aesthetics; it’s also crucial to ensure it functions seamlessly. Thankfully, Elementor, especially when paired with other plugins, makes adding login functionality a breeze. Let’s dive into how you can implement this vital feature.
First, you’ll want to ensure that you have a plugin installed that complements Elementor for user authentication. Popular choices include WPForms, User Registration, or Theme My Login. Here’s a straightforward way to get this functionality working:
- Install a User Login Plugin: Go to your WordPress dashboard, navigate to Plugins > Add New, and search for a user login plugin of your choice. Install and activate it.
- Create a Login Form: Most plugins come with a user-friendly form builder. Create your custom login form and adjust the fields as needed. For instance, you might want to include options for ‘Remember Me’ or ‘Forgot Password.’
- Use Elementor to Add the Form: Once your form is ready, go to the Elementor editor. Drag and drop a Shortcode widget to your login page and paste the shortcode provided by your login plugin. This is where the form appears on your page.
- Set Redirect Options: Ensure you configure the plugin settings to manage user redirects post-login. This could be to the homepage, dashboard, or whatever custom destination you prefer.
Once these steps are complete, you should have a fully functional login page! Make sure to test the functionality to ensure everything works as expected before going live.
Customizing the Login Page Styles
Now that you have your login functionality in place, let’s focus on making it visually appealing. Customizing the login page styles is your opportunity to align it with your brand identity and enhance user experience. Here’s how to style your login page using Elementor:
Elementor provides a plethora of design options. Start by selecting the Login Form widget that you’ve added. You can customize various elements, including:
- Colors: Adjust background and text colors to fit your brand. Ensure good contrast for readability.
- Fonts: Choose from a library of Google Fonts to match your site’s typography.
- Buttons: Style your login button with hover effects. Use bold colors that catch the user’s attention.
- Spacing: Don’t underestimate margins and padding. Adequate spacing can make your form look organized and more user-friendly.
- Background Images: Consider using a subtle background image or pattern to enhance visual interest without distracting from the form itself.
Lastly, remember to optimize the login page for mobile users. Elementor gives you the option to customize styles for different devices, ensuring your page looks great on any screen size. After you’ve customized everything, hit Publish and review how it looks. A well-styled login page not only welcomes users but can also encourage them to stick around. Happy designing!
9. Testing Your Login Page
Once you’ve crafted your login page using Elementor, it’s essential to put your hard work to the test. Testing not only confirms that everything works as intended, but it also helps catch any glitches before your users encounter them. Here’s how to effectively test your login page:
- Visual Testing: Begin by simply reviewing the layout of your login page. Ensure that all elements—like buttons, text fields, and backgrounds—are appearing correctly. Test this across different devices and browsers to guarantee a seamless experience.
- Functional Testing: Now that it looks good, it’s time to test functionality. Enter valid credentials and see if you can log in successfully. After that, try incorrect credentials to ensure that the appropriate error messages display.
- Password Reset: If you’ve added a password reset function, test it. Make sure that emails are sent correctly and that the reset link works seamlessly.
- Security Checks: While not always visible, it’s crucial to check that your login page is secure. Look for HTTPS in the URL and verify with security plugins to enhance protection.
- User Experience Testing: Ask a few friends or colleagues to test the page. Their feedback can provide fresh insights into usability and accessibility that you might overlook.
By thoroughly testing your login page, you ensure a smooth user experience and bolster the credibility of your site. Don’t rush this step; it can save you from headaches down the line!
10. Troubleshooting Common Issues
Even with the best preparation, issues can arise with your Elementor login page. The good news is that most common issues have straightforward solutions. Here’s a quick guide to troubleshoot:
- Login Button Not Working: If clicking the login button doesn’t do anything, it might be a JavaScript issue. Check your Elementor settings or other plugins that might conflict with the script.
- Error Messages Not Displaying: Ensure that your error message settings are correctly configured within the login widget. Sometimes a simple toggle can resolve visibility issues.
- Styling Issues: If your design looks off, clear your browser’s cache. Changes made in Elementor might not appear due to cached versions of your site. Additionally, review custom CSS or review your theme settings.
- Redirect Issues: If users aren’t redirected correctly after logging in, check your WordPress settings. Ensure that your login redirects are set to the right URL.
- Security Blocks: Some hosting providers have security measures that can block login attempts. If users are experiencing issues, check with your server settings or consult your hosting provider.
In essence, troubleshooting is about remaining calm and methodical. By addressing these common issues, you can ensure that your login page functions smoothly, leaving a great impression on your users!
Conclusion
Creating a login page using Elementor is a straightforward and efficient process, allowing you to integrate powerful features without extensive coding knowledge. By utilizing the robust tools provided by Elementor, you can design a visually appealing and user-friendly login page that enhances the overall user experience on your website.
Here are some key takeaways for designing your login page:
- Choose a Template: Start with a pre-designed template or build your layout from scratch using the Elementor editor.
- Add Login Form Widget: Drag the Login Form widget onto your page to instantly access essential login functionalities.
- Customize Design: Utilize Elementor’s design features to adjust colors, fonts, and layouts to match your brand aesthetics.
- Configure Settings: Set up the form’s action settings, including redirection after login and error messages.
- Incorporate Security Features: Ensure you implement security measures to protect user data, such as SSL certificates and CAPTCHA.
Additionally, consider the following aspects to enhance functionality:
| Feature | Description |
|---|---|
| Social Login | Allow users to log in using their social media accounts for quicker access. |
| Remember Me Option | Add an option for users to stay logged in for convenience. |
| Forgot Password Link | Include a link for users to reset their passwords easily. |


