Creating a customer portal plugin for WordPress can seem like a daunting task, but it’s not as complicated as it sounds! This guide walks you through the essential steps and considerations to take when developing your own plugin. Customer portals are powerful tools that enhance user experience and foster engagement by providing direct access to information, support, and services. Ready to dive in and revolutionize your WordPress site? Let’s get started!
Understanding the Requirements for a Customer Portal

Before you start coding, it’s crucial to understand the core requirements that will shape your customer portal. This lays a strong foundation for your plugin development. Here’s what to consider:
- User Authentication: Ensure that your portal has secure login and registration functionalities. You might want to integrate APIs for popular services like Google or Facebook for easy sign-ups.
- User Roles and Permissions: Define different roles (e.g., Admin, Customer) and their permissions within the portal. This ensures sensitive information is only available to the right individuals.
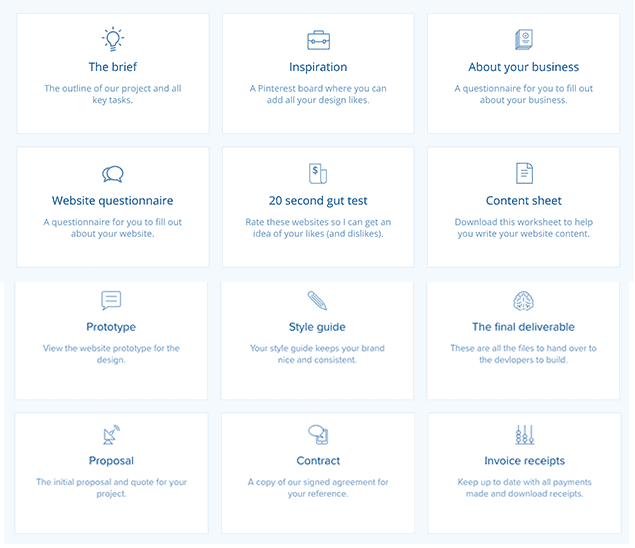
- Dashboard Features: Decide what data you want to display on the dashboard. This could include profile information, order history, support tickets, and more.
- Content Management: Consider how users will interact with content. Will they be able to upload files, submit requests, or view/download documents?
- Support Integration: Integrating a support system (like a ticketing system or live chat) can significantly enhance user experience.
- Customizable Settings: Provide options for users to manage their profile settings, notification preferences, and security settings.
- Responsive Design: Ensure that the portal is mobile-friendly so users can access it on any device.
- Analytics and Reporting: Implement tools to track engagement, user activity, and other metrics that could be beneficial.
By addressing these requirements, you’ll create a user-friendly, robust customer portal that enhances interaction and drives satisfaction!
3. Setting Up Your Development Environment

Before diving into the exciting world of plugin development, it’s crucial to set up a proper development environment. A well-configured environment can save you hours of headaches and troubleshooting, allowing you to focus on creativity and functionality. Here’s what you’ll need:
- Local Server: First things first, you need a local server. Tools like XAMPP, MAMP, or WAMP are great for creating a testing environment right on your computer.
- Text Editor: Choose a text editor that makes coding a breeze. Options like Visual Studio Code, Sublime Text, or Atom are fantastic choices.
- WordPress Installation: Download the latest version of WordPress and set it up on your local server. Ensure you have access to the wp-admin dashboard.
- Browser Developer Tools: Familiarize yourself with browser developer tools (available in Chrome, Firefox, etc.) to inspect elements and debug your code efficiently.
- Version Control: Consider using Git for version control. This will help you keep track of changes and collaborate effectively if you’re working in a team.
Once you have everything set up, create a new folder in the WordPress “plugins” directory within your local server’s WordPress installation. This is where your new customer portal plugin will take shape!
4. Creating a New WordPress Plugin
Creating a new WordPress plugin may sound daunting, but it doesn’t have to be! Here’re the steps you should follow to kickstart your plugin development:
- Create a Plugin Folder: Go to the
wp-content/pluginsdirectory in your WordPress installation and create a new folder with a name that describes your plugin. - Create a Main PHP File: Inside your plugin folder, create a PHP file, e.g.,
customer-portal.php. This will be the main file for your plugin. - Add Plugin Header: At the top of your PHP file, include a plugin header comment. This tells WordPress about your plugin. Here’s an example:
/*Plugin Name: Customer PortalDescription: A simple customer portal for managing user accounts.Version: 1.0Author: Your Name*/
Key Elements: Make sure to fill in the Plugin Name, Description, Version, and Author fields with relevant information.
Now that you have your basic structure set up, you can start adding functionality to your plugin. From here, you can hook into WordPress actions and filters, create custom post types, or even develop shortcodes that make your portal user-friendly. The possibilities are endless!
Designing the User Interface
When it comes to creating a customer portal plugin for WordPress, the design of the user interface (UI) is crucial. A well-designed UI not only enhances the user experience but also encourages user engagement. So, let’s dive into some essential aspects to consider while designing your customer portal.
First, think about the layout. Use a clean and intuitive layout that guides users effortlessly through the portal’s features. Here are some tips:
- Clear Navigation: Keep your navigation simple and visible. Use a top navigation bar or sidebar with clearly labeled menu items.
- Consistent Branding: Ensure that the colors, fonts, and overall style align with your brand to reinforce identity.
- Responsive Design: With many users accessing sites from mobile devices, a responsive design is a must. Test your portal’s look on multiple screen sizes.
Next, focus on usability. Incorporate features that make it easy for users to accomplish their tasks. Consider:
- User-Friendly Forms: Simplify forms by reducing the number of fields and using clear labels. Form validation is key, too!
- Search Functionality: A search bar can make accessing information much easier for users.
- Help Sections: Implement tooltips or help sections for guidance on your portal’s features.
Finally, don’t forget about visual elements. Leverage whitespace, icons, and graphics to enhance the experience. A visually engaging interface will not only attract users but will also make navigation a breeze. Remember, the main goal is to create a portal that feels friendly, professional, and easy to use!
Implementing User Authentication and Access Control
User authentication and access control are vital components of any customer portal. After all, you want to ensure that your users’ data is kept safe and secure. So how do you go about implementing these features? Let’s break it down.
First of all, you need to establish a secure authentication process. This can often be achieved through:
- Email and Password: The classic method; users create accounts using their email and a secure password.
- Two-Factor Authentication (2FA): This adds an extra layer of security. Users must provide a second method, like a code sent to their phone.
- Social Login: Allowing users to log in using their social media accounts can simplify the process.
Once authentication is set up, focus on access control. This involves defining what users can and cannot do within your portal. Here’s how you can manage this:
- User Roles: Create different user roles (e.g., admin, customer, guest) with specific capabilities assigned to each role.
- Content Restrictions: Use plugins or custom code to restrict access to certain parts of the portal based on user roles.
- Time-Based Restrictions: For added security, consider allowing access to certain features only during specific times or under certain conditions.
Finally, don’t forget to keep your authentication methods current. Regularly update passwords and monitor login attempts to avoid unauthorized access. Implementing robust user authentication and access control not only secures your portal but also builds trust with your users. They’ll feel more comfortable knowing their information is protected!
7. Adding Features to the Customer Portal
Once you have the foundational structure of your customer portal plugin in place, it’s time to jazz it up by adding features that will enhance user experience and functionality. A customer portal is not just about providing a secure login; it’s about making sure your users can access everything they need seamlessly. Here are some features you might want to consider:
- User Profile Management: Allow users to update their personal information directly through their profiles. This includes changing passwords, email addresses, and other personal details.
- File Upload & Download: Enabling users to upload documents or download resources can significantly improve the interaction. This can be particularly useful for customer support or document submission.
- Support Ticket System: Integrate a support ticket system that lets users submit and track their service requests directly from the portal.
- FAQs and Knowledge Base: A dedicated section for FAQs and articles can empower users to find solutions to common problems without reaching out for help.
- Notifications: Implement a notification system that alerts users to important updates, new features, or activity regarding their account.
When adding these features, always keep user experience in mind. A well-rounded customer portal should be intuitive and easy to navigate. You also need to ensure that any feature you incorporate is secure and compliant with relevant data protection laws. Enhancing the functionality of your customer portal will likely lead to increased customer satisfaction and loyalty.
8. Testing Your Customer Portal Plugin
Testing is a crucial step in the development of your customer portal plugin. Before you roll it out to your users, you want to ensure that everything runs smoothly and effectively. Here’s how to approach the testing phase:
- Functional Testing: Check that all features—and the functionalities within those features—are working as intended. This includes making sure user registrations, logins, file uploads, and support tickets function correctly.
- Cross-Browser Testing: Ensure that the plugin works across different web browsers (like Chrome, Safari, Firefox), as users may have preferences for different browsing environments.
- Responsive Testing: Test the portal on various devices such as mobile phones and tablets to confirm that it is mobile-friendly and looks good on different screen sizes.
- Performance Testing: Evaluate the loading speed and responsiveness of your portal under various loads to make sure everything runs smoothly, especially during high traffic times.
- User Acceptance Testing: Engage a small group of actual users to interact with your portal. Gather feedback on their experience to identify possible improvements.
Document any issues that arise during your testing and prioritize these for fixing. Once you’ve addressed all concerns and are satisfied with the performance, you can confidently launch your customer portal plugin, knowing it’s as reliable and user-friendly as possible. Remember, even after launch, user feedback is essential for ongoing improvement!
9. Deploying the Plugin to a Live WordPress Site
Now that you’ve created and tested your customer portal plugin, it’s time to take the plunge and deploy it to your live WordPress site. Exciting, right? But before you do, let’s walk through a few crucial steps to ensure everything goes smoothly.
First, it’s a good idea to back up your entire site. You can use one of the many WordPress backup plugins available or take a manual approach. Keeping a backup will save you a lot of headaches if anything goes awry during the deployment.
Next, follow these steps to deploy your plugin:
- Upload the Plugin: Go to your WordPress admin dashboard, navigate to Plugins > Add New, and click on Upload Plugin. Choose your zip file and hit Install Now.
- Activate the Plugin: Once the upload is complete, you’ll see an option to activate the plugin. Click on Activate to start using it!
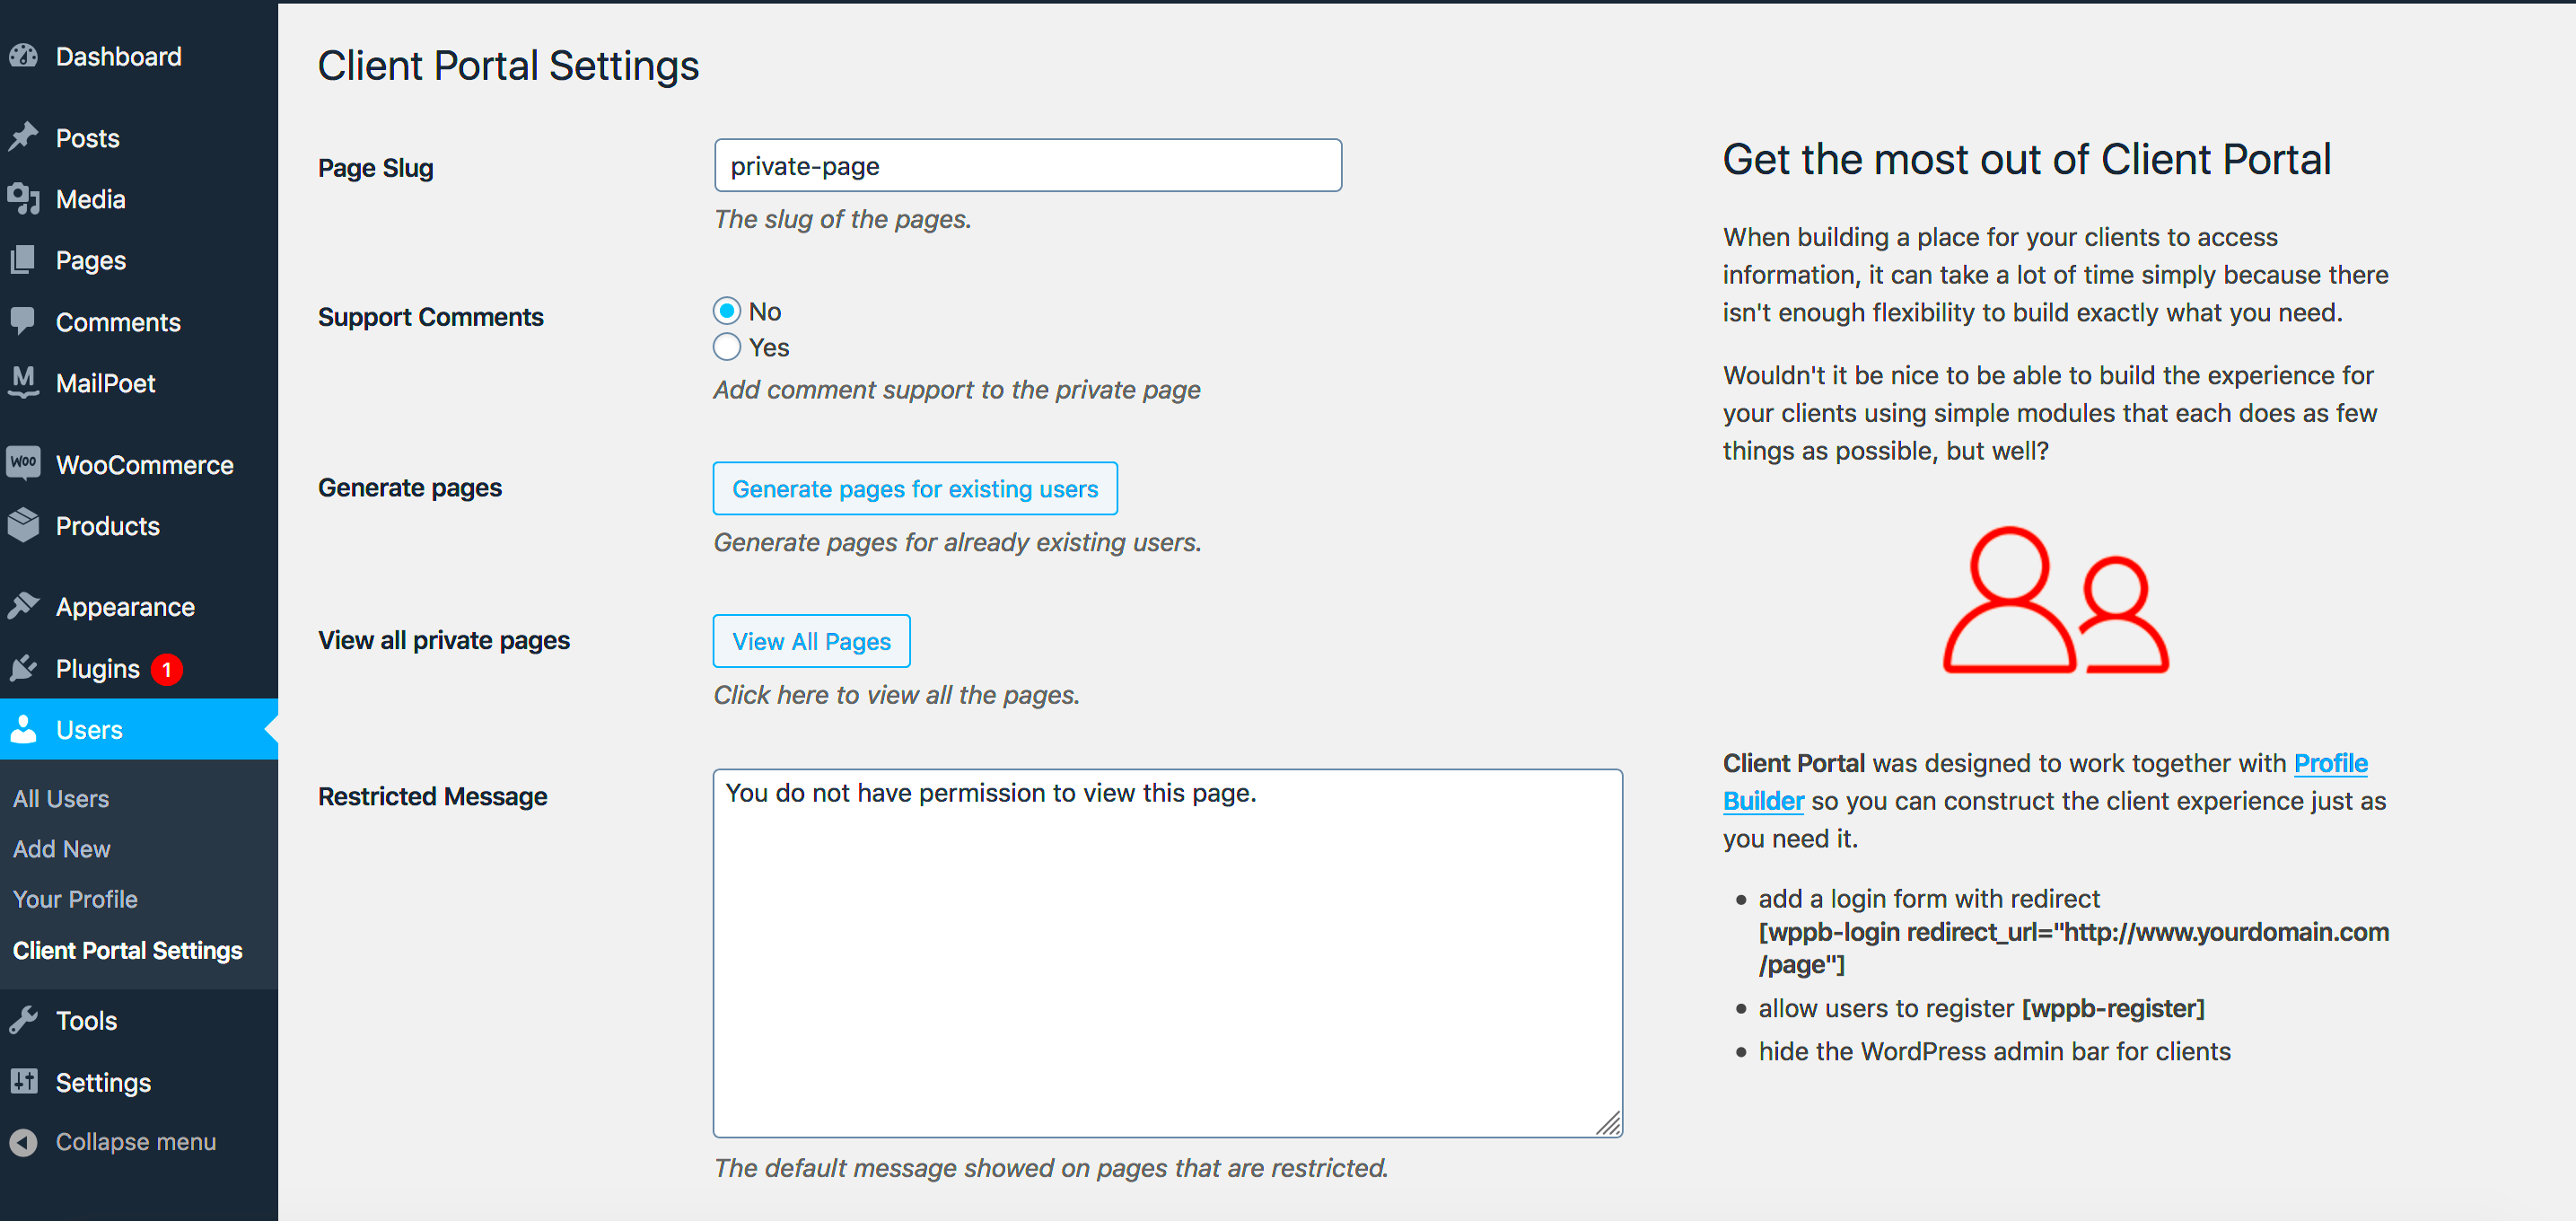
- Configure Settings: After activation, make sure to set up your plugin’s settings properly. This may include defining user roles, permissions, and other configurations.
- Test the Plugin: It’s crucial to do a couple of test runs. Create test accounts and ensure everything functions as intended—logins, dashboard views, and any specific features you’ve added.
Finally, monitor the user experience closely after launch. Gather feedback, watch for bugs, and be prepared to troubleshoot any issues. Launching your plugin is just the beginning; staying engaged with your users will ensure its success!
10. Maintaining and Updating Your Customer Portal Plugin
Congratulations on deploying your customer portal plugin! But the journey doesn’t end here. Regular maintenance and updates are key elements in keeping your plugin functional and secure. Think of it as nurturing a plant; the more care you provide, the better it grows!
Here’s how to efficiently maintain and update your plugin:
- Monitor User Feedback: Stay in tune with what your users are saying. If they report bugs or request features, take their feedback seriously. Engaging with users is a direct line to understanding what needs improvement.
- Regular Updates: Just like WordPress itself, your plugin will require updates. Stay updated on new WordPress releases and any changes in its APIs. Also, periodically check for security vulnerabilities and address them promptly.
- Compatibility Checks: Ensure your plugin is fully compatible with the latest version of WordPress and other popular plugins. If something breaks, it could affect your users’ ability to access the portal.
- Bug Fixes: No software is perfect. Ideally, you’ll identify and fix bugs before users do, but when they arise, treat them as a priority. A quick response can enhance user trust and satisfaction.
- Documentation Updates: Keep your documentation current. As you update the plugin, make sure the accompanying guides and FAQs reflect those changes, making it easier for users to navigate and utilize your offering.
In the end, maintaining your plugin isn’t just about fixing bugs; it’s about continuous improvement and user satisfaction. So roll up your sleeves and dive into the exciting task of nurturing your customer portal! Your users will thank you for it.
Conclusion
Creating a customer portal plugin for WordPress is not only a valuable addition to your website but also enhances user experience significantly. By following a structured approach, you can develop a robust portal that meets the needs of your clients. Here’s a brief summary of the key steps involved in the process:
- Step 1: Define Requirements
Understand the specific needs of your clients and the features you want to implement in the portal, such as user registration, document sharing, and support ticketing.
- Step 2: Set Up a Development Environment
Ensure you have a local or cloud development environment where you can build and test the plugin safely.
- Step 3: Create Plugin Structure
Use best practices to set up your plugin folder and files for ease of management.
- Step 4: Implement Features
Use WordPress functions, hooks, and shortcodes to develop the necessary features, ensuring compatibility with other plugins.
- Step 5: Test and Debug
Thoroughly test the portal for functionality and compatibility before launching it to your client base.
- Step 6: Deployment
Upload and activate your plugin on the WordPress site, ensuring smooth integration.
In conclusion, developing a customer portal plugin for WordPress can be a rewarding endeavor that enhances client engagement and satisfaction. By adhering to best practices and focusing on user needs, you can create a seamless experience that adds significant value to your services.


