Gutenberg is the revolutionary block editor introduced in WordPress 5.0, designed to streamline content creation. It empowers users to build their posts and pages using a block-based interface, making it visually intuitive and user-friendly. No more messy shortcodes or complicated HTML—just drag and drop your elements! Each block serves a unique purpose, from simple paragraphs to complex layouts, and they can be easily customized to meet your needs.
The real beauty of Gutenberg lies in its flexibility. You can create anything from a basic blog post to a stunning landing page using the blocks provided. But what if you want something that’s not available in the default options? That’s where custom blocks come into play! Creating your own blocks allows for full control over the design and functionality of your WordPress site, ensuring it aligns perfectly with your vision. Let’s dive deeper into the significance of creating custom blocks.
Understanding the Importance of Custom Blocks
So, why should you bother creating custom blocks in Gutenberg? Well, they offer a range of benefits that can elevate your website to the next level. Here are some of the key reasons:
- Personalization: Custom blocks enable you to tailor your content precisely to your brand or personal style, enhancing the overall aesthetics of your site.
- Enhanced Functionality: Want a unique feature that the default blocks don’t offer? With custom blocks, you can integrate specific functionalities tailored for your audience.
- Consistency: By using your custom blocks across posts and pages, you ensure a consistent look and feel, which is crucial for maintaining branding.
- Improved User Experience: Design easy-to-use blocks that make it simpler for others, like clients or team members, to create content without worrying about technical details.
- Time Efficiency: Once you set up your custom blocks, they save you time on future projects, speeding up the content creation process.
Overall, creating custom blocks in Gutenberg is more than just a technical task; it’s about building an online presence that reflects your unique identity while providing functionality. Ready to jump in?
3. Setting Up Your Development Environment
Before diving into the exciting world of custom block creation in the Gutenberg editor, it’s essential to ensure your development environment is properly set up. A well-prepared space will streamline your workflow and reduce potential headaches down the line. Here’s a step-by-step guide to getting everything in order:
- Install Local Server: First things first, you need a local development environment to test your blocks. Tools like XAMPP, MAMP, or Local by Flywheel can help set this up. Choose one that fits your operating system and preferences.
- Install WordPress: Once your local server is running, download and install a fresh copy of WordPress. This allows you to work in a safe space without affecting a live site.
- Set Up Node.js: Gutenberg uses modern JavaScript, so having Node.js is critical for building your blocks. Download it from the official website and follow the installation instructions for your OS.
- Get the Gutenberg Plugin: For the best experience with developing blocks, consider using the Gutenberg plugin, especially on a non-default WordPress site. You can simply install it like any other plugin from the admin panel.
- Choose a Code Editor: A good code editor is key to efficient development. Popular choices include Visual Studio Code, Atom, or Sublime Text. They come with useful extensions for JavaScript and PHP coding.
By following these steps, you’ll be well on your way to crafting beautiful custom blocks with Gutenberg in a smooth and efficient manner!
4. Creating a Plugin for Your Custom Block
Now that your development environment is set, it’s time to get hands-on and create a custom block. But wait! Before we start coding, we need to set up a WordPress plugin. Here’s how to create a lightning-fast, efficient plugin for your custom block:
- Create a Plugin Folder: Navigate to your WordPress installation directory, and go to
/wp-content/plugins/. Create a new folder for your plugin, such asmy-custom-block. - Create the Main Plugin File: Inside your new folder, create a file named
my-custom-block.php. This will serve as the main file for your plugin. Add the header comment to define your plugin:
/*Plugin Name: My Custom BlockDescription: A custom Gutenberg block for my site.Version: 1.0Author: Your Name*/
With this header, you’ve defined basic metadata about your plugin. Now, it’s time to enqueue the necessary JavaScript and CSS files to create your block.
- Enqueue Scripts and Styles: Use the
wp_enqueue_script()andwp_enqueue_style()functions to load the necessary files. Add the following code in your main plugin file:
function my_custom_block_assets() { wp_enqueue_script( 'my-custom-block-editor', plugins_url( 'block.js', __FILE__ ), array( 'wp-blocks', 'wp-element', 'wp-editor' ), true );}add_action( 'enqueue_block_editor_assets', 'my_custom_block_assets' );
This snippet tells WordPress to include your custom JavaScript file when the block editor loads. Now, your development environment is all set to create a custom block, and you’ve laid the groundwork for your plugin. What’s next? Let’s start coding the block itself!
5. Registering Your Custom Block
Alright, it’s time to roll up your sleeves and dive into the actual block registration process. Registering your custom block in Gutenberg requires a specific JavaScript function that ties everything together. Think of it like introducing your block to the WordPress ecosystem. This is how the world will recognize and use your creation!
Here’s a step-by-step breakdown of how to register your block:
- Enqueue the Script: First things first! You need to enqueue your block’s script so that WordPress can recognize and load it. You’ll typically add this in your theme’s `functions.php` or a custom plugin:
function my_custom_block_assets() { wp_enqueue_script( 'my-custom-block', get_template_directory_uri() . '/blocks/my-custom-block.js', array('wp-blocks', 'wp-element', 'wp-editor'), // dependencies filemtime(get_template_directory() . '/blocks/my-custom-block.js') // versioning );}add_action('enqueue_block_editor_assets', 'my_custom_block_assets'); - Register the Block: Next, you’ll write the block registration function. You’ll typically do this inside your JavaScript file:
var el = wp.element.createElement; var registerBlockType = wp.blocks.registerBlockType; registerBlockType('myplugin/my-custom-block', { title: 'My Custom Block', icon: 'smiley', category: 'common', edit: function() { return el('p', {}, 'Hello World, this is my custom block!'); }, save: function() { return el('p', {}, 'Hello World, this is my custom block!'); }, });
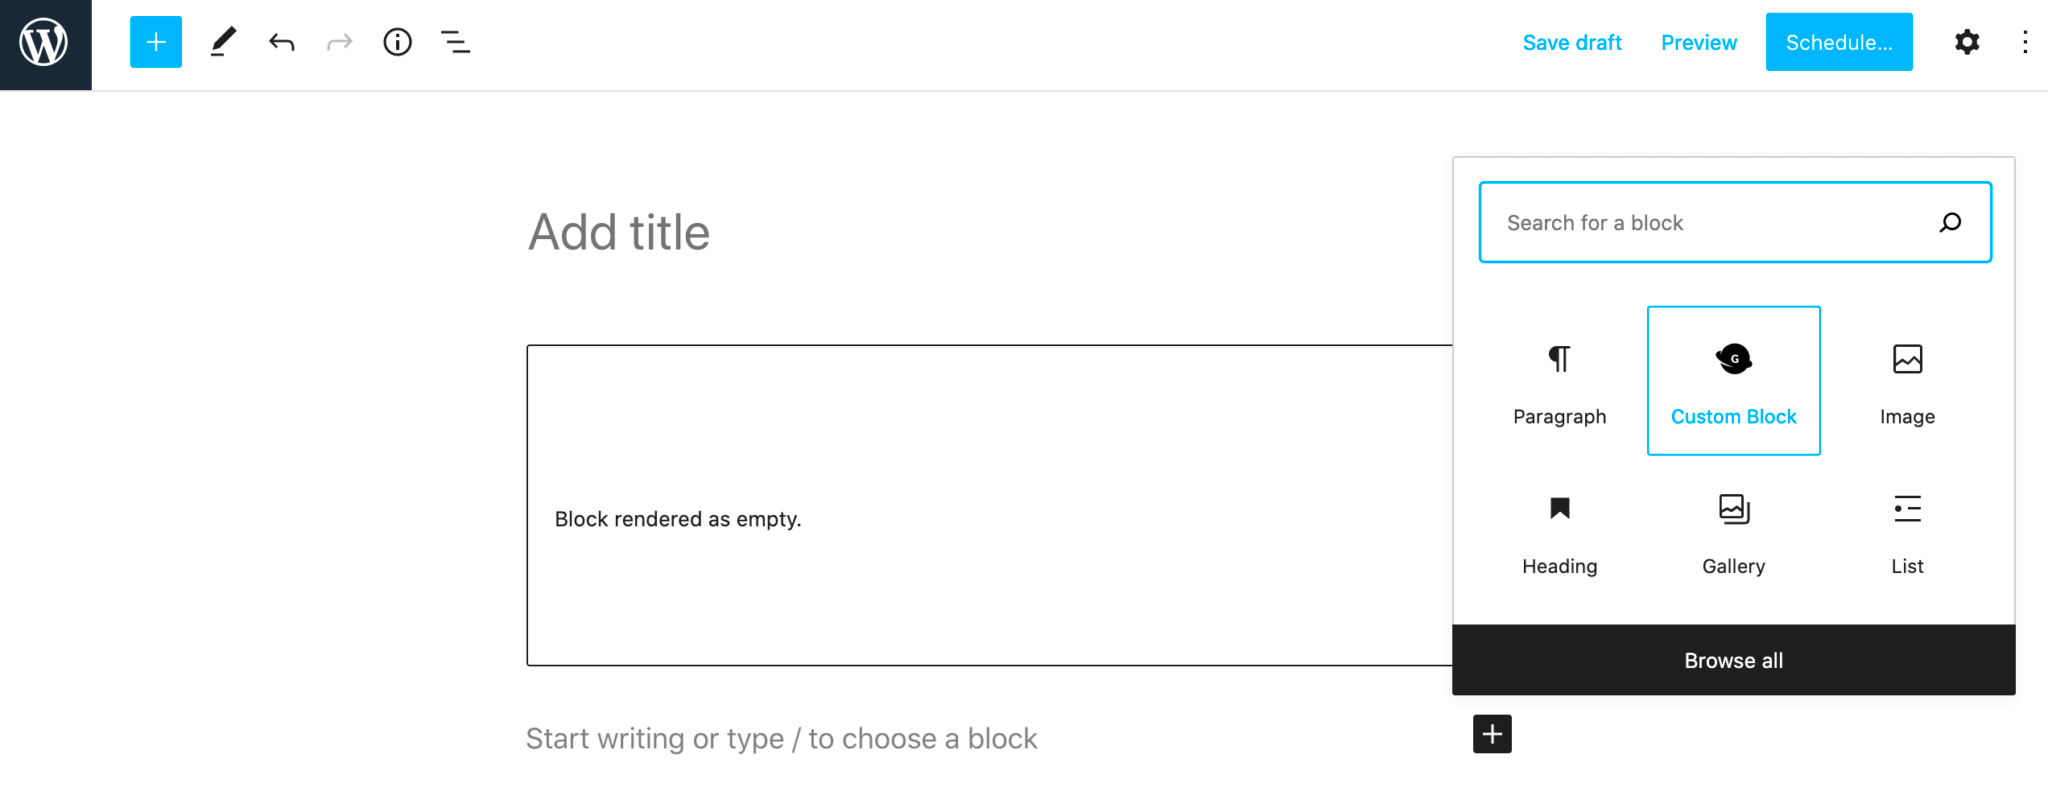
And just like that, you’ve registered your custom block! Go ahead and check out the block editor; your block should be sitting right there, ready for action!
6. Building the Block’s User Interface
Now that we’ve got our block registered, let’s jazz it up by crafting a brilliant user interface (UI). The UI is what users will interact with when they add your block to a post or a page, and it should be intuitive and enjoyable to use!
Here’s how to build a functional and attractive UI for your custom block:
- Defining Attributes: Start by defining the block attributes. Attributes are crucial as they hold data that users input in the block settings. For instance, you may want users to have a text field, an image upload option, or a color picker. This can be done as follows:
attributes: { text: { type: 'string', source: 'text', selector: 'p', }, color: { type: 'string', default: 'black', }, }, - Creating the Edit Function: Use the edit function to create a dynamic interface. Here’s where you will make use of the UI components provided by WordPress, like the
TextControlfor text inputs orColorPalettefor color selection.edit: function(props) { return el('div', { className: props.className }, el(wp.editor.RichText, { tagName: 'p', onChange: (content) => props.setAttributes({ text: content }), value: props.attributes.text, placeholder: 'Enter your text...', }), el(wp.components.ColorPalette, { value: props.attributes.color, onChange: (color) => props.setAttributes({ color }), }) );}, - Styling Your Block: Don’t forget about aesthetics! Style your block in the editor to match how it will appear on the front-end. You can do this through CSS or inline styles:
const styles = { color: props.attributes.color,};return el('p', { style: styles }, props.attributes.text);
And voilà! You’ve built a user-friendly interface that promises a great experience for the users. Make sure to test it out in the block editor and gather feedback to refine it even more!
7. Adding Functionality to Your Custom Block
Building a custom block in Gutenberg is not just about aesthetics; it’s also about functionality. You want your block to be interactive, engaging, and user-friendly. So, how do we add that functionality? Let’s break it down smoothly.
The first step in enhancing your block’s functionality is by registering custom attributes. Attributes allow you to store and manipulate data in your block. For example, if you’re creating a block that displays testimonials, you might want to store the name of the person giving the testimonial, their occupation, and the testimonial text itself. You could set those attributes like this:
attributes: { personName: { type: 'string', }, occupation: { type: 'string', }, testimonial: { type: 'string', },}Next, you’ll implement these attributes within your block’s edit and save functions. Use InspectorControls to provide a UI for users to fill in these details. Here’s a brief example of how you can incorporate that:
const InspectorControls = wp.blockEditor.InspectorControls;return ( setAttributes({ personName: value })} /> setAttributes({ occupation: value })} /> {testimonial}
);This approach allows you to capture user input dynamically and use it while rendering the block. And remember, testing your block for usability is crucial. Ensure the functionality is smooth so your users don’t encounter friction when interacting with it!
8. Styling Your Custom Block
Now that your custom block is functional, it’s time to make it visually appealing. Styling your block in Gutenberg not only enhances the user experience but can also help communicate your brand’s identity. Here’s how to go about it!
Gutenberg uses CSS for styling, meaning you can style your block just as you would any other website element. Create a separate stylesheet for your block, and enqueue it in the block registration file. Here’s a sample of how to do that:
function my_custom_block_assets() { wp_enqueue_style( 'my-custom-block-style', plugins_url('style.css', __FILE__) );}add_action('enqueue_block_assets', 'my_custom_block_assets');Once your styles are enqueued, you can style your individual block components. Here are a few tips for effective styling:
- Use Flexbox: This makes aligning elements easy and responsive.
- Maintain Consistency: Use similar colors, fonts, and spacings throughout your blocks for a cohesive look.
- Responsive Design: Ensure your styles look good on different screen sizes. Use media queries as needed.
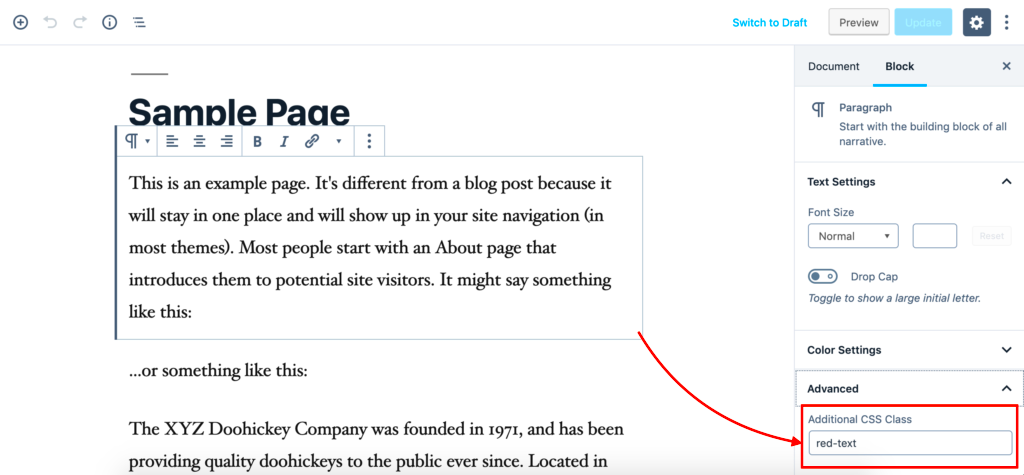
Consider adding classes to your block markup that can trigger specific styles. This way, you have a clean separation of functionality and style, allowing easier updates down the line.
Lastly, preview your block frequently. It’s one thing to see it in the editor and another to see how it looks on the front end. With just the right styling, you can create beautiful, custom blocks that stand out in any Gutenberg layout!
Testing Your Custom Block
Once you’ve created your custom block in Gutenberg, it’s crucial to thoroughly test it before making it publicly available. Testing ensures that everything works as intended and provides the best experience for users. Here’s how to go about it:
- Check Different Browsers: Open your WordPress site in different browsers such as Chrome, Firefox, Safari, and Edge. Sometimes, blocks may behave differently depending on browser compatibility.
- Use Various Devices: Test your block on a range of devices, including desktops, tablets, and smartphones. This verifies that your block is responsive and looks good on all screen sizes.
- Debugging Tools: Make use of tools like the browser’s developer console to identify any JavaScript errors or warnings. Pay attention to the console for any clues that can improve your block’s functionality.
- User Interaction: If your block facilitates user interaction (like forms or buttons), ensure that these elements work seamlessly. Test by filling in forms, clicking buttons, or performing any interactive actions.
- Accessibility Testing: Check if your block is accessible to all users. Utilize tools like WAVE or Keyboard Accessibility tools to ensure it meets accessibility standards.
By following these testing steps, you can identify potential issues and rectify them before your block goes live, leading to a smoother experience for users.
Publishing and Maintaining Your Custom Block
Once you’re satisfied with your custom block after thorough testing, it’s time to publish it. However, the work doesn’t end there! Effective maintenance is just as important to ensure the ongoing functionality and relevance of your block.
Publishing Your Custom Block:
- Deploying on a Live Site: Move your custom block to your live WordPress installation. Make sure you backup your site beforehand, just in case anything goes awry during deployment.
- Documenting the Block: Create clear documentation explaining how to use your block, including how to install it, any settings available, and examples. This is incredibly helpful for users and administrators.
Maintenance Tips:
- Regular Updates: WordPress updates frequently. Always test your block after major WordPress updates to ensure compatibility. Update your block’s code if needed.
- User Feedback: Encourage users to provide feedback. This can help identify bugs or areas of improvement that you might not have spotted.
- Monitor Performance: Keep an eye on your block’s performance and usage statistics. This data can help you understand how users are interacting with your block.
Taking the time to publish your custom block properly and maintaining it consistently will help ensure that it remains valuable and functional for your users over time!
Conclusion
Creating a custom block in Gutenberg for WordPress is an empowering experience that allows you to tailor your content editing environment to your specific needs. By following the steps outlined above, you can enhance your website’s functionality and improve user experience significantly.
To summarize the process:
- Set Up a Local Development Environment: Utilize tools like Local by Flywheel or XAMPP to create a space for testing your custom block.
- Familiarize Yourself with Block Structure: Understand the fundamental parts of a block including the edit and save functions.
- Use the WordPress Block API: Leverage the API to register your block, defining attributes and methods.
- Enqueue Scripts and Styles: Ensure that your block includes the necessary JavaScript and CSS files for proper functionality and appearance.
- Test Your Block: Inspect and troubleshoot your block within the Gutenberg editor to ensure it behaves as expected.
- Publish and Share: Once satisfied, deploy your block on your WordPress site and consider sharing it with others.
This process not only enhances your site but also deepens your understanding of WordPress development and the Gutenberg framework. As you grow more familiar with creating custom blocks, you can continue to expand the capabilities of your website, providing unique experiences for your users.

