When it comes to online shopping, visuals matter significantly, especially in eCommerce platforms like WooCommerce. The magnifying glass feature is crucial for helping customers zoom in on product details, allowing them to make informed purchasing decisions. However, the default design of this feature doesn’t always align with the aesthetics of your store. In this blog post, we’ll explore how you can customize the WooCommerce magnifying glass design to better fit your brand’s identity and enhance the overall shopping experience. Let’s dive in!
Understanding the Default Magnifying Glass Design
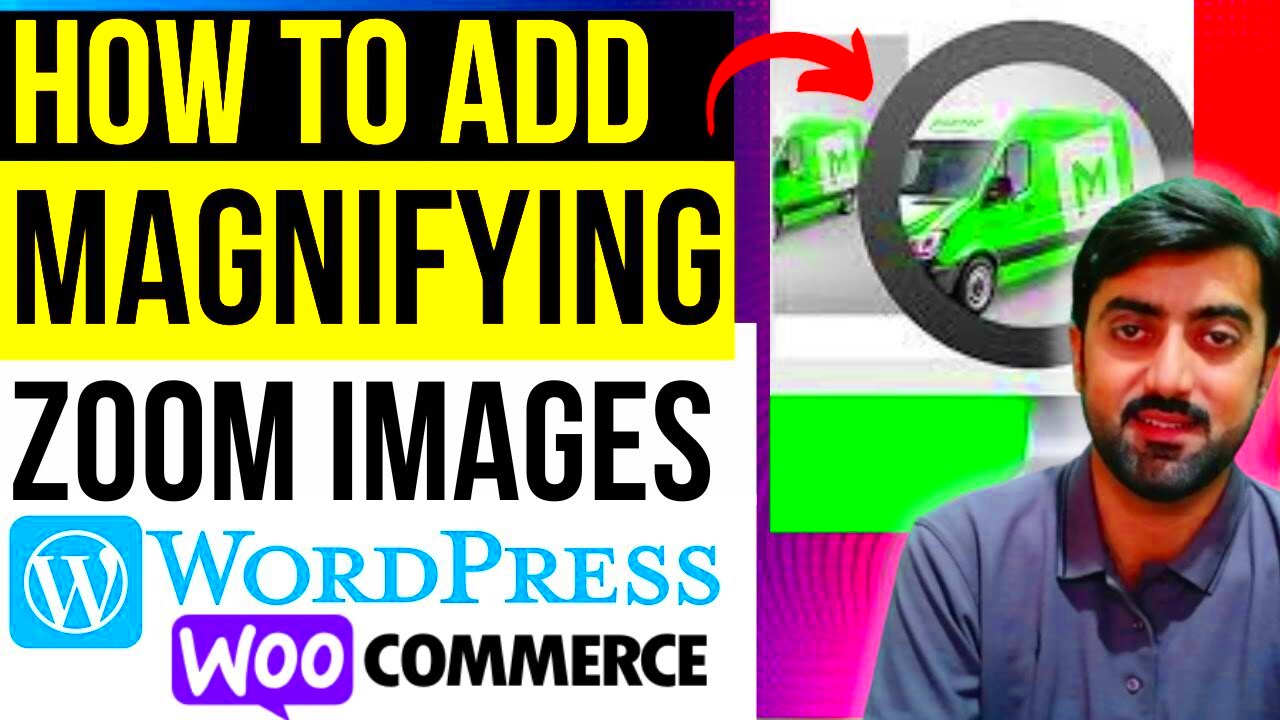
The default magnifying glass design in WooCommerce is practical yet somewhat basic. It’s designed to serve a functional purpose—helping customers view product details closely—but it may lack the flair that reflects your brand’s personality. Here are some key points regarding the default design:
- Basic Functionality: The default magnifying glass typically appears as a simple icon, allowing users to hover over it to zoom in on images.
- Color and Style: Most default designs prioritize functionality over aesthetics. The colors and icons might blend in with your overall product page, making it less noticeable.
- User Experience: While it serves its purpose well, a lack of customization might lead to a less engaging shopping experience for visitors.
Here’s a quick comparison of the default magnifying glass attributes:
| Attribute | Default Design |
|---|---|
| Icon Style | Simple, Basic |
| Color | Standard gray or black |
| Hover Effect | Minimal |
Understanding these characteristics is crucial for recognizing areas where you can enhance the design. Customizing the magnifying glass not only elevates the visual appeal but can also contribute to a more immersive shopping experience for your customers.
Reasons to Customize the Magnifying Glass
When it comes to online shopping, the little things can make a big difference. The magnifying glass feature in WooCommerce plays a crucial role in product presentation, influencing how potential customers interact with your store. Here are some compelling reasons why you might want to customize the magnifying glass design:
- Enhancing User Experience: A well-designed magnifying glass can significantly improve user experience. By customizing it, you can ensure it aligns with your site’s overall aesthetics and usability. This way, customers feel more comfortable navigating your store.
- Brand Identity: Your eCommerce site’s design should reflect your brand’s personality. Customizing the magnifying glass allows you to integrate your brand colors and styles, helping you create a cohesive shopping experience that resonates with your customers.
- Improving Product Visibility: Sometimes, default designs fail to highlight features or details effectively. A tailored magnifying glass can enhance product visibility, ensuring customers can clearly see product details before making a purchase.
- Stand Out from Competitors: In a crowded marketplace, standing out is essential. A unique and attractive magnifying glass design can differentiate your site from competitors, making a memorable impression on potential buyers.
- Increased Conversion Rates: If users find it easy and enjoyable to examine products, they are more likely to make a purchase. By customizing this feature, you can boost engagement and increase conversion rates.
Methods to Change the Magnifying Glass Design
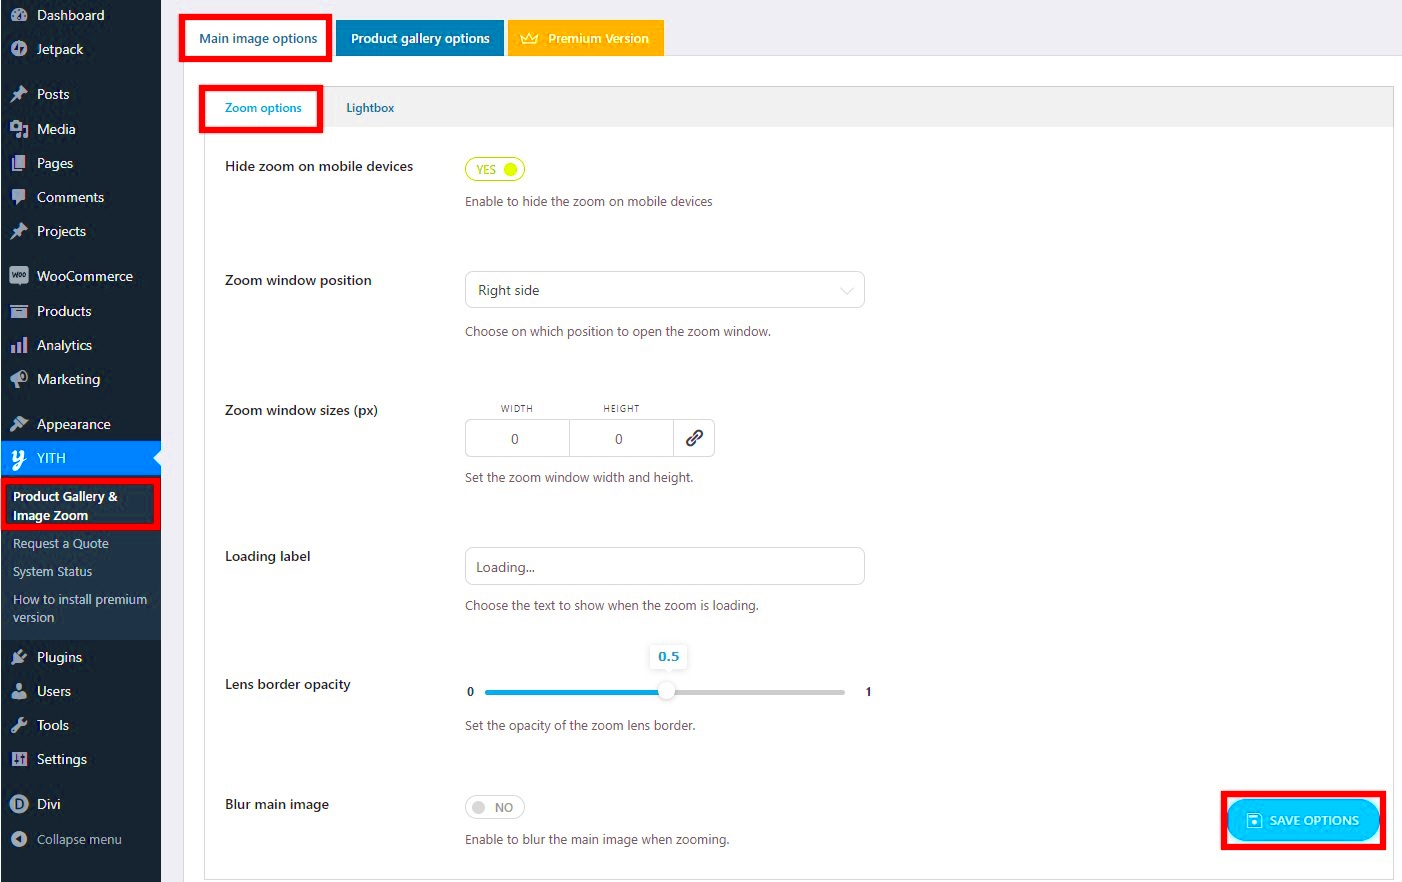
Now that you understand why customizing the magnifying glass is important, let’s explore some practical methods you can use to change its design. Whether you’re skilled in coding or prefer user-friendly options, there’s something for everyone!
- Using CSS: If you have basic knowledge of CSS, you can easily modify the magnifying glass style by targeting its class or ID. Here’s a quick example:
- Plugins: For those unfamiliar with coding, there are plugins available in the WordPress repository that allow for easy customization. Some popular plugins include:
- Custom Code Snippets: If you’re comfortable with PHP, adding custom code directly to your theme’s functions.php file might be an option. Be sure to back up your site before making any changes!
- Hire a Developer: If all of this seems overwhelming, consider hiring a developer. They can create a unique magnifying glass design that’s tailored to your specifications.
.woocommerce div.product .woocommerce-product-gallery__image img { transition: transform 0.5s ease; transform: scale(1.5);} | Plugin Name | Description |
|---|---|
| WooThumbs | Gives you control over thumbnail and lightbox designs, including the magnifying glass feature. |
| Product Gallery Slider for WooCommerce | Offers numerous customization options for your product galleries, including the magnifying effect. |
Customizing the magnifying glass on your WooCommerce site can elevate your overall shopping experience and help you connect better with your customers. Choose the method that best fits your skills and watch your online store thrive!
Using Custom CSS for Magnifying Glass Styling
When it comes to changing the design of the WooCommerce magnifying glass, custom CSS is your best friend. Leveraging CSS allows you to make visual adjustments without needing to dive deep into the codebase. Just a few simple tweaks can transform that ordinary magnifying glass into a stunning visual feature that aligns with your brand’s aesthetic.
Here’s how you can get started:
- Inspect the Element: Use your browser’s developer tools (usually accessible by right-clicking on the element and selecting “Inspect”) to find the CSS classes associated with the magnifying glass.
- Write Your Custom CSS: Navigate to your WordPress dashboard, then go to Appearance > Customize > Additional CSS. Here’s a simple example:
.woocommerce-product-gallery__trigger { background-color: #fff; /* Change background color */ border-radius: 50%; /* Make it round */ border: 2px solid #000; /* Add a border */ box-shadow: 0 4px 15px rgba(0, 0, 0, 0.3); /* Add shadow for depth */ }With this style, you’ll have a magnifying glass that stands out and makes a statement. You can adjust parameters like color, border width, and shadow properties as needed. Once you’re happy with your changes, don’t forget to publish them.
Feel free to play around with different styles and designs until you find the perfect match for your online store. The possibilities are endless!
Implementing JavaScript for Enhanced Functionality
If you really want to take your WooCommerce magnifying glass beyond mere aesthetics, incorporating JavaScript can introduce powerful interactive features. JavaScript allows you to create a more engaging user experience, making your magnifying glass more than just a zoom tool.
For instance, implementing JavaScript can allow you to:
- Detect Hover Events: By using JavaScript, you can make the magnifying glass appear only when someone hovers over an image, keeping the interface clean.
- Zoom Level Controls: Offer users the choice of how much they’d like to zoom in, perhaps through a slider control.
- Dynamic Positioning: Make the magnifying glass follow the cursor, creating a more interactive feel as users move their mouse.
Here’s a quick example of how you can make the magnifying glass follow the cursor:
document.querySelector('.woocommerce-product-gallery__trigger').addEventListener('mousemove', function(e) { const x = e.clientX; const y = e.clientY; this.style.transform = `translate(${x}px, ${y}px)`; });By combining CSS and JavaScript, you can create a compelling magnifying glass feature that not only looks great but also enhances usability. Experiment with different functions and find what works best to engage your customers!
7. Utilizing WooCommerce Hooks and Filters
If you’re looking to customize the design of the magnifying glass feature in WooCommerce, tapping into hooks and filters is the way to go. WooCommerce is built on WordPress, so it comes with a rich set of hooks that allow you to modify functionality without touching the core code. This way, you maintain the integrity of your site when updates roll in!
What Are Hooks and Filters?
Hooks are essentially points in the WordPress lifecycle where you can ‘hook into’ existing functions to add or modify functionality. Filters, on the other hand, allow you to change data before it’s sent to the database or the browser.
Using Hooks:
- Action Hooks: These let you add your own custom functionality. For example, you can add your own script for the magnifying glass effect.
- Filter Hooks: Perfect for modifying data output. You could alter CSS styles for the magnifying glass using a filter.
Example of a Hook:
add_action('wp_enqueue_scripts', 'custom_mag_glass_script');function custom_mag_glass_script() { wp_enqueue_script('my-script', get_template_directory_uri() . '/js/my-script.js', array('jquery'), null, true);}With these hooks, you can completely transform the appearance and interaction of the magnifying glass, making it more appealing to your visitors and perfectly fitting with your branding!
8. Choosing the Right Plugins for Design Changes
Another easy and effective way to change the design of the WooCommerce magnifying glass is by using plugins. The right plugin can save you time and make customization a breeze. There are tons of plugins out there tailored to handling various WooCommerce features, including product zoom capabilities.
Factors to Consider When Choosing Plugins:
- Compatibility: Ensure that the plugin is compatible with your version of WooCommerce and your theme, as conflicts can lead to malfunctions.
- Customization Options: Look for plugins that offer a wide range of design settings so you can tailor the magnifying glass to fit your store’s aesthetic.
- User Reviews: Always check the reviews and ratings. They provide insight into the plugin’s reliability and user satisfaction.
- Support: A good plugin should come with robust customer support for any issues you might encounter.
Recommended Plugins:
| Plugin Name | Features |
|---|---|
| WP Image Zoom | Zoom on hover, customizable lens and appearance settings. |
| WooCommerce Product Image Zoom | Responsive design, mobile-friendly, and easy to use. |
| Zoom Magnifier for WooCommerce | Customizable zoom area, easy installation, and strong support. |
By going down the plugin route, you can efficiently change the magnifying glass design without needing to dive into heavy coding. Whether you want a sleek modern look or something timeless, there’s a plugin out there for you!
9. Testing Your Changes for Compatibility
So you’ve customized the design of your WooCommerce magnifying glass, and now you think you’re ready to roll. But wait! Before you hit that publish button, it’s crucial to test your changes for compatibility. After all, you want to ensure that your new design doesn’t interfere with the existing functionality of your site.
The first step in testing is to check the responsiveness of your magnifying glass design. Open your site on various devices – think desktops, tablets, and smartphones. Does the magnifying glass still function smoothly? Is it easy to use on mobile screens? You can use online tools or even your device to adjust the screen size and see how your design performs.
Next, consider cross-browser compatibility. Your customers might be using different web browsers like Chrome, Firefox, Safari, or Edge, so it’s vital that your changes work seamlessly across all of these. You can use tools like BrowserStack or Sauce Labs to help you check how your site appears on different browsers.
And let’s not forget about checking for conflicts with other plugins! If you’re running additional WooCommerce or design plugins, ensure your changes don’t mess with their functions. Activate the
Lastly, gather feedback. If you can, share your site with a select group of users or colleagues and ask for their input. They might spot something you didn’t consider–like usability issues or awkward designs that could be streamlined.
10. Conclusion and Best Practices
Changing the design of your WooCommerce magnifying glass can significantly enhance the user experience, making it more appealing and functional. But as with any web design tweak, best practices should guide you to ensure a smooth transition. So, let’s wrap things up with a summary that keeps you on the right track.
1. Keep the User in Mind: Always prioritize the user’s experience. Changing the design should align with what feels intuitive for visitors. Think about visibility, accessibility, and ease of use.
2. Backup Everything: Before making design changes, always create a backup of your site. This gives you peace of mind knowing you can revert if something goes wrong.
3. Test, Test, and Test Again: Just like we discussed earlier, don’t overlook the importance of rigorous testing. Ensure your new design operates smoothly across all browsers and devices.
4. Follow Coding Standards: If you’re manipulating CSS or JavaScript, make sure you follow coding best practices to avoid any issues down the line.
In conclusion, customizing your WooCommerce magnifying glass isn’t just about aesthetics; it’s about enhancing the user journey. With careful planning, execution, and testing, you’ll create a more engaging online shopping experience. Happy designing!

