When it comes to building a visually appealing website, every little detail counts. One such element is the magnifying glass icon in Elementor, a popular page builder for WordPress. This small yet mighty icon plays a crucial role in your website’s search functionality and user experience. Whether you’re looking to match it with your site’s branding or just want to add a unique touch, customizing the magnifying glass is a fantastic way to enhance your site’s overall look. Let’s dive deeper to understand why you might want to consider changing this icon.
Why Customize the Magnifying Glass Icon?
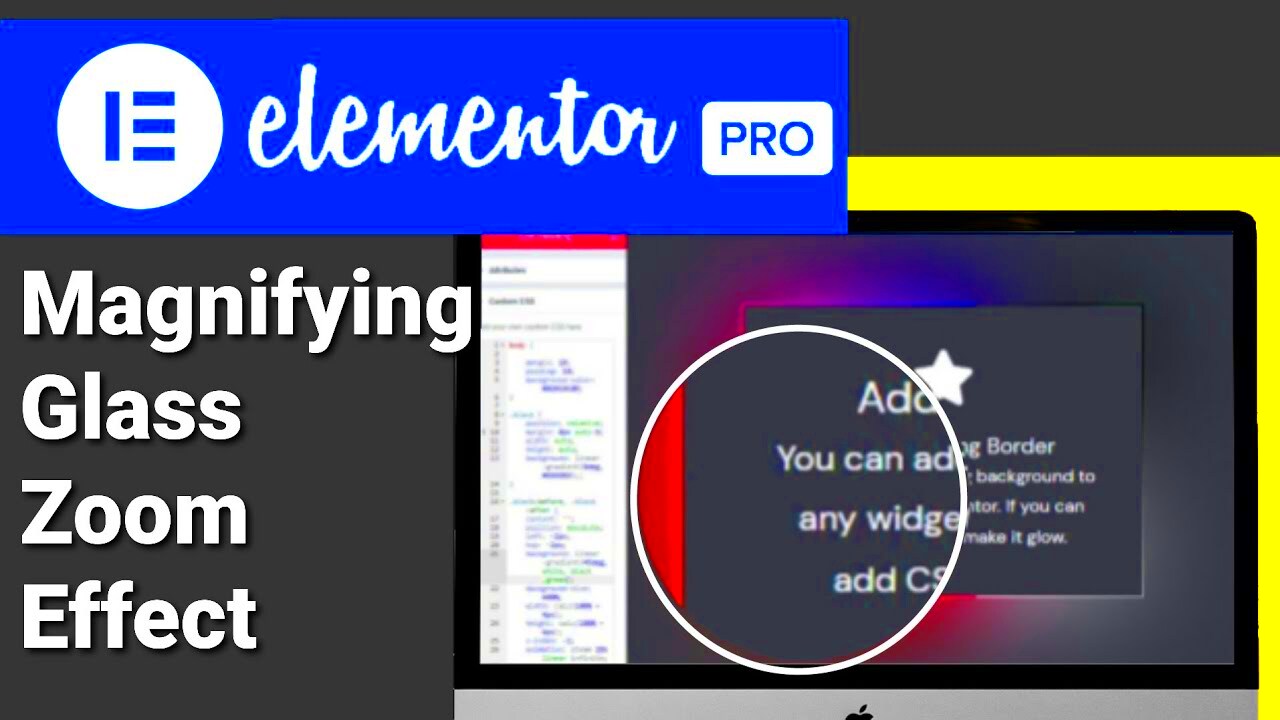
Customizing the magnifying glass icon in Elementor can seem like a minor tweak, but it can have a significant impact on your site’s usability and aesthetics. Here’s why you might want to consider this customization:
- Brand Consistency: Using a magnifying glass that aligns with your brand colors and style contributes to a cohesive overall appearance of your website.
- User Engagement: A visually appealing search icon can encourage users to interact more with your site, leading to increased engagement rates.
- Enhanced User Experience: A unique or more stylized magnifying glass can make your site stand out and improve the user experience by making search functionality easier to identify.
- Personal Expression: Customizing the icon allows you to express your personality or business ethos, making your website feel more personalized and inviting.
Customizing the magnifying glass icon is not just about aesthetics; it’s also about creating a user-friendly environment where your audience can navigate effortlessly. Remember, the more relevant and appealing your search functionality is, the more likely visitors will stick around to explore your content!
Accessing the Elementor Editor

To change the magnifying glass icon in Elementor, the first step is to access the Elementor editor. Don’t worry if you haven’t done this before; it’s a straightforward process! Here’s how you can get to the
- Log into your WordPress Dashboard: Start by logging into your WordPress admin panel. This is where you’ll be managing all your site’s contributions.
- Navigate to the Page or Post: Once you’re in, go to the specific page or post where you want to change the magnifying glass icon. You’ll usually find this under ‘Pages’ or ‘Posts’ in the left sidebar.
- Click on ‘Edit with Elementor’: On the selected page or post, you’ll notice a button that says ‘Edit with Elementor.’ Click on it to launch the Elementor editor, a user-friendly interface that allows for drag-and-drop edits.
- Familiarize Yourself with the Interface: Once the editor opens, take a moment to look around! The menu on the left side is your toolbox, while the right allows you to see real-time changes on your page.
And there you have it! Navigating to the Elementor editor is as easy as pie. You’ll have access to all kinds of customization options at your fingertips, including the ability to change that magnifying glass icon!
Locating the Magnifying Glass Settings
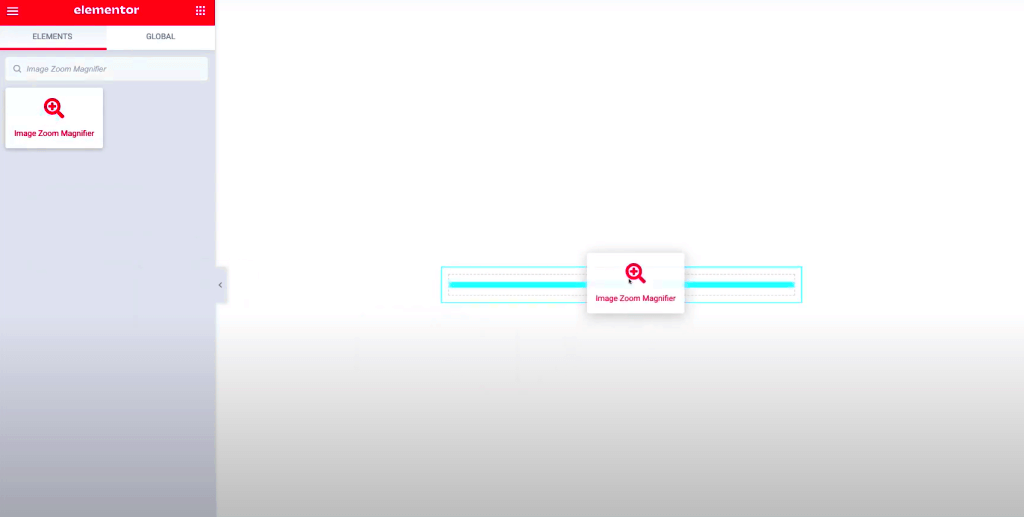
Now that you’re in the Elementor editor, the next task is to find the settings for the magnifying glass icon. Here’s a step-by-step guide to help you locate these settings:
- Choose the Right Widget: The magnifying glass icon is often associated with search bars or other related widgets. Click on the section or widget where you want to modify the magnifying glass.
- Open the Settings Menu: Each widget has its own settings menu. Once you’ve selected the search widget, look for the gear icon or ‘Edit’ option, which is usually at the top left of the widget.
- Look for the Icon Settings: Within the settings menu, navigate to the ‘Style’ tab. Here, you’ll find various settings related to the aesthetics of your widget. Scroll down until you see options related to the icon or magnifying glass.
- Identify Icon Options: In this section, you might see options like ‘Icon’ or ‘Search Icon.’ This is where you’ll find settings to change the appearance and style of the magnifying glass.
With these straightforward steps, you can easily locate the settings for the magnifying glass icon. This allows you to personalize it according to your brand’s style or aesthetic needs—it’s your site, after all!
Changing the Magnifying Glass Icon
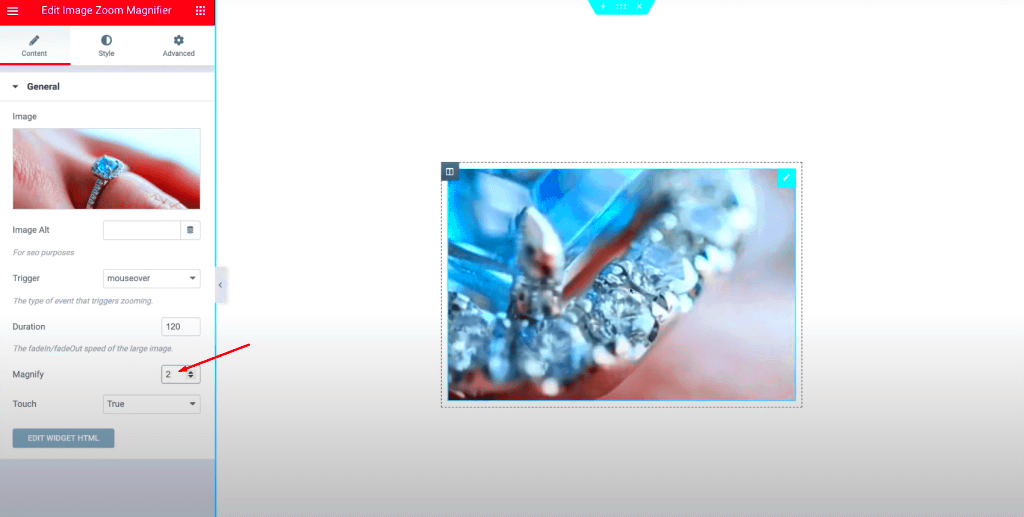
Switching out the magnifying glass icon in Elementor is a straightforward process that can be a fun way to personalize your site. The first thing you’ll need to know is that Elementor typically uses a default icon, but you can easily update it to better fit your website’s overall aesthetic.
Here’s how you can change the magnifying glass icon:
- Open Your Page: Start by opening the page where you want to change the icon. Go to the Elementor editor by clicking “Edit with Elementor.”
- Select the Search Widget: If you already have a search widget added to your design, click on it. If not, drag a Search widget from the elements panel to your desired location.
- Access Icon Settings: In the widget settings panel on the left, look for the “Icon” section. Here you can change both the “Before” and “After” icons.
- Choose Your Icon: Click on the icon library to bring up the selection. You can scroll through or even search for specific icons to find the one that suits you best. Remember, you can also upload a custom icon if you want something unique!
- Save Your Changes: Once you’ve chosen your new icon, make sure to hit the “Update” button located at the bottom of the panel. This will save your changes and apply them live on your site.
And voilà! Your brand new magnifying glass icon is now ready to go. Enjoy customizing!
Styling the Magnifying Glass
Styling the magnifying glass icon in Elementor can do wonders for enhancing your website’s design. It’s not just about changing the icon; you can adjust size, color, and position to ensure it truly stands out or blends in as desired. Here’s how to give your search icon a stylistic makeover:
Follow these steps to style your magnifying glass:
- Widget Settings: Click on the Search widget in Elementor to bring up the left-side settings panel.
- Icon Color: In the “Style” tab, find the option labeled “Icon Color.” Set this according to your color scheme; consider using a contrasting color to make it pop.
- Icon Size: Adjust the “Icon Size” slider to control how large or small your magnifying glass appears. A larger icon can be bolder, while a smaller icon often looks more subtle.
- Hover Effects: Don’t forget to add some hover effects. This is where your icon can change color or size when a user hovers over it, making it interactive and engaging.
- Alignment and Position: Finally, you can reposition the icon using the “Alignment” settings. Whether you want it left-aligned, centered, or right-aligned, ensure it integrates seamlessly into your design.
By performing these styling tricks, you can make your magnifying glass icon seamless to your theme and genuinely representative of your brand. Happy styling!
7. Using Custom SVG or Icon Fonts
If you’re looking to give your website a unique touch, consider using custom SVG files or icon fonts for your Elementor magnifying glass. This isn’t just about aesthetics; it’s also about functionality and brand identity. Let’s dive into how you can utilize these custom assets.
First up, SVGs (Scalable Vector Graphics) are great because they are resolution independent. This means they look sharp on all devices, whether it’s a tiny smartphone or a large desktop screen. To get started with SVGs, simply follow these steps:
- Find or create an SVG file for your magnifying glass icon.
- Upload it to your WordPress media library.
- In Elementor, navigate to the section where you want the magnifying glass.
- Select the icon widget and choose the custom SVG option.
- Paste the SVG code or select the uploaded file.
Alternatively, if you’re a fan of icon fonts like Font Awesome or Material Icons, integrating them into your Elementor setup can be seamless:
- Install and activate a plugin that allows you to import icon fonts.
- Choose your desired icon font library and style.
- Find your magnifying glass icon from the library.
- Insert it into your Elementor layout by selecting the appropriate icon font option.
Using custom SVGs or icon fonts not only allows for a more personalized appearance but also enhances loading speed and responsiveness across devices. This approach can truly set your website apart from the competition. So go ahead, get creative, and make your search feature stand out!
8. Previewing Your Changes
We’ve made some significant adjustments to your Elementor magnifying glass—now it’s time to see how everything looks before making it live! Previewing your changes can be an exhilarating part of the design process, allowing you to gauge the overall aesthetic and functionality of your updates.
In Elementor, previewing your work is a breeze:
- Once you’ve made your desired changes, look for the ‘eye’ icon located at the bottom left of the screen.
- Click on it, and a new tab will open, displaying your page in real-time.
While in preview mode, you can experience the live functionality of your changes:
- Test how the magnifying glass interacts with content.
- Check its responsiveness on various screen sizes by adjusting your browser window.
- Observe if the custom SVG or icon font looks as expected and aligns with your overall theme.
Don’t forget, if something doesn’t look right, you have the option to go back and fine-tune your designs. Once you’re satisfied with the results, hit that ‘Publish’ button to set your changes live! Remember, frequent previews during the design process can save you from unexpected surprises down the road.
9. Publishing Your Updates
Once you’ve made changes to the Elementor magnifying glass icon, it’s time to publish those updates and see how they look on the front end of your site. This step is vital since your work will only reflect when published. Here’s how to go about it:
- Review Your Changes: Before hitting that publish button, take a moment to preview your changes. You can do this by clicking on the eye icon at the bottom left corner of the Elementor interface. This will show you how your updated magnifying glass looks on the actual page.
- Click Publish: Once you’re satisfied with the preview, it’s time to make those changes live. Click the “Publish” button at the bottom. Elementor might prompt you to save your changes, so make sure to do that too!
- Check Your Page: After publishing, it’s important to check your webpage to ensure the magnifying glass is functioning correctly. Navigate to your site and perform a quick test to see if the new design operates as expected.
Keep in mind that while publishing updates is straightforward, frequent changes can sometimes lead to minor issues. It’s always a good idea to clear your cache or refresh your browser to see the latest changes clearly.
10. Troubleshooting Common Issues
Even the most seasoned web designers encounter hiccups now and then. If something doesn’t seem right after you’ve modified your Elementor magnifying glass, don’t fret! Here are some common issues you might run into and how to resolve them:
| Issue | Possible Solutions |
|---|---|
| Changes Not Showing |
|
| Magnifying Glass Not Working |
|
| Design Looks Off |
|
Whenever you’re facing issues, always double-check your settings and modifications. The Elementor community is also a great resource, so don’t hesitate to reach out or search forums for similar problems faced by others.
Conclusion and Final Thoughts
Changing the Elementor magnifying glass can greatly enhance the user experience on your website. A well-designed magnifying glass can guide users to engage with content more effectively, improving navigation and interaction with products or images. Below are some key takeaways and final thoughts on the process:
- Customization Options: Elementor allows for extensive customization options. Tailoring the magnifying glass can set your site apart and reflect your brand’s style.
- Enhanced User Experience: A visually appealing magnifying glass contributes to the overall aesthetics of the site, making it more enjoyable for users.
- Responsive Design: Ensure that your changes are optimized for mobile and desktop views to maintain functionality across devices.
To assist with your modifications, here’s a quick reference table of steps you might consider:
| Step | Description |
|---|---|
| 1 | Access Elementor settings to locate the magnifying glass options. |
| 2 | Select the desired icon or image to represent the magnifier. |
| 3 | Adjust size, color, and hover effects to enhance visibility. |
| 4 | Preview your changes to ensure they align with the overall design. |
| 5 | Save changes and test the functionality. |
Implementing these adjustments will not only personalize your site but also elevate the customer experience significantly. Happy customizing!


