Thinking about canceling your Shutterstock account? Whether you’re switching to a different provider or just taking a break from stock images, the process can seem a bit daunting. Don’t worry—this step-by-step guide will walk you through everything you need to know to cancel your Shutterstock account smoothly and without any headaches. By the end, you’ll be confident in handling the cancellation process hassle-free!
Understanding Shutterstock Account Cancellation Policies
Before you hit that cancel button, it’s important to understand Shutterstock’s policies related to account cancellation. Shutterstock is a popular stock image platform that offers various subscription plans, and their policies can vary depending on whether you’re on a monthly plan, an annual plan, or a pay-as-you-go package.
Here are some key points to keep in mind:
- Subscription Type: Different cancellation rules apply based on your plan. For example, monthly plans can typically be canceled at any time, but annual plans might have specific cancellation windows or fees.
- Automatic Renewals: Many plans renew automatically unless you cancel before the renewal date. Make sure you’re aware of your renewal date to avoid unwanted charges.
- Refunds: Shutterstock’s refund policy is generally limited. Usually, they do not offer refunds for unused subscription periods, so understanding this helps manage expectations.
- Account Status: Cancelling your account doesn’t necessarily mean your access to purchased images is revoked immediately. Be sure to download any images you need before canceling.
Important: Always review the latest policies on Shutterstock’s official website or contact their customer support directly, as policies can change over time. Knowing these details upfront helps ensure you won’t encounter surprises or complications during cancellation.
Preparing to Cancel Your Shutterstock Account

Before you hit that cancel button, it’s a good idea to do a little prep work. Think of it like planning a trip—you want to make sure you’ve got everything sorted so the process goes smoothly and you don’t forget anything important. First off, take some time to review your account details and subscription plan. Are you on a monthly plan, an annual plan, or maybe a pay-per-image setup? Knowing exactly what you’re canceling helps avoid surprises later on.
Next, consider your billing information. Make sure your payment methods are up to date and that you don’t have any pending charges or unresolved payments. If there are any outstanding invoices, settle them beforehand to prevent any issues during cancellation. Also, check your email inbox and spam folder for any messages from Shutterstock—sometimes they send important updates or confirmation emails that you’ll need later.
It’s also smart to back up any images or assets you’ve downloaded, especially if you have custom collections or saved images. Once your account is canceled, you might lose access to those files, so saving copies now can save you headaches down the road. Finally, read through Shutterstock’s cancellation policy—sometimes there are specific notices or steps you need to follow, especially if you’re on a contract or enterprise plan. Being informed helps you avoid unintended charges or complications.
To sum it up, here’s a quick checklist before you proceed:
- Review your current subscription plan and billing details
- Ensure all payments are settled
- Backup any downloaded images or assets
- Read Shutterstock’s cancellation policy
- Note down your account login details for quick access
Taking these simple steps can make the cancellation process much smoother and less stressful. Now that you’re ready, let’s move on to how you can actually cancel your subscription directly through the website.
How to Cancel Your Shutterstock Subscription Through the Website
Canceling your Shutterstock subscription online is pretty straightforward, but it’s important to follow the right steps to make sure everything goes smoothly. Here’s a step-by-step guide to help you navigate the process:
- Log into Your Account: Head over to shutterstock.com and click on the “Log In” button at the top right corner. Enter your email and password to access your account dashboard.
- Access Your Account Settings: Once logged in, click on your profile icon or your account name, usually located at the top right. From the dropdown menu, select “Account Settings” or “Manage Account.”
- Find Your Subscription Details: Inside your account settings, look for the section labeled “Billing” or “Subscriptions.” Here, you’ll see details about your current plan, payment history, and renewal dates.
- Initiate the Cancellation: Look for an option such as “Cancel Subscription” or “End Subscription.” Usually, there’s a button or link that says something similar. Click on it to begin the cancellation process.
- Follow the Prompts: Shutterstock might ask you to confirm your decision or provide a reason for canceling. Some platforms also offer options to pause your subscription instead—if you’re not ready to fully cancel, consider that.
- Confirm Cancellation: After following the prompts, you’ll likely be asked to confirm one last time. Make sure you read the confirmation message carefully so you understand when your access will end.
- Check for Confirmation Email: Once canceled, Shutterstock usually sends a confirmation email. Keep this email for your records, just in case you need proof of cancellation later.
And that’s it! Your subscription should now be canceled, and you’ll no longer be billed. Remember, if you’re on an annual plan, you might still have access until the end of your billing cycle, depending on Shutterstock’s policies. If you encounter any issues or if the cancel option isn’t visible, don’t hesitate to contact Shutterstock’s customer support for assistance. They’re usually pretty helpful and can guide you through the process step by step.
By following these straightforward steps, you can cancel your Shutterstock account without any hassle. Now, take a moment to double-check your email for confirmation, and you’re all set to move on to your next creative adventure—free from Shutterstock subscriptions!
Canceling Your Shutterstock Account via Customer Support
So, you’ve decided to bid farewell to your Shutterstock account? Sometimes, the online cancellation process isn’t as straightforward as clicking a button, especially if you want personalized assistance. No worries! The good news is that Shutterstock’s customer support team is there to help you through the process. Here’s how you can go about it:
Step-by-step guide to cancel via customer support:
- Gather your account details: Before reaching out, make sure you have your login information handy—your email address, user ID, or subscription details. This helps the support team locate your account quickly.
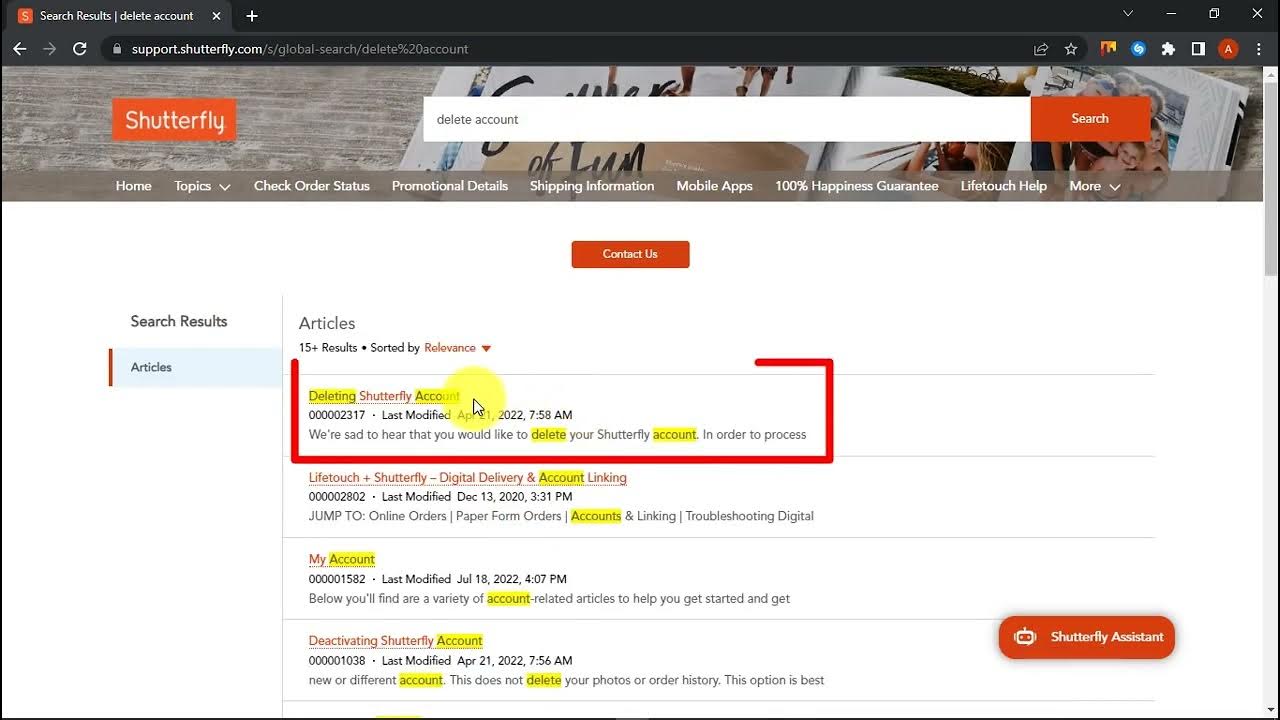
- Visit Shutterstock’s Help Center: Head over to their Help & Support page. Here, you’ll find various options to contact customer care.
- Choose your preferred contact method: Shutterstock offers multiple ways to get in touch, including live chat, email, or phone support. For urgent requests, live chat or phone calls are usually faster.
- Explain your request clearly: When communicating with the support agent, be straightforward. Mention that you want to cancel your subscription or account entirely. Providing your account details helps expedite the process.
- Follow the instructions provided: The support team may ask for verification or specific information. Follow their steps carefully. Sometimes, they might offer alternative solutions or ask for confirmation via email.
Tips for a smooth cancellation experience:
- Be polite and patient—support agents are there to help.
- Keep a record of your correspondence for future reference.
- If you’re on a subscription with automatic renewal, specify that you want it canceled immediately to prevent further charges.
While customer support is a reliable route, remember that response times can vary depending on the volume of inquiries. If you prefer a more direct approach, check out the self-service options first, but don’t hesitate to contact support if needed. They’re well-equipped to assist you through the cancellation process and ensure everything is handled smoothly.
What to Do After Cancelling Your Shutterstock Account
Congratulations! You’ve successfully canceled your Shutterstock account. But what’s next? It’s good to have a plan in place so you can manage your digital assets and subscriptions effectively. Here are some key steps you should consider after hitting that cancel button:
1. Confirm Cancellation and Keep Records
First things first, make sure you receive a confirmation email or notification that your account has been closed. Save this confirmation for your records. It’s helpful in case of any billing disputes or future inquiries.
2. Review Your Billing Statements
Check your recent credit card or bank statements to ensure no further charges are being processed. Sometimes, subscriptions are set to renew automatically, so verifying your billing helps confirm that the cancellation was successful.
3. Download or Save Important Files
If you’ve downloaded any images, vectors, or videos from Shutterstock that you wish to keep, make sure to save them locally. Remember, once your account is canceled, access to purchased assets might be limited or revoked, depending on Shutterstock’s policies.
4. Explore Alternative Resources
If you still need stock images or videos for your projects, consider other platforms like Unsplash, Pexels, or Adobe Stock. Some sites offer free assets, while others are budget-friendly. Here’s a quick comparison:
| Platform | Cost | Usage Rights | Notes |
|---|---|---|---|
| Unsplash | Free | Royalty-Free | Great for free high-quality images |
| Pexels | Free | Royalty-Free | Wide variety of images and videos |
| Adobe Stock | Paid | Royalty-Free | Integration with Adobe Creative Cloud |
5. Update Your Projects and Files
If you had ongoing projects linked to Shutterstock assets, now is the time to replace or update those assets with alternatives from your new sources. This helps prevent any copyright issues or access problems down the line.
6. Reflect on Your Subscription Needs
Finally, take a moment to evaluate whether you truly need a stock media service. If you find you’re not using such resources often, consider canceling other subscriptions or adjusting your workflow to avoid unnecessary expenses.
Remember, canceling an account is a step toward better financial and digital management. With these steps completed, you’re all set to move forward with your projects—perhaps even exploring new creative avenues now that you’re free from your previous stock media commitments!
Tips to Avoid Common Issues During Cancellation
Canceling your Shutterstock account might seem straightforward, but a few common pitfalls can make the process more stressful than it needs to be. To keep things smooth and hassle-free, here are some handy tips to help you avoid the typical issues people face during cancellation.
Double-check your account details before starting the cancellation process. Make sure you’re logged into the correct account, especially if you manage multiple profiles. This way, you won’t accidentally cancel the wrong account or face confusion later on.
Review your subscription status and billing history. If you have any active subscriptions, consider whether you want to cancel immediately or wait until the end of your billing cycle. Sometimes, canceling right away might mean losing access to certain features or credits, so understanding your billing cycle helps you make an informed decision.
Backup important assets. If you’ve downloaded images or assets that you might need later, save copies to your device before canceling. Once the account is closed, retrieving these files becomes impossible.
Another tip is to clear up any outstanding payments. Make sure all your dues are settled to avoid complications or delays in processing your cancellation. Contact customer support if you notice any billing errors or pending charges.
Be aware of any active subscriptions or plans. If you’re enrolled in a team or enterprise plan, check with your account administrator or team manager about the cancellation process to avoid disrupting shared assets or licenses.
Lastly, keep a record of your cancellation confirmation. Once you complete the process, take a screenshot or save the confirmation email. This documentation can be handy if there are any disputes or if you need proof that you canceled your account.
By following these tips, you’ll minimize the chances of encountering hiccups during your Shutterstock account cancellation. Being prepared and informed makes the process much more manageable and stress-free.
Frequently Asked Questions About Shutterstock Account Cancellation
Thinking about canceling your Shutterstock account? You probably have some questions about how the process works, what to expect, and how it might affect your access or licenses. Let’s go over some of the most common questions to help clarify things.
Q: Can I cancel my Shutterstock account at any time?
Yes, you can cancel your account whenever you want. Just keep in mind that if you have an active subscription, you might need to cancel it first or wait until the billing cycle ends to avoid being charged again.
Q: Will I get a refund if I cancel?
Refund policies vary depending on your subscription plan and billing cycle. Typically, Shutterstock does not offer refunds for canceled plans, especially if you’ve already accessed or downloaded assets. It’s best to review their refund policy or contact customer support for specific cases.
Q: What happens to my downloads and licenses after cancellation?
Once your account is canceled, you will lose access to your download history and any assets stored on Shutterstock. If you’ve purchased licenses, those licenses remain valid; however, you won’t be able to access new assets or downloads unless you reactivate your account.
Q: Can I reactivate my account later?
In most cases, yes, you can reactivate your Shutterstock account by signing in again and re-subscribing. Keep in mind that reactivation policies might vary, and some account data could be lost if too much time passes.
Q: Do I need to contact customer support to cancel, or can I do it through my account settings?
Most users can cancel their subscriptions directly through their account settings. However, if you encounter issues or want to cancel a team or enterprise plan, contacting customer support might be necessary to ensure the cancellation is processed correctly.
Q: How long does it take for my account to be fully canceled?
The cancellation process is usually immediate once completed, but access to your account and assets might be revoked right away or after the end of your billing cycle. Confirm with customer support if you’re unsure about the exact timeline.
If you have other questions or run into problems during cancellation, don’t hesitate to reach out to Shutterstock’s customer service. They’re there to help you navigate the process smoothly!
Conclusion and Final Tips for a Smooth Cancellation Process
Cancelling your Shutterstock account can be straightforward if you follow the proper steps and stay organized throughout the process. To ensure a hassle-free experience, keep the following tips in mind:
- Review your subscription details before initiating the cancellation to understand any remaining charges or renewal dates.
- Backup any important assets or downloads, as you may lose access once your account is closed.
- Contact customer support if you encounter any issues or need confirmation of your cancellation.
- Check your email for confirmation messages to verify that the process was successful.
- Be aware of renewal policies to avoid unexpected charges if you forget to cancel before the renewal date.
By staying proactive and attentive to these details, you can ensure a seamless cancellation experience without unnecessary complications. Remember, maintaining clear communication with Shutterstock’s support team can help resolve any unforeseen issues swiftly. Ultimately, taking these final steps will save you time and help you manage your digital assets effectively after cancellation.