Managing an online store can be both exciting and challenging, especially when it comes to handling products in WooCommerce. Whether you’re decluttering your inventory or preparing for a fresh start, bulk deleting products can streamline the process significantly. Additionally, it’s crucial to ensure that any deleted products don’t lead to dead links, which is where 301 redirects come into play. In this guide, we’ll walk you through the bulk deletion of products in WooCommerce and how to set up 301 redirects properly.
Understanding the Need for Bulk Deletion
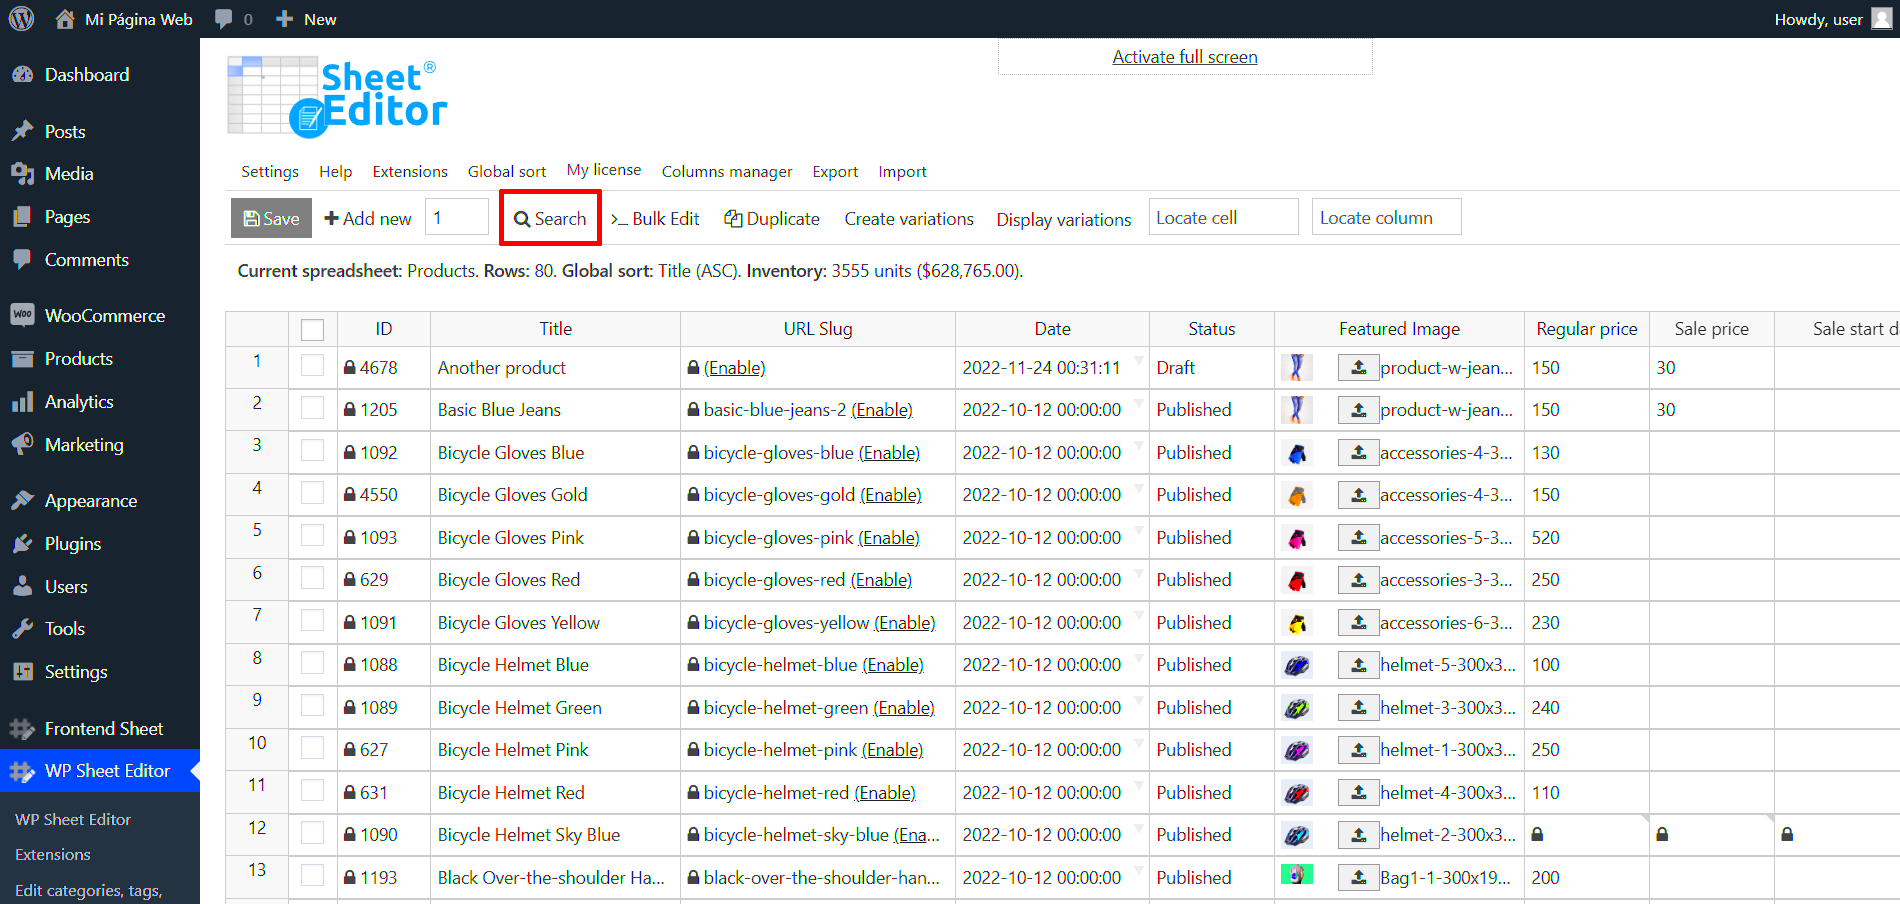
So, why would you want to bulk delete products from your WooCommerce store? Here are a few common scenarios:
- Inventory Management: If you’re updating your store or discontinuing certain products, you might find that there are items cluttering your inventory that no longer align with your business goals.
- Site Optimization: Removing outdated or low-performing products can enhance your website’s performance, making it run smoother and improving the user experience.
- Time Efficiency: Manually deleting products one by one can be incredibly time-consuming. Bulk deletion allows you to clear out your inventory much faster.
But it’s not just about removing products. When you delete items, you’ll also want to consider the impact on your site’s SEO. Keeping customer experience and search engine visibility in mind is key. Here’s what you should think about:
| Action | Importance |
|---|---|
| Redirecting Deleted Products: | Prevents broken links and ensures a better customer experience. |
| Updating XML Sitemaps: | Helps search engines understand the current structure of your site. |
In summary, bulk deleting products isn’t just a simple task; it’s a strategic move that can greatly impact your online store’s health and performance. Let’s dive deeper into the process!
Preparing Your WooCommerce Store for Bulk Deletion
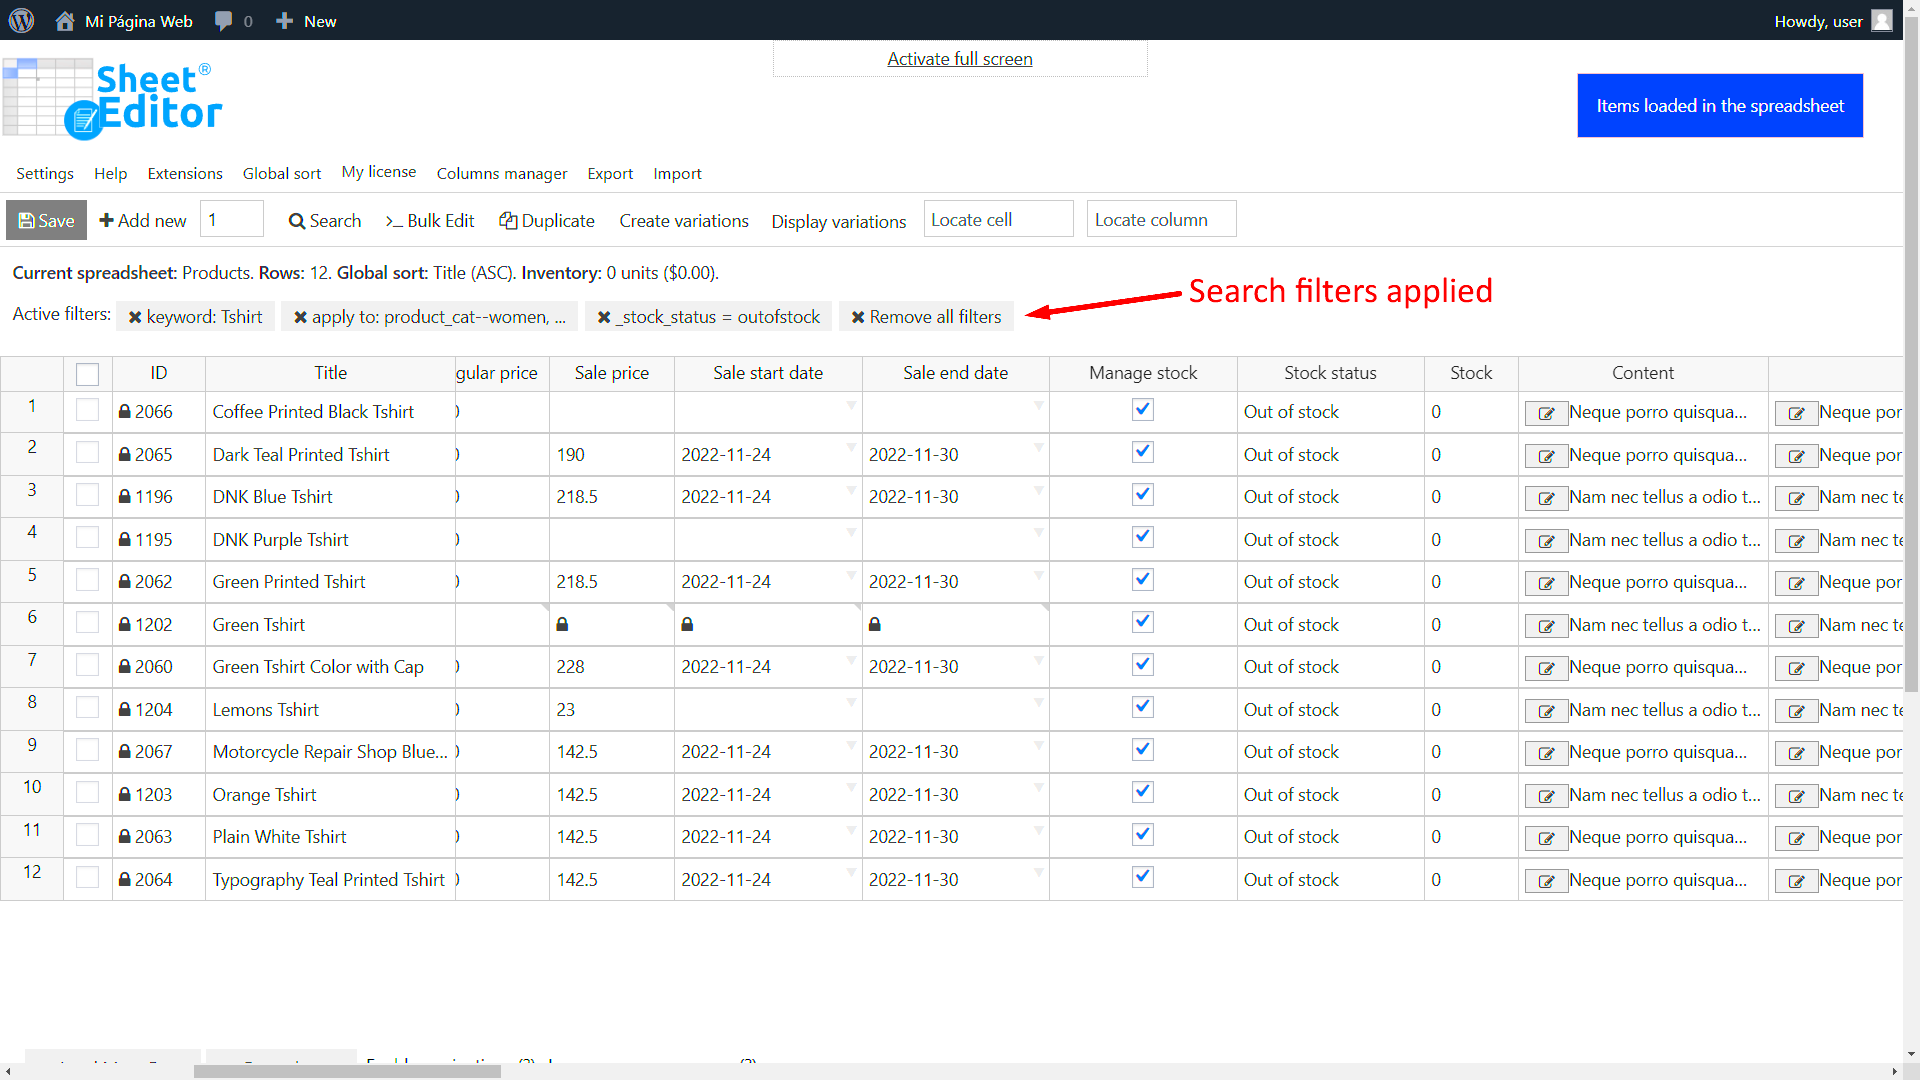
Before diving headfirst into bulk deleting products from your WooCommerce store, it’s crucial to take a few preparatory steps to ensure the process goes smoothly. Trust me, a little preparation can save you a ton of headaches later on.
First, you should back up your store. This is the golden rule when making significant changes to your website. You don’t want to accidentally delete something important, right? Use a plugin like UpdraftPlus or your hosting provider’s backup solutions to create a full backup. This way, if something goes wrong, you can restore your store with minimal fuss.
Next, take a moment to evaluate your existing products. Make sure you have a clear understanding of what you want to delete. Perhaps you’re getting rid of discontinued items or those that simply aren’t selling well. Create a list of the product IDs or names you wish to delete; this will help keep you organized.
Another helpful tip is to check for related dependencies. Are there any products relying on the ones you’re about to delete? For instance, check if any of your products connect with custom attributes or are part of any upselling strategies. You don’t want to disrupt the harmony of your catalog.
Lastly, consider the impact on your site’s SEO. If you’re deleting a product, think about how you’ll handle the 301 redirects to maintain your search ranking. Identify what URLs need redirecting after deletion to avoid losing traffic.
By taking these steps before you start, you’ll make the bulk deletion process not only easier but also much less risky!
How to Bulk Delete Products in WooCommerce
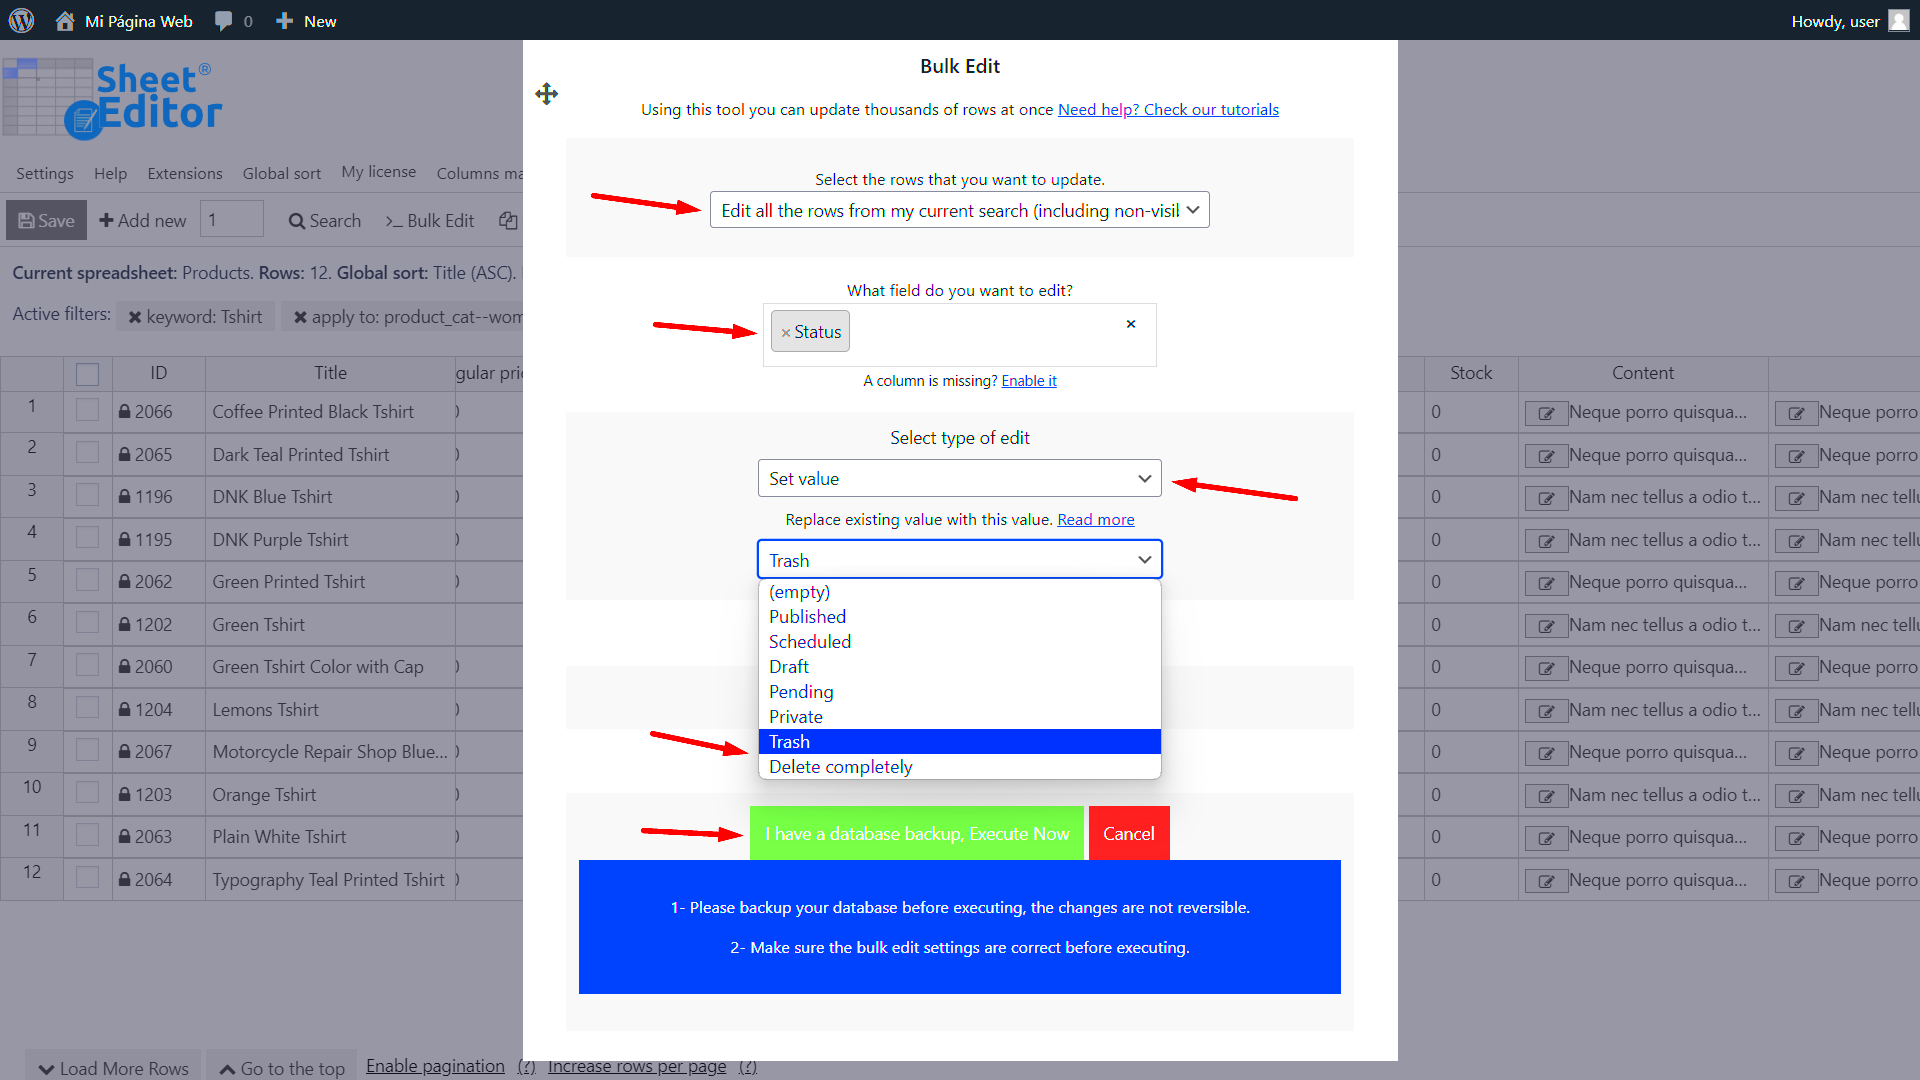
Alright, let’s get into the meat of it: How do you bulk delete products in WooCommerce? It’s surprisingly straightforward, and I’m here to walk you through the steps!
- Log into your WordPress Admin Panel: Start by logging into your WordPress admin dashboard.
- Navigate to Products: On the left sidebar, click on “Products” to see all the items currently available in your store.
- Select the Products You Want to Delete: You can either check products individually or if you want to delete in bulk, use the checkbox at the top of the list to select all items on the current page. Don’t forget to change the “Screen Options” at the top to display more products per page if you have a lot.
- Choose Bulk Actions: Once your products are selected, look for the “Bulk Actions” dropdown at the top of the list. Choose “Move to Trash” from the options.
- Apply the Action: Click on the “Apply” button to send your selected products to the trash. Congratulations! You’ve just moved them to a disposal area, but they aren’t gone yet!
- Empty the Trash: To permanently delete these products, click on the “Trash” link above the product list. Here, you can either delete them individually or use the “Empty Trash” link to wipe everything clean.
And that’s it! You’ve bulk deleted your products in WooCommerce. It’s honestly that easy! If your store has many products to handle, consider using a plugin like Bulk Delete for more advanced options. You can filter by product type, status, and more, giving you even more control over what gets deleted.
Remember, after bulk deleting your products, don’t forget to take care of those 301 redirects we discussed earlier. Keeping your site optimized and maintaining a good SEO lineup is key to your store’s visibility. Happy deleting!
Best Practices for Bulk Deleting Products
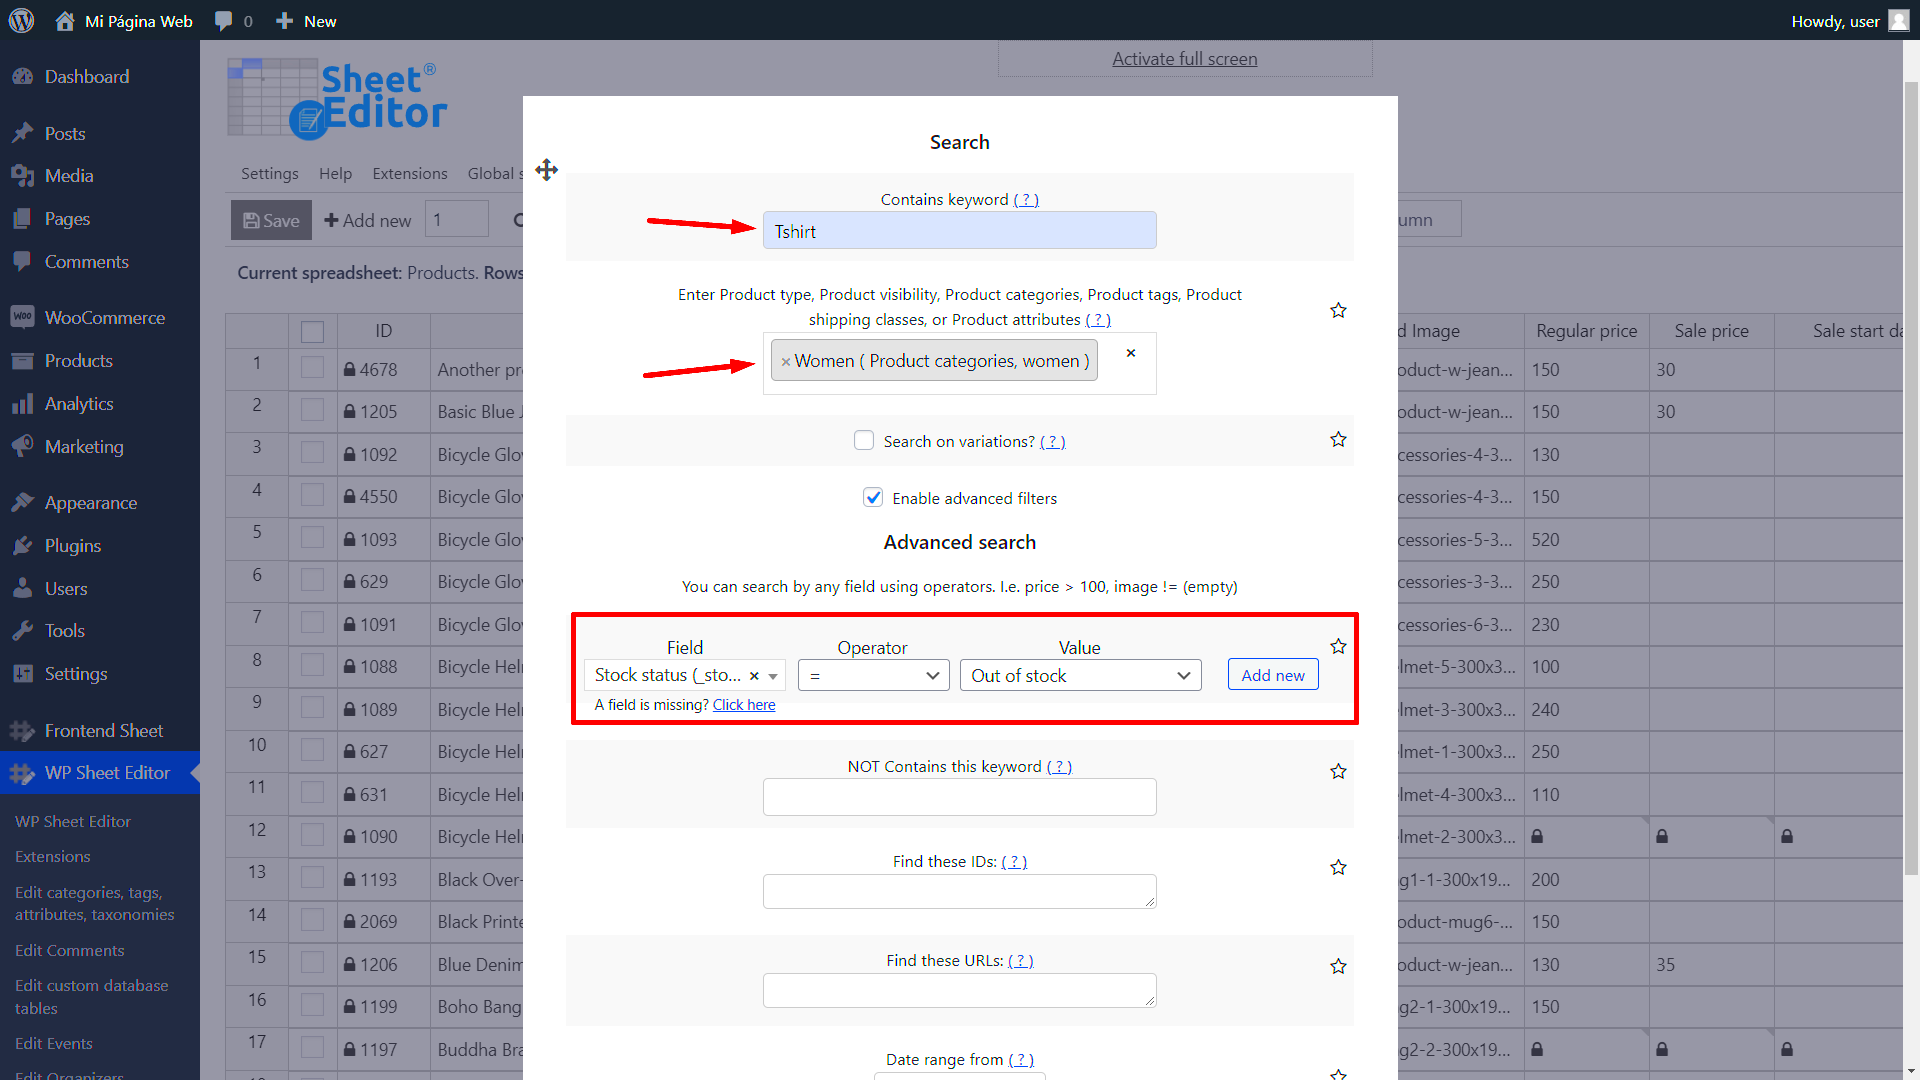
Bulk deleting products in WooCommerce can save you a lot of time, especially if you have an extensive catalog. However, doing it the right way is crucial to maintaining your online store’s integrity. Here are some best practices to consider:
- 1. Backup Your Data: Before making any changes, always back up your WooCommerce data. This includes your database and any product-related files. You can use plugins like UpdraftPlus to automate this process.
- 2. Use Filters Wisely: When selecting products for deletion, utilize the filtering options. You can sort products by category, status, or other attributes to only delete what you no longer need. This helps in avoiding accidental deletions of important products.
- 3. Bulk Actions: Use the bulk action feature effectively. WooCommerce allows you to select multiple products at once. Make sure to double-check your selection before applying the deletion action to prevent mistakes.
- 4. Test on a Staging Site: If you’re unsure about the impact of deleting several products, consider testing it on a staging version of your site first. This will help you understand the process without affecting your live store.
- 5. Monitor Impact: After deletion, monitor your site’s performance and customer behavior. Keep an eye on analytics to see if removing specific products affects your sales or traffic.
Implementing these best practices will not only make the bulk deletion process smoother but also ensure your store remains professional and effective.
Redirecting 301 URLs After Product Deletion
When you delete products, it’s essential to manage the URLs associated with them. If customers try to access a deleted product, they may encounter a 404 error, leading to a poor user experience. This is where 301 redirects come into play. Here’s how to effectively handle redirects:
- 1. Use a Redirect Plugin: Plugins like Redirection or Yoast SEO can simplify setting up 301 redirects. They allow you to easily map deleted product URLs to new locations, ensuring users are directed to relevant pages.
- 2. Identify Deleted URLs: Keep track of the URLs of the products you’ve deleted. This will help you set up the necessary redirects and prevent broken links on your site.
- 3. Redirect to Relevant Pages: Ideally, you should redirect old product URLs to a relevant category page or similar product. This maintains the customer journey and can help retain traffic to your site.
- 4. Update Your Sitemap: Once you set up your 301 redirects, ensure your sitemap reflects these changes. This helps search engines understand your site structure and index it accurately.
- 5. Monitor Redirects: After implementing the redirects, keep an eye on them. Use tools like Google Search Console to ensure that the redirects are working correctly and to identify any issues that may arise.
Setting up 301 redirects post-deletion is an effective way to maintain your SEO ranking and provide a seamless experience for your customers, ensuring they don’t feel lost if they land on a page for a product that no longer exists.
Setting Up 301 Redirects in WooCommerce
When you delete products from your WooCommerce store, it’s essential to guide both users and search engines to the right content. That’s where 301 redirects come into play! A 301 redirect is a permanent redirect from one URL to another, ensuring that visitors don’t encounter broken links and that search engine rankings are preserved.
Here’s a simple, step-by-step guide on how to set up 301 redirects in WooCommerce:
- Access Your WooCommerce Settings: Log into your WordPress dashboard, then navigate to WooCommerce > Settings.
- Go to the Permalinks Section: In the settings, find the Permalinks tab. This area governs how your URLs are structured.
- Choose a Redirect Option: While WooCommerce does not come with a built-in 301 redirect feature, you can manage this via .htaccess file modification or by using a plugin (more on that later).
- Use .htaccess (for Advanced Users): If you’re comfortable editing files, you can manually create redirects in your .htaccess file. Insert code in this format:
Redirect 301 /old-product-url/ http://yourwebsite.com/new-product-url/
Pro Tip: Always back up your .htaccess file before making changes!
Once your redirects are in place, you’ll maintain your SEO rankings while enhancing the user experience. Remember to test your redirects afterward to ensure everything is functioning correctly!
Using a Plugin for Easier Management
If coding isn’t your strength or you just want an easier way to manage your 301 redirects, fear not! There are plenty of plugins designed specifically for this task. Utilizing a plugin can save you time and make the process pain-free.
Here’s a look at some popular plugins for managing 301 redirects in WooCommerce:
- Redirection: This is a highly popular plugin that not only allows you to setup 301 redirects but also tracks 404 errors and provides logs for redirection history.
- Yoast SEO: Besides its primary SEO features, Yoast SEO also includes redirect capabilities, perfect for those who want an all-in-one solution.
- Simple 301 Redirects: This lightweight plugin is straightforward, allowing you to manage redirects with ease without any extra features you don’t need.
With these plugins, the setup process is as simple as:
- Install and activate the plugin.
- Navigate to its settings page in your WordPress dashboard.
- Input the old and new URLs for redirection.
- Save your changes and test the redirects!
Using a plugin not only simplifies the redirection process, but it also provides you with helpful analytics and error tracking—making it easier to manage your WooCommerce store effectively.
9. Testing Your Redirects
Once you’ve set up your 301 redirects for the products you’ve bulk deleted in WooCommerce, it’s essential to test them to ensure everything is functioning as intended. Redirects can be tricky, and the last thing you want is for your customers to encounter broken links. So, how do you go about testing? Let’s break it down into a few simple steps.
- Use Online Redirect Checkers: There are several tools available online that can help you test your redirects easily. Websites like HTTP Status Checker and Redirect Checker allow you to input your old product URLs and see where they redirect. Look for a status code of 301.
- Manual Testing: While tools are great, nothing beats a quick manual visit. Enter your old URLs in the address bar and see if they redirect correctly. This helps you catch any issues that might not show up in automated tests.
- Browser Dev Tools: If you’re more technically inclined, using your browser’s developer tools can be insightful. Open the Dev Tools (F12 or right-click and select “Inspect”) and check the network tab. This way, you can see all the headers and status codes being sent back.
- Check for Broken Links: After you’ve tested your redirects, it might be useful to use a broken link checker tool to scan your website. This ensures that no links are pointing to your old URLs.
Remember, regularly testing your redirects can save you from losing customers due to unforeseen errors. Tracking your redirects will help maintain a smooth user experience and optimize your site’s SEO.
10. Conclusion
In conclusion, bulk deleting products in WooCommerce and setting up 301 redirects can seem like a daunting task, but breaking it down into manageable steps makes it easier. By following the process outlined above, you can preserve your site’s SEO integrity while cleaning up outdated products. Here’s what we covered:
- How to effectively bulk delete products using WooCommerce tools or direct database management.
- The importance of setting up 301 redirects to maintain your website’s SEO value and user experience.
- Steps on how to test your redirects to ensure they are working seamlessly.
By implementing these strategies, you not only keep your site tidy but also maintain a positive experience for your users and search engines alike. The objective is to provide a streamlined shopping experience while optimizing for search visibility.
So, if you find yourself needing to clean up your WooCommerce store someday, remember that these steps will guide you in the right direction. Now get out there and keep your WooCommerce store running efficiently!


