Thinking about turning your photography or artwork into a source of income? Shutterstock is one of the world’s leading stock photo platforms, offering a fantastic opportunity for creators to showcase their work and earn royalties. As a contributor, you get a chance to reach millions of customers globally, from small businesses to major corporations. Plus, it’s pretty straightforward to start, and you don’t need to be a professional photographer—amateurs with a good eye for quality can do well here too! Let’s explore why becoming a Shutterstock contributor can be a game-changer for your creative journey and how it can help you make your passion profitable.
Understanding Shutterstock’s Requirements and Guidelines
Before you dive into uploading your images, it’s essential to understand Shutterstock’s requirements and guidelines to ensure your submissions are accepted and you maintain a good standing as a contributor. First off, quality is key. Shutterstock looks for high-resolution images that are sharp, well-lit, and free of noise or blurriness. Typically, accepted images should be at least 4 megapixels, but higher resolution is always better for more versatility.
Next, let’s talk about content restrictions. Shutterstock has a clear policy against images that contain:
- Brand logos or trademarks without permission
- Explicit or adult content
- Violent or hateful imagery
- Illegal activities or dangerous situations
It’s also important to ensure you have the rights to all elements within your images. If your photo features recognizable people, you’ll need model releases, especially if the image is commercial. Similarly, if you include private property or artwork, property releases might be necessary.
Lastly, adhere to technical specifications such as proper metadata inclusion—titles, descriptions, and keywords—that accurately describe your images. Well-tagged images are more likely to be discovered by buyers, so take the time to be descriptive and precise with your keywords. Understanding and following these guidelines will help you avoid rejection and build a successful contributor profile on Shutterstock.
Preparing Your Portfolio for Submission
Alright, so you’ve got your ideas and a collection of your best work — now what? Preparing your portfolio is all about showcasing your skills in the best light and making sure it aligns with Shutterstock’s expectations. Think of it as your online storefront: you want it to be inviting, professional, and representative of what you can offer.
First things first, choose your strongest images and videos. Quality over quantity is the way to go. Shutterstock reviewers see thousands of submissions, so standing out with polished, compelling content is essential. Aim for diversity in your portfolio — include different themes, styles, and subjects to show your versatility.
Next, organize your files neatly. Use clear, descriptive filenames that include relevant keywords — this helps reviewers and potential buyers understand what your work is about. For example, instead of “IMG_1234.jpg,” go for “sunset_beach_waves.jpg.”
Also, double-check your metadata. Accurate titles, descriptions, and keywords boost discoverability. Be honest and precise — misleading tags can get your content rejected and hurt your reputation.
If you’re submitting a batch of images or videos, consider creating a sample portfolio that highlights your best work. Think of it as a curated gallery that tells a story or demonstrates your strengths. This approach shows Shutterstock that you’re serious and professional.
Lastly, review Shutterstock’s content guidelines before submitting. They have specific rules about content quality, model releases, property releases, and prohibited subjects. Ensuring your portfolio complies from the start saves you time and increases your chances of acceptance.
Remember, your goal is to present a cohesive, high-quality collection that showcases your unique style and skills. Take your time to perfect your portfolio — it’s your first impression in the Shutterstock community!
Creating High-Quality Images and Videos that Meet Standards
Now that your portfolio is ready, let’s talk about creating content that not only looks amazing but also meets Shutterstock’s standards. This is where your technical skills and attention to detail truly shine.
First up, resolution and quality are key. Shutterstock recommends images at least 4 megapixels (preferably higher) and videos in HD (1920×1080) or higher. Always shoot in the highest quality settings on your camera or smartphone — you can always resize or compress later, but you can’t fix a blurry or poorly exposed shot.
Lighting makes a huge difference. Natural light is often your best friend — aim for soft, even lighting that minimizes harsh shadows. If shooting indoors, consider investing in affordable lighting kits to ensure your subject is well-lit and vibrant.
Pay attention to composition. Use the rule of thirds, leading lines, and other basic principles to create visually appealing images. Keep your horizons straight, and make sure your subject is in focus. A well-composed shot grabs attention and looks professional.
For videos, stability is crucial. Use a tripod or stabilize your camera to avoid shaky footage. Good audio quality is also important — consider using external microphones if possible. Keep your shots steady, well-lit, and free of distracting background noise.
Editing is your friend. Use editing software like Adobe Lightroom or Premiere Pro to enhance your images and videos — adjust brightness, contrast, color balance, and crop as needed. But be careful not to over-edit; natural-looking content sells better and aligns with Shutterstock’s standards.
Lastly, avoid common pitfalls: avoid watermarks, logos, or branding, and steer clear of overly stylized or heavily filtered images. Shutterstock prefers clean, natural, and professional-looking content that appeals to a broad audience.
By focusing on quality, technical excellence, and adherence to standards, you’ll create content that stands out and has a higher chance of being accepted and purchased. Remember, great content is the foundation of a successful contributor journey!
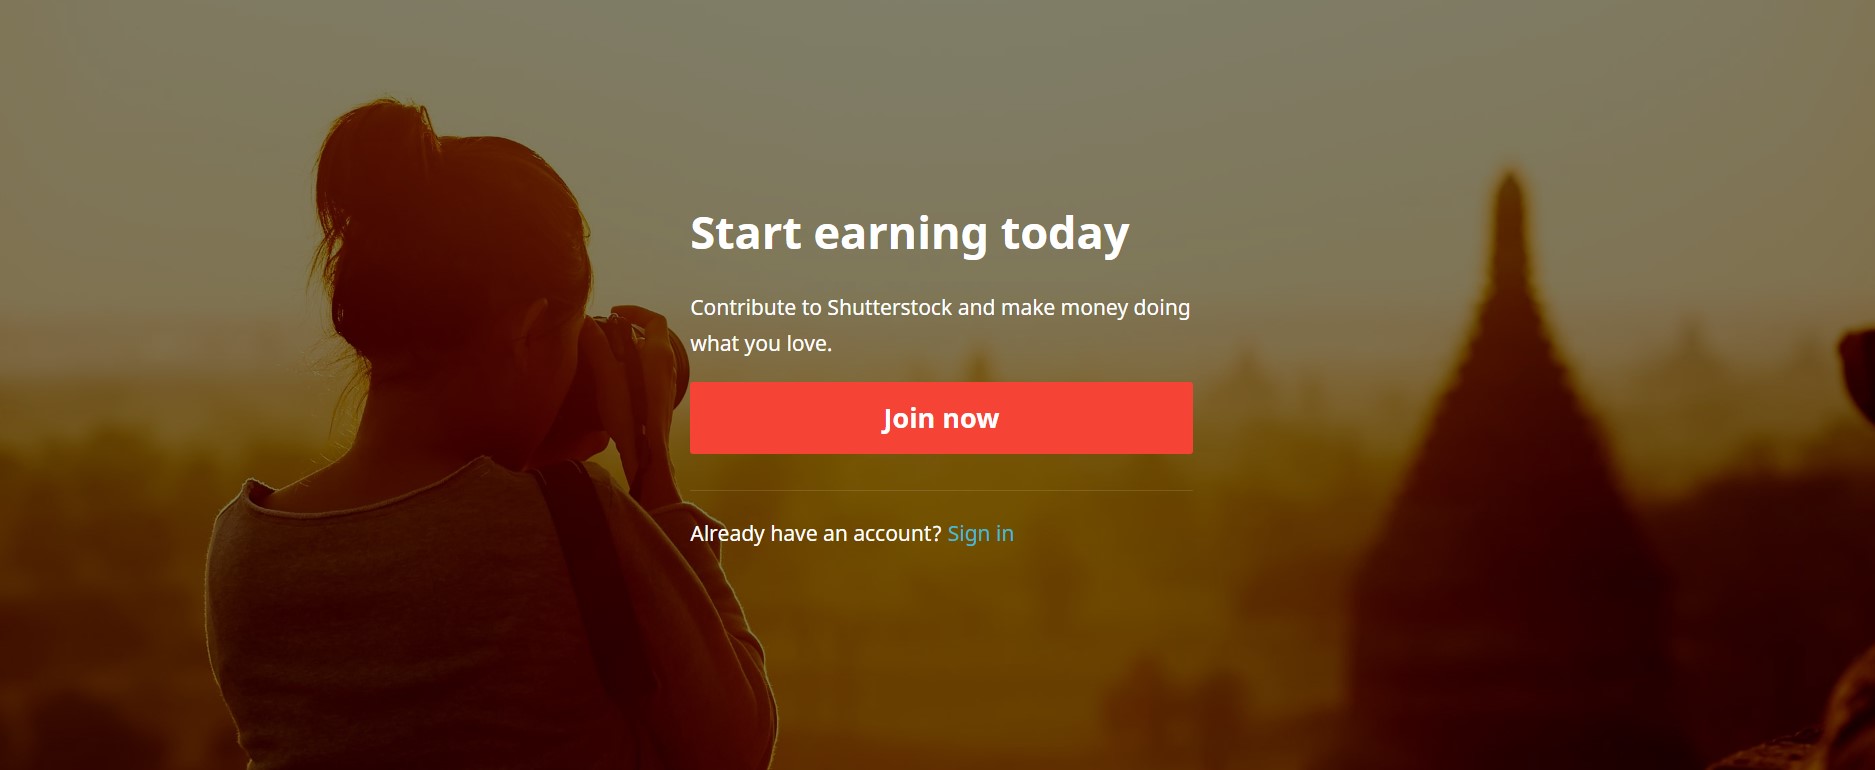
Registering and Setting Up Your Contributor Account
So, you’ve decided to become a Shutterstock contributor—awesome choice! The first step is creating your account and setting everything up properly. Don’t worry; it’s pretty straightforward, and I’ll walk you through it.
First, head over to the Shutterstock Contributor Portal. Click on the “Sign Up” button. You’ll need to fill out some basic information like your name, email address, and create a password. Make sure to use an email you check regularly because you’ll get important notifications from Shutterstock there.
Once you’ve signed up, you’ll be asked to verify your email. Just follow the link in the verification email—they send it pretty quickly. After confirming your email, log in to your new account.
Next, you’ll want to complete your profile. This includes providing details like your country, preferred payment method, and tax information if applicable. This step is crucial because it ensures your payments are processed smoothly once your content starts earning revenue.
Now, let’s talk about setting up your contributor profile. Upload a friendly profile picture, write a short bio that highlights your passions and what kind of content you plan to submit. This helps build your credibility and can even attract more buyers to your work.
Finally, review Shutterstock’s contributor guidelines and terms of service. Getting familiar with their policies will save you from potential issues down the line. Once everything is in place, you’re officially ready to start uploading content!
Pro tip: Take some time to explore the contributor dashboard. It’s packed with useful tools and analytics that can help you track your sales, see what’s trending, and optimize your future uploads. Setting up your account thoughtfully now will pay off as you grow your portfolio.
Uploading Your Content and Optimizing Metadata for Visibility
Great! Your account is ready, and now it’s time to upload your content. But wait—simply uploading files isn’t enough if you want your work to get noticed. Optimizing your metadata (titles, descriptions, and keywords) is the secret sauce for visibility on Shutterstock.
Let’s start with the upload process. From your contributor dashboard, click on the “Upload” button. Shutterstock accepts various file types, including photos, vectors, and videos. Before uploading, make sure your files meet the platform’s technical requirements—resolution, size, and format—to avoid any rejection.
Once your files are uploaded, you’ll need to add some metadata. Here’s what to focus on:
- Title: Make it clear and descriptive. Use relevant keywords that someone might type into the search bar. For example, instead of “Beach Photo,” try “Sunset Over Tropical Beach with Palm Trees.”
- Description: Write a detailed, natural-sounding summary of the content. Mention the key elements, mood, and possible uses. This helps buyers understand what they’re getting.
- Keywords: Think of all the words someone might search for. Use a mix of broad and specific keywords. Shutterstock allows up to 50 keywords per file, so be thorough but relevant.
Tip: Use keywords that are popular but avoid overstuffing. Focus on quality over quantity to ensure your content appears in the right searches.
Another important aspect is categorization. Assign your content to the most relevant categories. This helps Shutterstock’s algorithm suggest your work to the right audience.
Lastly, before hitting submit, double-check everything. Well-optimized metadata can significantly boost your content’s visibility, leading to more sales and exposure. Remember, the goal is to make it as easy as possible for buyers to find your work.
With consistent uploads and smart metadata, you’ll be building a portfolio that attracts attention and generates income in no time!
Review Process and Tips for Getting Approved
So, you’ve submitted your first set of images to Shutterstock — now what? The review process is an essential step in becoming a recognized contributor, and understanding what happens behind the scenes can help you prepare better and increase your chances of approval.
Once you upload your images, Shutterstock’s review team will carefully evaluate them against their quality standards and content guidelines. This process typically takes anywhere from a few days to a couple of weeks, depending on the volume of submissions. During this time, your images are checked for technical quality, originality, and compliance with their policies.
Here are some common reasons why images might be rejected:
- Blurry or out-of-focus photos
- Poor lighting or exposure issues
- Overly processed or heavily edited images
- Copyrighted or trademarked content without proper permissions
- Lack of model or property releases when needed
- Content that doesn’t meet Shutterstock’s content guidelines (e.g., offensive material)
To improve your chances of approval, here are some tips to keep in mind:
- Follow technical standards: Use a good camera, ensure proper focus, and avoid noise or compression artifacts.
- Pay attention to composition: Clear, compelling images with balanced composition tend to perform better.
- Ensure originality: Submit unique images that stand out from the crowd.
- Provide necessary releases: If your image includes recognizable people or private property, make sure you have the appropriate releases signed and uploaded.
- Review Shutterstock’s guidelines: Familiarize yourself with their content policies to prevent common pitfalls.
Remember, rejection isn’t the end of the world—it’s a learning opportunity! Carefully review any feedback provided by the review team, and use it to refine your future submissions. Keep practicing, and over time, you’ll get a better sense of what works and what doesn’t. Patience and persistence are key here — many successful contributors went through multiple rounds of review before their content was accepted.
Managing Your Portfolio and Increasing Sales
Once you’ve started to build your portfolio on Shutterstock, the journey doesn’t end there. Managing your collection strategically and actively working to increase your sales can make all the difference in turning your hobby into a steady income stream.
Here are some effective strategies to manage your portfolio and boost your earnings:
- Regular uploads: Consistently adding new images keeps your portfolio fresh and increases your chances of being discovered.
- Analyze your best-sellers: Pay attention to which images sell well. Use this insight to guide your future content creation—focus on popular themes, styles, or subjects.
- Optimize keywords and descriptions: Use relevant, specific keywords to improve your images’ visibility in searches. Think about what buyers might type when looking for your content.
- Organize your portfolio: Keep your collection tidy by categorizing images. This not only makes it easier for you to manage but also helps buyers find what they need faster.
- Update older images: Refresh or re-upload high-performing images with improved keywords or edits to keep them relevant.
Additionally, consider creating themed collections or portfolios around specific niches or styles. This can attract targeted buyers and increase your chances of making multiple sales within that category.
Another tip is to stay engaged with the Shutterstock community and resources. Participate in forums, read contributor blogs, and stay updated on platform changes or trends. Sometimes, participating in challenges or seasonal campaigns can give your work extra exposure.
Finally, be patient. Building a successful portfolio on Shutterstock is a marathon, not a sprint. Consistent effort, strategic management, and ongoing learning will help you maximize your potential earnings over time. Keep experimenting, stay inspired, and enjoy the creative process — success is often just around the corner!
Additional Tips for Success as a Shutterstock Contributor
Getting started is just the beginning—success as a Shutterstock contributor requires a bit more strategy and dedication. Here are some helpful tips to boost your journey:
- Focus on Quality Over Quantity: While uploading frequently is important, make sure each image or video you submit is polished and professional. High-quality content gets more downloads and better licensing options.
- Stay Consistent with Your Style: Building a recognizable style can attract repeat customers who appreciate your unique perspective. Whether it’s vibrant landscapes, minimalist designs, or creative portraits, consistency helps your portfolio stand out.
- Research Market Trends: Keep an eye on what’s popular on Shutterstock. Use the site’s trending sections or explore top-selling content to understand what buyers are looking for. This can guide your future uploads for better sales.
- Use Relevant Keywords: Proper keywording is crucial. Think like a buyer—what words would they use to find your content? Be specific and include all relevant tags to improve searchability.
- Engage with the Community: Join online forums, social media groups, or Shutterstock’s contributor community. Sharing tips, asking for feedback, and networking can open new opportunities and inspire your work.
- Keep Learning: Photography and videography are ever-evolving fields. Attend workshops, watch tutorials, and stay updated with new tools or techniques. The more skills you acquire, the better your content will be.
- Be Patient and Persistent: Success doesn’t happen overnight. Upload regularly, monitor your stats, and learn from what works. Over time, your portfolio will grow, and so will your earnings.
Remember, the key is to stay motivated and continuously improve. Every contributor starts somewhere, but with dedication, you can build a thriving portfolio that generates steady income.
Conclusion and Next Steps to Start Earning
Congratulations! You’ve now got a clear roadmap to becoming a Shutterstock contributor. From setting up your account to understanding what types of content perform well, you’re well on your way. The next step is to put everything into action and start earning money from your creative work.
Here’s a quick recap of what you should do next:
- Finalize Your Portfolio: Upload your best images and videos, ensuring they meet Shutterstock’s quality standards.
- Optimize Your Content: Use effective keywords and descriptions to make your work easily discoverable.
- Promote Your Work: Share your portfolio on social media, personal websites, or photography forums to attract more viewers and potential buyers.
- Monitor Your Stats: Keep an eye on your downloads and earnings to identify what’s working best and adjust your strategy accordingly.
- Stay Consistent: Regular uploads keep your portfolio fresh and increase your chances of sales.
- Keep Learning and Improving: Explore new techniques, update your equipment, and stay inspired to produce compelling content.
Remember, earning from Shutterstock is a marathon, not a sprint. Be patient, stay committed, and enjoy the creative process. Over time, you’ll build a passive income stream and turn your passion for photography or videography into a rewarding side hustle—or even a full-time career.
Ready to get started? Log into your Shutterstock contributor account, upload your first batch, and watch your portfolio grow. Happy creating!