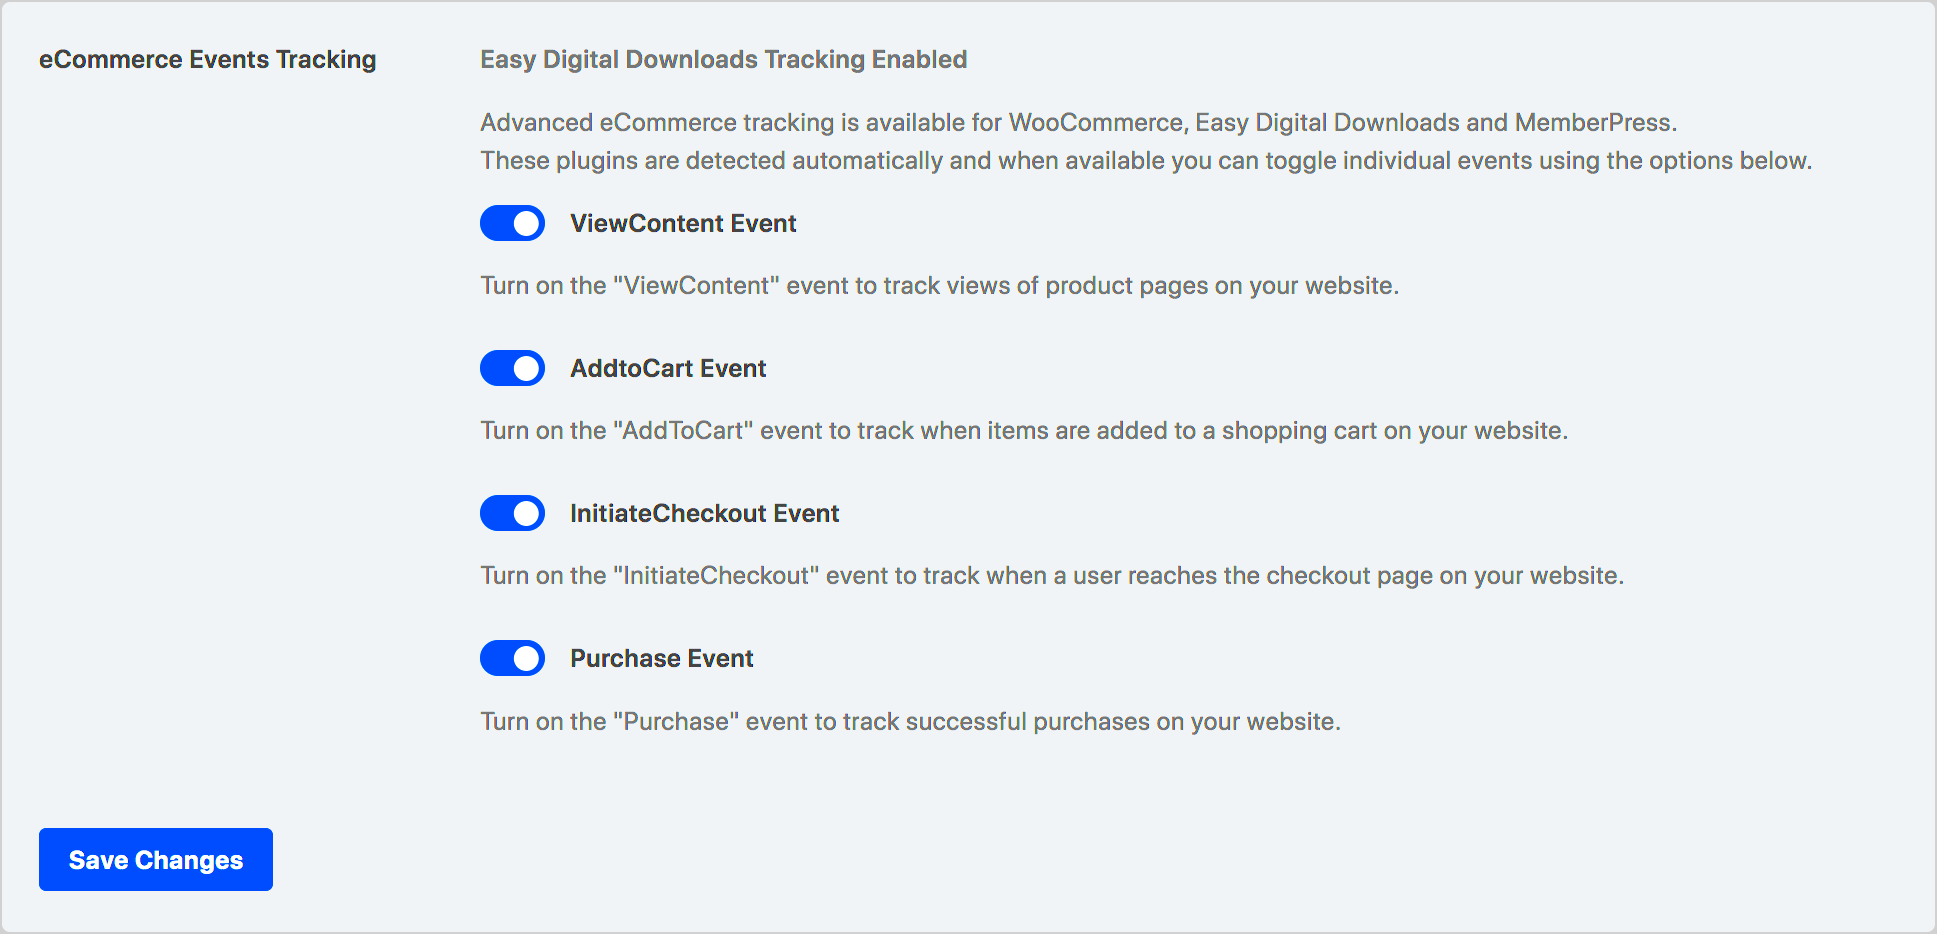
Proof pixels are small snippets of code that display real-time notifications to website visitors, showing that other users are taking actions like purchasing a product or signing up for a service. This creates a sense of social proof, encouraging new visitors to take similar actions, boosting your site’s conversion rates. By displaying these notifications, you not only make your site appear more popular but also build trust with visitors, showing that others are actively engaging with your content or products.
What Are Proof Pixels and How Do They Work?
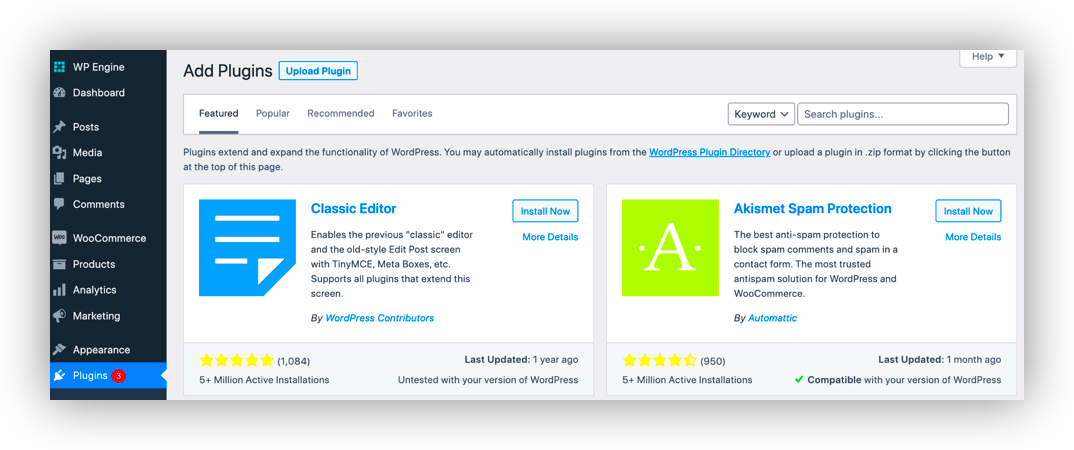
Proof pixels are a type of tracking code that you add to your website, usually through a plugin or directly within the theme’s code. They track actions taken by other visitors—such as making purchases, subscribing to a newsletter, or signing up for a free trial. Once a specific action occurs, the proof pixel displays a notification on your website, informing other users of that action.
For example, if someone buys a product on your site, the proof pixel might display a message like, “John from New York just bought this product 5 minutes ago!” This creates a feeling of urgency and social proof that can lead to more conversions.
Here’s how they work in a nutshell:
- Action Tracking: The pixel tracks specific actions on your site, such as a purchase or registration.
- Real-time Display: Once the action is tracked, the proof pixel displays a notification to other visitors in real time.
- Influence Behavior: This real-time social proof motivates other visitors to follow suit, increasing conversions.
Steps to Add Proof Pixels to Your WordPress Site
Adding proof pixels to your WordPress site is relatively easy and can significantly improve your conversions. Here’s a step-by-step guide to help you get started:
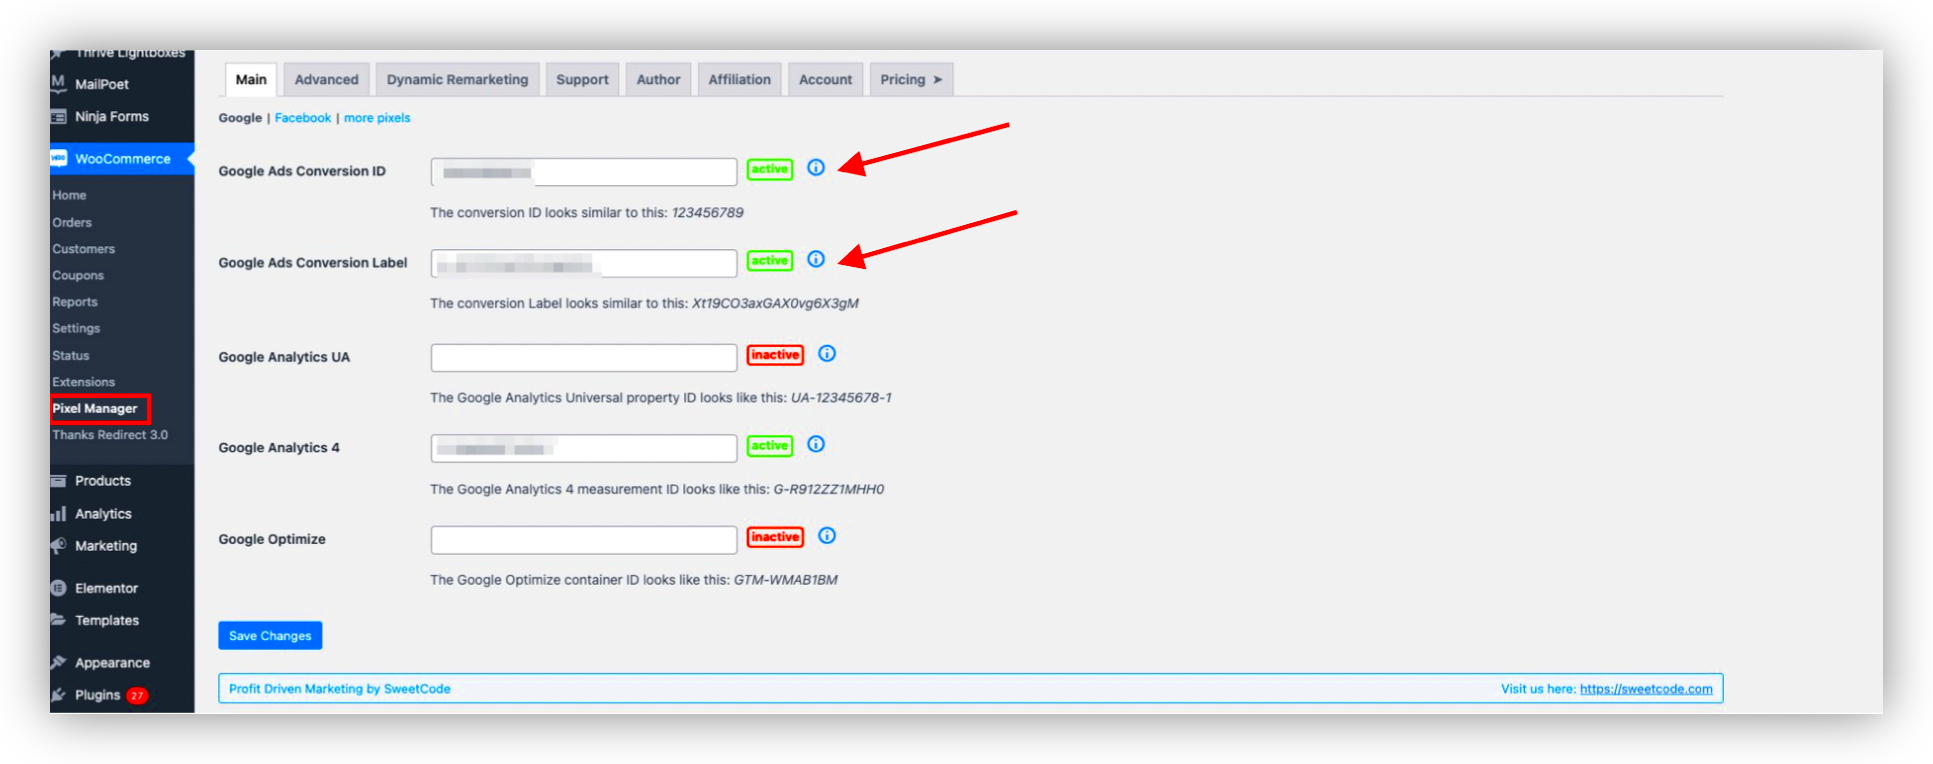
- Choose a Proof Pixel Provider: Start by selecting a proof pixel provider that fits your needs. Some popular ones include Fomo, Proof, and Provely. These services allow you to customize the notifications and track the most relevant user actions.
- Sign Up and Get the Pixel Code: After registering with your chosen provider, you’ll receive a unique proof pixel code. This code is what you’ll need to embed into your website.
- Install a Plugin (Optional): If you prefer a plugin, search for a WordPress plugin that integrates with your proof pixel provider. Some plugins will automatically add the proof pixel code for you.
- Manually Add the Pixel Code: If you don’t want to use a plugin, you can manually add the proof pixel code to your WordPress site. Go to the theme’s footer or header file and paste the code just before the closing tag. This will ensure the pixel is loaded on every page.
- Configure Your Proof Pixel Settings: Most providers offer customization options for how the notifications will appear on your site. You can choose the type of notification, the frequency of messages, and the actions that trigger them. Make sure to set these according to your website’s goals.
- Test the Pixel: After installation, test the pixel by completing an action on your site (like making a purchase) and checking if the notification appears for other users. This ensures everything is working smoothly.
Once the proof pixel is successfully added, you’ll start seeing the positive effects on your conversion rate as visitors are more likely to take action when they see social proof in real-time.
Choosing the Right Proof Pixel Provider for Your Site
Choosing the right proof pixel provider is crucial to ensure that your site benefits from optimized conversion rates. With various providers available, it’s essential to select one that aligns with your website’s goals and functionality. Different providers offer unique features, pricing plans, and integrations that can make a significant difference in the effectiveness of the proof pixels on your site.
Here are some key factors to consider when choosing the right provider:
- Customization Options: Some providers allow you to customize the appearance of notifications, the timing, and the types of actions that trigger them. If you need a highly tailored solution, make sure the provider offers these features.
- Integration with Other Tools: Consider whether the provider integrates with your existing tools, such as your CRM, e-commerce platform, or email marketing system. A seamless integration will save you time and effort.
- Pricing: Many proof pixel providers offer tiered pricing based on your traffic and usage. Evaluate your website’s traffic volume and choose a plan that fits your budget without compromising on features.
- Support and Resources: Check if the provider offers good customer support and helpful resources. An easy-to-use dashboard and responsive support team are essential, especially if you encounter issues during setup.
Some popular proof pixel providers include:
| Provider | Features | Pricing |
|---|---|---|
| Fomo | Real-time notifications, customizable designs, integration with popular tools | Starting at $49/month |
| Proof | Social proof display, easy setup, advanced targeting options | Starting at $29/month |
| Provely | Real-time proof, easy integration, detailed analytics | Starting at $19/month |
By evaluating these factors and comparing providers, you can choose the best solution to enhance your site’s conversions.
Common Issues When Adding Proof Pixels and How to Fix Them
While adding proof pixels to your WordPress site is relatively easy, you may encounter some issues along the way. These common problems are typically straightforward to resolve with a few simple adjustments.
Here are some common issues you might face and how to fix them:
- Pixel Not Showing on the Front-End: This can happen if the pixel code is not placed correctly. Ensure that the code is placed just before the closing tag in the theme’s footer. Also, check for any caching plugins that might be preventing the updates from appearing. Clear your cache and check again.
- Incorrect Action Tracking: If the proof pixel isn’t tracking the right actions (e.g., purchases or sign-ups), double-check the settings in your provider’s dashboard. Make sure the events you want to track are enabled, and verify that the pixel is correctly linked to those events.
- Slow Loading of Notifications: Sometimes, notifications might take too long to appear, which can affect user experience. This issue can be due to slow-loading scripts. You can optimize your site’s performance by using a content delivery network (CDN) or by minimizing the number of scripts running on your site.
- Not Showing for All Visitors: If notifications are not being shown to everyone, check if the proof pixel is configured to display based on specific conditions (such as location or device type). Review the targeting options to ensure they’re set up as needed.
If you encounter any other issues, it’s always a good idea to reach out to the provider’s customer support. Most providers offer troubleshooting guides and live support to help you resolve any issues quickly.
How Proof Pixels Help Improve Conversion Rates
Proof pixels play a vital role in boosting your website’s conversion rates by leveraging social proof to influence user behavior. When visitors see that others are taking action on your site, it builds trust and creates a sense of urgency, motivating them to act as well.
Here’s how proof pixels help improve conversion rates:
- Increased Trust: When users see real-time actions, such as purchases or sign-ups, it reassures them that your website is reputable and that others are finding value in what you offer. This trust can lead to higher conversions.
- Creates Urgency: Proof pixels often display real-time notifications, which can create a sense of urgency. For example, seeing that “5 people just bought this product” encourages new visitors to act quickly before the item sells out or a promotion ends.
- Social Validation: Humans tend to look to others for validation, especially when making decisions. By showing that other people are taking actions on your website, you tap into this psychological principle. Visitors are more likely to convert if they feel part of a group that’s already engaged.
- Enhanced Engagement: Proof pixels increase engagement by showing visitors that others are interacting with your site. This increases the likelihood that they will explore more pages, sign up for newsletters, or complete a purchase.
Ultimately, proof pixels help create a dynamic, engaging environment on your site, turning passive visitors into active customers and significantly boosting conversion rates. Whether you’re running an e-commerce store, offering services, or gathering leads, proof pixels can be a game-changer for improving the effectiveness of your site.
Best Practices for Using Proof Pixels on Your WordPress Site
Using proof pixels on your WordPress site can significantly improve conversions, but it’s important to implement them correctly to get the best results. By following best practices, you can ensure that your proof pixels have a positive impact without overwhelming your visitors.
Here are some best practices for using proof pixels effectively:
- Be Selective About the Actions You Track: Not every action on your site needs to be tracked. Focus on the most valuable actions, such as purchases, sign-ups, or product views, to avoid overwhelming your visitors with too many notifications.
- Timing Is Key: Don’t show proof pixel notifications too often or at the wrong times. A well-timed notification—such as showing a “new sign-up” notification when a visitor is considering a purchase—can be highly effective. Ensure that notifications are subtle and not disruptive.
- Customize Your Notifications: Personalize the appearance of your proof pixel notifications so they blend with your website’s design. Choose a color scheme, font, and placement that enhances the user experience without looking out of place.
- Limit the Frequency of Notifications: Showing the same notification too frequently can annoy users. Limit the frequency of notifications per user or session to keep the experience pleasant and non-intrusive.
- Use Targeting to Show Relevant Proof: Show notifications that are relevant to the user’s behavior on your site. For example, if someone is viewing a specific product, display proof that others have purchased that same item, rather than showing random notifications.
- Test and Monitor Performance: Regularly monitor how your proof pixels are performing. Check if they’re boosting conversions and adjust your strategy accordingly. A/B testing can help you find the best approach for your audience.
By following these best practices, you can effectively use proof pixels to increase trust, create urgency, and ultimately boost conversions on your WordPress site.
FAQ
Here are some frequently asked questions about using proof pixels on your WordPress site:
- Q: Do I need a lot of traffic to use proof pixels effectively?
- Q: Can I use proof pixels for non-purchase actions?
- Q: How can I avoid annoying my visitors with too many notifications?
- Q: Will proof pixels slow down my website?
- Q: How can I measure the effectiveness of proof pixels?
A: While proof pixels work best with higher traffic, they can still be effective on smaller sites. Even with a limited audience, showing real-time proof of actions can create a sense of urgency and trust.
A: Yes, proof pixels can track and display a variety of actions, not just purchases. You can use them to show sign-ups, form submissions, downloads, or any other valuable user interaction.
A: Limit the frequency of notifications, and target them based on relevant user actions. Ensure that the notifications are subtle and appear at the right moment, like when a visitor is about to make a decision on your site.
A: Proof pixels are lightweight and generally won’t have a significant impact on your site’s load speed. However, it’s always good practice to test and monitor your site’s performance after adding new features like proof pixels.
A: Most proof pixel providers offer analytics tools that allow you to track how often the notifications are viewed and how they impact conversions. Regularly check these stats to adjust your strategy as needed.
Conclusion and Final Thoughts
Proof pixels are a powerful tool for increasing conversions on your WordPress site. By providing real-time social proof, you can build trust with visitors, create a sense of urgency, and encourage them to take the desired actions on your site.
By choosing the right proof pixel provider, using best practices, and monitoring performance, you can optimize your site for better engagement and higher conversion rates. Whether you’re an e-commerce store owner, service provider, or blogger, integrating proof pixels can enhance the user experience and drive more sales, sign-ups, or leads.
Remember to test your proof pixels regularly, keep the notifications subtle and relevant, and focus on actions that truly matter to your visitors. With the right strategy in place, proof pixels can be an excellent addition to your website’s conversion toolkit.

