Thinking about turning your photography passion into some extra income? Shutterstock is one of the most popular stock photo platforms out there, and getting your images approved can open up a world of opportunities. But navigating the upload process might seem a bit daunting at first. Don’t worry! In this guide, we’ll walk through the steps to upload your photos smoothly and get them approved quickly. Whether you’re a seasoned pro or just starting out, understanding the ins and outs of Shutterstock’s submission process will help you get your images in front of millions of potential buyers in no time.
Preparing Your Photos for Submission
Before you hit that upload button, it’s crucial to make sure your photos are ready for submission. Shutterstock has specific quality standards and guidelines to ensure that only the best images make it onto their platform. Here’s what you need to focus on:
1. Image Quality
- Resolution: Your photos should be at least 4 megapixels (for example, 2000 pixels on the long side).
- Focus & Sharpness: Make sure your images are sharp with no blurriness unless intentionally artistic.
- Noise & Artifacts: Avoid grainy or noisy images. Use noise reduction tools if needed.
2. Proper Editing & Adjustments
Enhancing your photos with subtle edits can make a big difference. Adjust brightness, contrast, and color balance to make your images pop, but avoid over-processing. Keep the edits natural unless the artistic style calls for something else. Remember, Shutterstock prefers photos that look professional and polished.
3. File Formats & Naming
- File Format: Submit your images in JPEG format with a high-quality compression (usually 12 or maximum).
- File Naming: Use descriptive, clear filenames. For example, “sunset_over_mountains.jpg”. Avoid generic names like “IMG_1234.jpg”.
4. Metadata & Keywords
Adding accurate and relevant keywords helps your images get discovered. Think about what a buyer might search for and include those terms. Be honest and precise in your descriptions to improve approval chances.
5. Compliance with Shutterstock Guidelines
- Model & Property Releases: For recognizable people or private property, you’ll need the appropriate releases.
- No Watermarks or Logos: Remove any watermarks or branding from your images.
- Legal & Ethical Considerations: Ensure your photos don’t infringe on copyrights or contain prohibited content.
Taking the time to carefully prepare your photos not only increases your chances of quick approval but also helps establish your reputation as a reliable contributor. Once everything checks out, you’re ready to move on to uploading — but remember, quality and compliance are key! Happy shooting and uploading!
Creating a Shutterstock Contributor Account
Getting started with uploading your photos to Shutterstock begins with creating a contributor account. Think of this as your digital storefront — it’s where potential clients will discover your work. The process is pretty straightforward, but it’s important to set everything up correctly to ensure a smooth approval process down the line.
First, head over to the Shutterstock contributor registration page. You’ll see a simple sign-up form asking for basic information like your name, email address, and a password. Make sure to use an email you check regularly, as Shutterstock will send important updates and notifications there.
Next, you’ll need to agree to Shutterstock’s contributor terms and conditions. It’s a good idea to read through these to understand the rights and responsibilities involved. Once you accept, you’ll be prompted to verify your email — just click the link in the confirmation email to activate your account.
After verification, you’ll be asked to provide some additional details, such as your country of residence and tax information (if applicable). This step helps Shutterstock process your earnings correctly. They may also ask about your photography experience and the types of images you plan to upload — don’t worry, you can update this info later if needed.
Finally, before you can start uploading, Shutterstock might ask you to agree to their model and property release policies. If your images contain recognizable people, you’ll need to upload signed model releases, which we’ll cover in more detail later. Once all these steps are complete, your contributor account is ready to go!
Tip: To speed up approval, make sure your profile is complete and professional. Upload a clear profile photo, add a brief bio about your photography background, and ensure your contact info is accurate.
Uploading Your Photos to Shutterstock
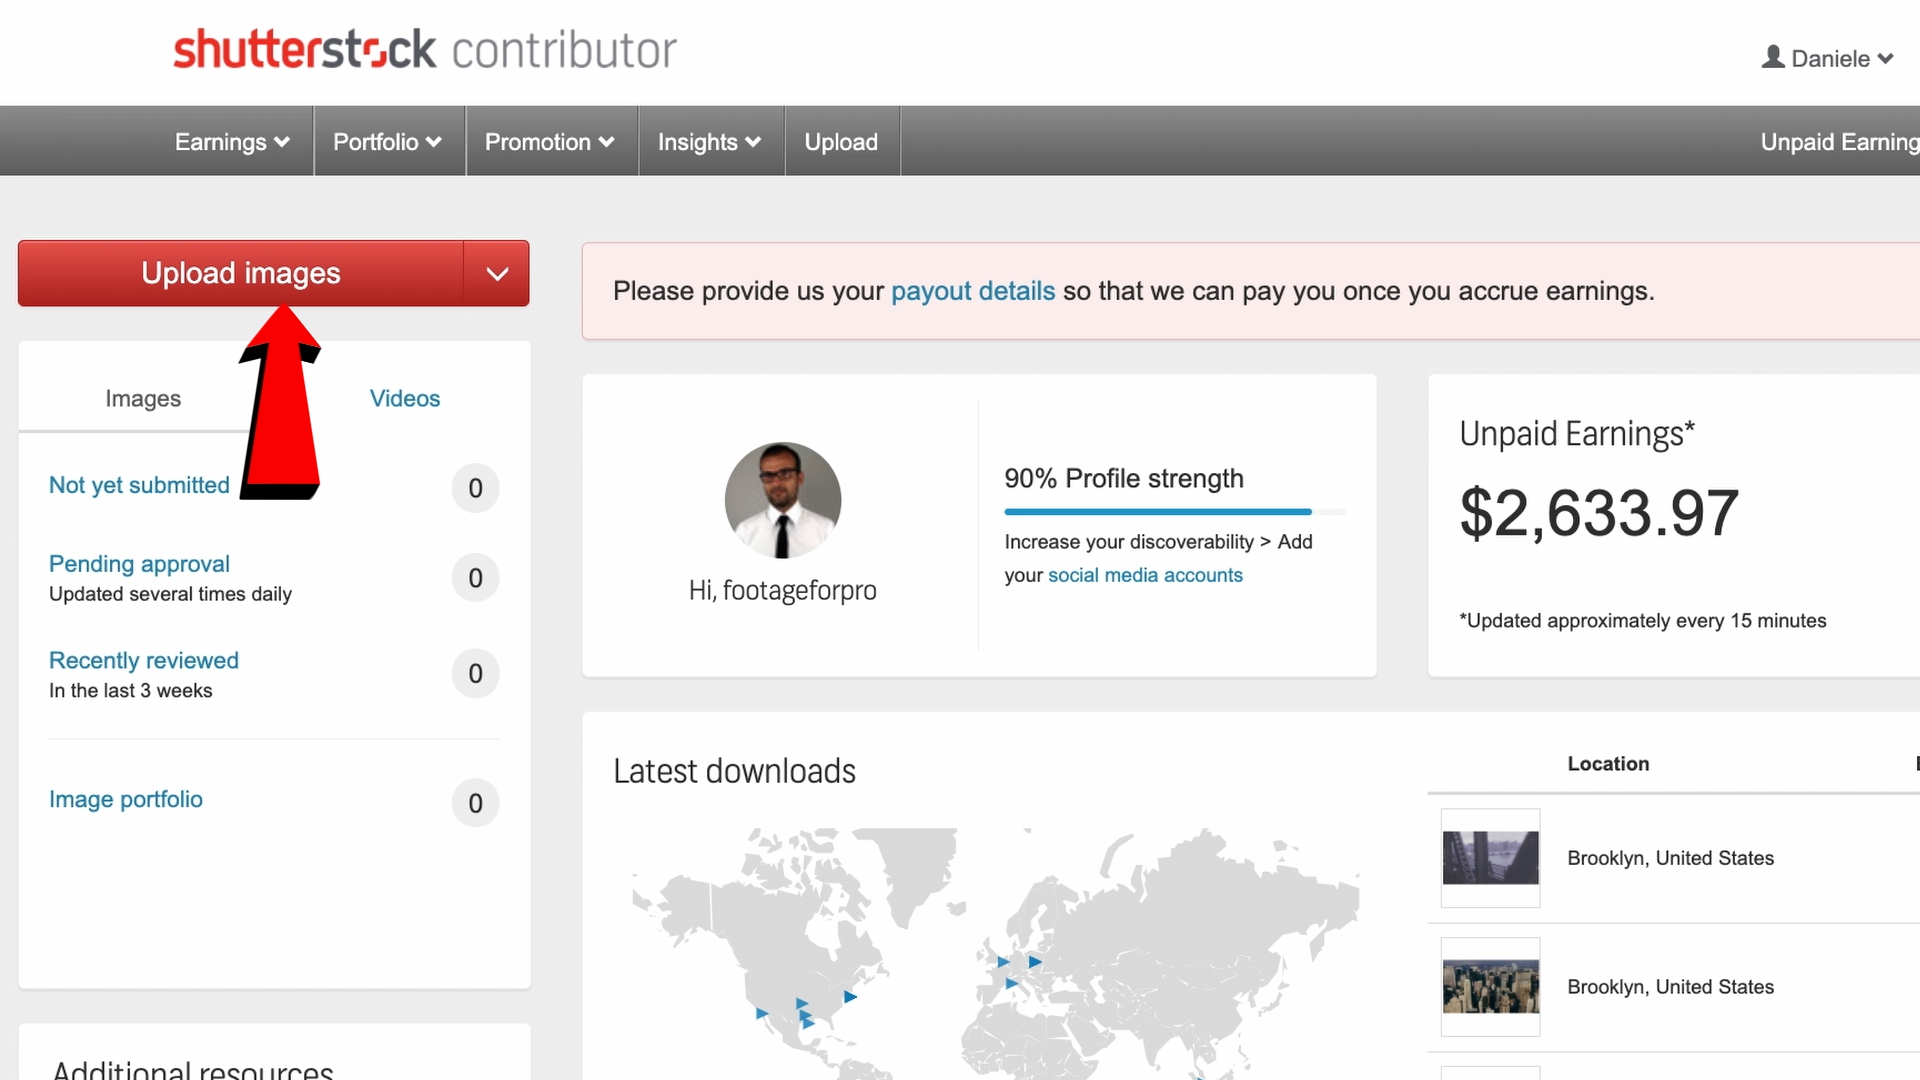
Now that your account is set up, it’s time to upload your photos. Think of this as showcasing your best work — the more appealing and well-organized your portfolio, the better your chances of quick approval and sales.
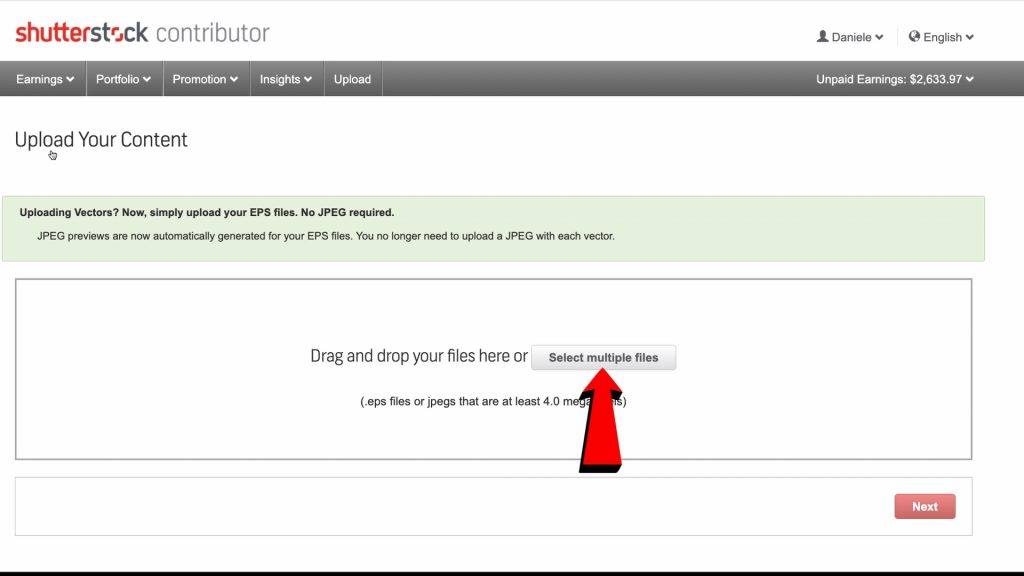
To start, log in to your Shutterstock contributor dashboard. From there, click on the “Upload” button, usually found prominently on the main page. You’ll be directed to the upload interface where you can select files from your computer.
Shutterstock supports multiple image formats, but JPEG is the preferred format for photos. Make sure your images are high resolution (at least 4 megapixels), well-lit, in focus, and free of watermarks or logos — these are common reasons for rejection.
As you upload, you’ll be prompted to add metadata — this includes titles, descriptions, keywords, and categories. Think of these as the labels that help buyers find your images. Use specific and relevant keywords, and avoid stuffing irrelevant tags; this improves your chances of approval and sales.
| Steps for Uploading | Tips |
|---|---|
| Select images from your device | Choose high-quality, well-edited photos that meet Shutterstock’s technical requirements |
| Fill in metadata fields | Be descriptive and use relevant keywords for better discoverability |
| Assign categories | Pick the most accurate categories to help buyers find your images easily |
| Upload and review | Double-check all info before submitting to avoid delays |
Once you’ve uploaded and added all necessary information, click the “Submit” button. Your images will then enter the review process. Keep in mind, Shutterstock’s reviewers look for compliance with technical standards, originality, and relevance.
Pro tip: To speed up approval, upload images that are well-composed, properly exposed, and free of noise or distractions. Also, avoid overly processed images that don’t look natural.
Uploading your photos might seem simple, but paying attention to detail can make all the difference in getting approved quickly. With a bit of practice, you’ll be uploading like a pro in no time!
Optimizing Photo Titles and Descriptions for Faster Approval
When it comes to getting your photos approved quickly on Shutterstock, paying attention to how you title and describe your images can make a big difference. Think of your titles and descriptions as the virtual signposts that help reviewers understand what your photo is all about. The clearer and more accurate they are, the easier it is for Shutterstock’s team to evaluate your work and approve it faster.
Here’s what you should keep in mind:
- Be Specific and Accurate: Use precise keywords that describe the main subject, setting, and mood of your photo. For example, instead of “beautiful scene,” try “sunset over mountain lake with reflection.”
- Use Descriptive Language: Paint a picture with your words, so reviewers can quickly grasp what’s in the image without needing to analyze it in detail.
- Include Relevant Keywords: Think about what buyers might search for when looking for images like yours. Incorporate these keywords naturally into your titles and descriptions. Avoid keyword stuffing, though, which can come off as spammy.
- Keep Titles Concise but Informative: Aim for a title length of around 5-8 words. Make sure it sums up the main idea clearly without being overly long or vague.
- Write Clear and Complete Descriptions: Your description should expand on the title, providing additional context or details that might not be obvious at first glance. This helps buyers understand the story or message behind your photo.
Example:
| Poor Title & Description | Optimized Title & Description |
|---|---|
| Title: Nature Description: A nice picture of nature. |
Title: Forest Path in Autumn with Falling Leaves Description: A scenic image of a winding forest trail during fall, showcasing vibrant orange and yellow foliage, perfect for travel and nature-themed projects. |
By investing a little extra time into crafting thoughtful titles and descriptions, you help your photos stand out and get approved quicker. Remember, the goal is to make it as easy as possible for Shutterstock reviewers to understand and categorize your work accurately.
Understanding Shutterstock’s Content Guidelines and Requirements
Before hitting that upload button, it’s essential to familiarize yourself with Shutterstock’s content guidelines. These rules are in place to ensure that all images meet quality standards, are legally compliant, and are suitable for a wide range of buyers. Not adhering to these guidelines can lead to delays, rejections, or even account issues, which nobody wants.
Here are some key points to keep in mind:
- Quality and Technical Standards: Your images should be high resolution (generally at least 4 MP), sharp, well-exposed, and free from noise or pixelation. Avoid over-compression, which can reduce quality.
- Legal Rights and Model/Property Releases: Make sure you own the rights to all content in your photos. If there are recognizable people or private property, you’ll need proper releases. Without them, Shutterstock may reject your submission.
- Content Restrictions: Shutterstock prohibits images that contain illegal activities, hate speech, violence, or adult content. Be sure your photos align with their acceptable content list.
- Relevance and Originality: Upload only original work that hasn’t been published elsewhere. Avoid images that are heavily edited stock photos from other sources or that mimic existing popular images too closely.
- Metadata Compliance: Use accurate and appropriate keywords, titles, and descriptions. Avoid misleading or irrelevant tags that could harm your reputation or cause rejection.
Pro tip: Regularly review Shutterstock’s Contributor Guide and Content Policies, as they update these rules periodically. Staying informed helps you avoid common pitfalls and ensures your uploads are compliant right from the start.
Understanding and adhering to these guidelines not only speeds up the approval process but also helps you build a good reputation as a reliable contributor. Think of it as playing by the rules to ensure a smooth, hassle-free experience on your journey to becoming a successful stock photographer.
Tips for Increasing Your Photos’ Chances of Quick Approval
Getting your photos approved quickly on Shutterstock can feel like a bit of a game, but with the right approach, you can significantly boost your chances. Here are some tried-and-true tips to help your images stand out and get the green light faster.
Understand Shutterstock’s Content Guidelines
Before you upload, make sure you’re familiar with Shutterstock’s standards. They look for high-quality, original images that are technically perfect and commercially viable. Take time to review their content guidelines, so you know exactly what’s expected.
Use High-Resolution and Well-Edited Photos
Quality is king. Upload photos that are sharp, well-lit, and properly exposed. Blur or pixelated images are almost always rejected. Use editing tools to enhance your photos—adjust brightness, contrast, and color balance to make your images pop.
Focus on Trends and Commercial Viability
Research current trends—think about popular themes like sustainability, diversity, or technology. Also, consider the commercial potential of your photos. Images that tell a story or evoke emotion tend to do well and get approved faster.
Tag Accurately and Thoughtfully
Use relevant, descriptive keywords that truly reflect your image. Avoid overstuffing or using misleading tags. Accurate tagging helps reviewers understand your image and find it easily in searches, accelerating approval.
Upload a Variety of Content
- Different subjects and styles
- Various compositions and angles
- Multiple color schemes
This not only broadens your portfolio but also increases the likelihood of at least some images passing through quickly.
Maintain Consistency and Submit Frequently
Regular uploads keep your portfolio active and visible. Shutterstock favors contributors who are consistent and engaged. Over time, this can lead to faster review times and better recognition of your work.
Double-Check Your Metadata
Before submitting, review your titles, descriptions, and keywords. Clear, accurate metadata helps reviewers understand your image and reduces rejection due to misclassification or ambiguity.
By following these tips, you give your photos the best shot at quick approval. Remember, patience and persistence are key—keep refining your skills, learn from feedback, and keep uploading!
Tracking Your Uploads and Managing Your Portfolio
Once you’ve uploaded your photos, staying organized and monitoring your progress becomes essential. Managing your portfolio effectively can lead to better insights, more efficient uploads, and ultimately, more sales. Let’s explore how to keep everything on track.
Use Shutterstock Contributor Dashboard
The dashboard is your command center. Here, you can:
- View the status of your recent uploads — pending, approved, or rejected
- Track your total submissions and approvals
- See detailed feedback from reviewers (if available)
- Manage your portfolio by editing descriptions or removing images
Make it a habit to check your dashboard regularly, especially after uploads, so you’re immediately aware of any issues or rejections.
Organize Your Files and Metadata
Keep a dedicated folder system on your computer for different categories or themes. Use consistent naming conventions to match your keywords and descriptions. This makes it easier to update or resubmit images if needed.
Track Performance and Sales
Shutterstock provides sales analytics, showing which images are performing well. Pay attention to:
- Most viewed images
- Best-selling photos
- Trending topics within your portfolio
This info helps you understand what buyers are looking for and guides your future uploads.
Maintain a Submission Log
Keep a simple spreadsheet or document where you record:
- Upload date
- Image title and keywords
- Status (approved, rejected, pending)
- Reason for rejection (if applicable)
- Notes for improvements
This log helps you identify patterns and improve your submission quality over time.
Review and Refresh Your Portfolio
Periodically revisit your existing images. Remove underperformers or outdated content, and consider updating keywords or descriptions to improve visibility. Adding new images regularly also keeps your portfolio fresh and engaging for Shutterstock’s review team.
Managing your uploads and portfolio isn’t just about organization—it’s about strategic growth. By staying on top of your stats, maintaining quality, and adapting to trends, you’ll set yourself up for ongoing success in Shutterstock’s marketplace.
Conclusion and Best Practices for Successful Photo Submission
Uploading your photos to Shutterstock can be a rewarding way to showcase your work and earn income. To ensure a smooth and successful submission process, it is essential to follow some best practices. First, always review Shutterstock’s content guidelines and ensure your images meet their quality and technical standards. High-resolution images with proper lighting, sharp focus, and minimal noise are crucial for approval. Before submitting, perform a thorough keywording and tagging process using relevant, descriptive keywords to improve discoverability.
Here are some key best practices for a successful submission:
- Check Technical Requirements: Use sRGB color profile, save images in JPEG format, and avoid watermarks or logos.
- Ensure Unique Content: Submit original photos that do not infringe on copyrights or contain identifiable private property without releases.
- Use Effective Keywords: Include specific, relevant tags to help your images appear in search results.
- Maintain Consistency: Regularly upload high-quality images to build a strong portfolio and increase approval chances.
- Review Your Submission: Double-check for errors, proper metadata, and compliance with Shutterstock’s policies before submitting.
By adhering to these best practices and maintaining a professional approach, you increase your chances of fast approval and successful sales. Remember, patience and consistency are key to building a thriving portfolio on Shutterstock.