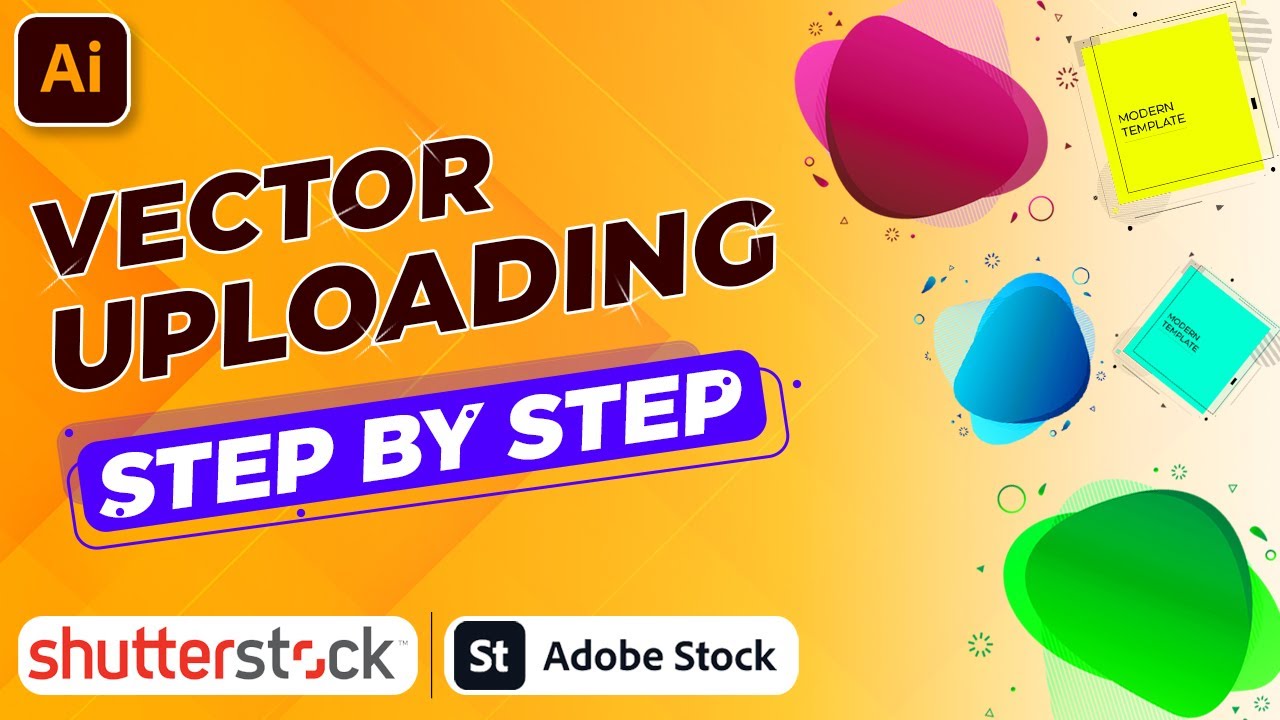
Building a stunning Shutterstock portfolio is an exciting journey that can open doors to new creative opportunities and income streams. Whether you’re just starting out or looking to refine your existing collection, understanding how to effectively manage and showcase your images is key. A well-organized portfolio not only attracts more buyers but also makes it easier for you to keep track of your work and ensure everything meets Shutterstock’s quality standards. In this guide, we’ll walk through each step — from preparing your images to uploading them seamlessly — so you can confidently grow your portfolio and reach a wider audience.
Preparing Your Images for Upload
Before you hit the upload button, it’s crucial to prepare your images properly. This step ensures that your photos meet Shutterstock’s technical and quality requirements, increasing the chances of acceptance and sales. Let’s go through some essential tips to get your images ready:
- Check the resolution: Shutterstock prefers images with a minimum of 4 megapixels (e.g., 2400×1600 pixels). Higher resolution images look more professional and are more versatile for buyers.
- Ensure proper cropping and composition: Make sure your subject is well-framed, with no distracting elements or unnecessary empty space. Crop images as needed to highlight the main focus.
- Color correction and editing: Adjust brightness, contrast, and color balance to enhance your image’s appeal. Use editing software to remove blemishes, dust spots, or distractions.
- Remove watermarks or logos: Only upload images you own the rights to and that are free of watermarks or branding. These can lead to rejection.
- Save in the correct format: Use JPEG format with a high-quality setting (usually 8 or 10). Ensure the file size is under Shutterstock’s maximum limit, typically 50MB.
- Rename your files appropriately: Use descriptive filenames that reflect the content, like “sunset-beach-hawaii.jpg” instead of generic names.
- Check metadata and keywords: Prepare relevant keywords and descriptions that accurately describe your image. This helps buyers find your work easily.
Taking the time to properly prepare your images not only boosts your chances of acceptance but also helps your work stand out in a crowded marketplace. Remember, quality always wins on platforms like Shutterstock, so invest some effort in perfecting your images before uploading. Once your images are polished and ready, you’re all set to move on to the next step: uploading them smoothly into your portfolio.
Logging into Your Shutterstock Contributor Account
Alright, before you can start adding those stunning images to your portfolio, you need to log into your Shutterstock Contributor account. If you haven’t created one yet, no worries—it’s quick and straightforward. Just head over to Shutterstock Contributor Signup Page and follow the instructions to set up your account.
Once your account is ready, here’s how you can log in:
- Visit Shutterstock Contributor Login.
- Enter your registered email address and password.
- Click the Login button.
If you’ve forgotten your password, no worries! Just click on the Forgot Password? link, and Shutterstock will guide you through resetting it. It’s a good idea to keep your login details secure but accessible, so you can easily add new images whenever inspiration strikes.
Once you’re logged in, you’ll land on your Contributor Dashboard. This is your command center where you can manage your portfolio, track sales, and access helpful resources. Now that you’re in, you’re all set to start uploading your images and sharing your creativity with the world!
Uploading Images to Your Portfolio
Great! You’re logged in and ready to upload your images. Uploading to Shutterstock is pretty simple, but a few tips can help ensure your images are accepted and showcased beautifully.
Here’s a step-by-step rundown:
- Navigate to the Upload Section: From your Dashboard, click on the Upload button, usually found at the top right corner or in the main menu.
- Select Your Files: You can drag and drop your images into the upload window or click to browse your computer. Shutterstock accepts JPEG files, ideally sized at 4 MP or higher, with a minimum resolution of 4 megapixels.
- Fill Out Image Details: After selecting your images, you’ll be prompted to add important details:
- Title: Be descriptive but concise.
- Keywords: Use relevant tags to help people find your images. Think about what someone searching for similar visuals might use.
- Category: Choose the most appropriate category for your image.
- Description: Optional, but helpful for context and searchability.
- Set Licensing Options: Decide whether your images will be exclusive or non-exclusive. This affects how your images can be licensed by buyers.
- Review and Submit: Double-check your details, then click Submit for Review. Your images will enter Shutterstock’s review queue.
While waiting for approval, avoid making changes to your images or details. Shutterstock’s review team will check for technical quality, originality, and compliance with their guidelines. You’ll get email updates on the status of your uploads, so keep an eye out for acceptance or feedback.
Pro tip: Make sure your images are well-edited, in focus, and free of watermarks or logos. High-quality images are more likely to be accepted and sell better. Happy uploading! Your portfolio is about to grow, and the world is eager to see your work.
Adding Titles, Descriptions, and Keywords for Your Images
Once you’ve uploaded your images to Shutterstock, the next step is to make sure they stand out and are easy for buyers to find. This is where adding thoughtful titles, descriptions, and keywords really comes into play. Think of it as giving your images a little personality and a clear identity — it’s like labeling your photos with a friendly tag that says, “Hey, I’m perfect for your project!”
Titles are your first impression. Keep them clear, concise, and relevant. Instead of a vague title like “Photo1,” try something more descriptive like “Sunset over Mountain Lake.” This helps buyers quickly understand what your image is about at a glance.
Next up are descriptions. These give you a chance to tell a little story or provide context. For example, if your image features a busy street scene, mention the location, time of day, or the mood you wanted to capture. A well-written description can make your image more appealing and easier to find through search.
And then there are keywords. This is the magic behind the scenes that makes your images discoverable. Think about all the words someone might type into Shutterstock to find your photo. Use a mix of specific and broad keywords:
- Specific: “Golden retriever puppy,” “Vintage red bicycle,” “Snow-capped mountains”
- Broad: “Animals,” “Transportation,” “Nature”
Be thorough but avoid spammy or irrelevant keywords. The goal is to accurately represent your image so it shows up in the right searches. Also, use keywords naturally — don’t stuff them in unnaturally, as it can hurt your chances of getting accepted and appearing in search results.
Remember, well-crafted titles, descriptions, and keywords not only improve your chances of getting your images seen but also help you build a professional and appealing portfolio. Take your time with this step — it might just be the difference between a buyer scrolling past or clicking to buy!
Organizing Your Portfolio for Better Visibility
Now that you’ve uploaded your images and added all the details, it’s time to focus on organization. A neat and well-structured portfolio makes it easier for buyers to browse and find what they’re looking for — and it can also boost your visibility within Shutterstock’s search results.
Start by creating clear collections or folders. Group similar images together, like “Summer Landscapes,” “Business Shots,” or “Food Photography.” This not only keeps your portfolio tidy but also helps you present a professional image. Buyers browsing through themed collections might spend more time exploring your work, increasing your chances of sales.
Next, consider the sequencing. Place your best or most relevant images at the beginning of each collection. Think of it as a storefront window — you want to showcase your top work right away to catch attention.
Another tip is to regularly update and refresh your portfolio. Remove outdated or less impressive images, and add new, high-quality work. This keeps your portfolio active and signals to Shutterstock that you’re a committed contributor.
Additionally, use tags and keywords consistently across your images. When similar photos are grouped, consistent tagging helps algorithms associate them and improve their visibility. Remember, the more organized and thoughtful your portfolio is, the easier it is for buyers and search engines to find and appreciate your work.
Finally, don’t forget to utilize your profile bio and keywords. A well-written bio adds personality to your portfolio and can include keywords related to your photography style, making your entire profile more discoverable.
All these organizational strategies combine to create a compelling, professional-looking portfolio that not only attracts more views but also encourages buyers to explore your entire collection. Organization might seem simple, but it’s a critical step toward building a successful Shutterstock presence!
Tips for Optimizing Your Images for Search Engines
Once you’ve uploaded your stunning images to Shutterstock, you might be wondering—how do I get more eyes on my work? The secret lies in optimizing your images for search engines. Think of it as giving your photos a friendly map that guides potential buyers right to your portfolio. Here are some practical tips to boost your images’ visibility:
Use Descriptive and Relevant Titles
Instead of generic titles like “Image1” or “Photo,” craft descriptive titles that clearly explain what the image depicts. For example, “Golden Retriever Playing in the Park” is much more effective. This helps both users and search engines understand the content at a glance.
Write Detailed and Keyword-Rich Descriptions
Your image descriptions should be thorough and include relevant keywords naturally. Instead of saying “Beautiful sunset,” try “Vibrant sunset over the mountains with orange and pink hues.” Incorporate keywords that potential buyers might use when searching for similar images, but avoid keyword stuffing—keep it natural and engaging.
Utilize Accurate Tags and Keywords
Tags are like the labels on a jar—they help categorize your images. Use specific and relevant keywords that describe the subject, setting, mood, colors, and any other notable features. Think about what your target audience might search for, such as “business meeting,” “summer vacation,” or “food photography.”
Choose Appropriate Categories
Shutterstock allows you to assign categories to your images. Select the most fitting categories to ensure your images appear in the right searches. If your photo is of a city skyline, categorize it under “Urban & Cityscapes” rather than “Nature.”
Optimize File Names
Before uploading, give your image files clear, descriptive names that include relevant keywords. For example, rename “IMG_1234.jpg” to “mountain-lake-summer-hiking.jpg.” This small step can improve your image’s discoverability in search results.
Maintain High Image Quality
Search engines and buyers prefer high-resolution, crisp images. Ensure your images are well-edited, properly exposed, and free of distractions. Clear, professional-looking photos are more likely to be featured prominently and attract interest.
Monitor and Adjust
Keep an eye on which images perform best. Use Shutterstock’s analytics tools to see how your images are being found and downloaded. If certain keywords or tags aren’t working, don’t hesitate to update your descriptions and tags to improve visibility.
Remember, optimizing your images isn’t a one-time task—it’s an ongoing process that can significantly increase your chances of earning more from your Shutterstock portfolio. Be patient, stay consistent, and keep refining your approach!
Finalizing and Publishing Your Uploaded Images
Great! You’ve uploaded your images and optimized their details. Now, it’s time to finalize everything and get your work out into the world. Here’s a simple step-by-step to ensure your images are perfectly ready for publication:
Review Your Uploads Carefully
- Double-check that each image is in the correct category.
- Verify that the titles, descriptions, and tags are accurate and optimized.
- Ensure the images are high-quality and correctly cropped or resized as needed.
- Look for any technical issues like pixelation or color inconsistencies.
Set Pricing and Licensing Options
Shutterstock allows you to choose licensing options—Standard or Enhanced. Think about how you want your images to be licensed and set your prices accordingly. Remember, higher-resolution images and exclusive rights typically command higher prices. Be strategic but also realistic to attract buyers.
Preview Before Publishing
Most platforms let you preview how your images will appear to buyers. Take advantage of this feature to ensure all details look correct and the images display as intended. It’s a good chance to catch any last-minute errors or mismatched tags.
Publish Your Images
Once everything looks good, hit the publish button! Your images will now be live on Shutterstock and available for purchase. Keep in mind that it might take a little time for your images to appear in search results or for buyers to find them—patience is key!
Share and Promote
After publishing, don’t forget to share your portfolio on your social media channels, website, or blog. The more exposure your work gets, the higher your chances of making sales. Consider joining Shutterstock communities or forums to connect with other contributors and learn new tips.
Stay Consistent and Keep Uploading
The journey doesn’t end here. Regularly upload new images, keep your portfolio fresh, and stay engaged with the Shutterstock community. Over time, consistent effort can lead to increased visibility, more downloads, and a thriving photography business.
Congratulations! You’re now ready to showcase your best work confidently. Remember, quality, consistency, and smart optimization are your best tools for success on Shutterstock. Happy uploading!
Conclusion and Best Practices for Maintaining a Successful Portfolio
Building and maintaining a thriving Shutterstock portfolio requires consistent effort, strategic planning, and attention to detail. A well-curated collection not only attracts more buyers but also establishes your reputation as a reliable contributor. To ensure ongoing success, consider implementing the following best practices:
- Regularly update your portfolio with fresh images to showcase your evolving skills and stay relevant in trending topics.
- Focus on quality over quantity. Select your best work that meets technical standards and visual appeal.
- Organize your images with clear keywords and accurate descriptions to improve discoverability.
- Study market trends to identify popular themes and styles, guiding your content creation efforts effectively.
- Engage with the community. Participate in forums and review feedback to learn and grow as a contributor.
Additionally, consider maintaining a balance between niche specialization and diversification to maximize your earning potential. Keep track of your portfolio’s performance using Shutterstock’s analytics tools, and adjust your strategy accordingly. Remember, consistency and professionalism are key to building a long-lasting presence on the platform.
In conclusion, a successful Shutterstock portfolio is a dynamic entity that benefits from ongoing updates, strategic keywording, and active engagement. By adhering to these best practices, you can enhance your visibility, attract more clients, and achieve your creative and financial goals on the platform.