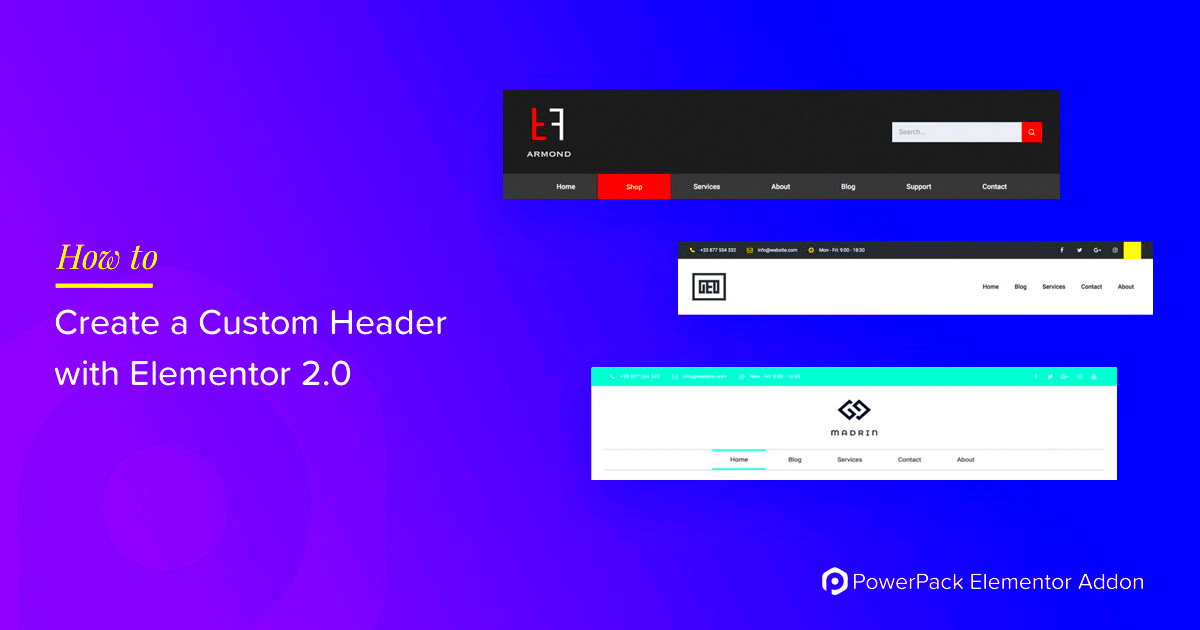
Elementor kits are a fantastic way to give your WordPress site a uniform and polished look. These kits are pre-designed templates that include everything from headers to footers, making it easy for you to create stunning pages without having to start from scratch. Whether you’re a business owner trying to elevate your online presence or a blogger wanting a cohesive style, Elementor kits offer an intuitive solution.
Imagine having a toolbox filled with ready-made designs—all you need to do is mix and match! This blog post will show you how to incorporate headers into your Elementor kit pages, thereby enhancing your overall design. Let’s dive in!
Understanding Headers in Elementor

So, what exactly are headers in Elementor? Simply put, headers are the top sections of your webpages. They typically contain crucial elements like your logo, navigation menus, and contact information. Think of it as the welcoming mat to your website—first impressions matter!
Headers play a significant role in usability and accessibility. A well-designed header can lead visitors to important content and help guide their journey through your site. Here are some key components and tips to understand when working with headers in Elementor:
- Navigation Menu: Provides easy access to different sections of your site.
- Logo: Reinforces brand identity and provides a visual anchor.
- Call-to-Action Buttons: Encourage visitors to take specific actions, like contacting you or signing up for a newsletter.
- Social Media Links: Connect your website to your social media platforms.
You can customize these elements to match your branding and style, making headers a versatile part of your design toolkit. Ready to learn how to actually add these headers to your Elementor kit pages? Let’s get started!
Why Use Headers in Your Elementor Pages?

When building a website with Elementor, you might wonder why headers matter. Well, let me break it down for you! Headers serve as the backbone of your content, helping visitors navigate through your pages with ease. Here are a few reasons why effective headers are crucial:
- Enhanced Navigation: Headers provide structure and aid in guiding your visitors. With clear headers, users can quickly find the information they’re looking for, leading to a better overall experience.
- Improved SEO: Search engines like Google pay close attention to headers. Properly formatted headers signal to search engines what your content is about, potentially improving your site’s visibility.
- Visual Appeal: A well-designed header can enhance the visual hierarchy of your pages. It grabs attention and breaks up content, making it more digestible for readers.
- Brand Consistency: Utilizing consistent headers across your Elementor pages helps to reinforce your brand identity. When headers align in style, it fosters a professional look that boosts trust with your audience.
So, in essence, headers are not just decorative elements; they play an instrumental role in usability, search engine rankings, and overall aesthetic appeal. Don’t skip out on adding headers when designing your Elementor pages!
Steps to Add Headers to Elementor Kit Pages
Adding headers to your Elementor kit pages is a straightforward process that can significantly enhance the functionality and aesthetics of your site. Let’s dive into the step-by-step guide:
- Open Your Page: First, navigate to the specific page you want to edit in Elementor.
- Access Elementor Editor: Click on the “Edit with Elementor” button. This will take you to the intuitive Elementor interface.
- Add a New Section: Click on the “+” icon to add a new section to your page where you want the header to go.
- Select Structure: Choose the structure you prefer for your header. Generally, a single column works well for most header layouts.
- Drag and Drop the Heading Widget: Locate the “Heading” widget in the Elementor panel. Drag and drop it into the newly created section.
- Customize Your Header: Click on your header to access the settings. In the left panel, you can adjust the text, font size, alignment, and color. Don’t forget to utilize the Style tab for more customization options!
- Save Your Changes: Once you’re satisfied with your header, hit the “Update” button to save all changes.
And just like that, you’ve added headers to your Elementor kit pages! Remember, headers not only make your content more organized, but they also elevate the overall design, making your website more appealing and user-friendly.
Customizing Your Header Design
Customizing your header design in Elementor can significantly enhance the overall look and feel of your website. With Elementor’s intuitive interface, you don’t need to be a coding whiz to create a stunning header that represents your brand effectively.
To start customizing your header:
- Access Header Settings: Navigate to Elementor and open the header template you want to customize. You’ll find a panel on the left side where you can modify various elements of your header.
- Utilize Widgets: Drag and drop widgets like Site Title, Logo, Navigation Menu, and Social Icons to build a truly unique header layout. Each widget comes with customizable settings, so you can tailor them to fit your brand.
- Adjust Style: Use the Styling tab to change colors, typography, and spacing. Play around with different settings until you land on a combination that reflects your brand’s personality.
- Responsive Design: Don’t forget about responsiveness! Elementor provides options for desktop, tablet, and mobile views. Make sure your header looks amazing on all devices.
- Add Backgrounds: Consider using background colors or images to make your header stand out. Just be cautious; you want it to complement the rest of your site without overwhelming it.
Always preview your changes using the Preview feature to see how your header looks live. Don’t hesitate to iterate! The beauty of using Elementor is that you can make adjustments easily and quickly until you find that perfect look.
Using Pre-made Header Templates
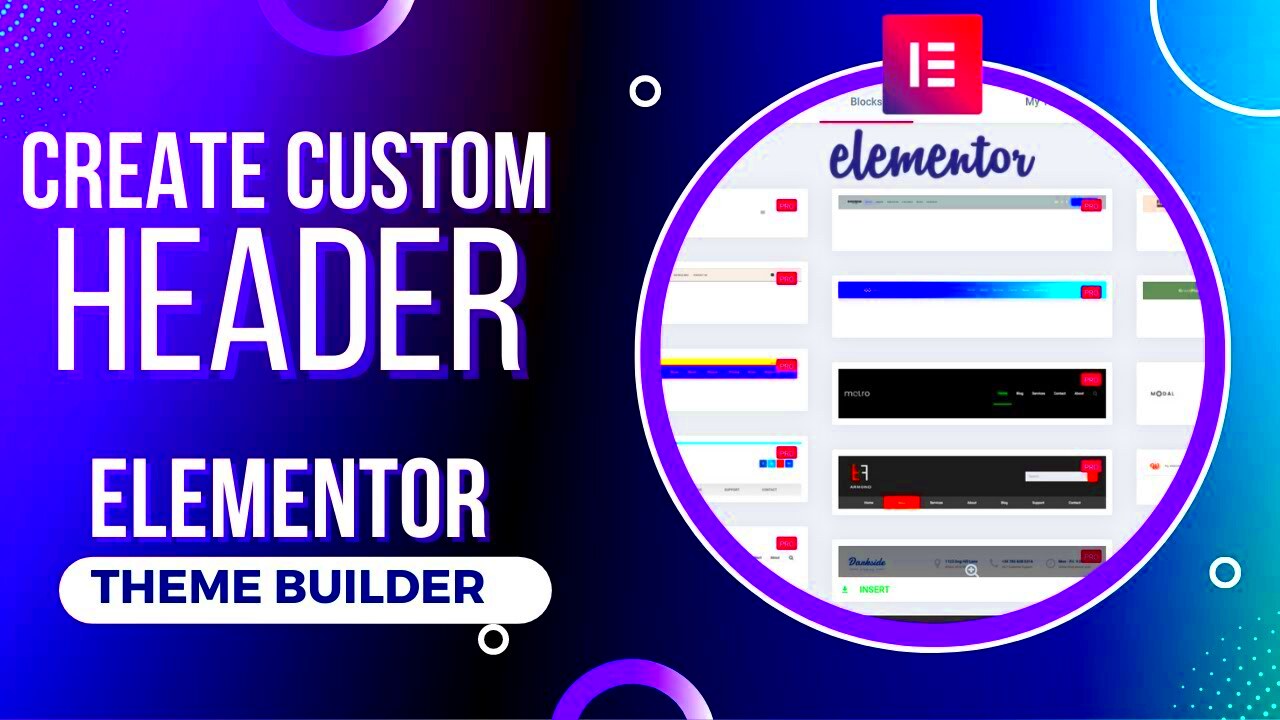
If you’re short on time or need some inspiration, Elementor offers a fantastic variety of pre-made header templates. These templates can save you a ton of design time while still giving your site a polished and professional appearance. Here’s how to effectively use them:
- Access Template Library: Within the Elementor editor, click on the folder icon to open the template library. You’ll find a selection of pre-designed headers that you can browse through.
- Select and Insert: Choose a header template that resonates with your brand style. Once you find one, click on it and then hit the “Insert” button to bring it into your design workspace.
- Customize It: Even though you’ve chosen a pre-made template, it’s essential to make it your own. Modify text, colors, and icons to align with your brand identity. This ensures consistency throughout your site.
- Combine Elements: Feel free to mix and match components from different templates. There’s no rule saying you can’t combine elements from various designs to create your unique header layout!
- Utilize Global Widgets: If you find a widget you love, consider saving it as a Global Widget. This allows you to use it across different site pages while ensuring uniformity.
By leveraging pre-made header templates, you can quickly elevate your site’s appearance while still maintaining that personal touch. Plus, it’s an excellent way for new users to familiarize themselves with Elementor’s design capabilities!
Best Practices for Header Placement and Functionality
When it comes to enhancing your Elementor Kit pages, headers play a crucial role in both functionality and aesthetics. Here are some best practices to ensure that your headers aren’t just visually appealing but also serve their purpose effectively:
- Prioritize Visibility: Your header should be easily noticeable. Opt for bold colors or larger font sizes so that users can identify navigation quickly.
- Keep It Simple: While it’s tempting to cram everything into your header, simplicity often prevails. Focus on essential links like Home, About, Contact, and any other key pages to avoid overwhelming visitors.
- Ensure Responsiveness: Check how your header looks on various devices. More users are browsing on mobile, so a responsive design will enhance user experience significantly.
- Use Clear Call-to-Action Buttons: If you want your visitors to take specific actions, like signing up for a newsletter or making a purchase, include clear and compelling CTAs in your header.
- Consistent Branding: Make sure your header reflects your brand identity. Use your logo and brand colors to create a cohesive look throughout your website.
By following these best practices, you can create headers that not only look great but also improve the overall user experience of your Elementor Kit pages.
Common Issues and Troubleshooting
While Elementor Kit makes designing headers relatively straightforward, you might run into a few hiccups along the way. Here’s a list of common issues you may face and how to troubleshoot them:
| Issue | Possible Solution |
|---|---|
| Header Not Displaying | Check your theme settings and ensure that the header is enabled and not hidden by any other elements. |
| Responsive Design Issues | Use Elementor’s responsive editing options to customize the header on different screen sizes. |
| Linking Problems | Verify that all links in your header are correctly linked to the desired pages. A broken link can frustrate users! |
| Styling Inconsistencies | Check your global styles settings in Elementor and ensure they match your branding guidelines. |
| Slow Loading Time | Optimize images and reduce the number of widgets in your header to improve loading speed. |
If you encounter any other specific issues, checking the Elementor community forums or official documentation can also provide helpful insights.
9. Conclusion
In conclusion, adding headers to your Elementor Kit pages is a straightforward process that significantly enhances the visual appeal and usability of your website. By utilizing the built-in features available in Elementor, you can craft headers that not only capture attention but also serve a functional purpose in guiding visitors through your content.
Whether you opt for a pre-designed template from the Elementor Kit or decide to create a custom header, you have a plethora of tools at your fingertips. Remember that a well-designed header should align with your overall branding while remaining functional. Here are some key takeaways:
- Utilize templates: Don’t hesitate to leverage the free or premium templates available in Elementor Kits. They can save you considerable time and effort!
- Custom styling: Play around with typography, colors, and spacing. Make sure your header resonates with your brand identity.
- Responsive design: Always check how your headers look on various screen sizes. Mobile responsiveness is a must in today’s digital age.
- Experiment and iterate: Try different styles and layouts. Sometimes the perfect header is just a few tweaks away!
So roll up your sleeves, get creative, and make the most out of your Elementor headers. With the tips outlined in this guide, you’re on the right track to creating stunning pages that speak to your audience!
10. Additional Resources and Tutorials
If you’re looking to delve deeper into the world of Elementor and unlock even more features, there’s a wealth of resources at your disposal. Whether you want to polish your design skills or understand the intricacies of Elementor’s functionalities, here are some great places to start:
| Resource | Description |
|---|---|
| Elementor Academy | A fantastic resource filled with tutorials, webinars, and courses that cater to both beginners and advanced users. |
| YouTube Tutorials | There are countless videos where experts share tips and tricks on how to best utilize Elementor. Search for specific topics or techniques! |
| Elementor Community Forum | Join the community to ask questions, share your work, and learn from fellow Elementor users. |
| Online Courses (Udemy, Skillshare) | These platforms offer in-depth courses on Elementor, which could set you on the path to becoming an Elementor pro! |
Don’t forget that practice makes perfect. As you continue to explore and experiment, you’ll gain a deeper understanding of the tools available and how to use them effectively. Happy designing!


