If you’re looking to enhance your WordPress experience, you’ll find that adding images to the plugin list table can significantly improve the visual appeal and usability of your dashboard. Images can help you quickly identify your plugins, making management smoother and more intuitive. In this post, we’ll dive into how to accomplish this and why it can be beneficial for your blogging or website development journey.
Understanding the WordPress Plugin List Table

The WordPress Plugin List Table is like a command center for managing all the plugins installed on your site. Here’s what you need to know:
- What is it? The Plugin List Table displays all the plugins you’ve installed, along with information regarding their status, version, and author.
- Key Components:
- Name: The name of the plugin, often linked to its settings page.
- Description: A short overview of the plugin and its functionalities.
- Status: Indicates whether a plugin is active or inactive.
- Version: Displays the current version of the plugin you have installed.
- Author: The developer or team behind the plugin.
- Action Links: Options to activate, deactivate, delete, or edit the plugin settings.
In short, the Plugin List Table is crucial for managing your website effectively. Knowing what each component represents will help you navigate the WordPress interface like a pro!
| Component | Description |
|---|---|
| Name | The plugin’s title, usually linked to its settings. |
| Description | A brief overview of what the plugin does. |
| Status | Shows whether the plugin is active or inactive. |
| Version | Indicates the installed version of the plugin. |
| Author | The creator or team responsible for the plugin. |
| Action Links | Options for managing the plugin (activate, deactivate, etc.). |
Understanding the Plugin List Table aids in seamlessly navigating and managing your WordPress plugins. Now that we’ve got that covered, let’s dig into adding images to this essential dashboard feature!
Prerequisites for Adding Images
Before diving into the process of adding images to the WordPress plugin list table, it’s essential to ensure you have everything set up correctly. This will not only make your life easier but also ensure a smooth experience when it comes to displaying your images. Here’s what you need to know:
- Basic Understanding of WordPress: A fundamental knowledge of how WordPress functions is crucial. You should be comfortable navigating the WordPress dashboard, installing plugins, and editing code snippets.
- Image Preparation: Make sure your images are in the right format and size. Ideally, use images in formats like JPG, PNG, or GIF. For best results, edit your images to a size that fits well within the plugin list without affecting the overall layout.
- Access to the Plugin File: You’ll need proper access to the plugin where you want to add the images. This usually means having adequate permissions to modify files, particularly the necessary PHP files where the list is defined.
- Backup Your Site: It’s always wise to back up your WordPress site before making changes, especially if you are modifying PHP files. This will prevent potential disasters if something goes wrong.
- Knowledge of HTML/CSS: A basic understanding of HTML and CSS can be beneficial. You’ll likely need to write a little HTML when incorporating the images and may want to use CSS to style them appropriately.
With these prerequisites under your belt, you’ll be all set to start adding images to your WordPress plugin list table effectively!
Step-by-Step Guide to Adding an Image
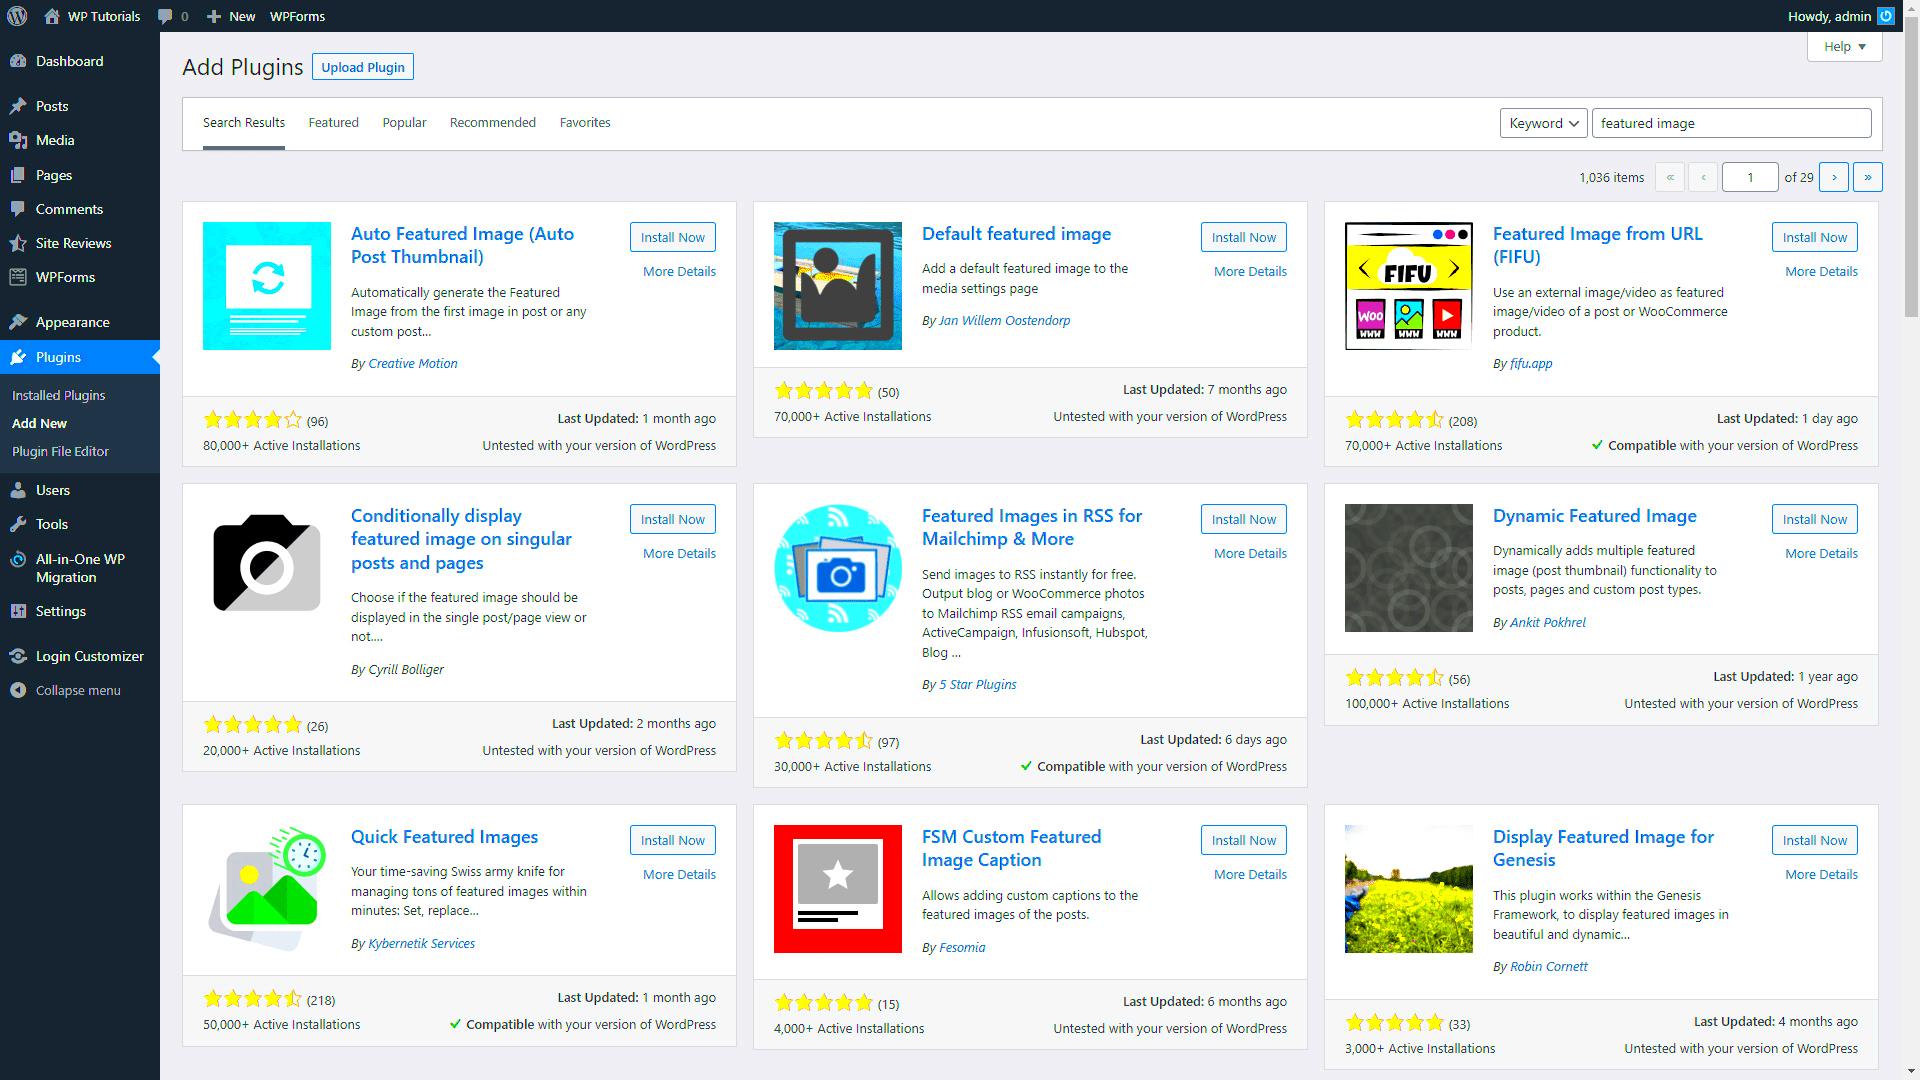
Now that you’re well-prepared, let’s get straight into the nitty-gritty of adding images to your WordPress plugin list table. I promise to keep it straightforward! Just follow these easy steps:
- Open Your Plugin Editor: Log in to your WordPress dashboard, navigate to the “Plugins” section, and select “Editor.” From the dropdown menu, choose the plugin you want to edit.
- Locate the Correct File: Find the file that contains the code for the plugin list table. This is usually named something like
admin.phporsettings.php. - Insert the Image Code: Within the table code, you’ll need to insert your image. Use the following snippet as a guideline:
<img src="URL_TO_YOUR_IMAGE" alt="Description of Image" style="width:100px;height:100px;">
Replace
URL_TO_YOUR_IMAGEwith the actual URL of your image. Make sure you adjust the width and height based on how you want it displayed in the table. - Save Your Changes: After inserting your image code, save the file. You should see a confirmation message indicating that your changes were saved successfully.
- Test Your Changes: Navigate back to the plugin list table on your WordPress dashboard to check if the image appears as expected. If it looks good, you’re all set!
And there you have it! Those are the simple steps for adding an image to your WordPress plugin list table. Remember to regularly review and update your images to keep everything fresh and engaging!
Customizing Image Display in the Plugin List Table
Once you’ve added images to the WordPress plugin list table, you may find yourself wanting to customize how those images are displayed. A little customization can go a long way in making your plugin list visually appealing and informative. So, let’s break down some simple yet effective ways to achieve this.
First off, you can control the size of the images. You might want your images to be uniform across the board. To do this, you’ll often define default dimensions in your CSS file or inline styles. For example:
- Width: Set a fixed width to ensure that all images align neatly.
- Height: You may also want to set a height, but be careful not to distort images.
Another element you can customize is the alignment of the images. You’ll typically want them to line up on either the left or right side of the plugin name:
- Left Align: This makes it easy for the eye to follow from the image to the text.
- Right Align: This can create a unique look and draw attention to the text first.
Furthermore, consider adding a hover effect. When users hover over the image, you can create a visual response such as a slight increase in size or a change in opacity. This not only enhances the aesthetic but also makes it more interactive.
Lastly, remember to optimize your images for faster loading times. Use compressed formats and the appropriate resolution to ensure your site runs smoothly without sacrificing quality. Tools like TinyPNG or WP Smush can be quite helpful here!
Testing Your Changes
So, you’ve customized the appearance of your images in the plugin list table, but how do you make sure everything works as expected? Testing is crucial to ensure that your changes not only look good but also function appropriately across different devices and browsers.
Start by clearing any caches. If you’re using a caching plugin, it might save older versions of your plugin list. By clearing the cache, you can see the latest changes without any interruptions.
- Check Responsiveness: Use tools like Chrome Developer Tools or responsive design checkers to see how your plugin list looks on different devices, like tablets and smartphones.
- Browser Compatibility: Open your site in various browsers like Chrome, Firefox, Safari, and Edge to ensure consistent display.
Next, look for any visual anomalies. Are the images aligned correctly? Do they maintain their aspect ratio? You may want to scroll through the list and check for any gaps or overlaps in the layout.
Lastly, get some feedback. If you have colleagues or friends, ask them to navigate your site and offer their opinions. Sometimes, a fresh pair of eyes can catch issues you might have missed. With a thorough testing phase, you can be confident that your changes will enhance the user experience for everyone visiting your site!
Common Issues and Troubleshooting
When working with the WordPress plugin list table and trying to add images, you might run into a few hiccups along the way. But don’t worry! Here are some common issues you may encounter and simple troubleshooting tips to keep you on track.
1. Image Not Displaying
If your images are not showing up in the plugin list, it might be due to a couple of reasons:
- Incorrect Image URL: Double-check the file path you’ve provided. If it’s incorrect or the image is not accessible, it won’t show.
- Image Format: Ensure that the image is in a supported format (like .jpg, .png, or .gif). If it’s in an uncommon format, WordPress might not render it.
2. Permissions Issues
If you cannot upload images, it could be due to server permissions. Check the following:
- The “uploads” directory should have the correct permissions (usually 755).
- Your user role might lack the necessary rights to upload files. Consider checking your user settings or contacting your site administrator.
3. Plugin Conflicts
Sometimes other plugins may interfere with the functionality. If you notice issues:
- Try disabling other plugins to see if that resolves the problem.
- Look for any JavaScript errors in the developer console of your browser, which might give you clues about the conflict.
These troubleshooting tips will generally help you resolve common issues and get your images smoothly added to the WordPress plugin list table!
Conclusion
Adding images to your WordPress plugin list table can enhance the aesthetic appeal and usability of your site, making it easier for users to navigate and find what they need. By following the steps outlined in this guide, you can successfully implement images in your plugin list.
Don’t forget, though, that while the process may seem straightforward, there can be bumps in the road. Should you face challenges, remember the troubleshooting tips we discussed—often, a small adjustment can make a world of difference. Plus, always keep in mind:
- Check image formats and paths to ensure they’re correct.
- Keep your plugins updated to reduce compatibility issues.
- Test changes on a staging site to avoid disrupting your live site.
Ultimately, maintaining a visually appealing and efficient site is key to user engagement and satisfaction. So, armed with this knowledge, go ahead and add those images with confidence!

