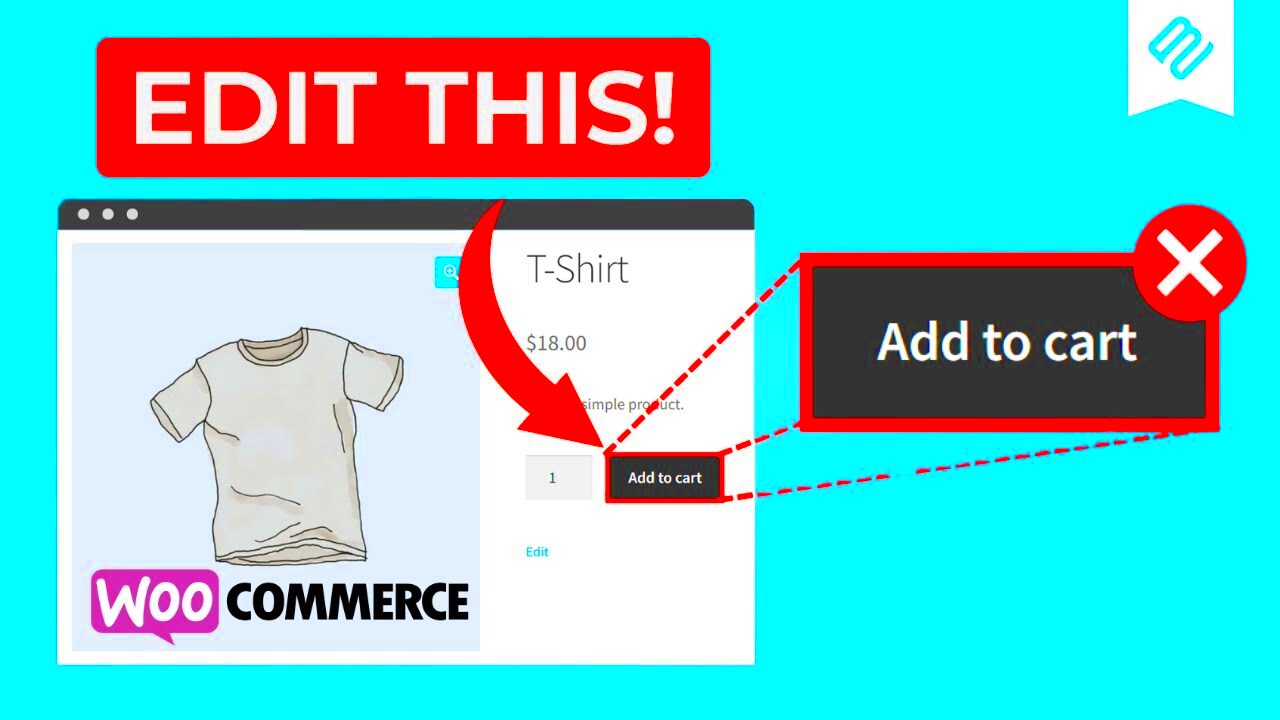
Are you looking to improve the shopping experience on your WooCommerce store? One effective way to do this is by adding an ‘Add to Cart’ button directly underneath the product images. This seemingly small change can have a big impact on your sales by making it easier for customers to add items to their cart quickly. In this post, we’ll walk you through the ins and outs of achieving this simple yet significant modification.
Understanding WooCommerce Product Layouts

Before we dive into the technical aspects of adding an ‘Add to Cart’ button below product images, it’s essential to understand how WooCommerce product layouts work. A well-structured layout can enhance the shopping experience and help you showcase your products effectively.
WooCommerce uses a grid or list layout for displaying products. Here’s a quick breakdown:
- Grid Layout: This is the most common layout where products are displayed in rows and columns. Each product showcases an image, title, price, and usually, the ‘Add to Cart’ button.
- List Layout: Ideal for stores with fewer products or more detailed descriptions. Each product appears in a single line, often allowing for more information alongside the image.
Now, let’s take a closer look at the various components of a typical WooCommerce product listing:
| Component | Description |
|---|---|
| Product Image | The visual representation of the product, crucial for attracting customer attention. |
| Product Title | The name of the product, which helps customers easily identify what they’re looking at. |
| Price | The cost of the product, essential for customers to make purchasing decisions. |
| Add to Cart Button | This button allows customers to add products to their shopping cart easily, making it a vital element in your product listing. |
Understanding these components will not only help you modify the placement of the ‘Add to Cart’ button, but it also lays a foundation for optimizing your product pages for better user engagement and sales.
Step-by-Step Guide to Adding ‘Add to Cart’ Button

If you’re looking to add an ‘Add to Cart’ button underneath the product image in your WooCommerce store, you’re in the right place! This feature can enhance user experience and make it easier for customers to add items to their shopping cart. Here’s a straightforward guide to get you started:
- Log into Your WordPress Dashboard: Start by logging into your WordPress admin dashboard. This is where all the magic happens!
- Navigate to Appearance: Go to the Appearance section on the left menu and click on Themes.
- Edit Theme Files: Click on the Edit option to access your theme’s files. Make sure to have a child theme activated to avoid losing changes on updates.
- Locate the Product Template: Look for the
content-product.phpfile. This file usually contains the markup for how each product is displayed. - Add the Button Code: Search for the code that generates the product image. You can insert your ‘Add to Cart’ code right below that. Typically, it looks something like this:
<?php woocommerce_template_loop_add_to_cart(); ?>This line of code will output the ‘Add to Cart’ button where you need it.
After making your edits, don’t forget to save changes. It’s a great idea to check your store to confirm that the button appears as you intended.
Using Custom Code in Your Theme’s Functions.php
If you prefer a more technical route or need to make more extensive customizations, adding code to your theme’s functions.php file can be an efficient way to customize your WooCommerce store. Here’s how you can do it:
- Access the Theme Editor: Just like before, go to Appearance > Theme Editor. From there, find
functions.php. - Add a Custom Function: You’ll want to create a function that targets the product display section. Here’s an example of what your function may look like:
function custom_display_add_to_cart() { global $product; echo '<div class="custom-add-to-cart">'; woocommerce_template_loop_add_to_cart(); echo '</div>';}add_action('woocommerce_after_shop_loop_item', 'custom_display_add_to_cart', 10);This function ensures that the ‘Add to Cart’ button is shown wherever you want on the product listing page.
Finally, after pasting your custom code, save your changes and refresh your store. You should see the ‘Add to Cart’ button snugly positioned right under your product images!
5. Utilizing a Plugin for Easy Integration
If you’re not particularly fond of diving into code, fear not! There’s a treasure trove of plugins available that can help you effortlessly add an “Add to Cart” button underneath your product images in WooCommerce. Utilizing these plugins not only saves you from potential coding headaches but also enhances your site’s functionality with just a few clicks.
Here’s how you can go about selecting and utilizing a plugin:
- Choose the Right Plugin: You want a plugin that is compatible with your current theme and offers the customization features you need. Some popular options include WooCommerce Customizer, YITH WooCommerce Quick View, and WooCommerce Product Table.
- Installation: Navigate to your WordPress dashboard, go to Plugins > Add New, and search for your chosen plugin. Click Install Now and then Activate.
- Configuration: After activation, locate the plugin settings in your dashboard. Many plugins provide a user-friendly interface where you can drag and drop elements to customize your product page layout easily.
- Preview Changes: Before making things live, preview how your new button placement looks on your site. Most plugins include a preview option to help visualize your changes.
By leveraging a plugin, you not only streamline the process but also ensure that your WooCommerce store retains a polished, professional look—without the stress of coding!
6. Testing the New Button Placement
Alright, you’ve installed a plugin or tweaked your code, and the new “Add to Cart” button is now prominently featured below product images. But hold on! Before you pop open the champagne, it’s crucial to conduct a thorough testing phase to ensure everything works as expected.
Here are some steps and considerations for effectively testing your new button placement:
- Check Responsiveness: Open your WooCommerce store on various devices (desktop, tablet, mobile) to see if the new button placement behaves well. It’s essential that customers can easily access the button across different screen sizes.
- Test Functionality: Click one of the “Add to Cart” buttons to verify that it correctly adds the item to the cart. The cart must update seamlessly, and any notifications (like confirmation messages) should appear without hiccups.
- Monitor User Interaction: If possible, gather user feedback. A/B testing could be beneficial here. Try comparing metrics like click-through rates on the new button location versus the old one to see if there’s a positive impact on user engagement.
- Address Any Issues: If you encounter glitches—like misalignment of elements or functionality hiccups—be ready to troubleshoot. This might involve checking settings in the plugin or revisiting your custom code.
Testing is an essential step in ensuring that your customers have the best experience possible. After all, a seamless shopping experience encourages users to engage, add more items to their cart, and ultimately make a purchase!
Troubleshooting Common Issues
Every now and then, you might hit a few snags while trying to add the ‘Add to Cart’ button underneath product images in WooCommerce. Don’t worry; it’s perfectly normal! Let’s breeze through some common issues you might encounter and how to tackle them.
1. Button Not Appearing
If the ‘Add to Cart’ button is missing completely, here are some checks to perform:
- Theme Compatibility: Ensure that your current theme supports WooCommerce. Some themes may have customized layouts that could be hiding the button.
- Plugin Conflicts: Temporarily deactivate all other plugins to see if one of them is causing the conflict. Reactivate them one by one to pinpoint the culprit.
2. Button Displaying Incorrectly
If your button is showing up but looks out of place, consider the following:
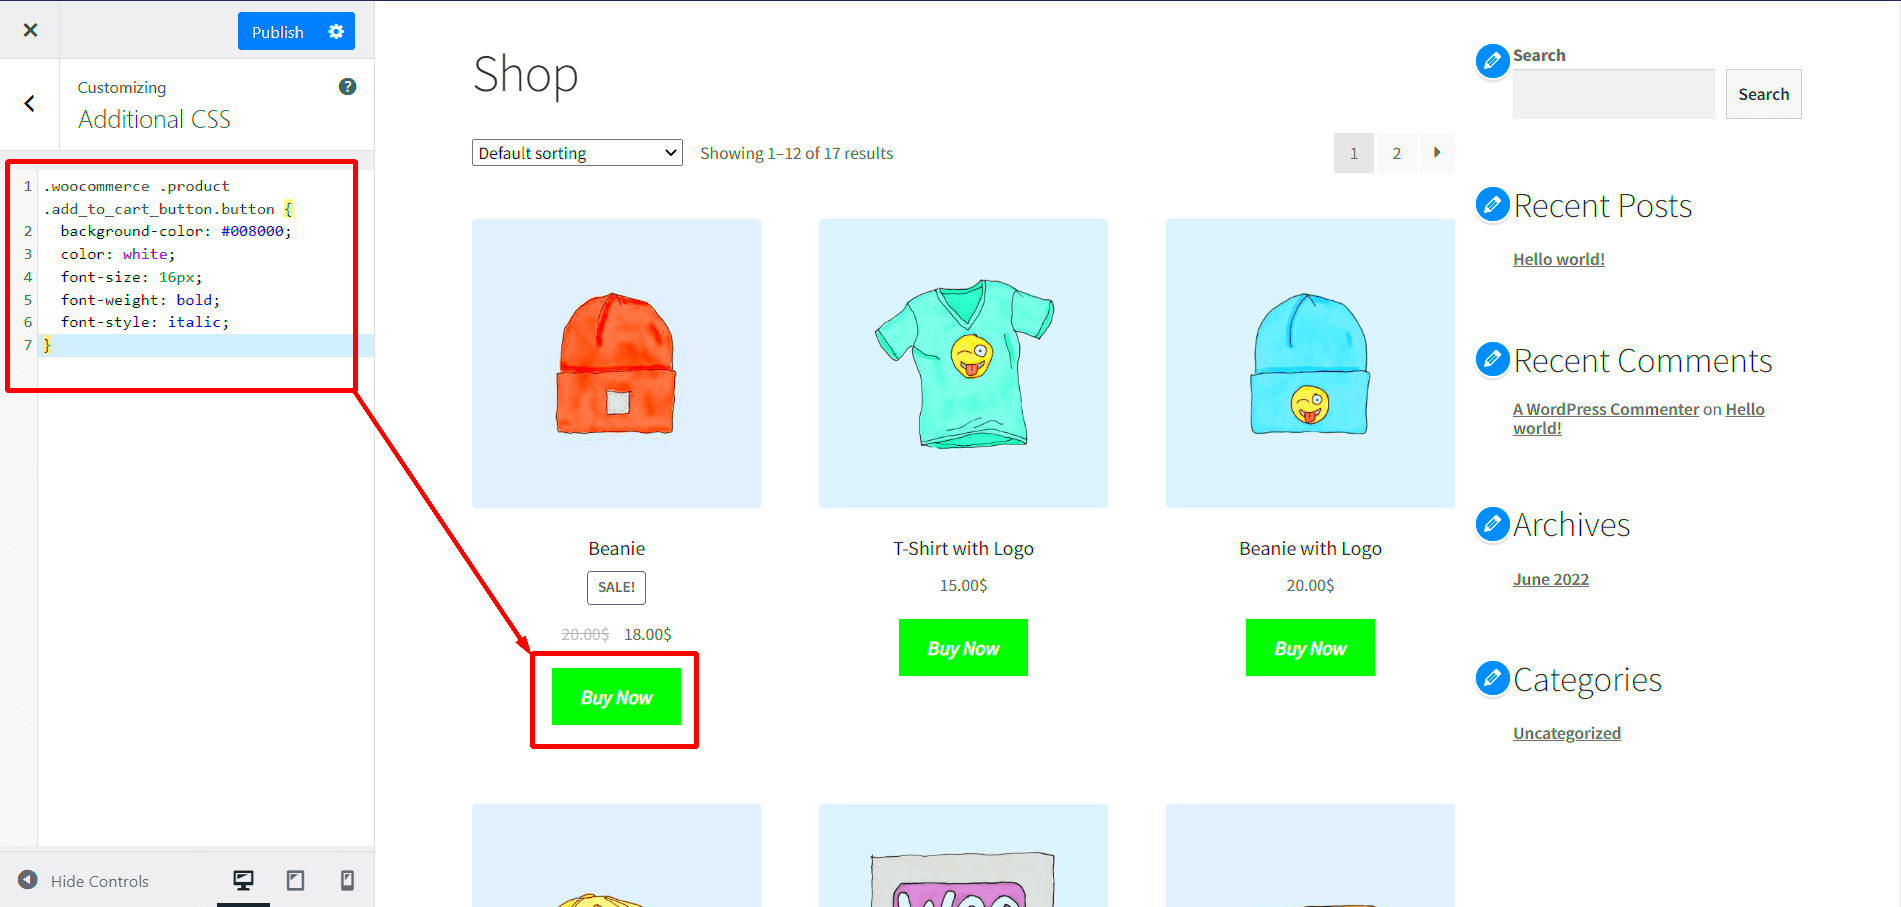
- CSS Issues: Sometimes your theme’s stylesheet might override default WooCommerce styles. You can add custom CSS to adjust the button’s appearance or consult your theme’s documentation.
- Inspect Element: Use your browser’s ‘Inspect Element’ tool to debug layout issues. This can give you insight into why the button might be misaligned.
3. Button Not Functional
If the button appears but clicking it doesn’t add products to the cart:
- JavaScript Errors: Check the browser console for any JavaScript errors that might hinder functionality. Fixing these could restore proper actions to the button.
- Ajax Settings: Verify whether AJAX is enabled in WooCommerce settings, as this affects on-page add-to-cart actions.
Remember, persistence is key! Don’t hesitate to reach out to WooCommerce support or your theme developer if you still face issues. It’s always likely there’s a simple fix waiting to be discovered!
Conclusion
Adding the ‘Add to Cart’ button beneath product images in WooCommerce can significantly enhance the shopping experience for your visitors. It’s a straightforward process that might just require a few tweaks depending on your specific setup. We’ve covered everything you need—from editing template files to customizing CSS styles. So, let’s recap the journey:
- Customization Options: You’ve learned about using template overrides and WooCommerce hooks to place the button exactly where you want it.
- Testing and Troubleshooting: Equipped with troubleshooting methods, you can diagnose and resolve common issues to ensure that your button is not only functional but looks fabulous.
- User Experience: Ultimately, the goal is to improve user engagement. A strategically placed ‘Add to Cart’ button can lead to increased sales and happier customers.
If you find yourself stuck experimenting with these customizations, remember: the WooCommerce community is vast and filled with resources. Forums, documentation, and support channels can provide assistance. So, dive in, experiment a little more, and watch how small changes can lead to big results in your online store!


