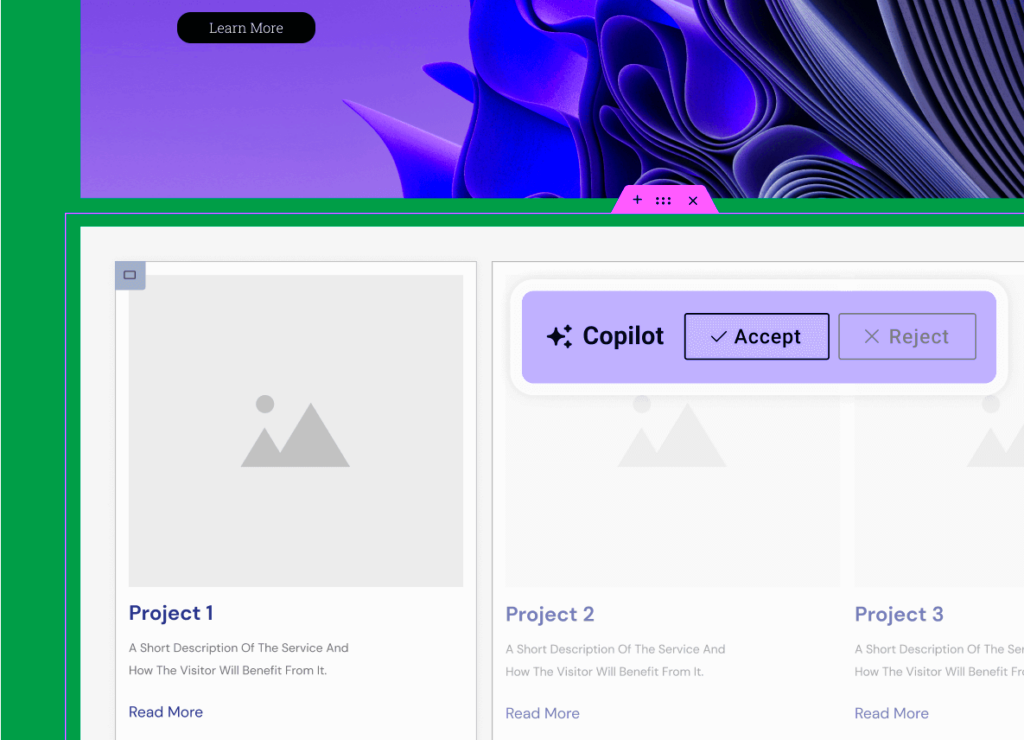
If you’re an Elementor user looking to enhance your web design experience, then you’re in for a treat! Copilot in Elementor is an innovative tool that helps streamline your design process, making it easier and more efficient. Imagine having a virtual assistant by your side as you navigate through the platform, suggesting features, layouts, and design elements tailored to your project. Not only does Copilot save you time, but it also helps you unleash your creativity by providing smart recommendations that align with best design practices. In this post, we’ll explore the essential steps to activate Copilot and get the most out of this incredible tool.
Pre-requisites for Activating Copilot

Before diving into the activation process, there are some essential prerequisites you should keep in mind to ensure a smooth experience. Here’s what you’ll need:
- Elementor Pro Subscription: Copilot is a feature exclusive to Elementor Pro users. Make sure you have an active subscription to access its capabilities.
- Latest Version of Elementor: Keep your Elementor plugin updated to the latest version. This ensures that you have all the latest features, including Copilot.
- Compatible Themes: Some WordPress themes might not fully support Elementor features. Using a compatible theme will help avoid any design glitches.
- Stable Internet Connection: Since Copilot relies on web-based assistance, a stable and fast internet connection is crucial for optimal performance.
- Familiarity with Elementor Interface: It’s always a plus if you’re already comfortable navigating the Elementor interface. This will help you fully leverage Copilot’s features.
Once you’ve ticked off these prerequisites, you’ll be ready to activate and explore the amazing capabilities that Copilot has to offer!
Step-by-Step Guide to Activating Copilot
So, you’re ready to supercharge your Elementor experience with Copilot? Awesome! Let’s walk through the process together. Activating Copilot is a straightforward task, and you’ll be guided step by step. Just follow along, and you’ll be up and running in no time!
- Log into Your WordPress Dashboard: Start by logging into your WordPress site. This is your control center where all the magic happens!
- Navigate to the Plugins Section: In the left sidebar, find the ‘Plugins’ option and click on it. This is where you can manage all your installed plugins.
- Add New Plugin: Click on the “Add New” button at the top of the Plugins page. This will take you to the repository of available plugins.
- Search for Elementor Copilot: In the search bar, type “Elementor Copilot”. It’s like searching for a favorite TV show—you want specifics!
- Install the Plugin: Once you find Copilot, hit the “Install Now” button. This is where the excitement builds!
- Activate the Plugin: After installation, you’ll see an “Activate” button. Click it to enable the plugin on your site.
- Configure Initial Settings: Head to the Elementor settings page (you’ll find it in the sidebar), and look for the Copilot options. Here, you can customize how Copilot functions to suit your workflow.
And just like that, you’ve activated Copilot! Now go ahead and dive into creating amazing layouts and functionalities with your new assistant!
Exploring Copilot Features
Now that you’ve got Copilot activated, it’s time to explore what this fantastic tool has to offer! Gone are the days of struggling with complicated design tasks, as Copilot adds a treasure trove of features designed to elevate your Elementor experience.
- Intuitive Interface: The Copilot interface is user-friendly and integrates seamlessly with Elementor. You won’t have to break a sweat learning how to navigate it!
- AI-Powered Recommendations: Copilot uses AI to suggest design elements that complement your current layout, making it easier to choose the right components.
- Content Generation: Need some text? Copilot can help generate sample content based on your input, saving you time while maintaining creativity!
- Real-Time Collaboration: If you’re working in a team, Copilot allows multiple users to collaborate and see changes in real time. It’s like having a virtual brainstorming session!
- Code Snippets: For those who love coding, Copilot provides customizable code snippets to enhance your design options and functionality.
- Pre-designed Templates: Copilot gives you access to a library of stunning templates that you can customize, fast-tracking your design process.
With these features at your fingertips, you’ll find that creating beautiful and functional websites has never been easier. Dive in and start experimenting with Copilot today—it’s like having a design buddy right by your side!
Troubleshooting Common Issues
Even the most user-friendly tools can sometimes run into hiccups, and activating Copilot in Elementor is no exception. Let’s dive into some common issues you might encounter and how to resolve them.
- Copilot Not Appearing: If you’ve followed the activation steps but can’t see Copilot, try the following:
- Ensure your Elementor is updated to the latest version.
- Check if your subscription for Copilot is active and linked correctly.
- Clear your website cache and refresh the page.
- Disable any conflicting plugins that might interfere with Elementor.
- Slow Performance: If you notice that your site is running slowly after activating Copilot, consider these tips:
- Inspect your hosting environment to ensure it’s optimized for WordPress.
- Limit the number of active plugins, as too many can cause lag.
- Check if your images are optimized for faster load times.
- Error Messages: Sometimes, you might encounter error messages while trying to use Copilot. Here’s what you can do:
- Take a screenshot of the error message for reference.
- Search the Elementor community forums for similar experiences or solutions.
- Reach out to Elementor’s support team with detailed information about your issue.
By following these troubleshooting tips, you can often resolve common issues quickly, ensuring a smooth experience with Copilot.
Conclusion and Next Steps
In conclusion, activating Copilot in Elementor can enhance your web design experience, making it more efficient and intuitive. By leveraging its features, you can create stunning, user-friendly websites that stand out.
Now that you’ve learned how to activate Copilot and troubleshoot common problems, here are some next steps to consider:
- Explore Features: Take some time to familiarize yourself with all of Copilot’s capabilities. The more you know, the more you can utilize it in your projects.
- Join the Community: Engage with other Elementor users. Forums and social media groups can be a goldmine for tips, tricks, and inspiration.
- Experiment with Templates: Don’t hesitate to try out various templates and layouts. Copilot can suggest options based on your content, making the design process even more seamless.
- Keep Learning: Check out Elementor’s official documentation, webinars, and tutorials to sharpen your skills.
With these steps, you’ll not only have a grasp on how to work with Copilot but also continue to enhance your web design journey. Happy designing!


