Welcome to the beginner’s guide on Elementor! If you’re looking to create stunning websites without any coding knowledge, you’re in the right place. Elementor is a powerful page builder that runs on WordPress, and it’s designed to simplify the web design process. Whether you’re a blogger, an entrepreneur, or just someone wanting to share your passion online,
What is Elementor?
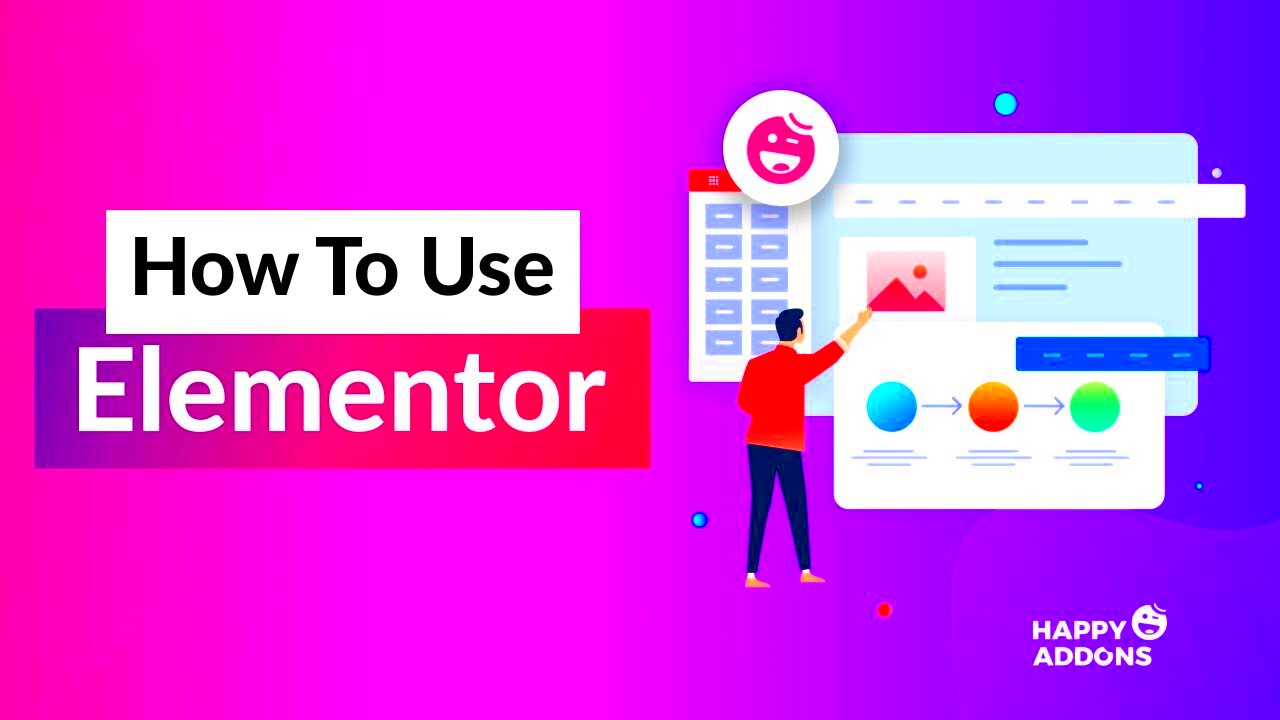
Elementor is a top-notch WordPress page builder that allows users to create beautiful, responsive websites using a simple drag-and-drop interface. Here’s what makes Elementor stand out:
- User-Friendly Interface: No coding skills? No problem! The intuitive interface makes it easy to build pages by dragging and dropping elements right where you want them.
- Pre-Designed Templates: Elementor comes with a library of pre-designed templates and blocks, enabling you to jumpstart your design. You can choose from hundreds of templates tailored for various niches.
- Responsive Design: With Elementor, you don’t have to worry about how your site looks on different devices. It automatically adjusts to ensure your site looks great on desktops, tablets, and smartphones.
- Customization Options: Tailor every aspect of your design. From typography and colors to margins and padding, every element can be customized to match your brand’s style.
- Widgets and Extensions: Elementor offers a vast array of widgets like buttons, images, sliders, and more. Plus, there are numerous third-party extensions available for additional functionality.
In summary, Elementor is an invaluable tool for anyone looking to craft beautiful websites without the steep learning curve that often accompanies web design. Whether you’re a seasoned pro or a complete newbie, Elementor has something to offer you!
Why Choose Elementor for WordPress?
If you’re diving into the world of WordPress, you might find yourself wondering, “Why should I use Elementor specifically?” Well, you’re in for a treat! Elementor is not just another plugin; it’s a game changer. Here’s why you might want to choose
- User-Friendly Interface: Elementor boasts a drag-and-drop builder interface that’s incredibly intuitive. You don’t need to be a coding wizard to create stunning web pages. Simply drag and drop elements, and watch your website come to life!
- Real-Time Editing: With Elementor, you can see changes in real-time. There’s no need to switch back and forth between the editor and the preview. You’ll have a seamless experience as you design your site live.
- Endless Design Possibilities: Whether you’re going for a sleek, modern look or something more traditional, Elementor offers a vast array of pre-designed templates and widgets. You can customize them endlessly or build from scratch!
- Mobile Responsiveness: In today’s mobile-driven world, your site needs to look fantastic on all devices. Elementor has built-in responsive settings that ensure your site looks great on every screen, from desktop to mobile.
- Extensive Plugin Compatibility: Elementor works harmoniously with most WordPress themes and plugins, making it easy to integrate other tools into your workflow.
- Community & Support: With a large, active community and extensive documentation, you’ll never feel lost. There are countless tutorials, forums, and resources readily available to help you out!
So, whether you’re a blogger, a business owner, or looking to create a portfolio, Elementor offers a robust toolkit that can cater to your every web design need.
Installing Elementor on Your WordPress Site
Now that you’re excited about using Elementor, let’s get your hands dirty! Installing Elementor is a breeze, and you can have it up and running in just a few minutes. Here’s how:
- Log into Your WordPress Dashboard: Start by logging into your WordPress admin area. This is your command center for managing your site!
- Navigate to Plugins: On the left-hand menu, hover over “Plugins” and click on “Add New.” This will take you to the plugin directory.
- Search for Elementor: In the “Search plugins” box, type “Elementor.” You’ll quickly find the Elementor Page Builder in the results.
- Install Elementor: Once you’ve located the Elementor plugin, click on the “Install Now” button. The installation process will start, and within moments, you’ll see a success message.
- Activate the Plugin: After installation, you’ll see an “Activate” button. Click it to enable Elementor on your site.
- Explore Elementor Settings: Once activated, you’ll notice a new menu item labeled “Elementor” on your WordPress dashboard. Click on it to explore the settings and customize your experience.
That’s it! You’re all set to start creating beautiful pages with Elementor. Now, just head over to your pages or posts, and click “Edit with Elementor” to begin your design adventure!
Understanding the Elementor Interface
Welcome to the heart of your Elementor experience—the interface! If you’re just starting out, it may seem a bit overwhelming at first, but don’t worry! I’m here to help you navigate through it all.
Once you open Elementor, you’ll notice what I like to call the “dashboard” at the left side of your screen. This is where the magic happens! You’ll find various tools and options, and I’ll break it down for you.
- Canvas: The main area you see is your canvas, where you’ll be building your stunning pages. Think of it as your virtual workspace.
- Sections and Columns: Your canvas is divided into sections, and each section can have one or more columns. This structure helps in organizing your content visually.
- Widgets Panel: On the left side, you have the widgets panel, featuring all the elements you can drag and drop onto your canvas, like text boxes, images, buttons, and more.
- Navigator: This feature helps you keep track of all the sections and columns in your layout. You can easily select items and adjust them from here.
- Preview and Publish: At the bottom, you’ll see options to preview your changes in real time and publish your work when you’re ready.
The interface is user-friendly once you familiarize yourself with it. With just a bit of practice, you’ll be whipping up beautiful pages in no time!
Basic Elements and Widgets in Elementor
Now, let’s explore the fun part—elements and widgets! Elementor is packed with a variety of these, each designed to help you create a feature-rich website effortlessly. Whether you want to showcase your creativity or build a professional blog, Elementor’s widgets got your back!
Here’s a rundown of some basic elements and widgets to get you started:
| Widget | Description |
|---|---|
| Text Editor | Customize your text with various fonts, sizes, and styles. |
| Image | Add pictures to enhance your content visually, with options for alignment and sizing. |
| Button | Create clickable buttons that guide your visitors to specific actions. |
| Heading | Use varying heading styles to organize your content hierarchy. |
| Video | Embed videos quickly to engage your viewers. |
These are just the basics! Elementor allows you to mix and match these widgets to create something obviously unique. The more comfortable you get, the more you’ll experiment with advanced elements like sliders, testimonials, and much more. Have fun building!
7. Creating Your First Page with Elementor
So, you’ve installed Elementor and you’re eager to dive in! Creating your first page with Elementor is not only exciting but also incredibly straightforward. Let’s walk through the steps together!
First things first, make sure you have a WordPress site ready to go. If you’ve already set that up, follow these steps:
- Access Your WordPress Dashboard: Log in to your WordPress admin area.
- Navigate to Pages: Look for the “Pages” option on the left-hand menu, and click on it.
- Add New Page: Click on the “Add New” button to create a new page.
- Launch Elementor: You’ll see the “Edit with Elementor” button; go ahead and click that!
Once you’re inside Elementor, you’ll notice that the interface is user-friendly and intuitive. Here’s a quick rundown of what you’ll do next:
- Select a Template: You can start from scratch or choose a pre-designed template that fits your needs.
- Drag and Drop Elements: Use Elementor’s elements (also called widgets) to build your page. Need a heading? A photo? Just drag and drop!
- Customize: Click on any widget to customize it completely, from the text and color to the spacing. The changes happen in real-time, so you can see what your page will look like as you work.
Finally, when you’re happy with your design, hit the “Publish” button to make your page live. Congratulations—you just created your first page with Elementor!
8. Designing Your Page Layout: Sections, Columns, and Widgets
Now that you’ve created your first page, let’s talk about how to design it effectively. Elementor gives you excellent control over your layout through the use of sections, columns, and widgets. Understanding these elements is essential to creating a visually appealing and functional webpage.
Sections: Sections are the building blocks of your page. Each section can contain rows of columns and multiple widgets. Think of them as the containers that hold everything together.
Columns: Inside each section, you can add columns to divide the layout. This is super useful for creating multi-column designs. For example, if you want to place an image on one side and some text on the other, you can simply add a two-column layout.
| Layout Type | Description |
|---|---|
| Single Column | Ideal for a focused design, like a full-width image or a single block of text. |
| Two Columns | Great for comparison layouts, showcasing different features side by side. |
| Three or More Columns | Perfect for displaying multiple items, like products or services, in a visually appealing way. |
Widgets: Widgets are the specific elements you place inside your columns. Elementor offers a vast array of widgets, including:
- Headings: Add titles or subtitles to your sections.
- Images: Insert engaging visuals to compliment your content.
- Text Editor: Craft and format your paragraphs with ease.
- Buttons: Create call-to-action buttons to guide users.
To add any of these elements, just drag and drop the desired widget into your columns. Then, you can modify their settings to match your design vision. Remember, the beauty of Elementor lies in its flexibility—experiment and have fun!
Using Templates and Pre-Designed Blocks
If you’re just diving into the world of Elementor, one of the best features to leverage is the availability of templates and pre-designed blocks. These resources can significantly speed up your design process and help you create stunning layouts without needing to start from scratch. So, let’s explore how this works!
Elementor offers a variety of templates that you can import directly into your pages. Here’s why you should consider using them:
- Time-Saving: Instead of crafting each section from the ground up, simply choose a template that meets your needs and customize it.
- Professional Design: Many templates are designed by professionals, ensuring you have a polished look right out of the box.
- Ease of Use: Templates come with pre-set structures making it easy to just drag-and-drop elements, which is super beginner-friendly.
To access templates, navigate to the Elementor editor and click on the “Folder” icon. You’ll see a library filled with both full-page templates and individual blocks. Choose what resonates with you, and import it into your design.
Once you’ve imported a template or block, don’t hesitate to modify it. Change colors, typography, and even the entire layout to match your site’s branding. This customization means you can still maintain a unique look while benefiting from the hard work of design professionals!
Customizing Page Elements with Style Settings
After you’ve added elements to your page using templates or blocks, it’s time to make them your own. The style settings in Elementor allow you to customize the appearance of each element in minutes. Here’s how to go about it!
Click on the element you want to customize and navigate to the “Style” tab. Here, you’ll find options to adjust everything from text color to backgrounds, borders, and spacing.
- Text Settings: Change font sizes, styles, line heights, and even add shadows to give your text a unique flair.
- Background Options: You can choose solid colors, gradient backgrounds, or even images to create an engaging backdrop for your sections.
- Padding & Margin: Fine-tune the spacing around elements with intuitive sliders. This is key to achieving a balanced layout.
- Border & Shadow: Add borders or drop shadows for depth to your designs, making elements stand out more prominently.
Don’t forget to preview your changes in real-time! Elementor’s intuitive live editing feature allows you to see how your adjustments will look on the actual site, saving you from guessing what changes will do.
Customization is where your personality can shine through, so feel free to experiment. With Elementor’s style settings at your disposal, turning your creative vision into reality is easier than ever!
11. Responsive Design with Elementor
Responsive design is essential in today’s digital landscape. More users are accessing websites through mobile devices, making it crucial for your site to look fabulous on screens of all sizes. Thankfully, Elementor steps up to the plate, offering robust tools that make building a responsive website a breeze.
With Elementor, creating a responsive layout involves just a few clicks. You can easily switch between desktop, tablet, and mobile views using the responsive mode setting. Here’s how you can effectively use this feature:
- Customization for Each Device: You can specify width, height, and other settings separately for desktops, tablets, and mobiles, ensuring that your content looks tailor-made for each viewer.
- Hide/Show Elements: Don’t want certain elements on mobile? No problem! With the visibility settings, you can hide specific sections on certain devices, ensuring a clutter-free experience.
- Flexible Margins and Padding: Adjust margins and padding for each device type, giving you absolute control over the spacing for a polished look.
- Test Responsiveness Live: Elementor allows you to preview how your page looks across different devices in real-time, which makes it easier to make tweaks on the fly.
In conclusion, Elementor empowers you to create a fully responsive website without requiring extensive coding knowledge. Whether you’re a beginner or someone looking to sharpen their skills, mastering responsive design with Elementor should be high on your list!
12. Advanced Features: Popups and Forms
When it comes to enhancing user engagement on your website, Elementor offers advanced features such as popups and forms that can vastly improve your site’s functionality. These tools are more than just eye-candy; they play a pivotal role in gathering leads, offering promotions, and enhancing user interaction.
Popups
Creating popups with Elementor is incredibly straightforward. Just a drag-and-drop, and you’re set! Here are some features you can leverage:
- Customizable Templates: Choose from a variety of pre-designed popup templates or design your own from scratch.
- Targeting Options: Decide when and where your popups should appear—based on user activity, scroll depth, or even exit intent!
- Advanced Triggers: Use triggers to control when your popups show up; for instance, you can set them to appear after a user has spent a certain amount of time on your page.
Forms
Forms are equally crucial for collecting user data, feedback, and facilitating contact. Here’s what Elementor offers:
- Drag-and-Drop Builder: Build complex forms effortlessly; add fields, buttons, and styling as you see fit!
- Integration: Integrate your forms with popular email marketing tools like Mailchimp or HubSpot, making it easy to manage your leads.
- Spam Protection: Utilize the built-in spam protection features to ensure that your forms are secure and effective.
In summary, with Elementor’s advanced features like popups and forms, you can boost engagement and add layers of functionality to your website. Get creative and see how these tools can help you connect with your audience better!
13. Publishing and Optimizing Your Page
So, you’ve spent some time designing your page using Elementor, and it looks great! Now, it’s time to make it go live and ensure it attracts the attention it deserves. Here’s how you can publish and optimize your page effectively.
Publishing Your Page:
Once you’re satisfied with your design, you’ll want to share it with the world. To publish your page, follow these simple steps:
- Click on the green Publish button located at the bottom left corner of the Elementor panel.
- If you are editing a new page, you can also choose to Update an already published page.
- Once the page has been successfully published, Elementor will display a confirmation message.
Optimizing Your Page:
Before you high-five yourself for a job well done, let’s talk about optimization. A well-optimized page can significantly improve your site’s performance and SEO ranking. Here are some quick tips:
- Check for Responsiveness: Always preview your page across different devices (desktop, tablet, mobile) to ensure it looks good everywhere.
- Load Speed: Optimize images and consider minifying CSS and JavaScript to speed things up. Plugins like WP Rocket or ShortPixel can help.
- SEO Optimization: Use an SEO plugin like Yoast SEO to set meta titles and descriptions, making it easier for search engines to index your content.
- Analytics Integration: Make sure to integrate Google Analytics to track user interactions and refine your strategies over time.
By following these steps, you can ensure that your beautifully crafted page doesn’t just sit pretty but actually drives traffic and engagement.
14. Conclusion and Next Steps
Congratulations! You’ve made it through the Elementor tutorial for beginners. You should now have a solid understanding of how to use Elementor to create stunning web pages without writing a single line of code. But remember, this is just the beginning!
Recap of What You’ve Learned:
- How to navigate the Elementor interface
- Building and customizing widgets
- Utilizing templates for quicker design
- Publishing and optimizing your pages for best performance
Next Steps:
Here’s how to continue your journey in Elementor and WordPress:
| Step | Description |
|---|---|
| 1 | Experiment More: Create multiple styles and layouts. Don’t hesitate to try new things! |
| 2 | Join Communities: Engage with other Elementor users in forums or Facebook groups. You’ll learn a ton! |
| 3 | Explore Advanced Features: After you’re comfortable, explore dynamic content, custom CSS, and more advanced settings. |
In conclusion, keep experimenting and learning. Elementor is a powerful tool that can help you create amazing websites. Don’t hesitate to dive deeper, and happy designing!

