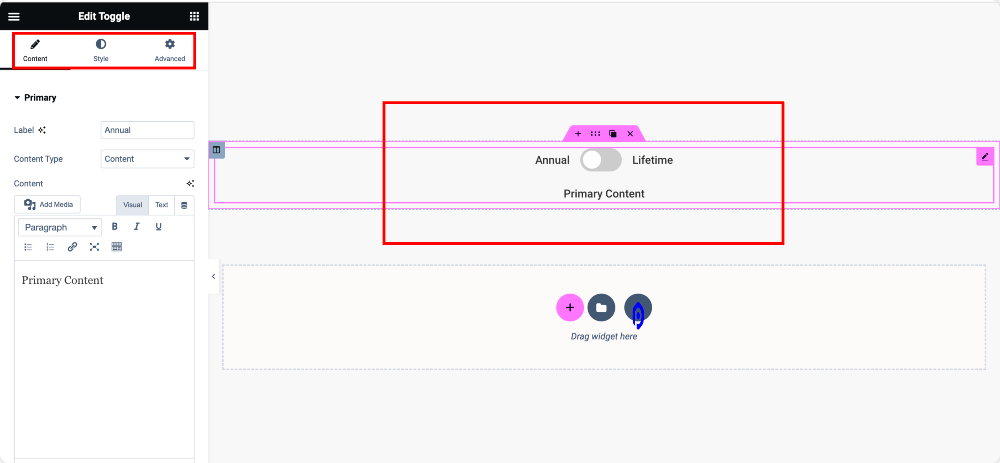
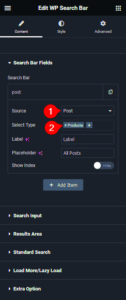
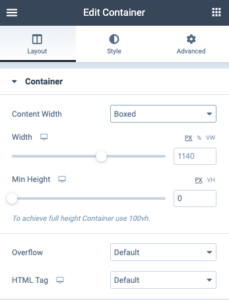
Have you ever wished to present information clearly and engagingly on your website? Well, Elementor Toggles are the answer! They allow you to condense multiple content sections into a single, interactive element. Whether you’re crafting a FAQ section, a product description, or need to share content without overwhelming your visitors, toggles are a fantastic option. In this post, we’ll dive deep into toggles in Elementor and explore tips to customize them to fit your needs perfectly.
Understanding the Default Toggle Widget
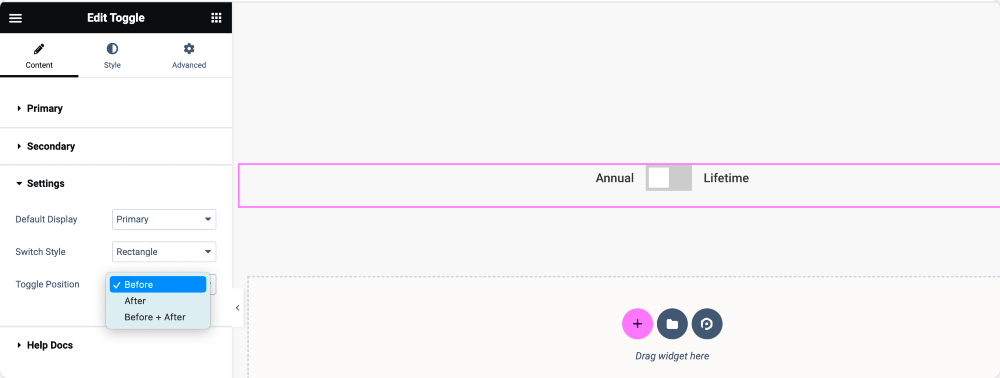
The default Toggle Widget in Elementor is a powerful tool that helps maintain a clean and organized layout while offering flexibility for content display. Let’s break down what this widget is all about:
- What is a Toggle? A toggle is essentially a clickable element that expands or collapses to show or hide additional content. Think of it like a mini accordion.
- Designing with Toggles: Toggles can enhance your design by keeping the interface tidy. They’re particularly effective in sections where you want to provide users with more options without cluttering the screen.
- Features of the Default Toggle Widget:
- Title and Content: You can easily edit the title and the content that appears when you expand the toggle.
- Icon Customization: Choose your icons for opened and closed states, adding a visual cue for users.
- Styling Options: Change colors, typography, borders, and spacing to match your brand’s theme.
It’s crucial to familiarize yourself with these features, as they will pave the way for further customization down the line. So, let’s get into how you can customize these toggles beyond the defaults!
Why Avoid Using Shortcodes?
Shortcodes can indeed feel like a blessing when creating content quickly, but there are several reasons why you might want to steer clear of them, especially when working with Elementor‘s toggles. Let’s break it down.
- Limited Flexibility: Shortcodes often come with predefined functions which limit customization options. When you use toggles built from shortcodes, you may find it hard to adapt their appearance or behavior to fit your design needs.
- Confusion and Compatibility: Shortcodes can create confusion for those who may be less familiar with coding. As you add different plugins, you might find that certain shortcodes conflict with one another, leading to a jumbled interface.
- Performance Issues: Over-reliance on shortcodes can slow down your site. Each shortcode can add an extra layer of complexity that requires more resources to process, which can negatively impact your site speed.
- Learning Curve: If you or your team need to manage or update the content, relying on shortcodes can create an unnecessary learning curve. Non-technical users may struggle to grasp how to effectively use them, making it harder to maintain effective site updates.
- Code Bloat: Using shortcodes can lead to clutter in your codebase, making it hard to troubleshoot or find issues later. This extra bloat can create headaches for developers who need to manage or optimize your site down the line.
By avoiding shortcodes, you’ll find greater control and ease of use, empowering you to create an engaging and customized user experience more effectively.
Customizing Toggles Without Shortcodes
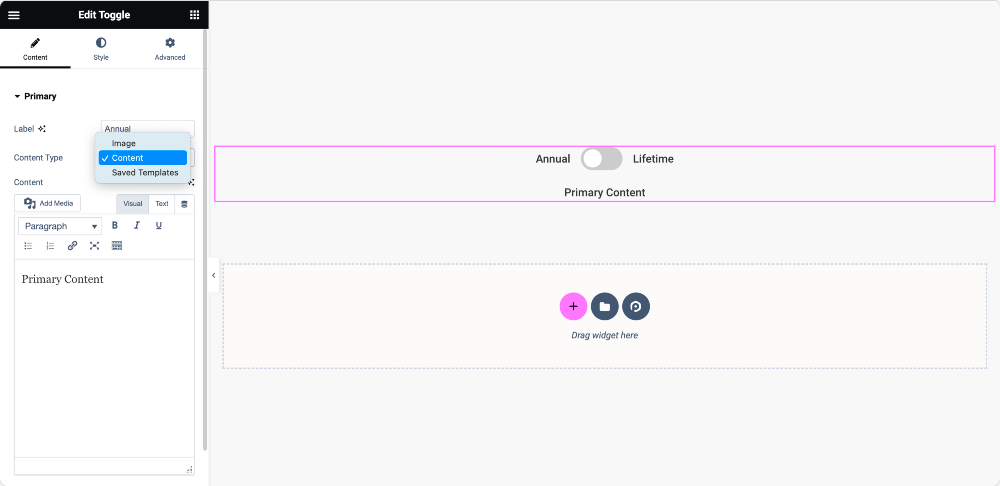
Using Elementor to create and customize toggles can be a delightful experience—especially when you manage to do it without resorting to shortcodes! Let’s explore how to create beautiful toggles from scratch, enhancing your site’s appearance and functionality.
- Drag-and-Drop Interface: Elementor’s intuitive drag-and-drop interface allows you to effortlessly arrange toggle items visually. Simply drag the “Toggle” widget to your desired location on the page.
- Dynamic Content Integration: Use the dynamic content feature in Elementor to create engaging toggles that pull in data from your WordPress database, like recent news posts or testimonials, without needing shortcodes.
- Styling Options: One of the joys of using Elementor is the vast array of styling options. You can easily modify colors, typography, and spacing to align with your brand aesthetics. Use the advanced settings to add hover effects and animations that delight the visitors.
The toggle settings in Elementor allow you to:
| Setting | Description |
|---|---|
| Title | Modify the text displayed for each toggle item. |
| Content | Add HTML content, images, or widgets to each toggle. |
| Active State | Customize how toggles appear when they’re open or closed. |
By creatively tweaking these settings and using Elementor’s advanced features, you can craft toggles that not only stand out but also improve user engagement—all without the hassle of shortcodes!
5. Step-by-Step Guide to Customization
Customizing Elementor Toggles can be a walk in the park if you follow a simple step-by-step guide. Let’s break it down!
- Access Elementor Dashboard: Start by logging into your WordPress admin panel and navigating to the page where you want to add or customize your toggles.
- Add the Toggle Widget: Click on the “Add New Section” button or edit an existing section. From the Elementor sidebar, search for the “Toggle” widget and drag it into your desired area.
- Configure Toggle Settings: Click on the toggle widget to bring up the settings panel. Here, you can add titles for your toggles and content that will be revealed. Be sure to toggle the “Content” section open to enter your text.
- Set Default Settings: Decide whether you want your toggles to open by default. Simply click on “Active” next to the toggle you want to have open when the page first loads.
- Adjust Layout: Go to the “Layout” tab and play around with the alignment, width, and spacing. Choose how many toggles will be displayed in one line, which will enhance usability on mobile devices.
- Customize Typography: Switch to the “Style” tab where you can modify typography settings such as font size, style, and color for both the title and content of the toggles. Keep accessibility in mind!
- Save Your Changes: Don’t forget to click on the ‘Update’ button at the bottom of the Elementor sidebar once you’re satisfied with your customizations. Preview your changes to make sure everything looks perfect!
By following this step-by-step guide, you’ll customize toggles that fit perfectly with your website’s overall design and user experience.
6. Advanced Styling Options for Toggles
Once you’ve mastered the basics of toggle customization, it’s time to dive into some advanced styling options! These can really take your toggles from ordinary to extraordinary.
- Custom Borders: Add a unique flair by adjusting the borders of your toggles. Under the “Style” tab, navigate to the “Border” section. You can set border width, color, and even choose between solid, dashed, or dotted lines!
- Add Background Color: Each toggle can have its own background color. Choose different colors for opened and closed states to create a dynamic UX. This option is available under the “Background” settings and adds visual interest.
- Hover Effects: Make your toggles more interactive by adding hover effects. You can change the background color, text color, or apply shadow effects when users hover over the toggle. This can encourage engagement and click-throughs!
- Animation Settings: Want to make your toggle animations smooth and stylish? Check out the “Advanced” tab where you’ll find options for animations. Options like fading, sliding, or expanding can make your toggles stand out as users interact with them.
- Use Icons: Incorporate icons to visually indicate if a toggle is open or closed. You can assign icons in the “Icon” section, and play around with size and color to keep them aligned with your brand.
- Responsiveness: Ensure your toggles look great on all devices! Use Elementor’s responsive editing feature. Adjust padding, margin, and other styling options based on device type to enhance user experience.
By utilizing these advanced styling options, you’ll be able to create toggles that aren’t only functional but also eye-catching and tailored to your brand’s identity!
Common Issues and Troubleshooting
Using Elementor, the customizable toggle feature is generally straightforward. However, you might encounter a few hiccups along the way. Here are some common issues and troubleshooting tips to help you resolve them effectively:
- Toggle Not Expanding or Collapsing: If your toggle is not functioning as expected, check if JavaScript is enabled on your website. Toggle functions depend heavily on JavaScript. Sometimes, caching plugins can interfere with the functionality, so clear your cache for any changes to take effect.
- Styling Issues: If your toggles look out of place, this could stem from theme CSS overrides. Use the ‘Custom CSS’ feature within Elementor to apply specific styles that will ensure your toggle blends seamlessly with your site design.
- Content Overlap: Occasionally, the expanded content of a toggle may overlap other elements on the page. To fix this, make sure you’ve set adequate margins and paddings in the Elementor settings to provide enough space around your toggles.
- Responsive Design Problems: If your toggles don’t look right on smaller screens, utilize the responsive settings in Elementor. Make sure you’re customizing toggles specifically for mobile, tablet, and desktop views.
- Toggle Not Displaying Properly in a Theme: If you find that your toggles aren’t displaying properly, check for plugin conflicts. Disable other plugins one at a time and see if the toggle appears as intended. If it does, that particular plugin may be causing the issue.
By addressing these common problems head-on with these troubleshooting tips, you can create a smoother, more enjoyable experience for your users.
Examples of Creative Toggle Uses
Toggles are not just for FAQs; they can be a fun, interactive way to present information on your site. Here are some creative ways you can use the toggle feature in Elementor that will engage your audience:
- Interactive FAQs: Instead of a long list of questions and answers, use toggles to make it easy for users to expand only the questions they are interested in. It keeps the layout tidy and user-friendly.
- Product Details: For e-commerce sites, toggles can be a great way to display additional product information. Customers can click to view specs, reviews, or related products without feeling overwhelmed.
- Recipes and Cooking Tips: Food blogs can use toggles to hide steps or ingredients. Users can reveal steps as they cook, ensuring they focus only on what’s necessary at that moment.
- Event Schedules: For events or conferences, each day’s events can be shown in a toggle. Users can quickly check the agenda for the day they’re interested in without scrolling through the entire list.
- Showcase Team Members: Instead of displaying lengthy bios, create toggles for each team member that, when clicked, reveal their role, experience, and fun facts. This keeps your team section visually appealing while still informative.
With these creative toggle uses, you’ll not only improve user experience but also incite curiosity. Feel free to experiment and see which setups resonate best with your audience!
Elementor Toggle No Shortcode: Tips for Customizing Toggles
Elementor is a powerful page builder for WordPress that allows users to create stunning websites with ease. Among its many features, the toggle widget is particularly popular for organizing content and enhancing user experience. However, some may find themselves in a situation where they want to customize Elementor toggles without using the shortcode. Here are some effective tips to help you make the most of your Elementor toggle widgets.
- Accessing the Toggle Widget: First, ensure the toggle widget is added to your Elementor layout. Simply drag and drop it into place from the Elementor panel.
- Customizing Style and Layout: Use the style tab to adjust colors, fonts, and spacing. You can also modify the layout settings to make your toggles visually appealing.
- Using Advanced Settings: Explore the advanced tab for additional styling options. Add custom CSS for more tailored looks that align with your brand.
Key Attributes of Elementor Toggles:
| Attribute | Description |
|---|---|
| Toggle Title | The main heading of the toggle that the user clicks to expand/collapse. |
| Toggle Content | The information displayed when the toggle is opened. |
| Icon Settings | Customize icons to make toggles visually engaging. |
By leveraging these tips, you can create unique and functional toggles that enhance user interaction on your website. Remember, effective use of Elementor toggles can significantly improve your site’s navigability and overall aesthetic.
Conclusion: Making the Most of Elementor Toggles
Customizing Elementor toggles without shortcode offers flexibility and control, allowing you to design interactive elements that enrich your content and engage users more effectively.

