If you’re diving into the world of WordPress and looking to optimize your site, you’ve probably heard about Elementor and its robust design capabilities. Among its various features, the option to use noindex tags stands out, especially for those aiming to enhance their site’s SEO. In this brief introduction, we’ll outline what noindex tags are, how they work with Elementor, and why employing them can make a significant difference in your site’s performance in search engines.
What Are Noindex Tags?
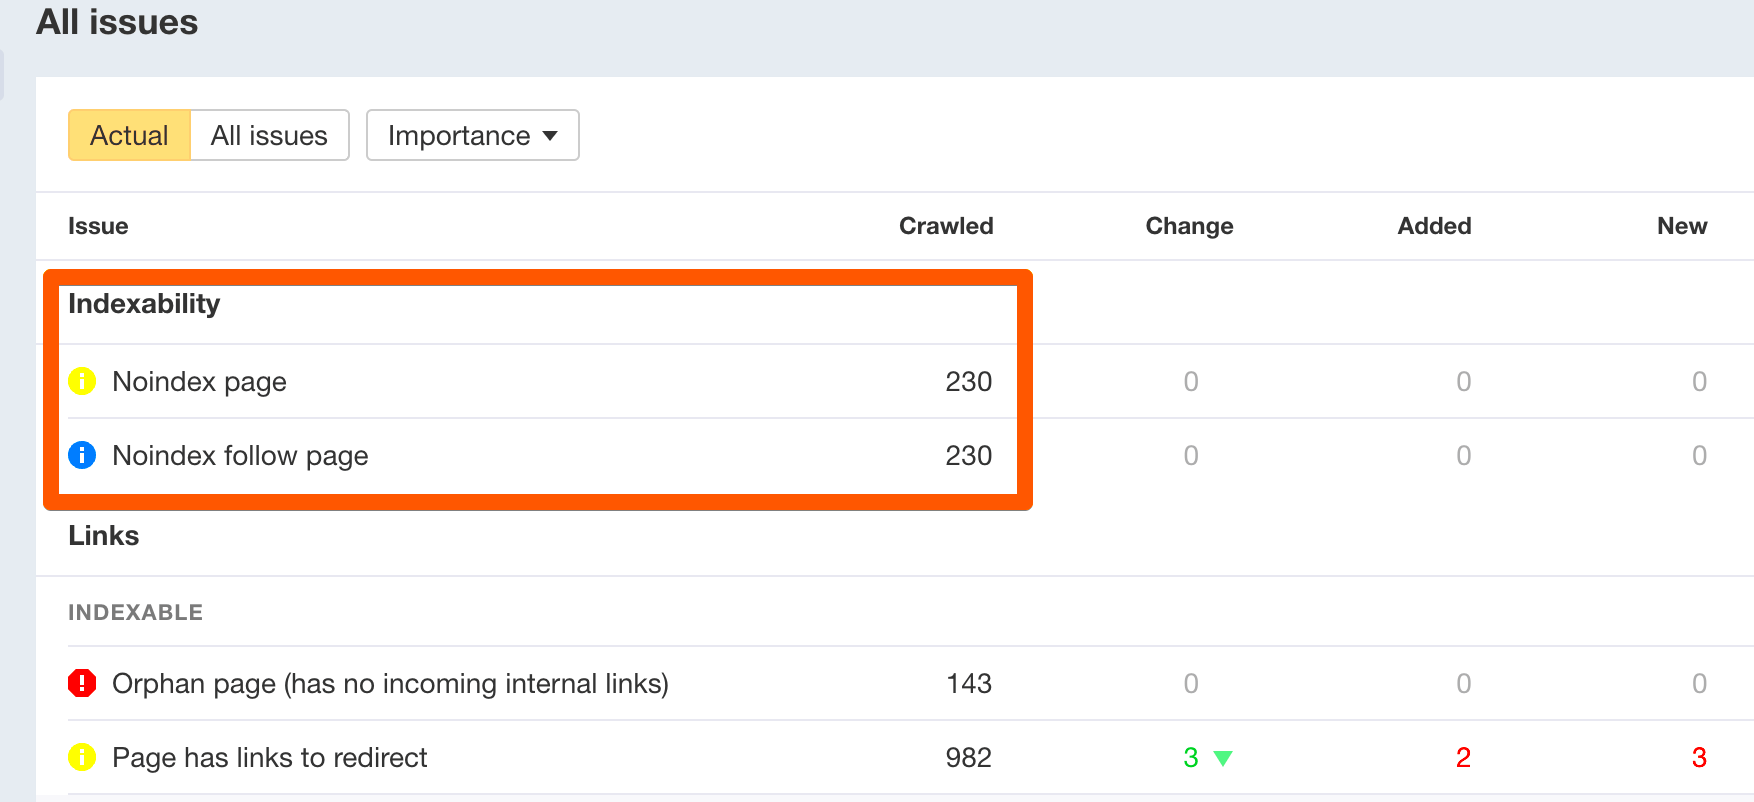
Noindex tags are a directive you can place within the HTML of a webpage to instruct search engines not to index that particular page. Simply put, when a search engine crawls your site, pages marked with a noindex tag won’t show up in search engine results. This can be beneficial for several reasons:
- Control Over Content Visibility: You may not want certain pages like Thank You pages, Log In pages, or landing pages for specific campaigns to appear in search results.
- Prevent Duplicate Content Issues: If there are multiple pages with similar content, using noindex can help consolidate your SEO efforts by preventing duplicate pages from competing for ranking.
- Improve Crawl Efficiency: By using noindex tags on less important pages, you allow search engines to focus their crawling efforts on the pages that matter most.
Inserting noindex tags in Elementor is straightforward, allowing you to manage SEO settings directly within the page editor. You can typically find this option in the page settings, and it provides an easy way to mark a page as non-indexable without having to dive into the site’s code.
Overall, noindex tags serve as an essential tool in your SEO toolbox. Understanding how and when to use them can lead to better site performance and more effective audience targeting.
Why Use Noindex Tags in Elementor?
Noindex tags can be a game-changer for your website’s SEO strategy, especially when you’re using Elementor. But why exactly would you want to employ these tags? Let’s break it down:
- Control Over Search Visibility: Noindex tags allow you to dictate which pages search engines should ignore. This can be particularly useful for pages that don’t add value to your SEO, such as thank-you pages or duplicate content.
- Prevent Indexing of Low-Quality Content: If certain pages cannot meet your quality standards or provide any real value to users, adding a noindex tag can prevent them from appearing in search results.
- Improve Crawl Efficiency: By directing search engines away from less significant pages, you enable them to focus on your high-quality content. This can ultimately help improve your overall SEO performance.
- Avoid Duplicate Content Issues: If you have multiple pages serving the same content, noindex tags can help by making sure that only the most relevant page gets indexed, thus reducing confusion and potential penalties from search engines.
- Strategic Marketing: Perhaps you want to funnel traffic toward specific pages or products. Using noindex tags allows you to direct users strategically without competing with yourself in search results.
In short, noindex tags are not just a precaution; they are an essential tool for managing your online presence more effectively. They empower you to curate how you want your content to be engaged with, both by users and search engines.
How to Apply Noindex Tags in Elementor
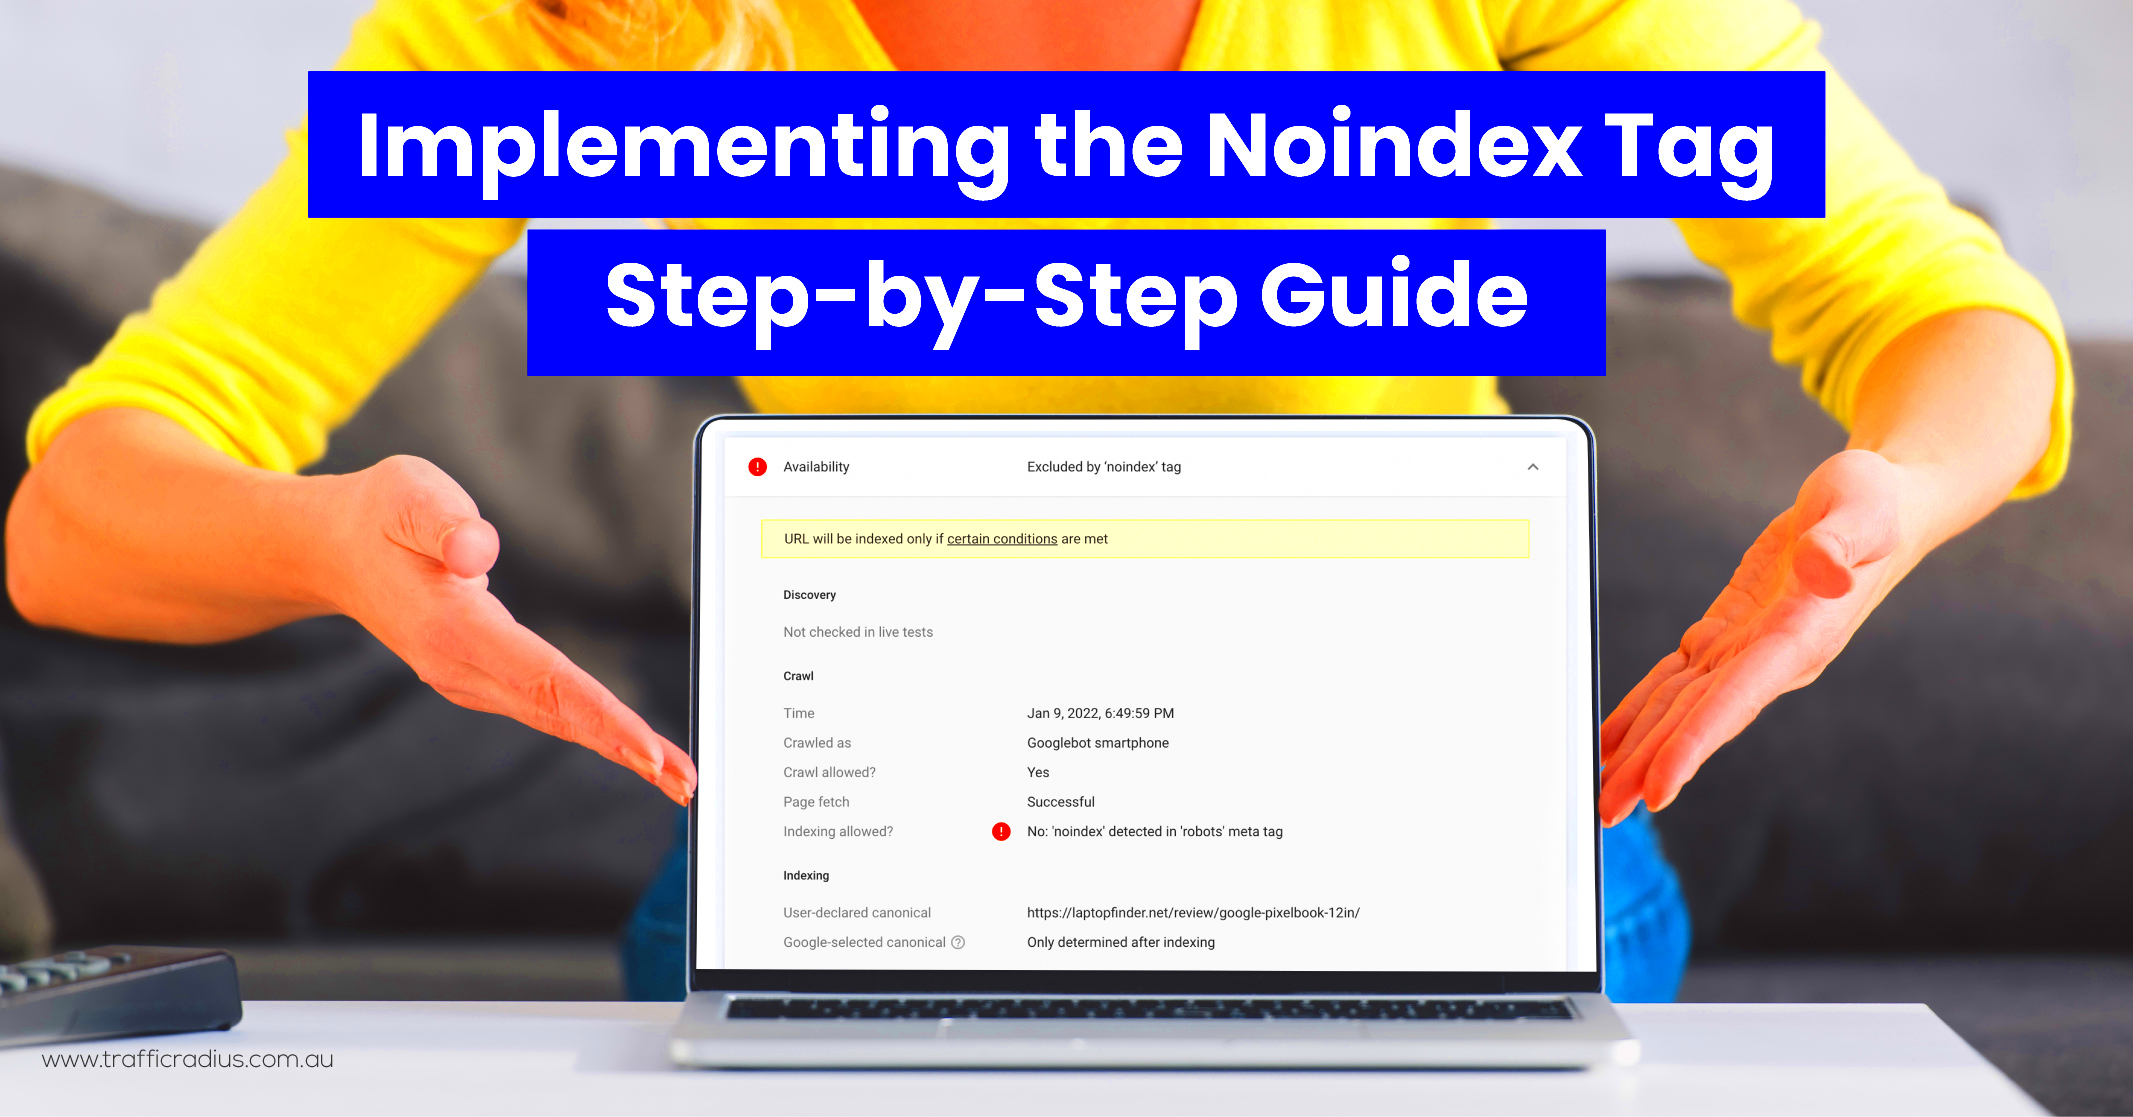
Applying noindex tags in Elementor is a straightforward process, and you don’t need to be a tech wizard to get it done. Here’s a step-by-step guide to help you through:
- Install an SEO Plugin: First, make sure you have an SEO plugin installed, like Yoast SEO or Rank Math. These plugins provide a user-friendly interface for applying noindex tags.
- Edit Your Page: Open the page you wish to noindex in the Elementor editor. Once you’re in the editor, look for the settings icon (the gear icon) in the bottom left.
- Access the Settings: Click on the settings icon, and navigate to the “Advanced” tab or the equivalent section in your SEO plugin settings.
- Enable Noindex: Inside the SEO section, look for the option to set the page as ‘noindex.’ This is usually a checkbox or dropdown menu. Enable it.
- Update Your Page: Don’t forget to click “Update” or “Publish” to save your changes. This step is crucial—your noindex tag won’t take effect if you don’t update the page!
| Steps | Actions |
|---|---|
| 1. Install an SEO Plugin | Choose and install Yoast SEO or Rank Math |
| 2. Edit Your Page | Open the page in Elementor-like editor |
| 3. Access the Settings | Click the gear icon and go to “Advanced” tab |
| 4. Enable Noindex | Check the noindex option in your SEO settings |
| 5. Update Your Page | Click “Update” to save settings |
And there you have it! Your page is now set to noindex. Applying noindex tags in Elementor is a simple but powerful way to manage what search engines see, giving you more control over your website’s SEO effectiveness.
When to Use Noindex Tags
Noindex tags are a powerful tool in the world of SEO that you can use strategically to control how search engines view and interact with your web pages. But the question remains: when should you actually use these tags? Understanding when to use noindex tags can help you optimize your site and focus search engine attention on your most valuable pages.
Here are some key scenarios where you might want to consider applying noindex tags:
- Low-Quality Content: If your webpage contains content that doesn’t offer significant value to visitors or is thin in nature, applying a noindex tag can prevent search engines from ranking it. This way, you can concentrate on promoting your quality content.
- Duplicate Content: If you have multiple pages featuring the same or very similar content, noindex tags can be instrumental in helping search engines understand what to prioritize. Choose one version to index while tagging the duplicates as noindex.
- Thank You Pages: After a form submission or successful checkout, these pages often hold little SEO value. Applying noindex prevents them from cluttering search results while still providing valuable user experience.
- Staging or Development Sites: Any work-in-progress or testing environment should not be indexed. Noindex tags are perfect here to ensure that search engines don’t index unfinished or internal projects.
- Temporary Promotions: If you have pages for limited-time offers that will eventually go away, adding a noindex tag can keep them from appearing in searches long after they’ve expired.
By knowing exactly when to use noindex tags, you can maintain a stronger SEO strategy and keep your website’s reputation intact.
Common Scenarios for Implementing Noindex Tags
Now that we’ve talked about when to use noindex tags, let’s dive into some common scenarios where these tags can be particularly beneficial. Understanding the context in which to apply noindex tags will help you navigate your SEO strategy more effectively.
Here are some typical situations in which you might want to implement noindex tags:
- Blog Archives: If your blog has archive pages that simply list post titles without unique content, these can dilute your SEO efforts. Using a noindex tag helps concentrate search engine attention on your actual posts.
- Search Results Pages: Internal search result pages often have duplicate content and lack unique value. To prevent them from competing with your main pages, applying a noindex tag is wise.
- User Account Pages: If your site allows for user accounts, such as profiles or account settings, these pages typically don’t hold much SEO value and can expose personal information. Noindex them to mitigate this risk.
- Filter and Sort Pages: If your e-commerce site has pages that allow users to filter and sort products, these pages may generate duplicate content that could confuse search engines. A noindex tag can resolve this issue.
- Thank You Pages Post-Transaction: After a purchase or lead capture, the ‘thank you’ page offers no additional benefit for SEO. Applying noindex ensures it won’t clutter search engine results.
Implementing noindex tags in these scenarios allows you to enhance your site’s focus and performance in search results. By being intentional with your SEO strategy, you can dramatically improve your website’s effectiveness.
7. Potential SEO Implications of Noindex Tags
Using noindex tags can be a powerful tool in your SEO strategy, but it’s important to understand its potential implications. When you apply a noindex tag to a page, you essentially instruct search engines not to include that page in their index. This means that the page won’t appear in search engine results, which can have both positive and negative effects on your overall SEO performance.
Here are some key implications to consider:
- Content Control: One of the main benefits of applying noindex tags is the increased control over the content that gets indexed. You can ensure only high-quality, relevant content appears in search results, enhancing your website’s credibility.
- Potential Loss of Traffic: On the flip side, if you noindex a page that could drive traffic, such as a high-ranking blog post, you might miss out on valuable visits and conversions. Always evaluate which pages you truly want to keep out of search results.
- Link Equity Distribution: Pages with noindex tags won’t pass on link equity; thus, strategically applying noindex can help in preserving link juice for more essential pages.
- Index Bloat Reduction: If your website has several low-quality or duplicate pages, using noindex tags can help clean up your index, making your sitemap and overall structure more efficient.
Ultimately, the decisions surrounding noindex tags should align with your broader SEO strategy, focusing on promoting content that adds value to your audience.
8. Testing Noindex Tags Effectiveness
After implementing noindex tags, you’ll want to test their effectiveness to ensure they’re working as intended. It’s all about measuring the impact and confirming that your SEO adjustments are yielding the desired results. Here’s how you can approach testing your noindex tags.
Steps to Test Noindex Tags Effectiveness:
- Use the “Fetch as Google” Tool: Google Search Console offers a feature where you can fetch your page to see how Googlebot views it. This is an effective way to check if your noindex tag is being recognized.
- Check Indexing Status: Use the URL Inspection tool in Google Search Console to verify whether a noindexed page has been removed from the index. You can see if Google has picked up on your noindex requests.
- Monitor Traffic Changes: Post-implementation, track any changes in your organic traffic. Use analytic tools to see if other pages have gained traffic, indicating that the noindex tag may have redirected focus.
- Audit Regularly: Periodically review pages with noindex tags to ensure they are still removing unwanted content from search results. As your site evolves, so should your noindex strategy.
By taking these steps, you can effectively test and refine your use of noindex tags, ensuring they support a healthy SEO strategy. Remember, it’s not just about making changes but understanding their impact!
Elementor Noindex Tags: How to Use and When to Apply Them
Noindex tags play a crucial role in managing how search engines perceive and interact with your website’s content. Particularly when utilizing Elementor, these tags can guide search engine robots to avoid indexing certain pages, helping you maintain control over your site’s SEO presence. Understanding when and how to implement noindex tags can greatly enhance your site’s efficiency and focus on the content that truly matters.
Here are some scenarios when you might consider applying noindex tags:
- Duplicate Content: If you have pages with similar content, using a noindex tag prevents search engines from penalizing your site for duplication.
- Landing Pages: Some landing pages may be intended for paid traffic only and should not appear in organic search results.
- Staging Sites: During site development or testing, it’s essential to noindex staging sites to avoid indexing unfinished content.
- Low-Quality Content: Pages that do not provide substantial value, such as outdated blog posts or product pages, might be better off as noindexed.
Implementing noindex tags is straightforward with Elementor. You can do this by navigating to the page settings and adding the tag under the SEO settings tab. Alternatively, using SEO plugins like Yoast can streamline the process even further.
| When to Use Noindex Tags | Reason |
|---|---|
| Duplicate Content | Avoid penalties from search engines |
| Internal Pages | Focus SEO efforts on key pages |
| Under Construction | Prevent indexing incomplete content |
In conclusion, effectively utilizing noindex tags within Elementor allows you to maintain a strategic approach to your website’s SEO, ultimately facilitating better visibility for your most important content while preventing potential penalties from search engines.

