If you’re looking to showcase your blog posts or any content in a visually appealing way, then the Elementor Display Post Grid is your go-to tool. This feature allows you to create a stunning grid layout of your posts with just a few clicks, allowing visitors to navigate your content effortlessly. No coding skills? No problem! Elementor makes it accessible for anyone, whether you’re a novice or a seasoned pro. In this guide, we’ll dive into how to effectively use this widget and customize it to fit your brand’s style.
Understanding the Display Post Grid Widget

The Display Post Grid widget in Elementor provides a flexible and visually attractive method to present your posts. Here’s a closer look at its features and functionalities:
- Content Type: The widget allows you to select which post type you’d like to display. This could be standard blog posts, custom post types, or even WooCommerce products.
- Query Options: Tailor the display by choosing specific categories, tags, or authors. You can even filter posts based on certain criteria like date or popularity.
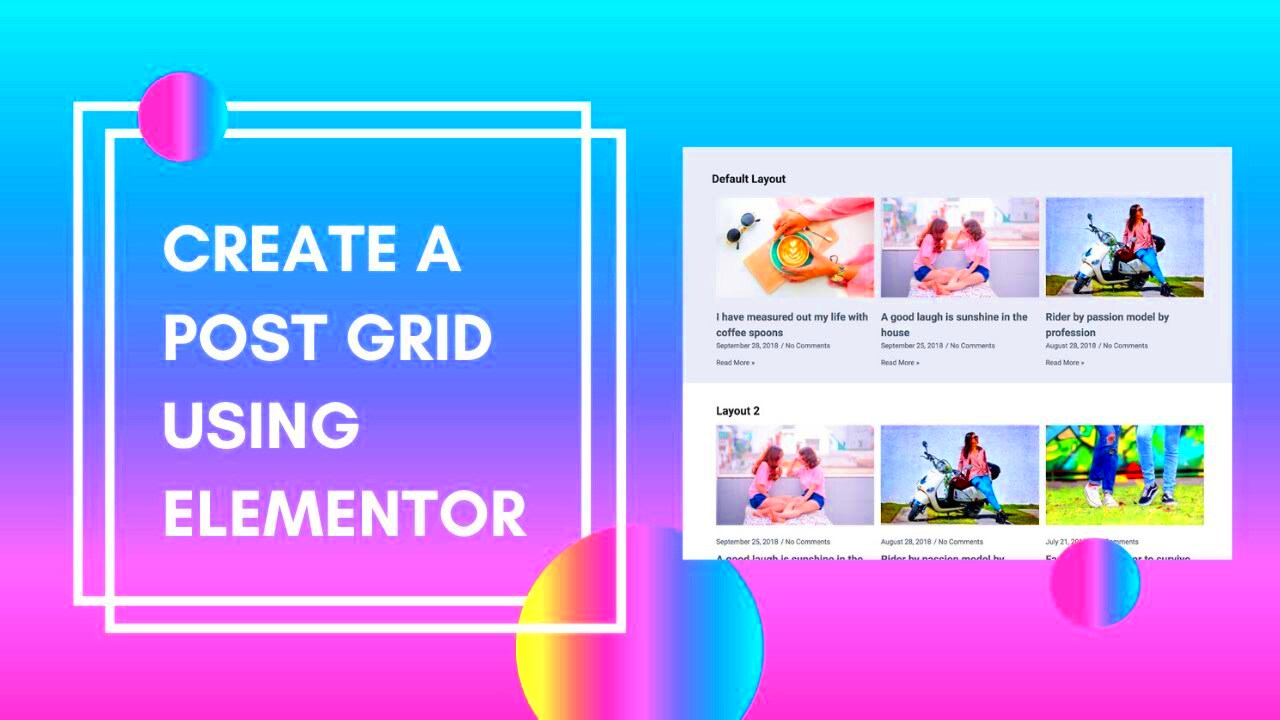
- Layout Settings: Choose from several layout options—Grid, Masonry, or Justified. Each layout offers a unique vibe that can greatly influence how your content is perceived.
- Customization Features: Adjust elements such as image size, the number of columns, and spacing between posts. Elementor’s drag-and-drop interface makes this super easy!
In addition to these core features, the Display Post Grid widget also allows you to customize the style—think fonts, colors, and hover effects. This ensures that your post grid aligns with your website’s overall aesthetic.
By mastering the Display Post Grid widget, you’ll be able to enhance your site’s user experience and make your content stand out. Stay tuned as we dig deeper into how to create and customize this powerful tool!
3. Steps to Create a Display Post Grid

Creating a Display Post Grid using Elementor is a straightforward process, and you’ll be amazed at how quickly you can showcase your content. Follow these simple steps to get started:
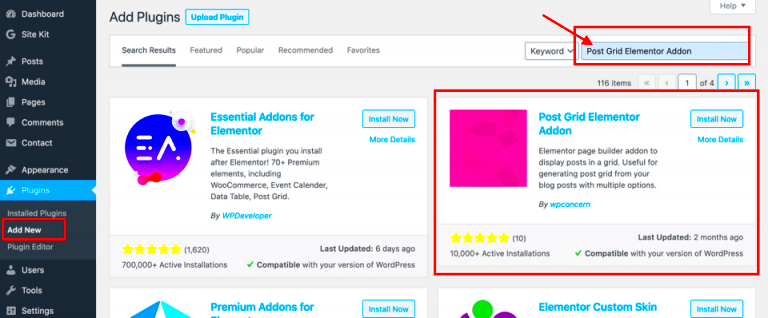
- Install Elementor: If you haven’t already, you’ll need to install the Elementor plugin on your WordPress site. Simply go to your WordPress dashboard, navigate to ‘Plugins’, click on ‘Add New’, and search for ‘Elementor’. Install and activate it.
- Create or Edit a Page: Once Elementor is set up, you can either create a new page or select an existing one you want to enhance with a Display Post Grid. Click on ‘Edit with Elementor’ to open the Elementor editor.
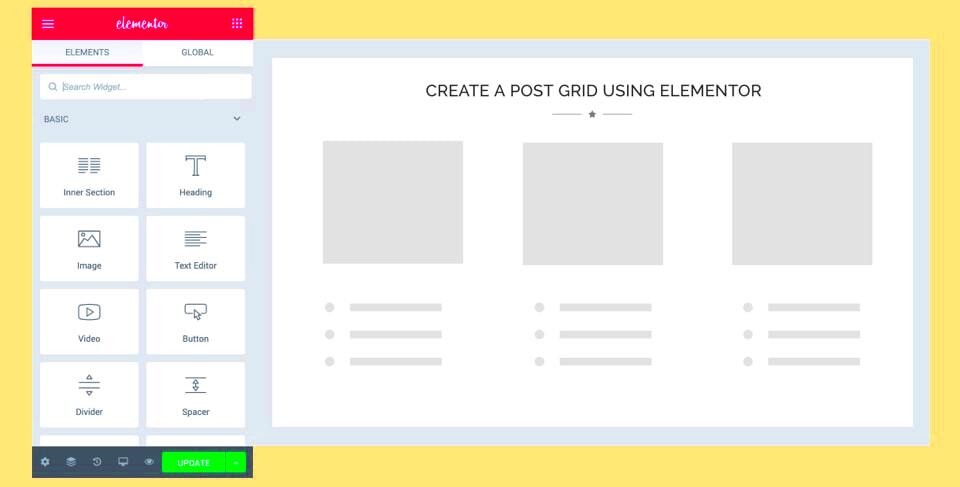
- Add the Post Grid Widget: On the left panel, type “Posts” in the search bar. Drag and drop the ‘Posts’ widget onto your page where you’d like the grid to appear. This will automatically pull in your posts.
- Select Your Source: In the ‘Content’ tab of the Posts widget settings, choose the source for your posts. You can filter by categories, tags, or select specific posts to display. This ensures you only show the content that you want your visitors to see.
- Adjust Layout: Switch to the ‘Layout’ section within the Posts widget settings. Here, you can choose how many columns you’d like, set the number of posts per page, and even select a grid or masonry style to suit your design.
- Preview and Publish: Once you’re satisfied with the grid’s look and content, hit the ‘Preview’ button to see how it will appear to your visitors. If everything looks good, click ‘Publish’ to make it live!
4. Customizing Your Display Post Grid

Now that you’ve set up your Display Post Grid, it’s time to get into the fun part: customization! Elementor offers a plethora of options to make your grid uniquely yours. Here’s how you can personalize it:
- Style Settings: On the left panel, switch to the ‘Style’ tab of the Posts widget to start customizing the appearance of your grid. You can modify typography, colors, and spacing. This means you can choose a font that perfectly aligns with your branding, adjust text size, and set margins that provide enough breathing room between each post.
- Post Excerpts: If your posts have excerpts, you can display them in your grid. In the ‘Content’ section, enable the excerpt option and customize the length. This gives just enough context about your posts to entice your readers.
- Image Settings: You can also customize how your post images are displayed. In the ‘Style’ tab, you can set image sizes, add overlays, and even define the aspect ratio. This helps maintain consistency across different posts, giving your grid a polished look.
- Hover Effects: Add interactivity by enabling hover effects in the Style tab. Choose from various animations or opacity changes that activate when someone hovers over a post. This not only enhances the user experience but also grants a dynamic feel to your website.
- Pagination Settings: Instead of showing all your posts at once, you can set pagination to divide your grid into multiple pages. This feature can be customized under the ‘Content’ section. You can choose between numbered pagination or ‘Load More’ buttons, depending on how you want your visitors to navigate.
- Responsive Options: Last but not least, don’t forget to check how your grid appears on different devices. In Elementor, you can preview and customize settings for mobile and tablet views separately, ensuring that your Display Post Grid looks fantastic on all screen sizes.
With these customization options at your fingertips, you can craft a Display Post Grid that not only showcases your content but also enhances the overall experience for your visitors. So go ahead, unleash your creativity!
Advanced Customization Options
When it comes to building a Display Post Grid in Elementor, you have a treasure trove of advanced customization options that go beyond basic layout tweaks. First off, let’s explore the query settings. Here, you can filter what posts appear in your grid by categories, tags, or even specific IDs. Want to showcase your most popular posts? There’s a setting for that too, allowing you to highlight content that resonates most with your audience.
Next, let’s talk about post sorting. You might prefer showing the latest posts first or perhaps want to feature content based on comment count or views. With these sorting options, you can effortlessly prioritize your content to align with your marketing strategy.
Don’t forget the custom fields! If you’re using Advanced Custom Fields (ACF), you can easily incorporate these to display additional information like author names, publication dates, or even unique custom icons. This adds a personal touch that can make your grid more engaging.
Another aspect to consider is the Responsive Settings. We all know that mobile traffic is crucial, and Elementor allows you to customize how your Display Post Grid looks across various devices. You can hide or rearrange elements specifically for mobile users, ensuring a seamless browsing experience.
Lastly, take advantage of the CSS Features. If you have some coding knowledge or are willing to learn, adding custom CSS can truly make your post grid stand out. Whether it’s hover effects, transitions, or unique alignment, the possibilities are endless!
Styling the Display Post Grid
Styling your Display Post Grid is where you can let your creativity fly! Elementor offers a variety of styling options to ensure that your posts don’t just function well but also look great. First, let’s focus on the layout settings. You can choose from different column structures, from two to six columns, depending on how you want your posts to be displayed. This flexibility allows you to adapt your grid to various screen sizes, maintaining an appealing aesthetic across devices.
Next up is the spacing. Proper padding and margin settings can make or break your design. Use the padding option to give your posts some breathing room and avoid clutter. You wouldn’t want your beautiful images and texts to feel crammed together!
Now, let’s dive into the actual styling elements. You can customize the typography for post titles and excerpts, adjusting font size, weight, and color. *Bold* titles can be really eye-catching, while subtle text colors can create a more sophisticated look. Pair this with high-quality images that resonate with your brand, and you’re on your way to creating an inviting grid.
Also, consider adding hover effects. These can range from simple color changes to complex animations. Such features encourage user interaction and can make browsing through posts more engaging. Don’t underestimate the power of a slight zoom or color shift!
Lastly, utilize Elementor’s background and border settings. A well-chosen background color or image can make your grid pop, while borders can help delineate each post, giving a cleaner look overall. With all these styling options, you can create a Display Post Grid that not only appears professional but also reflects your brand’s personality!
7. Adding Filters and Pagination
When it comes to displaying your posts using Elementor’s Post Grid, incorporating filters and pagination can elevate the user experience significantly. These features not only make your content more navigable but also engage visitors by allowing them to find exactly what they’re looking for with ease.
Filters enable users to sort through your posts based on categories, tags, or custom taxonomy. Here’s how you can add filters:
- In your Elementor editor, select the Post Grid widget.
- Under the “Content” tab, locate the “Query” section.
- Find the “Filters” option and toggle it to enable filtering.
- Select the taxonomy you want to use as a filter, like categories or tags.
Now, when users visit your page, they’ll see filter options above the grid, making it easier to find similar posts.
Pagination is equally crucial, especially if you have a plethora of posts. Instead of displaying them all on one page, pagination breaks them down into manageable sections. To set it up:
- Navigate to the “Pagination” settings within the Post Grid widget.
- Choose your pagination style—options might include numbers, next/previous buttons, or a “load more” button.
- Adjust the number of posts displayed per page to maintain a clean layout.
With filters and pagination in place, you create an intuitive interface that keeps users on your site longer, encourages exploration, and enhances overall user satisfaction. Don’t underestimate the power of an organized Post Grid!
8. Best Practices for Using Post Grids
Utilizing Elementor’s Post Grid can be a game changer for your blog or website, but it’s essential to adhere to some best practices for optimum effectiveness. Here are key pointers to ensure your Post Grid showcases your content beautifully and efficiently!
- Choose the Right Layout: Depending on your content and audience, experiment with different grid layouts (like masonry or standard). A visually appealing layout can attract more clicks.
- Limit the Number of Posts: Too many posts can be overwhelming. A good rule of thumb is to display anywhere between 6 to 12 posts at a time. This keeps the grid tidy and user-friendly.
- Use Eye-catching Thumbnails: Visuals matter! Make sure your post thumbnails are high quality and relevant. They are often the first thing a visitor notices.
- Implement Filters Wisely: Use filters that are relevant to your audience. Too many options can cause confusion. Focus on the most commonly searched categories or topics.
- Optimize for Mobile: Mobile users are a significant portion of web traffic. Ensure your post grid looks good on smaller screens, with easy-to-click options for navigating posts.
- Include Excerpts: Providing a brief excerpt or summary under each post can entice users to click. This makes it easier for them to gauge whether a post interests them.
By following these best practices while customizing your Elementor Post Grid, you can create a dynamic, visually engaging, and user-friendly experience that keeps your audience coming back for more!
Troubleshooting Common Issues
While using Elementor Display Post Grid can be a smooth experience, you might encounter some issues. No need to worry; we’ve got you covered! Here’s a rundown of common problems you may face and how to troubleshoot them effectively:
- Posts Not Showing Up: If your posts aren’t visible in the post grid, check the following:
- Ensure you have selected the correct post type in the Widget settings.
- Check the visibility settings to confirm that the posts aren’t excluded.
- Make sure you don’t have filters applied that limit your post display.
- Styling Issues: When your post grid doesn’t look quite right, try these solutions:
- Double-check the CSS you applied in the Custom CSS section; minor typos can cause styling problems.
- Make sure that your theme’s CSS isn’t conflicting with Elementor’s settings.
- Inspect responsive settings to ensure your grid looks good on all devices.
- Slow Loading Times: If your post grid is slow to load, consider these factors:
- Optimize your images—large files can drastically decrease loading speed.
- Limit the number of posts displayed in the grid to enhance performance.
- Use caching plugins to speed up loading times across your site.
Don’t hesitate to consult Elementor’s official documentation or community forums if you run into persistent issues. They’re great resources for troubleshooting help!
Conclusion
In conclusion, creating and customizing an Elementor Display Post Grid can significantly enhance your website’s visual appeal and functionality. With its user-friendly interface and versatile options, it allows anyone—regardless of technical skill—to showcase posts in an engaging way. Remember these key takeaways:
- Ease of Use: Elementor’s drag-and-drop feature makes the setup a breeze!
- Customization Options: From layouts to styling, you can tailor the grid to fit your brand.
- Responsive Design: Your grids look stunning on devices of all sizes, ensuring a consistent user experience.
We encourage you to explore all the features available and experiment with your design until you find what best suits your site’s needs. And don’t forget to share your creations with the Elementor community—you might inspire others! Happy designing, and may your post grids attract all the right attention!


