Hey there! If you’re diving into the world of web design using Elementor, you’ve probably stumbled upon the concept of animation delay. It sounds a bit technical, but don’t worry—it’s simpler than it seems! Animation delay allows you to control when different animations happen on your website. This can be a game-changer for creating visually engaging designs that captivate your visitors. In this guide, we’ll break down what animation delay means and how to easily customize it to suit your needs. Ready to add some flair to your site? Let’s get started!
Understanding Animation Delay in Elementor

So, what exactly is animation delay? In simple terms, it’s the time you set before an animation starts. Think of it as setting the stage before the curtain rises. Here’s how it works in Elementor:
- Timing Control: Animation delay lets you determine how long after an element appears before its animation kicks in.
- Sequential Animations: You can create a sequence of animations by staggering the delays. For example, if you have multiple elements on your page, you can make them animate one after the other instead of all at once.
- User Engagement: Delayed animations can capture your visitors’ attention better by focusing on elements as they scroll through the page.
Here’s a concise table summarizing key points about animation delay:
| Description | Benefit |
|---|---|
| Controls the start time of animations | Enhances user engagement by creating a surprising effect |
| Creates a sequence of animations | Makes the design look more polished and professional |
| Improves overall user experience | Guides users through your content smoothly |
Understanding these concepts will help you use animation delay effectively, making your website more dynamic and engaging. Plus, it’s a breeze to implement once you get the hang of it!
How to Access Animation Settings in Elementor

Getting started with animations in Elementor is a breeze! First things first, you need to access the animation settings, which are tucked away conveniently in the Elementor editor. Here’s how you can find them:
- Open Your Page in Elementor: Navigate to the page you want to edit and click on the “Edit with Elementor” button. This will open the Elementor editor where all the magic happens.
- Select the Widget: Click on the widget (like text, image, or button) that you want to animate. When you click on a widget, you’ll see its settings appear on the left side of your screen.
- Go to the Advanced Tab: Look for the “Advanced” tab in the widget settings. This is where you’ll find all the options related to animations.
- Find the Motion Effects Section: Scroll down a bit, and you’ll come across the “Motion Effects” section. Here, you have options for entrance animations and scrolling effects.
- Choose Your Animation: Click on the drop-down menu under “Entrance Animation” to see a variety of animations you can choose from. You can preview them by hovering over each option.
Once you’re here, you’re ready to explore and implement various animation effects to give your site a dynamic feel. The best part? You can customize these animations to suit your website’s overall aesthetic!
Step-by-Step Guide to Adding Animation Delay
Animation delay in Elementor can make a world of difference by creating a more polished look and feel to your website. By adding a delay, you can control when the animation starts after the page loads, giving you a well-coordinated entrance for each element. Let’s walk through how to add that animation delay, step by step:
- Follow the Steps Above to Access Animation Settings: Make sure you’re in the “Motion Effects” section under the “Advanced” tab of the widget settings.
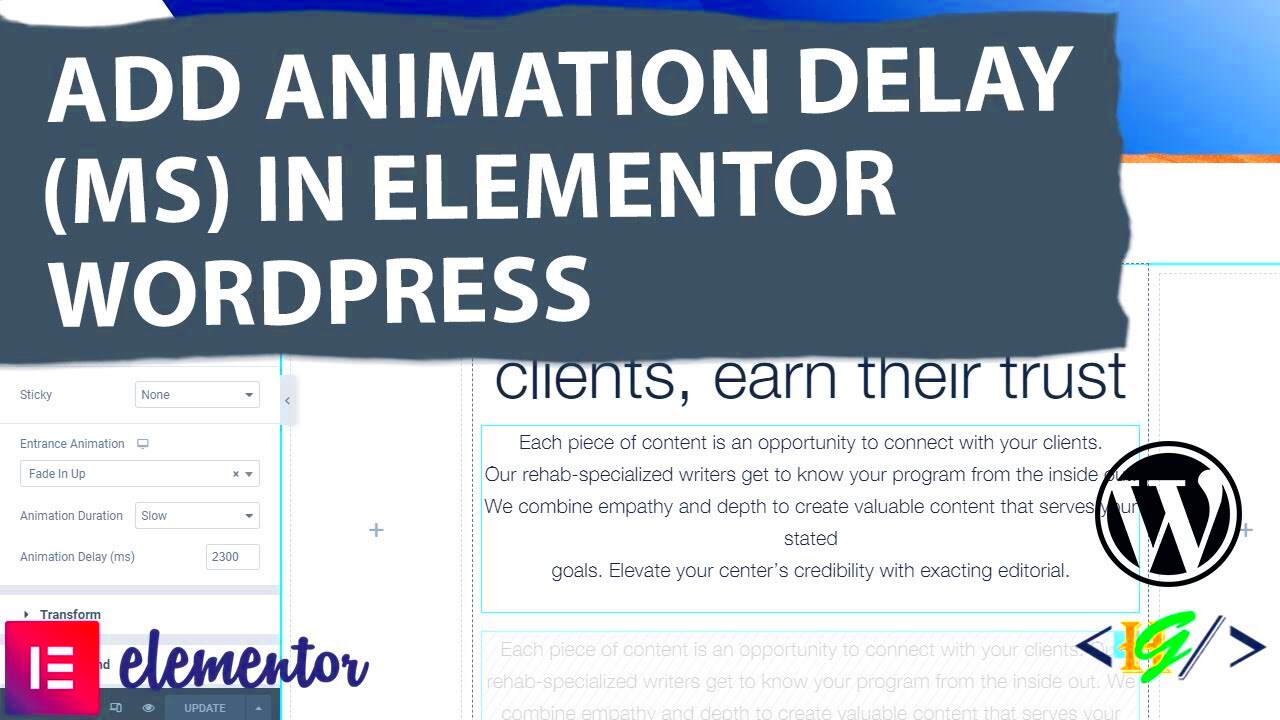
- Click on “Animation Delay”: Just below the “Entrance Animation” option, you’ll see an input box for “Animation Delay.” This is where the timing magic happens!
- Set Your Delay Time: Enter the delay time in milliseconds. For example, if you want a 1-second delay, type in “1000.” This means the animation will start 1 second after the page has fully loaded.
- Preview Your Changes: Don’t forget to click the “Preview” button at the bottom of the Elementor panel to see how your animations play out. This step is crucial, as it helps you visualize the timing and effect.
- Adjust as Necessary: If the delay feels too long or too short, go back and tweak the milliseconds until it feels just right. Find a balance that enhances the user experience!
And voilà! That’s how you add and customize animation delays in Elementor. It’s a straightforward process that can significantly improve the overall interaction on your site. Happy animating!
Customizing Animation Delay Duration
Animation delay is a powerful feature in Elementor that can significantly enhance the user experience of your website. By custom tailoring the duration of these animations, you can create a more dynamic and engaging environment for your visitors. But how do you customize this setting effectively? Let’s dig deeper!
To start, you’ll need to select the widget you want to animate and head over to the “Advanced” tab in the Elementor editor. Here, you should see the Motion Effects section. Under this section, you can find the Animation Duration option. This duration is measured in milliseconds, so you’ll want to keep that in mind. For instance, if you want an animation to take 0.5 seconds, you’d input 500 milliseconds in the field.
Here’s how you can customize the animation delay duration:
- Accessing the Widget: Click on the widget you want to animate.
- Navigate to Advanced Settings: Go to the “Advanced” tab in the settings menu.
- Find Motion Effects: Look for the Motion Effects section.
- Adjust Animation Duration: Enter your desired duration in milliseconds.
It’s crucial to strike the right balance. Too long of an animation can make your site feel sluggish, while too fast can make it seem chaotic. Aim for a duration that complements the action you’re animating. Take some time to play around with different settings, and don’t hesitate to preview the changes to see what feels best.
Best Practices for Using Animation Delay
While animation can breathe life into your website, using it effectively requires some thoughtfulness. Overusing or misusing animation delay can lead to distractions rather than enhancements. So, what are the best practices you should keep in mind when implementing animation delays in Elementor?
Here are some recommendations to help you use animation delay wisely:
- Keep It Subtle: Use animations that are understated and sophisticated. Subtle animations can effectively draw attention without overwhelming your visitors.
- Consistency is Key: Maintain a consistent style of animation throughout your site. This creates a more cohesive experience that reinforces your brand identity.
- Test for Usability: Ensure that your animations do not obstruct usability. Always test your animations on different devices and screen sizes to guarantee a seamless experience.
- Use Delay Sparingly: Adding delay can enhance the effect, but too much delay can frustrate users. Aim for a natural flow rather than a barrage of animated features.
- Think About Loading Times: Keep in mind that adding many animations might affect loading speeds. Always strive for a good balance between aesthetics and performance.
By adopting these best practices, you can create animations that captivate your audience and enhance their overall experience, rather than distract them. Ultimately, it’s all about striking the ideal balance—making your website visually appealing while ensuring it remains user-friendly.
7. Common Issues and Troubleshooting
When diving into the world of Elementor animations, it’s not uncommon to encounter some bumps along the way. Many users face similar challenges, but the good news is that most of these can be easily resolved. Here are a few common issues and tips on how to troubleshoot them:
- Animation Not Triggering: This can happen for a few reasons. First, check the section or widget settings. Ensure that you’ve actually set the animation to activate on scroll or hover, as appropriate.
- Delay Not Working: If your delay doesn’t seem to apply, confirm that you’ve selected the right animation style. Sometimes, a specific animation might not play well with the delay settings.
- Performance Issues: Adding multiple animations can sometimes lead to performance lags, especially on mobile devices. It’s a good idea to preview your changes and adjust the number of animated elements if necessary.
- Animations Clashing: If two animations seem to overlap or interfere with each other, simplify your design. Try using one animation per section to maintain coherence and improve load times.
- Compatibility Problems: Sometimes, your Elementor settings might not sync up with other plugins or themes. If things aren’t working as expected, check for plugin conflicts or outdated themes that may be causing issues.
The best advice? Always keep your Elementor and WordPress installations updated. A lot of issues can be resolved before they even become a headache!
8. Conclusion: Enhancing User Experience with Animation Delay
Integrating animation delays in your Elementor designs isn’t just a flashy way to attract attention; it’s a genuine strategy to enhance user experience. When used thoughtfully, animations can guide visitors’ eyes, highlight important content, and create a visually captivating journey across your website.
Remember, the key is moderation. Here are a few final tips to keep in mind:
- Focus on Purpose: Ensure each animation serves a specific function. Is it helping to convey an idea or providing clarity on a call to action?
- Test on Multiple Devices: Make sure your animations look great on both desktop and mobile screens.
- Solicit Feedback: Ask visitors for their input on your design. Sometimes, fresh eyes can uncover what’s working and what’s not.
In the end, with a little creativity and the right techniques, you can use animation delays to not only beautify your website but also create a seamless, enjoyable user experience. So, take the plunge, experiment with the settings, and watch your website come to life!


