Welcome to the world of WordPress customization! If you’ve ever felt overwhelmed or cluttered by the default WordPress dashboard, you’re not alone. Many users find that personalizing their dashboard can lead to better workflow and saved time. Customizing the WordPress dashboard is not just about aesthetics; it’s a way to enhance your productivity and streamline your tasks.
Understanding the Importance of a Customized Dashboard
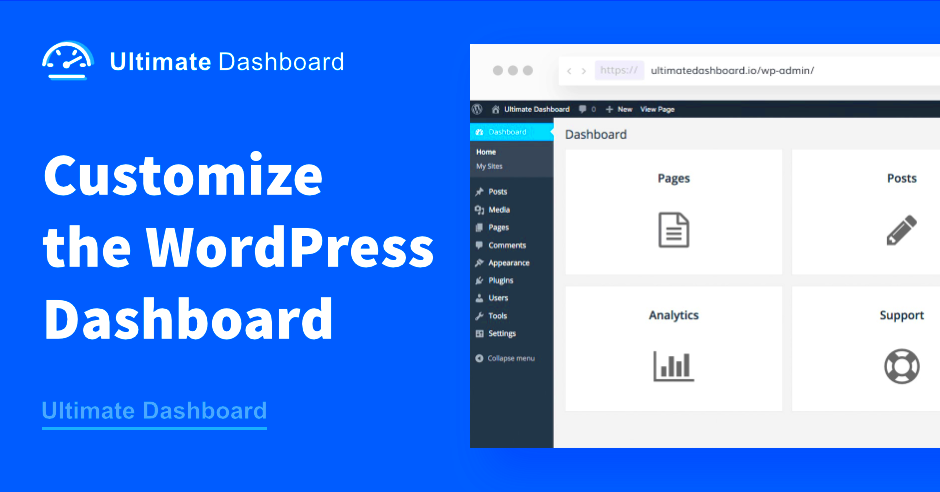
Why should you invest time in customizing your WordPress dashboard? Here are several reasons that highlight its importance:
- Enhanced Focus: A customized dashboard allows you to remove the elements you rarely use, making it easier to focus on what truly matters.
- Quick Access: By organizing important widgets and tools according to your needs, you can access frequently used features much faster.
- Improved Workflow: A tailored dashboard can help create a workflow that suits your style, reducing the time spent navigating through unnecessary menus.
- Personalization: Make your dashboard reflect your brand’s color scheme or style, adding a personal touch to your workspace.
- Team Collaboration: If you work with a team, customizing the dashboard for each member’s role can simplify their user experience and increase efficiency.
It’s clear that a customized WordPress dashboard not only makes the user experience more enjoyable but can significantly improve your productivity. Whether you’re a blogger, business owner, or developer, customizing your dashboard is a critical step towards maximizing your efficiency on the platform.
Getting Started: Accessing Your WordPress Dashboard
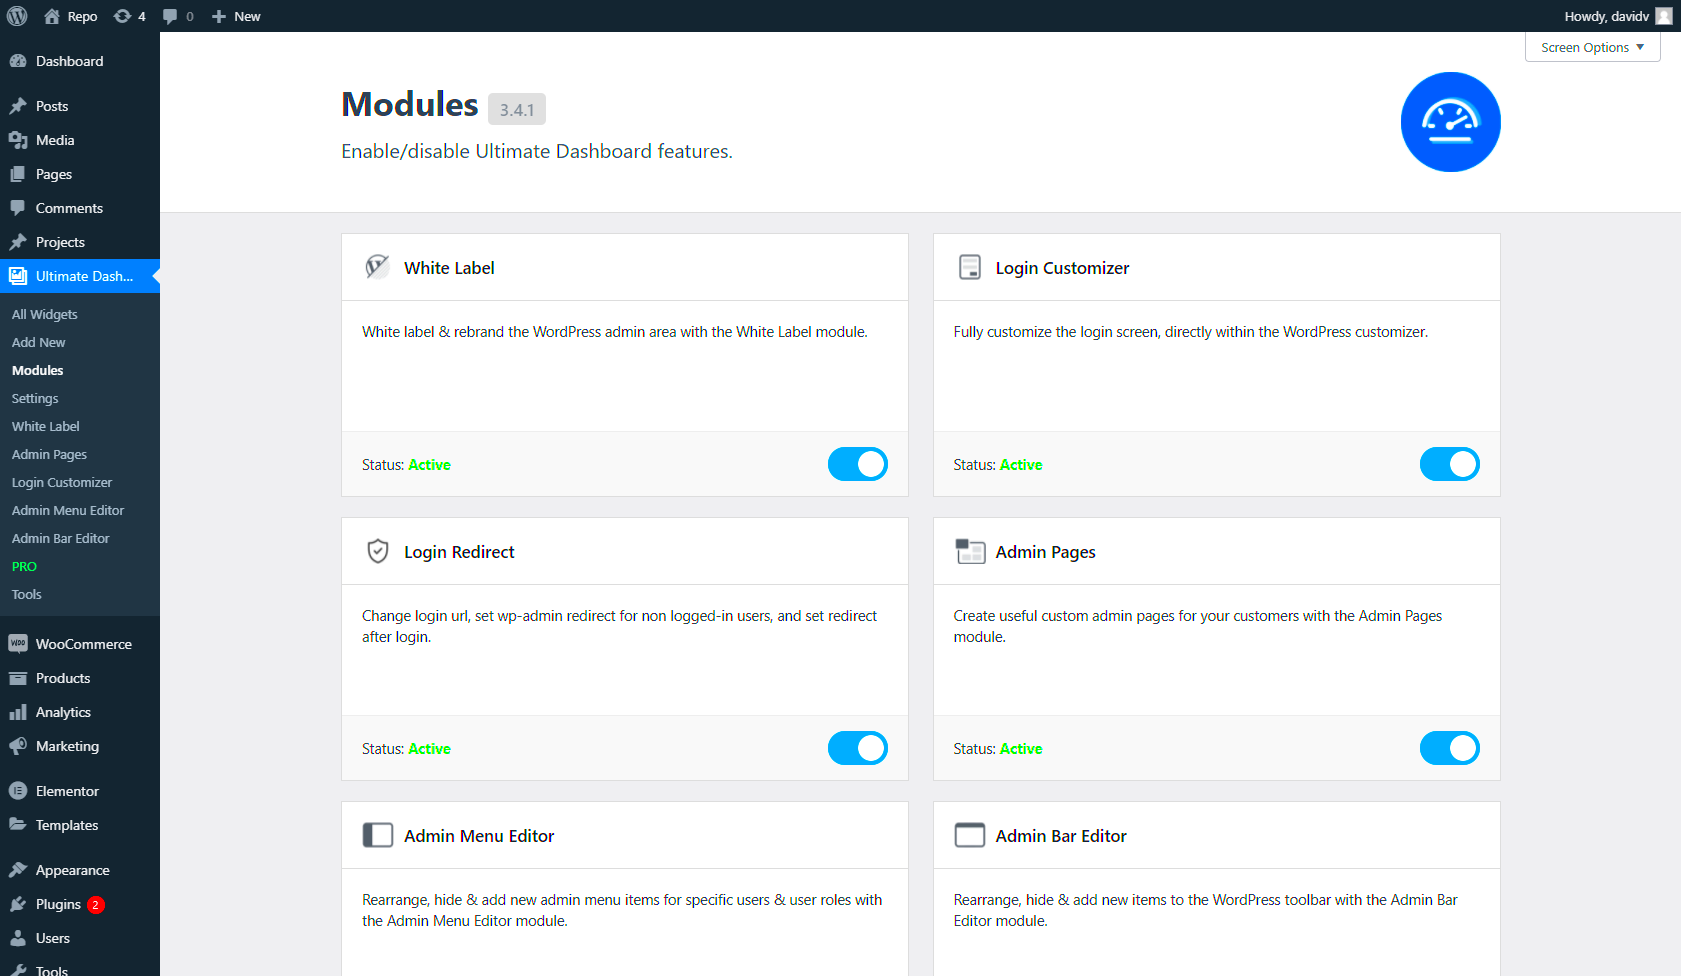
So, you’re ready to dive into the world of WordPress customization! The first step is getting access to your WordPress Dashboard. Don’t worry; it’s super straightforward. Just follow these simple steps, and you’ll be managing your website like a pro in no time.
1. Open Your Web Browser: Fire up your favorite web browser like Chrome, Firefox, or Safari.
2. Enter Your Site’s URL: Type in your website’s URL followed by /wp-admin. For example, if your website is www.example.com, you’d type www.example.com/wp-admin.
3. Log In: Enter your username and password. Make sure you’ve got those credentials handy! If you’ve forgotten your password, don’t panic; there’s a handy password recovery link right there.
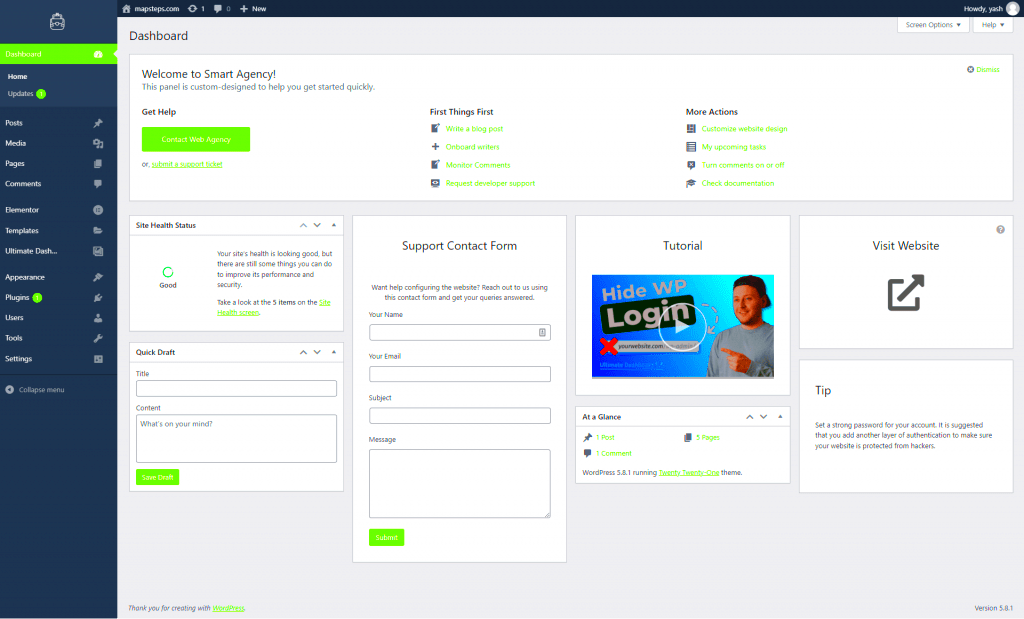
4. Explore the Dashboard: Once you’re in, take a moment to familiarize yourself with the layout. The left sidebar contains links to all the vital sections like Posts, Media, Pages, Comments, Appearance, and Plugins. The main area will display the content for whatever section you select.
5. Customize Your Toolbar: If you look at the top of the dashboard, you’ll see a toolbar that offers shortcuts to various tasks. You can customize this too, depending on what suits your workflow best.
As you get comfortable navigating your WordPress Dashboard, remember, this is your command center for creating and maintaining your website. The more you explore, the more productive you’ll become!
Using Plugins for Enhanced Customization
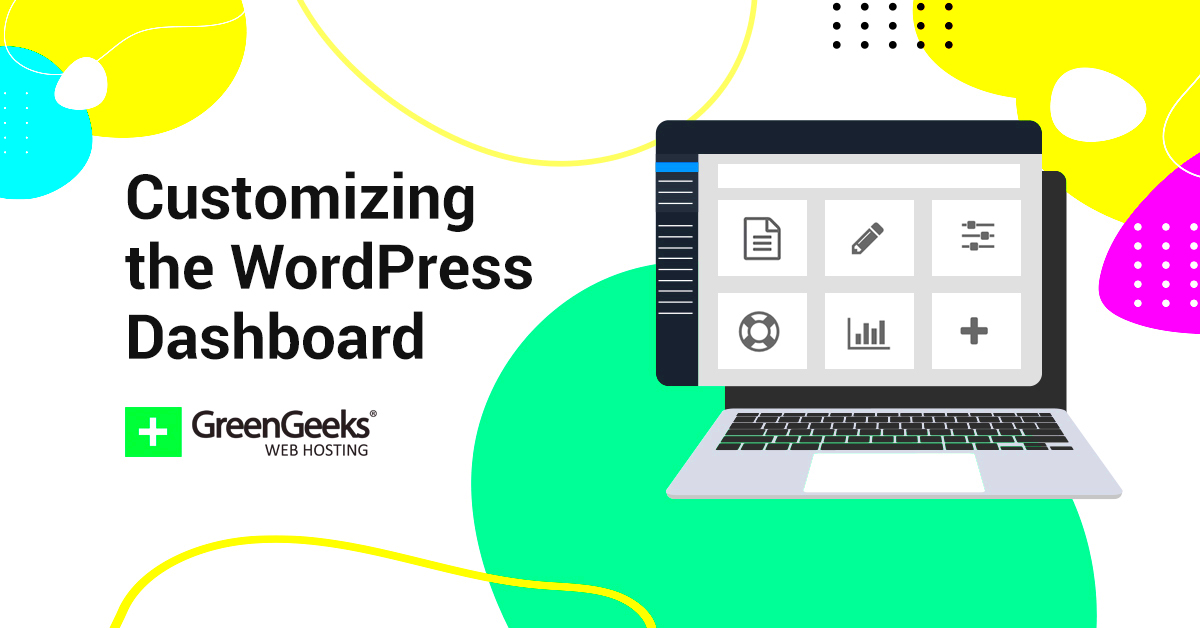
One of the best features of WordPress is its expansive library of plugins that enable you to enhance and customize your Dashboard functionality. Think of plugins as apps for your website, each adding a unique feature or functionality that can save you time and streamline your workflow.
Here’s a quick guide on using plugins effectively:
1. Searching for Plugins: Go to your Dashboard and select Plugins > Add New. In the search bar, type keywords related to the functionality you need, like “SEO,” “security,” or “performance.”
2. Popular Plugins: Here are some popular plugins that can enhance your WordPress experience:
- Yoast SEO: Helps you optimize your site for search engines.
- WPForms: Create custom forms easily.
- MonsterInsights: Connect Google Analytics for deeper insights.
- User Role Editor: Customize user permissions with ease.
3. Installing and Activating Plugins: Once you find a plugin you want, click the Install Now button, and then hit Activate after installation. Easy peasy!
4. Configuring Plugin Settings: Most plugins will have their own settings page. Look for a new menu item in the sidebar where you can tweak settings according to your needs.
5. Keep Your Plugins Updated: Regularly check for updates in the Plugins section of your Dashboard. Keeping your plugins updated is crucial for security and performance.
By using the right plugins, you can transform your WordPress Dashboard into a powerhouse of productivity, making site management simpler and more efficient!
Customizing Widget Areas on the Dashboard
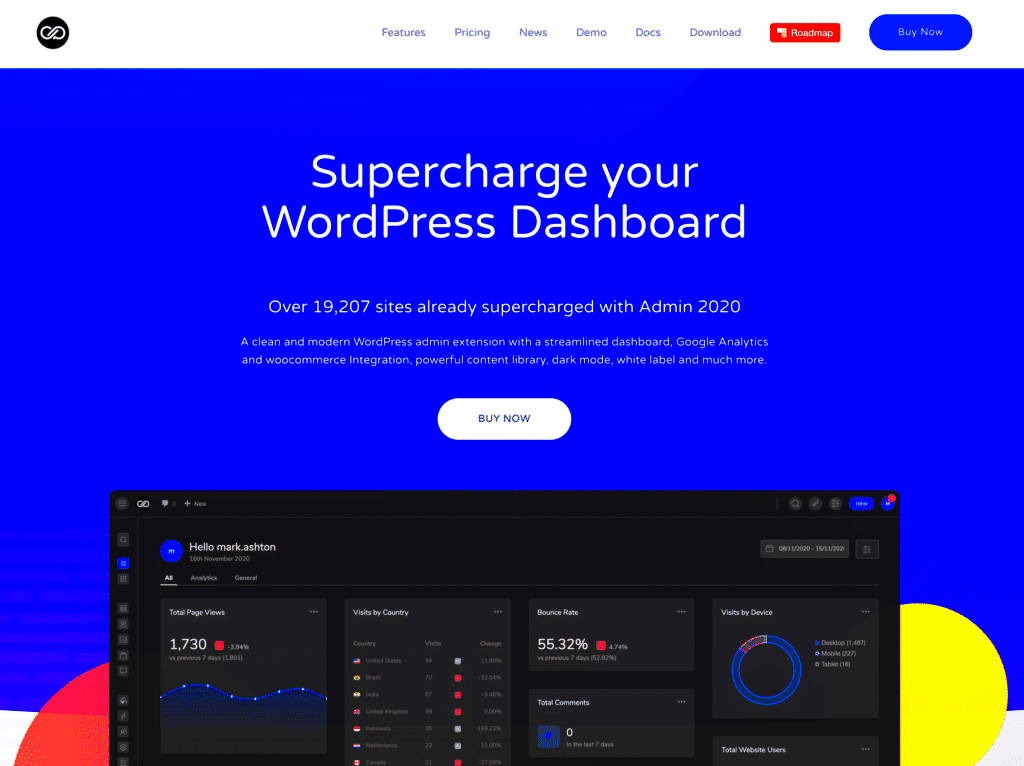
Customizing widget areas on the WordPress dashboard is a fantastic way to streamline your workflow and enhance productivity. By rearranging and personalizing the widgets, you create an environment that reflects your needs and preferences. This means having the tools you use most often right at your fingertips!
First, let’s talk about how you can manage these widget areas:
- Drag-and-Drop Functionality: Take advantage of the handy drag-and-drop feature. Simply click on a widget title and move it to your desired location.
- Hide Unnecessary Widgets: If you find certain widgets to be more of a distraction than a help, you can hide them. Look for the “Screen Options” tab at the top right of your dashboard to customize your widget visibility.
- Add New Widgets: You can enhance your dashboard with additional widgets like quick links to your site’s analytics, recent comments, or any other essential information. Many plugins are available that offer specialized widgets tailored to your needs.
Here’s a quick checklist to help you get started:
| Action | Benefit |
|---|---|
| Rearrange Widgets | Better access to frequently used tools. |
| Hide Unused Widgets | Reduce clutter and distractions. |
| Add Custom Widgets | Increased functionality and personalization. |
Incorporating these adjustments not only makes the dashboard visually appealing but also enhances your productivity as a content creator. So, roll up your sleeves and start customizing your widget areas!
Organizing Menu Items for Easy Access
We’ve all been there: searching aimlessly through the WordPress menu, trying to find that one elusive item you need. A cluttered and disorganized menu can lead to wasted time and frustration. Thankfully, customizing your menu items is a breeze and can significantly improve your efficiency.
Here’s how you can organize your menu items effectively:
- Rearrange Menu Items: You can drag and drop menu items to reorder them according to your workflow. Place the most used options at the top for quick access!
- Use Custom Links: If there are sections of your site you frequently visit, consider adding custom links to your menu for quicker access.
- Dismiss Unneeded Menu Items: Not every menu item is useful for everyone. You can utilize plugins to hide specific menu items that you don’t need. This gives you a cleaner, more focused interface.
To maximize your menu organization, think about using this simple structure:
| Menu Category | Example Items |
|---|---|
| Content Management | Posts, Pages, Media |
| Site Settings | Settings, Customize, Theme Options |
| Plugins | Installed Plugins, Add New |
By taking a little time to organize your menu items, you’re setting yourself up for a smoother workflow. Every little change adds up, so don’t hesitate to make your WordPress experience more enjoyable and efficient!
Personalizing the Welcome Panel
The Welcome Panel in your WordPress dashboard is the first thing you see when you log in. It’s a great opportunity to present yourself with relevant information and actions that suit your specific needs. Personalizing this panel not only enhances your experience but can significantly improve your productivity over time.
To customize the Welcome Panel, you can follow these simple steps:
- Log into your WordPress dashboard.
- Navigate to the “Screen Options” button at the top right corner of your admin panel. Click on it to drop down the options.
- You can enable or disable various sections of the Welcome Panel, including “Quick Draft,” “WordPress News,” and “Upcoming Events.” Simply toggle the checkboxes based on your preferences.
- Consider using plugins that enhance the Welcome Panel functionality. Plugins like “WP Dashboard Notes” allow you to add notes or reminders directly on your dashboard, keeping important information at your fingertips.
By tailoring the content in the Welcome Panel to what you value most—whether that’s getting quick access to your blog statistics or seeing the latest updates on WordPress—you can make your admin environment more efficient and focused on your tasks. Customizing the Welcome Panel is just one way to streamline your dashboard, providing a more engaging and less cluttered workspace.
Setting Up Quick Links for Efficient Navigation
In a platform as feature-rich as WordPress, navigating the dashboard can sometimes feel overwhelming. Thankfully, by setting up Quick Links, you can significantly streamline your workflow and gain direct access to the tools you need most.
Here’s how you can easily create Quick Links tailored to your workflow:
- Identify Frequently Used Sections: Take note of the pages you visit the most. This could be Posts, Pages, or Media sections, or even plugin settings.
- Utilize the “My Sites” or “Admin Bar”: If you manage multiple sites, leverage WordPress’s built-in admin bar to add links to various dashboards.
- Create a Custom Menu: Go to Appearance > Menus and create a menu with the links that matter to you. Then, display it in your dashboard using a widget.
- Explore Plugins: Consider plugins such as “Admin Menu Editor” or “WP Admin UI Customize.” These tools let you modify the admin menu structure and add custom links.
By setting up Quick Links, you reduce clicks and save time, allowing you to focus on what truly matters—creating content and engaging with your audience. Plus, having a personalized dashboard means you’re more likely to enjoy navigating through it!
9. Tips for Streamlining Your Workflow
Improving your workflow within the WordPress dashboard can make a *huge difference* in how efficiently you manage your site. Here are some practical tips to help you streamline your tasks and maximize productivity:
- Organize Your Admin Menu: If you have a lot of plugins installed, your admin menu can become cluttered. You can rearrange or remove non-essential items to make navigation easier. Consider using plugins like *Admin Menu Editor* to customize the menu items to suit your workflow.
- Utilize Keyboard Shortcuts: Learning keyboard shortcuts can save you a lot of time. For instance, you can press Ctrl + S to quickly save a post or Ctrl + P to preview it. Familiarize yourself with shortcuts to speed up your editing process!
- Leverage the Quick Draft Feature: Sometimes you might come up with a great blog post idea but don’t have time to flesh it out. Use the *Quick Draft* feature available on the dashboard to jot down your thoughts and save them for later.
- Customize Your Dashboard Widgets: You can add, remove, or rearrange dashboard widgets. This will allow you to keep your most relevant metrics at the forefront. By placing widgets that matter to you—like site stats or recent comments—you can get the insights you need without digging around.
- Set Up User Permissions: If you’re collaborating with a team, setting proper user permissions will minimize distractions and prevent unauthorized changes. Make sure each team member has access only to what they need.
- Consider a Daily Routine: Create a daily checklist of tasks you perform regularly. Whether it’s checking comments, reviewing site analytics, or updating plugins, having a routine helps you stay focused and organized.
By implementing these tips, you’ll find that your WordPress dashboard becomes a powerful hub for your productivity, letting you focus more on creating and less on navigating!
10. Conclusion: Benefits of a Customized Dashboard
Customizing your WordPress dashboard is about more than just aesthetics; it can significantly enhance your workflow and overall productivity. Here’s a look at some of the main benefits:
- Improved Organization: A customized dashboard allows you to tailor the layout and elements to suit your specific needs. By prioritizing what matters most, you can save time and reduce the stress of locating essential tools and information.
- Increased Efficiency: When you streamline your tasks with a personalized setup, repetitive actions become quicker and easier. This means less time fumbling through menus and more time concentrating on creative tasks.
- Better Focus on Goals: Custom dashboards allow you to visibly keep track of important metrics and tasks. By having an overview of your goals directly on your dashboard, it becomes easier to remember what you need to accomplish daily.
- Enhanced Collaboration: If you’re working with a team, customizing user roles and permissions will ensure that everyone knows their responsibilities without stepping on each other’s toes. This critical structure promotes teamwork and accountability.
- Adaptability: As your website evolves and your needs change, a customized dashboard makes it simple to adjust layouts and widgets accordingly. You’re not locked into a structure; you can adapt as necessary!
- Reduced Clutter: By removing unnecessary menus and widgets, you can significantly declutter your workspace. A clean and organized dashboard makes for a less overwhelming and more pleasant experience.
In essence, taking the time to customize your WordPress dashboard pays off immensely. With improved organization, efficiency, and adaptability, your dashboard becomes a true command center for your website, empowering you to focus on what you do best – creating amazing content!

