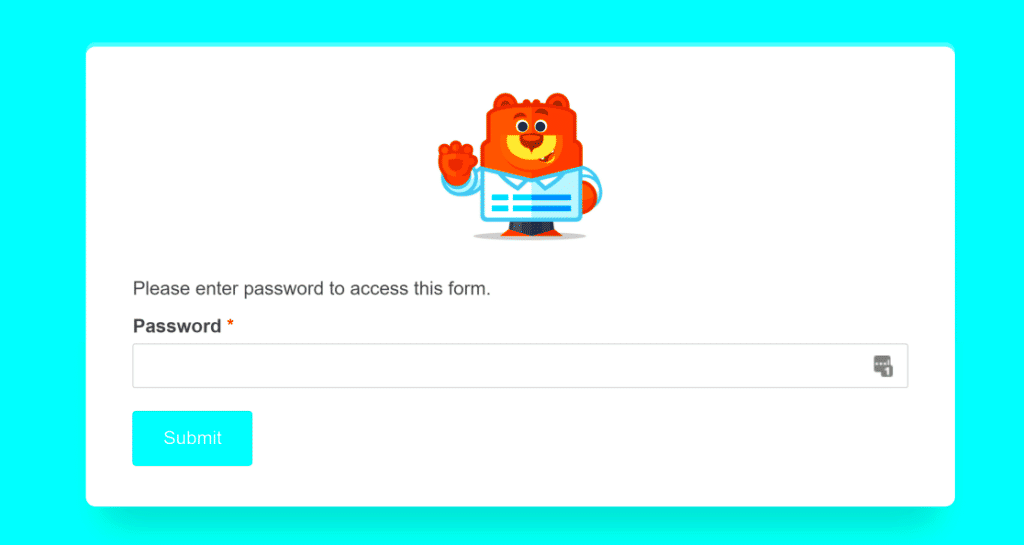
Creating a password-protected form in WordPress can provide an extra layer of security for sensitive information. Whether you’re collecting user data, feedback, or managing events, having a secure form is essential. In this blog, we’ll explore how you can customize these forms to not only meet your security needs but also enhance user experience. Let’s dive into the essentials of password-protected forms and how you can make them work best for you!
Understanding Password-Protected Forms in WordPress
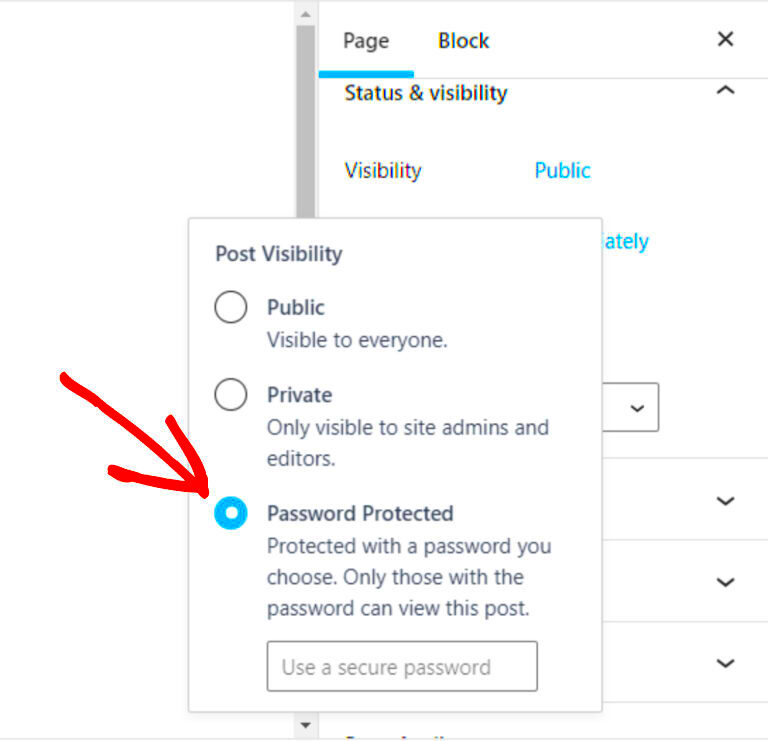
Password-protected forms in WordPress serve a crucial role in maintaining privacy and safeguarding information. This feature allows only authorized users to access a form by entering a password, creating a controlled environment for data collection.
Here’s what you need to know:
- Purpose: Protect sensitive data, limit access to specific user groups, and manage submissions effectively.
- Common Use Cases:
- Surveys or feedback forms that require respondents to be part of a specific community.
- Event registrations where participants must have an invite.
- Special promotions or gated content for members only.
- Plugins to Consider: Utilize plugins like WPForms, Gravity Forms, or Ninja Forms to create and customize your password-protected forms. These plugins often come with built-in features that make setting up password protection easy.
When creating a password-protected form, you can customize not only the protective measures but also the look and feel. This customization can enhance user engagement and retention. Keep in mind:
| Aspect | Customization Options |
|---|---|
| Form Layout | Adjust field positions, sizes, and colors for better clarity. |
| Password Prompt | Change the text to make it more inviting or to match your branding. |
| Error Messages | Customize error messages to provide clear guidance, enhancing user experience. |
By understanding the fundamentals of password-protected forms in WordPress, you’ll be well on your way to creating secure and engaging forms that meet your needs!
Choosing the Right Plugin for Your Needs
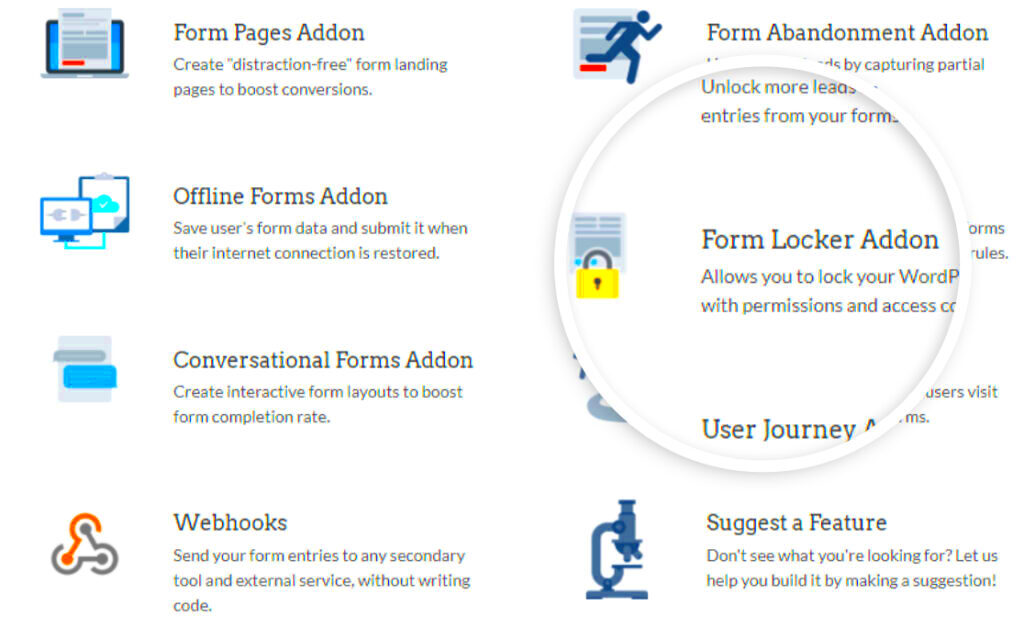
When it comes to creating a password-protected form in WordPress, selecting the right plugin is crucial. The vast array of options available can be overwhelming, but narrowing down your choices to suit your specific needs will make the process smoother.
Here are some popular plugins you might consider:
- WPForms: This plugin is beginner-friendly and comes with a drag-and-drop builder, making it easy to create forms. It has built-in options for adding password protection to specific forms.
- Gravity Forms: If you’re looking for more advanced functionalities, Gravity Forms is a robust choice. It allows complete customization and can integrate with various add-ons for even more features.
- Ninja Forms: Known for its user-friendly interface, Ninja Forms offers a password protection feature along with a range of customizable templates. Perfect for those who want a quick setup!
- Formidable Forms: This is another powerful alternative that allows for complex data handling and includes options for password protection, including user roles and access controls.
In addition to functionality, consider these key factors before making a decision:
| Factor | Description |
|---|---|
| Compatibility | Ensure the plugin works with your current WordPress version and theme. |
| Support | Check if the provider offers prompt and adequate support to assist you in case of issues. |
| Cost | Some plugins are free, while others require a premium license. Decide what fits your budget. |
By considering the features, cost, and support options, you’ll be able to choose the plugin that suits your needs best!
Setting Up a Password-Protected Form
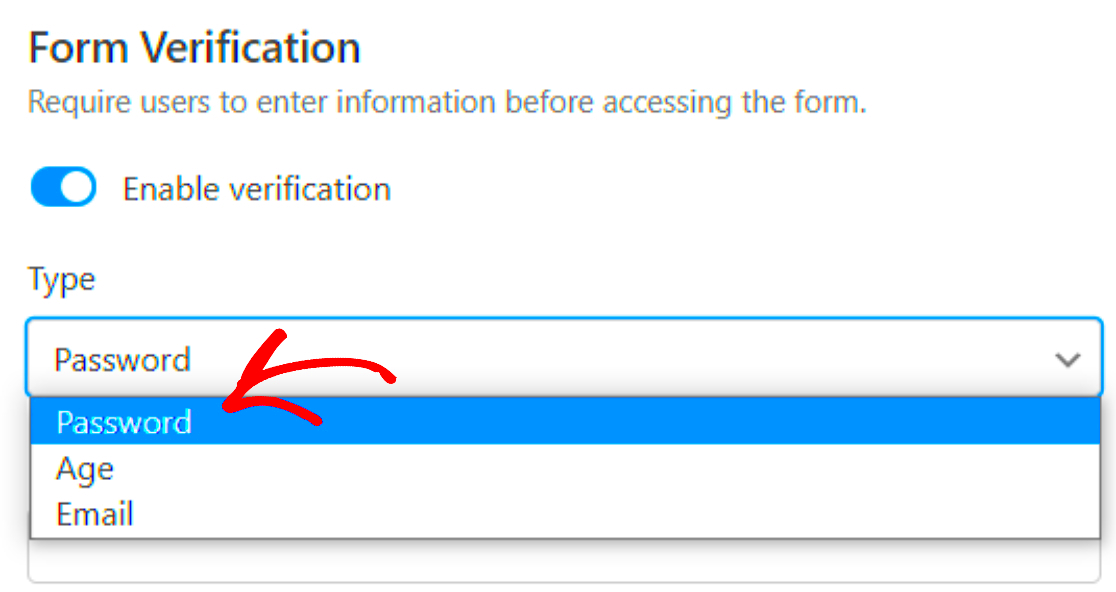
Alright, you’ve chosen your plugin – now it’s time to set up your password-protected form! Follow these straightforward steps to get your form up and running.
- Install and Activate the Plugin: Go to your WordPress dashboard, navigate to Plugins, and click on Add New. Search for the plugin you’ve chosen and click Install, then Activate.
- Create Your Form: From the plugin’s menu, select the option to create a new form. Use the drag-and-drop builder to add fields according to your requirements, like name, email, and any specific questions.
- Add Password Protection: Look for the settings area of your form. Most plugins have a specific section where you can enable password protection. Set a password and adjust any related settings, such as expiration or need for a username.
- Configure Notification Settings: Make sure to set up notifications so you know when someone submits the form. This may include auto-responses or alerts sent to your email or your admin dashboard.
- Embed the Form: Once your form is set up, you’ll need to embed it on a page or post. You can usually do this via a shortcode provided by the plugin.
And just like that, you have a password-protected form! It’s a great way to keep sensitive information secure while making it user-friendly. Don’t forget to test the form yourself to ensure it behaves as expected before going live!
Customizing the Form’s Appearance
When it comes to your WordPress site, the aesthetics of your password-protected form play a big role in user experience. You want it to look inviting and cohesive with your overall site design. Thankfully, WordPress offers a variety of ways to customize your form’s appearance without needing a degree in web design.
First things first, consider using CSS (Cascading Style Sheets). You can directly edit your theme’s CSS files or use the built-in customizer to add your styles. This lets you change colors, fonts, borders, and padding to create a form that best fits your brand. If you’re not comfortable with CSS, plugins like WPForms or Contact Form 7 come with user-friendly interfaces that allow for quick adjustments.
Next, don’t overlook the importance of labels and placeholders. Make them clear and concise. For example, instead of saying “Enter your name,” try “Your Name.” This simple tweak can improve clarity and usability.
You can also improve visuals by incorporating images or icons. A small icon next to the password field can visually cue users that they need to enter sensitive information. Just make sure to keep it simple so it doesn’t distract from the form’s purpose.
Here’s a quick checklist to help you customize your form’s appearance:
- Use CSS for extensive styling options
- Opt for user-friendly plugins
- Keep labels and placeholders clear
- Add icons or images for visual engagement
- Test the form on various devices to ensure responsiveness
With these tips, your password-protected form will not only be functional but also aesthetically pleasing, creating a more enjoyable experience for your users.
Implementing Additional Security Measures
Creating a password-protected form is a great first step in ensuring the security of your sensitive data. However, you can take it a notch higher by implementing additional security measures. After all, in today’s digital age, a little extra effort can go a long way in keeping your data safe.
First on the list is the use of SSL certificates. This adds a layer of encryption between your users and your site, meaning that any data transmitted, including passwords, is securely protected. You can usually obtain an SSL certificate through your hosting provider, and many offer them for free.
Next up, consider using two-factor authentication (2FA). This ensures that even if someone manages to guess or steal a password, they would still need a second form of verification, such as a code sent to your mobile device. Many plugins, like Google Authenticator or Wordfence Security, can help you integrate 2FA into your forms.
It’s also important to regularly update your plugins and themes. Outdated software is a common vulnerability that hackers exploit. So keep everything up-to-date and consider setting up automatic updates if possible.
Here’s a quick rundown of essential security measures for your forms:
| Security Measure | Description |
|---|---|
| SSL Certificate | Adds encryption for secure data transfer |
| Two-Factor Authentication | Requires a second form of verification to access |
| Regular Updates | Keeps your software and plugins secure from vulnerabilities |
By incorporating these additional security measures, you not only protect your sensitive information but also build trust with your users, knowing that their data is safeguarded on your platform. It’s always better to be proactive when it comes to online security!
7. Testing Your Password-Protected Form
Once you’ve created your password-protected form in WordPress, it’s crucial to ensure everything works smoothly. Testing your form isn’t just about checking if the password protection is functioning; it’s about ensuring the entire user experience is seamless. Follow these essential steps to test your form effectively:
- Access the Form: Start by opening the form page in a different browser—preferably one where you aren’t logged into your WordPress admin account. Enter the password you set to see if it grants you access.
- Form Submission: Fill out the form as a user would. Submit your responses to see if the form processes the data correctly.
- Email Notifications: If your form is set up to send notification emails upon submission, check your inbox (and spam folder) to confirm receipt. This ensures that the data is not only captured but also communicated to the right parties.
- Data Storage: Verify where your submissions are being stored. Whether it’s a WordPress database, Google Sheets, or an email, make sure the information is correctly logged.
- Accessibility Across Devices: Test your form on different devices (mobile, tablet, desktop) and various browsers to ensure all users can access it easily.
- Feedback Mechanism: If your form includes any confirmation messages or redirects, make sure these are clear and functional after submission.
By thoroughly testing your password-protected form, you can catch any snags early on and provide your users with a smooth and secure experience.
8. Common Issues and Troubleshooting Tips
Even the most carefully crafted forms can run into some hiccups along the way. Here are some common issues you might encounter with your password-protected form and handy troubleshooting tips to resolve them:
- Forgotten Password: If users report that they can’t remember the password, consider providing a “Forgot Password” link or an option for them to recover it.
- Error Messages: If users are getting error messages when trying to submit the form, double-check the form field requirements. Ensure you’ve made all fields clear and easy to fill in.
- Inaccessible Form: If users cannot access the form despite entering the correct password, verify your form’s visibility settings in your WordPress dashboard to ensure they’re set up as intended.
- Submission Not Going Through: If submissions aren’t being processed, ensure that your form plugin is up-to-date and configured correctly. Sometimes, a simple update can resolve these issues.
- Security Plugins Interfering: Some security plugins may block access to password-protected forms. Check plugin settings or temporarily disable them to see if that resolves the issue.
- Mobile Compatibility: If the form isn’t appearing correctly on mobile devices, look into your theme’s responsiveness or utilize mobile-specific settings within the form plugin.
By actively monitoring for these common issues and being proactive about troubleshooting, you can create a more effective and user-friendly password-protected form on your WordPress site. Remember, the goal is to make the experience as seamless as possible for your users.
Conclusion
Customizing a password-protected form in WordPress allows you to maintain security while providing a user-friendly experience. By following the tips and tricks outlined in this article, you can enhance your form’s functionality and aesthetics. Remember that a well-designed form not only protects sensitive information but also encourages user engagement.
In summary, here are some key takeaways for customizing your password-protected forms:
- Choose the Right Plugin: Select a robust form plugin that supports password protection, such as WPForms or Gravity Forms.
- Utilize Conditional Logic: Implement conditional logic to show or hide fields based on user input.
- Customize Design: Use CSS to align the design of your form with your website’s branding.
- Test User Experience: Before going live, ensure that the form is easy to navigate and users can understand how to enter their passwords.
- Monitor Submissions: Keep an eye on form submissions for any unusual activity, as this could indicate security issues.
By paying attention to these details, you can create a secure and efficient password-protected form that serves your needs and enhances the overall user experience on your WordPress site.

