Welcome to the fascinating world of Elementor! In this post, we’re diving into Tab Hover Switches, a fantastic feature that can enhance the user experience on your website. Whether you’re creating a personal blog, a portfolio, or a business site, implementing Tab Hover Switches can help organize content neatly and make it visually engaging. Let’s explore what makes these switches so appealing and how they can add a touch of interaction to your pages.
What are Tab Hover Switches?

Tab Hover Switches are interactive design elements that allow users to switch between different tabs or content sections simply by hovering over them. Think of them as a fun, engaging way to present multiple pieces of information without overwhelming your audience. Rather than clicking through traditional tabs, the user experience becomes fluid and intuitive.
Here are some key features of Tab Hover Switches:
- Simplicity: They reduce the clutter and create an organized layout, making it easier for users to absorb information.
- Interactivity: Hovering over a tab triggers content changes, making the browsing experience more dynamic.
- Visual Appeal: With the right design, they can beautify your website, drawing attention to essential information.
- Responsive Design: They work seamlessly across various devices, ensuring that your content is accessible to all users.
By using Tab Hover Switches in Elementor, you can engage your audience more effectively and provide a more enjoyable way to navigate through your site. Ready to learn how to set them up? Let’s get started!
Benefits of Using Tab Hover Switches in Your Design
Using Tab Hover Switches in your design offers several remarkable benefits that can elevate user experience and engagement. Here are some of the standout advantages:
- Enhanced User Experience: Tab Hover Switches streamline the navigation process. Instead of a cluttered interface, users can easily switch between tabs with a simple hover, leading to a smooth and intuitive experience.
- Space Efficiency: In a digital world where every pixel counts, Tab Hover Switches allow you to present a wealth of information without overwhelming the user. By compacting content into tabbed sections, you can save space while still offering diverse content.
- Improved Aesthetics: These switches promote a modern, sleek design. A well-designed tab hover switch can add an elegant touch to your website, making it visually appealing and engaging.
- Increased Interactivity: Users love engaging interactions. Tab Hover Switches entice users to explore more of your content, potentially increasing time spent on your site and reducing bounce rates.
- Customizability: Elementor provides extensive customization options. You can tailor the look and functionality of your Tab Hover Switches to align with your brand’s aesthetic, ensuring a cohesive user experience.
By incorporating Tab Hover Switches, you not only enhance usability but also create a visually appealing platform that can captivate your audience. What’s not to love about that?
Setting Up Elementor for Tab Hover Switches
Getting started with Tab Hover Switches in Elementor is simpler than you might think! Whether you’re a seasoned designer or just dipping your toes into the world of web design, here’s how to set up Elementor for this engaging feature:
- Install and Activate Elementor: First things first, ensure you have the Elementor plugin installed and activated on your WordPress site. If you haven’t done this yet, head to your WordPress dashboard, go to Plugins, and search for Elementor.
- Create a New Section: Navigate to the page or post where you want to add the Tab Hover Switches. Click ‘Edit with Elementor’ and then add a new section or select an existing one.
- Add a Tabs Widget: In the Elementor panel, search for the Tabs widget. Drag and drop it into your selected section. You’ll see default tabs appear.
- Configure Your Tabs: Click on each tab to edit the content. You can label them and add any relevant text or images that you want to display when the tab is hovered over.
- Style Your Tabs: Next, navigate to the Style tab in the Elementor panel. Here, you can customize the appearance of your tabs, like adjusting colors, hover effects, and typography to make them stand out.
- Preview and Save: Finally, once you’ve customized to your liking, use the preview feature to ensure everything looks great. If you’re satisfied with the setup, remember to hit the ‘Publish’ or ‘Update’ button to save your changes!
And just like that, you have set up Tab Hover Switches in Elementor. It’s all about creating a dynamic and engaging layout that keeps your visitors coming back for more!
Creating a Tab Hover Switch Using Elementor Widgets
Creating a tab hover switch using Elementor widgets is both simple and enjoyable! Let’s break it down step-by-step. First, make sure you have the Elementor plugin installed on your WordPress site. Once that’s set, follow these guidelines to create an appealing tab hover switch.
1. Add a Section: Start by adding a new section on your Elementor canvas. You can do this by clicking the “+” icon. Choose a structure that suits your design preference.
2. Insert Tabs Widget: In the left sidebar, search for the “Tabs” widget and drag it into your newly created section. This widget will be the backbone of your tab hover switch.
3. Customize Your Tabs: You’ll see default tabs appear. Click on each tab to edit the title and content. You can also add more tabs by simply clicking “Add Item.” Be sure to think about the content that will engage your users!
4. Enable Hover Effects: Now, here’s where the magic happens! Once your tabs are set up, head over to the Advanced settings for the Tabs widget. Look for the Custom CSS section (available in Elementor Pro) to add hover effects. Use CSS code to target the tab elements on hover and create eye-catching transformations.
5. Preview and Test: Once you’re satisfied with your tab hover switch, preview it to see how it looks. Test the hover effects to ensure they work smoothly. Remember, user experience is key, and a good hover effect can enhance engagement!
By sticking with these simple steps, you’ll create an engaging tab hover switch that can add interactivity and style to your site in just a few clicks!
Customizing Tab Hover Effect Styles
Customizing tab hover effect styles is where you get to unleash your creativity! With Elementor, there’s a plethora of options to ensure your tabs look just as you envision. Here’s how to customize the styles for your tab hover effects:
1. Background Color Change: One of the simplest yet effective hover effects is changing the background color. Go to the Style tab for your Tabs widget and set a new background color specifically for the hover state. You can create a smooth transition by adjusting the transition duration.
2. Text Color Adjustment: Changing the text color on hover can grab attention instantly. Under the Style tab, look for the Text Color option and select a contrasting color that stands out against the background color.
3. Border Effects: Add a border or change the border color on hover! Go to the Border settings and use the hover state options to set a different border style. A solid border could add a nice touch.
4. Add Shadow: Want your tabs to pop a bit more? Consider adding a shadow effect! Under Advanced > Box Shadow, you can define shadow settings that engage users. Don’t forget to adjust it for the hover state.
5. Font Size and Weight: You can also scale up your tab titles upon hovering. Under the Typography settings, increase the font size or change the weight when hovered to create a dynamic feel.
6. Preview Changes: After customizing, always preview your design. Ensuring that everything looks as you intended is crucial before going live.
And there you have it! By following these steps, you can effectively customize your tab hover effects in Elementor to improve your site’s aesthetics and user engagement!”
7. Adding Content to Your Tab Hover Switches
Now that you have your tab hover switches set up, it’s time to add the content that will really make them shine! The beauty of tab hover switches in Elementor is their versatility, allowing you to showcase various types of content in an impactful way.
To get started, follow these simple steps:
- Select Your Tab: Click on the tab switch that you want to edit. This action opens the settings panel on the left side of your Elementor editor.
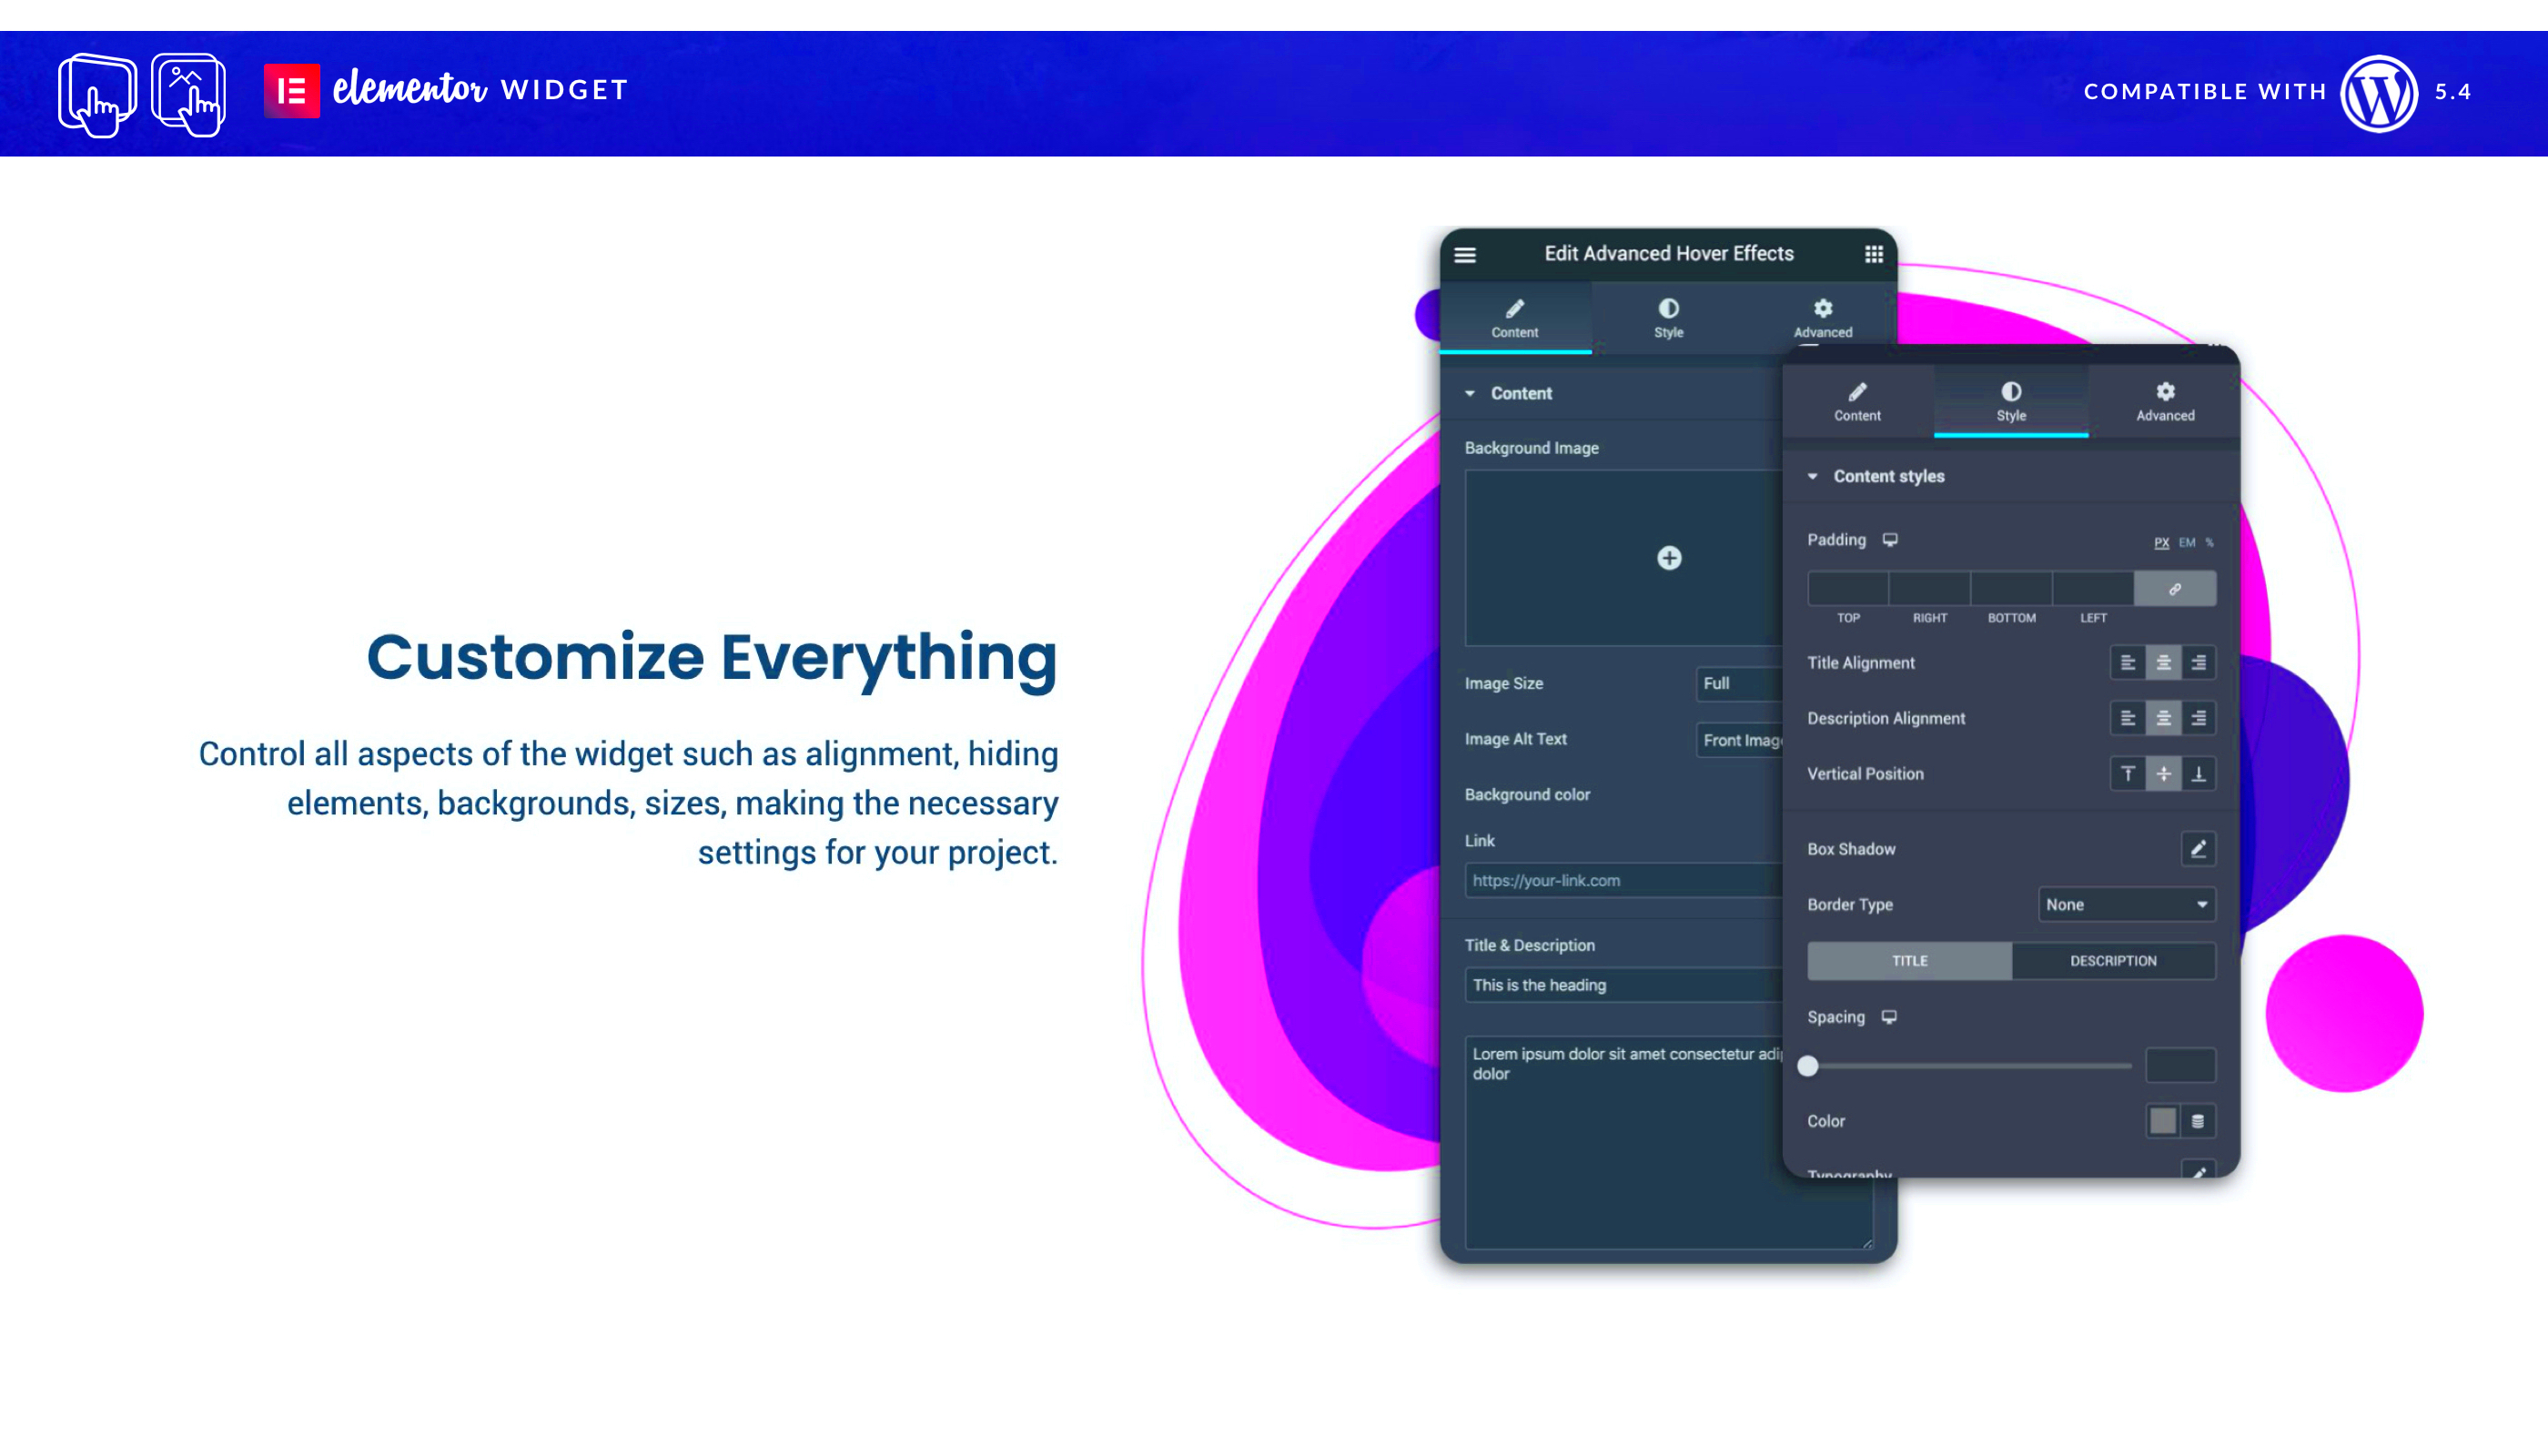
- Add Content: In the Content section, you can begin adding text, images, or even videos. Simply use the text editor to type in your information. For images, click on the image icon to upload or select from your media library.
- Utilize Widgets: Elementor provides a myriad of widgets. You can use the Image Widget, Text Editor Widget, or Heading Widget to enhance the visual appeal of your content.
- Styling Content: Don’t forget about Elementor’s styling options! You can change fonts, colors, padding, and margins to make your content attractive and aligned with your branding.
Consider structuring the content in a user-friendly manner. Use bullet points for lists, headings to break up large chunks of text, and always ensure that the most critical information stands out. Remember, you want your audience to quickly digest this information!
8. Tips for Enhancing User Experience with Tab Hover Switches
Creating a smooth user experience is essential when designing your website, especially when using interactive elements like tab hover switches. Here are some valuable tips to keep in mind:
- Keep It Simple: Don’t overload your tabs with too much information. Aim for clarity and brevity, ensuring the content is easy to read and understand.
- Use Visuals Wisely: Incorporate relevant images or icons that complement your text. Visuals can capture attention and convey messages faster than words alone.
- Consistent Design: Ensure that your tabs have a consistent style with the overall website design. This includes maintaining a cohesive color scheme and font choice.
- Mobile Responsiveness: Always preview how your tab hover switches look on mobile devices. Make adjustments to ensure they are just as user-friendly on smaller screens.
- Hover Effects: Consider adding subtle hover effects that can provide feedback when users interact with the tabs. This could be a color change or a slight grow animation that adds interactivity.
- Test Performance: After implementing your design, test the performance and loading time of the tabs. You want to ensure that users aren’t left waiting, as this can lead to frustration.
By following these tips, you can create engaging, user-friendly tab hover switches that enhance the overall experience for your site visitors. They’ll not only find your content, but also enjoy interacting with it!
Common Issues and Troubleshooting
When you’re diving into the world of web design using Elementor, you may encounter a few hiccups along the way, especially when implementing those eye-catching tab hover switches. Don’t fret; we’ve all been there! Here’s a breakdown of some common issues and how to troubleshoot them effectively:
- Hover Effects Not Working: If your hover effects aren’t showing up, check if you’ve applied the correct CSS classes to your tabs. Sometimes, minor typos can be the culprit.
- Content Not Syncing: It’s important to ensure that the content in each tab is toggling properly. If you find that clicking on one tab doesn’t switch the content, revisit the tab settings and confirm each tab is linked to the right content.
- Responsive Issues: Ensure your tab hover switches look great on all devices. Check Elementor’s responsive settings to adjust how the tabs appear on mobile and tablet screens.
- CSS Conflicts: If you’ve added custom CSS and the styling doesn’t seem to apply, there might be conflicts with existing styles. Use browser developer tools to inspect elements and identify any conflicting properties.
- Slow Performance: If the hover effects are causing lag, consider simplifying your design. Heavy animations can slow down page loading time, frustrating your visitors.
By addressing these common issues, you can save yourself time and frustration. Remember, web design is a journey, and troubleshooting is just part of the ride!
Conclusion: Elevate Your Web Design with Tab Hover Switches
In the vast landscape of web design, first impressions matter now more than ever. Tab hover switches are a fantastic way to enhance user experience while maintaining an aesthetic appeal. By incorporating these elements into your Elementor website, you can create an engaging environment that keeps visitors clicking and exploring.
So why should you consider tab hover switches? Here are a few benefits:
- Improved User Engagement: Interactive elements invite users to explore your content, leading to longer site visits and increased interaction.
- Organization: Tabs allow you to condense information neatly, showcasing multiple sections without overwhelming your audience.
- Aesthetic Appeal: A well-designed tab hover can add a modern, sleek feel to your webpage, making it visually pleasing and contemporary.
Ultimately, mastering tab hover switches in Elementor can set your site apart from the competition. With a little practice and experimentation, you’ll be crafting stunning, functional designs that grab attention. So go ahead—elevate your web design game today!


