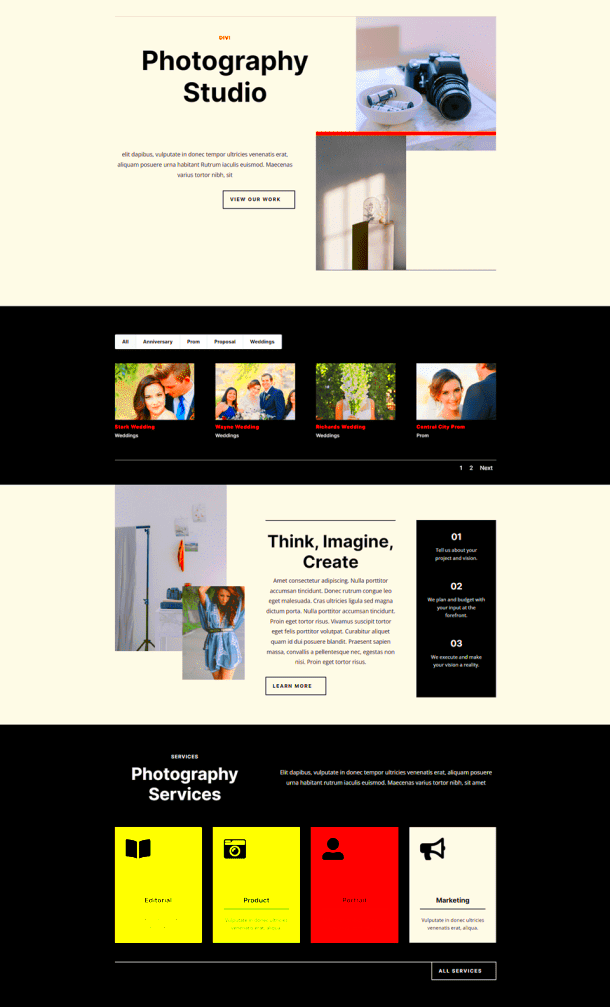
Creating a stunning portfolio can feel daunting, but not when you’re using Divi in WordPress! This powerful theme and page builder combo offers you the flexibility and control you need to showcase your work beautifully. Whether you’re a photographer, designer, or freelancer looking to stand out, a filterable portfolio can make it easy for visitors to navigate your projects. Let’s dive into why Divi is the ideal choice for crafting a filterable portfolio that impresses both clients and viewers alike!
Why Choose Divi for Your Portfolio?
So, you’ve decided to put together a portfolio—great choice! But why should you use Divi specifically? Here are some compelling reasons:
- User-Friendly Interface: Divi comes with a drag-and-drop builder that makes it super simple to design your portfolio. You don’t need to be a tech whiz—just grab an element, place it where you want, and voilà!
- Highly Customizable: With an extensive range of modules and layout options, you can customize every inch of your portfolio to match your unique style and brand.
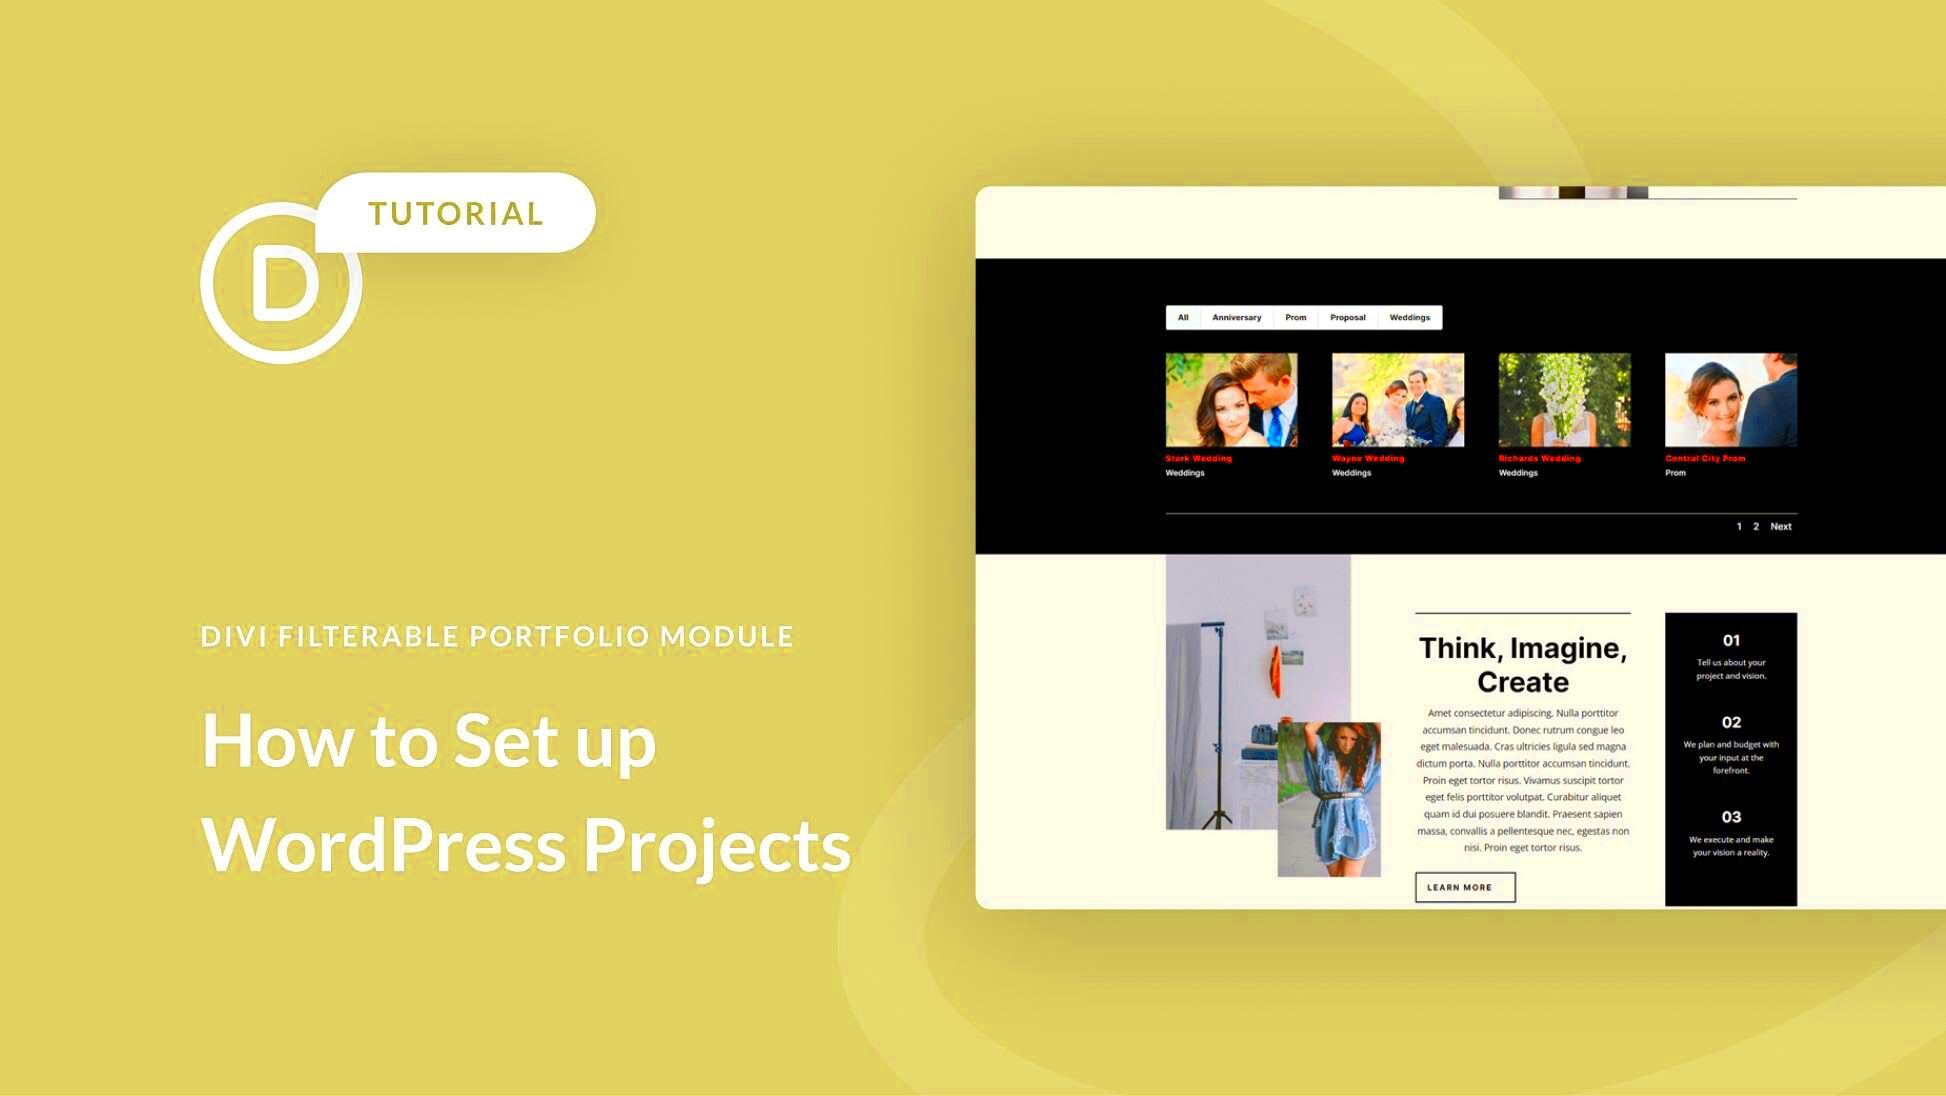
- Filterable Gallery Module: Divi’s built-in filterable portfolio module allows visitors to sort through your work based on categories. This means potential clients can quickly find what resonates with them.
- Responsive Design: Your portfolio will look great on any device. Divi ensures that your projects are mobile-friendly, making it easier for visitors to browse on-the-go.
- Regular Updates and Support: Divi offers excellent customer support and regular updates, ensuring your portfolio remains current and functional.
Ultimately, using Divi to create your filterable portfolio not only simplifies the process but also enhances the way you present your work. With all the features it offers, it’s truly a top choice for creatives just like you!
3. Setting Up Your WordPress Environment
Alright, folks! Before diving into the fantastic world of Divi and building a filterable portfolio, we need to lay down some solid ground rules by setting up your WordPress environment. Think of it as preparing your canvas before the painting begins!
First off, here are the essentials you’ll need for setting up your WordPress environment:
- Web Hosting: Choose a reputable hosting provider. Look for features like one-click WordPress installs, good customer support, and reliable uptime. Providers like Bluehost, SiteGround, or HostGator are solid choices.
- Domain Name: If you don’t already have a domain name, you’ll need to grab one. It should reflect your business or brand. Make it memorable!
- SSL Certificate: Ensure your website is secured with HTTPS by acquiring an SSL certificate. Many hosting providers offer this for free.
- WordPress Installation: Most hosting services come with a one-click install option for WordPress. Take advantage of it! Once installed, you can access your dashboard at
yourdomain.com/wp-admin.
Once your hosting and domain are sorted, log in to your WordPress dashboard. Familiarize yourself with the interface since this is where the magic happens as we build out your portfolio. Ready? Let’s create a stunning showcase for your work and skills!
4. Installing and Activating the Divi Theme
Great! Now that your WordPress environment is all set up, it’s time to roll out the red carpet for the star of the show: the Divi Theme! Installing Divi is pretty straightforward, but let’s walk through it step by step for clarity.
Here’s how you can install and activate the Divi Theme:
- Purchase Divi: Head over to the Elegant Themes website and purchase a Divi subscription. It’s a premium theme, and the features you’ll get are definitely worth it!
- Download Divi: After completing your purchase, log in to your Elegant Themes account and download the Divi Theme ZIP file to your computer.
- Upload to WordPress: Go back to your WordPress dashboard. Navigate to
Appearance > Themesand click Add New. Then choose Upload Theme, and select the ZIP file you downloaded. - Activate Divi: Once the upload is complete, click Activate. Ta-da! Your site is now dressed in Divi’s stylish attire.
Now, go ahead and explore the Divi options in your dashboard. You’ll find tons of customization features that can help your portfolio shine. Just remember, the world is your oyster when it comes to design!
Creating a Custom Portfolio Page
When crafting a filterable portfolio in Divi, the first step is to create a custom portfolio page. This page acts as the canvas for displaying your work in a visually appealing way. To get started, follow these simple steps:
- Access the Divi Builder: Navigate to your WordPress dashboard, and head over to Pages. Click on “Add New” and select the Divi Builder to start designing your page.
- Choose a Layout: Divi offers a variety of pre-made layouts, or you can start from scratch. If you’re new to the platform, using a layout can save you time and streamline the design process.
- Add a Portfolio Module: Once in the builder, look for the “+” icon to add a new module. Search for and select the “Portfolio” module. This will allow you to showcase your portfolio items effectively.
- Customize the Layout: Divi gives you various customization options. You can adjust settings like the number of columns, spacing, and how items appear on mobile devices. This ensures your portfolio looks great on any screen!
- Filter Options: Add filter options to your portfolio. This is where users can categorize items, such as by project type or date completed. Set up the filters in the module settings for a user-friendly experience.
Finally, after reviewing your settings and design, don’t forget to hit that publish button! Now you have a stunning custom portfolio page that’s ready to impress visitors.
Adding and Customizing Portfolio Items
Now that you have your custom portfolio page set up, it’s time to fill it with content by adding and customizing portfolio items. Luckily, Divi makes this process intuitive and straightforward. Here’s how you can do it:
- Add a New Portfolio Item: Go to your WordPress dashboard and select “Portfolio.” Click on “Add New.” This is where you’ll enter the details of your project.
- Title and Content: Give your portfolio item a catchy title. In the content area below, you can describe the project in detail. Share your inspiration, the process you followed, and any challenges you overcame. This context can engage viewers further.
- Featured Image: Choose a stunning featured image that represents your project best. This is the first visual impression visitors will get, so make it count!
- Project Categories: Assign relevant categories to your portfolio item. This helps in filtering your items later. For instance, categorize by “Graphic Design,” “Web Development,” or “Photography.”
- Tags for Search Optimization: Add tags associated with your work. These tags enhance searchability within your website and make it easier for visitors to find what they’re looking for.
Don’t forget to hit “Publish” after adding your item. By following these steps, you’ll create engaging and informative portfolio entries that showcase your talent and expertise effectively!
7. Implementing Filterable Features
When creating a filterable portfolio with Divi in WordPress, the first step is to implement features that allow your visitors to easily navigate through the various projects or artworks. This not only enhances user experience but also keeps your audience engaged. With Divi, you have a plethora of options to incorporate filterable features into your portfolio.
One of the simplest methods to achieve this is by using the Divi Portfolio Module. Here’s how you can set it up:
- Add a New Section: Start by adding a new section on your page. Within this section, you’ll want to insert the Portfolio Module.
- Select Your Portfolio Items: After adding the module, you can select from your existing portfolio items. These items can be images, videos, or even text-based projects.
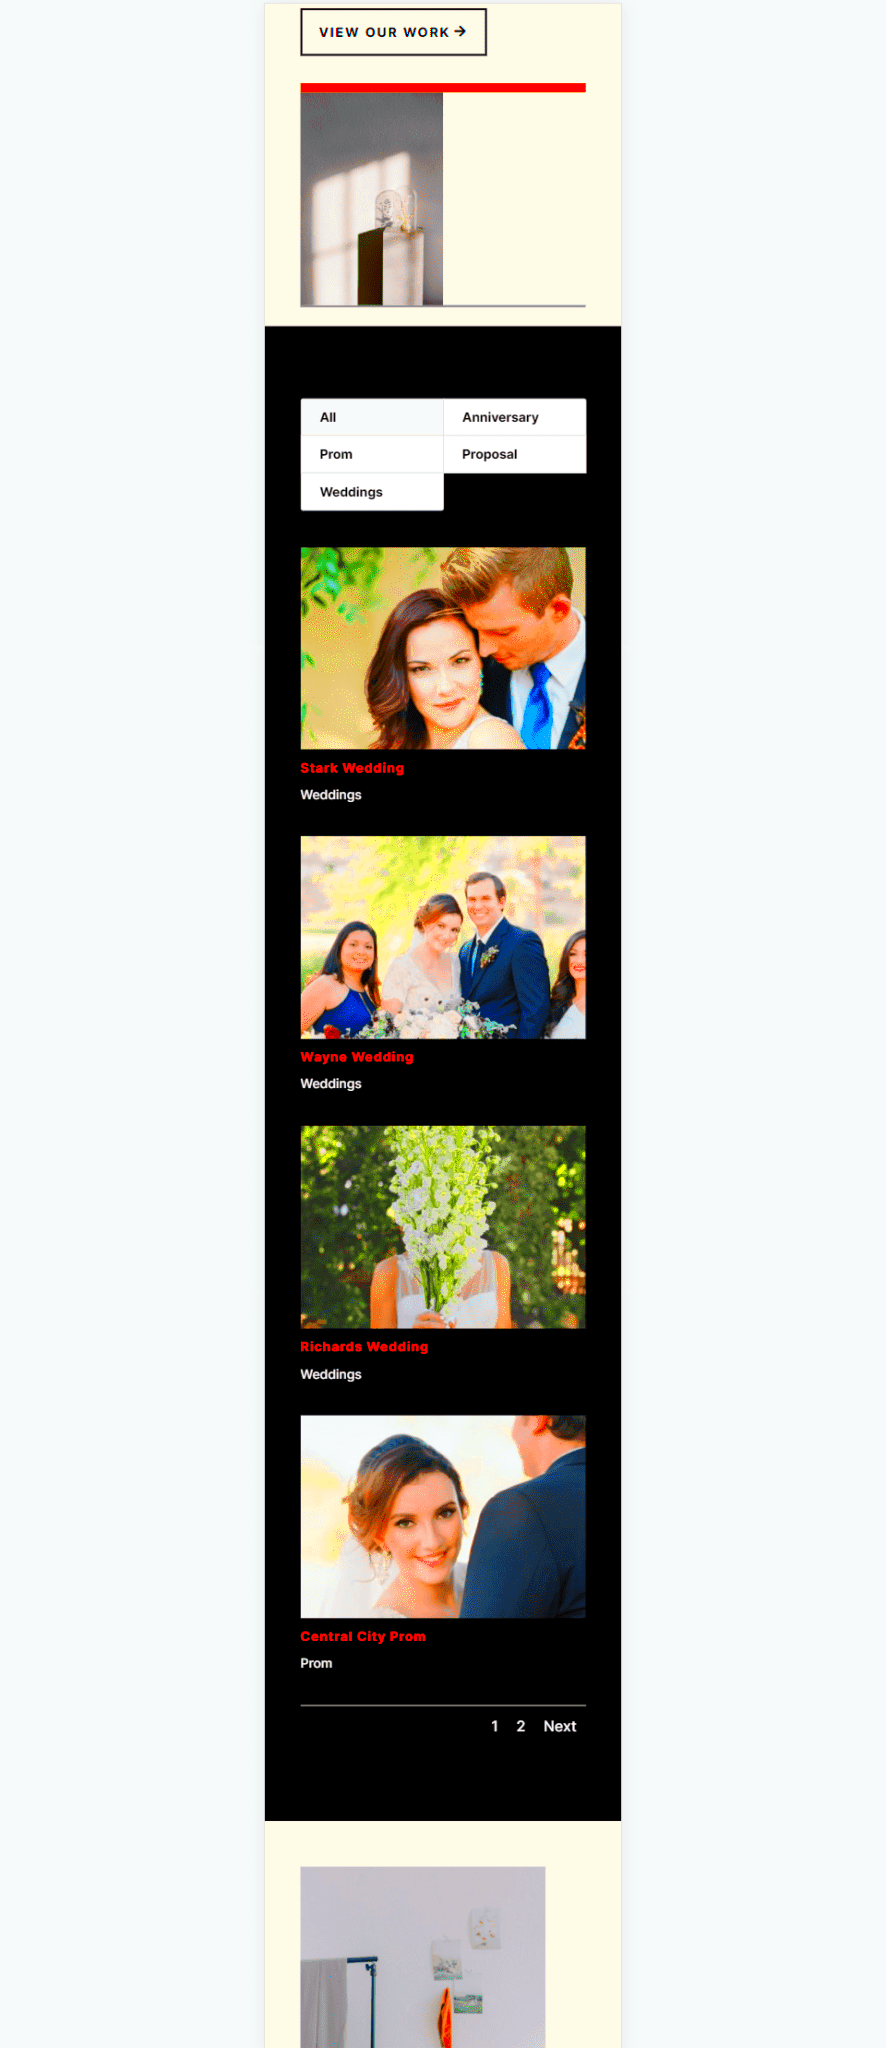
- Create Categories: Organize your portfolio items into categories. For instance, if you’re a photographer, you might have categories like “Weddings,” “Portraits,” and “Events.”
- Enable Filtering Options: In the Portfolio Module settings, make sure to enable the filtering options. This allows users to click on category tabs to view specific types of work.
Once you have these features in place, users can effortlessly filter through your projects, showcasing your versatility and making it easier for them to find what they’re most interested in. It adds a layer of professionalism to your portfolio, ensuring visitors can navigate it with ease.
8. Styling Your Portfolio with Divi Builder
Now that you’ve implemented the essential filterable features, it’s time to make your portfolio visually stunning. Styling your portfolio with the Divi Builder not only enhances its aesthetic appeal but also aligns it with your brand identity.
Using the Divi Builder, you can customize every aspect of your portfolio. Here are some effective styling tips:
- Choose the Right Layout: Divi offers multiple layout options. You can opt for grid layouts, masonry layouts, or even sliders, depending on what best showcases your work.
- Customize Colors: Don’t shy away from using color. Use the design tab in the Divi Builder to select background colors, text colors, and hover effects that resonate with your brand palette.
- Add Spacing and Padding: To avoid a cluttered look, pay attention to spacing and padding. Adequate space around your items makes them stand out and improves readability.
- Incorporate Hover Effects: Adding subtle hover effects can make your portfolio interactive. For instance, you can set images to zoom in slightly or to reveal project descriptions when hovered over.
- Use High-Quality Images: Ensure all images in your portfolio are high-quality. This visual investment pays off by illustrating your work in the best possible light.
With these styling techniques, you’ll create a polished, professional portfolio that not only showcases your work beautifully but also keeps your visitors coming back for more!
9. Using Plugins to Enhance Functionality
When it comes to building a filterable portfolio with Divi in WordPress, one of the best ways to add extra features is by using plugins. Plugins are like little apps for your website that can perform various tasks, making it more functional and customizable. Here’s why and how you can leverage them:
- Search Filters: Install plugins that provide advanced filtering options. Popular choices include Search & Filter and Advanced Custom Fields. They allow users to filter portfolio items based on categories, tags, or custom taxonomies.
- Lightbox Effects: Enhance your images with lightbox plugins like Simple Lightbox or WP Lightbox 2. These plugins can help create an engaging user experience by displaying images in a sleek overlay.
- Social Sharing: Increase the visibility of your portfolio by adding social sharing capabilities. Plugins like Ultimate Social Media Icons make it easy for visitors to share your work across various platforms.
- Performance Optimization: To keep your portfolio running smoothly, consider using caching and optimization plugins, such as WP Super Cache or Autoptimize. They improve page loading times and enhance the overall user experience.
By carefully selecting and implementing the right plugins, you can take your Divi portfolio to the next level, ensuring it’s not only visually appealing but also functional and user-friendly.
10. SEO Tips for Your Portfolio
Search engine optimization (SEO) is crucial for ensuring your portfolio reaches the widest audience possible. Applying good SEO practices can greatly enhance your portfolio’s visibility on search engines like Google. Here are some practical tips to follow:
- Keyword Research: Before you craft your portfolio, conduct keyword research to understand what potential clients might be searching for. Utilize tools like Ahrefs or Moz Explorer to identify relevant keywords that align with your work.
- Optimize Images: Large images can slow down your website and negatively impact SEO. Make sure to compress images and use descriptive filenames, along with alt text. For instance, instead of naming a file “image1.jpg,” use “landscape-photography-sunset.jpg.”
- Engaging Content: Write compelling descriptions for each portfolio piece. Ensure that these descriptions not only showcase your work but also include relevant keywords naturally. Google loves great content!
- Mobile Optimization: Make sure your portfolio looks great on mobile devices. With an increasing number of users browsing on their phones, a mobile-friendly design will boost user experience and SEO rankings.
- Internal Linking: Link to other work or pages within your portfolio. This helps visitors navigate your site and encourages them to explore more of your work, which can reduce bounce rates and improve SEO.
By implementing these SEO strategies, you will increase your chances of being discovered by potential clients, making your portfolio not just a showcase of your talent, but also a powerful marketing tool.
Testing Your Portfolio on Different Devices
Once you’ve built a stunning filterable portfolio using Divi in WordPress, your work isn’t quite done yet! It’s essential to test it across different devices to ensure that your masterpiece looks amazing everywhere. The reality is that your audience could be viewing your portfolio on a desktop, tablet, or smartphone, so it’s crucial to provide a seamless user experience regardless of the device.
Here are some key steps to effectively test your portfolio:
- Check Responsiveness: Divi is designed to be responsive, but it’s good practice to manually check how your portfolio components resize on different screen sizes. Use browser developer tools to simulate various devices.
- Test Loading Speed: Use tools like Google PageSpeed Insights to analyze loading times for various devices. A slow-loading portfolio can deter visitors.
- Assess Touch Interactions: If your portfolio includes filters or hover effects, ensure they work smoothly on touch devices, as user interaction differs from a mouse to a finger.
- Cross-Browser Check: Make sure to open your portfolio in various web browsers like Chrome, Firefox, Safari, and Edge. Sometimes, a design may look good in one browser but not in another.
- Seek Feedback: Ask friends or colleagues to open your portfolio on their devices. They might notice things you’ve overlooked!
In the end, thorough testing can make all the difference in your portfolio’s success. It helps ensure that every visitor feels engaged and can easily navigate your work, regardless of how they’re accessing it.
Conclusion
Creating a filterable portfolio with Divi in WordPress is not just about showcasing your work; it’s about delivering an engaging experience that resonates with your audience. By utilizing Divi’s powerful features, you can easily arrange and filter your projects, making navigation intuitive and enjoyable. Moreover, taking the time to implement comprehensive testing on various devices ensures that your beautifully crafted portfolio stands the test of different screen sizes and interfaces.
As you wrap up your portfolio project, remember the key takeaways:
- Flexibility: With Divi, you have the flexibility to customize your portfolio’s look to match your brand.
- Responsive Design: Your portfolio should be accessible and visually appealing on all devices.
- User Experience: A clean and functional portfolio enhances user engagement, making it easy for visitors to explore your work.
By following these practices, you’re not just building a portfolio; you’re crafting a professional representation of your skills and creativity. So go ahead, put these tips into action, and watch your portfolio impress your clients and audiences alike!

